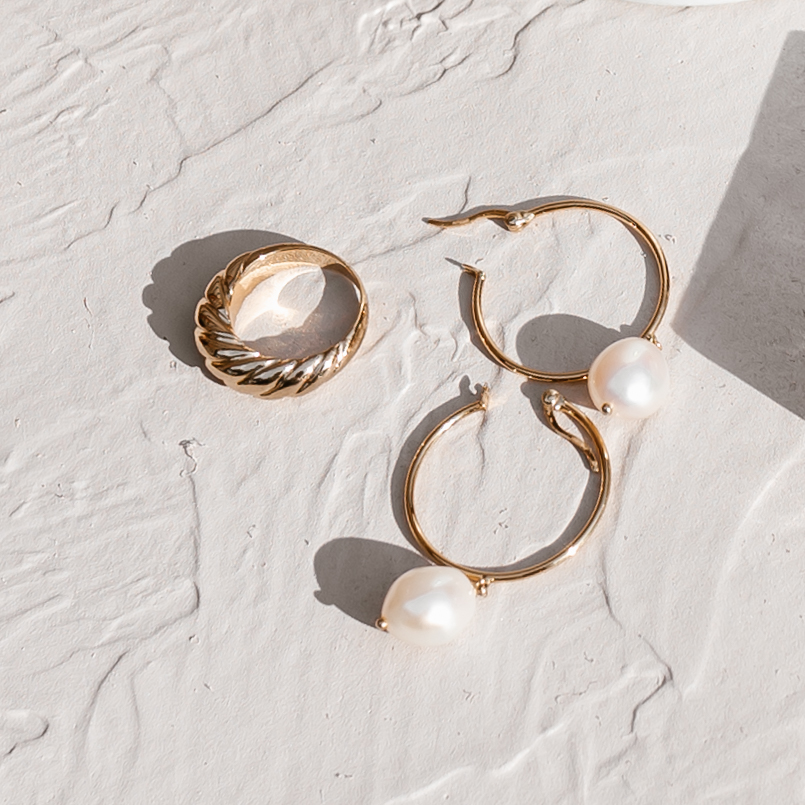
DIY Faux Textured Wall Photo Backdrop
Since we basically started this blog as a DIY blog, we get all the happy feels when we get to post a rare do-it-yourself project. During our holiday break at work, Britta and I really wanted to re-focus our energy on our product photography and started thinking on new prop and backdrop ideas. We have quite a prop collection, but new year, new vibe, right? After searching the internet for some photo backdrops we could buy, I was discouraged with the lack of options and affordable options at that. Sorry, not looking to spend $70 on a thin piece of paper!
While my search continued, I stumbled upon this post by Mastin Labs on How to Make Your Own Textured Backdrops. This was exactly what I was looking for!
Although all options in the post turned out so great, we opted for the easiest option which includes a foam board, spray on wall texture and some paint. Sounds easy enough? Spoiler alert: it was.
We adjusted the tutorial to fit our needs (and make even easier) and are SO happy with the results! Make your own textured backdrop using the tutorial below!
You will need…
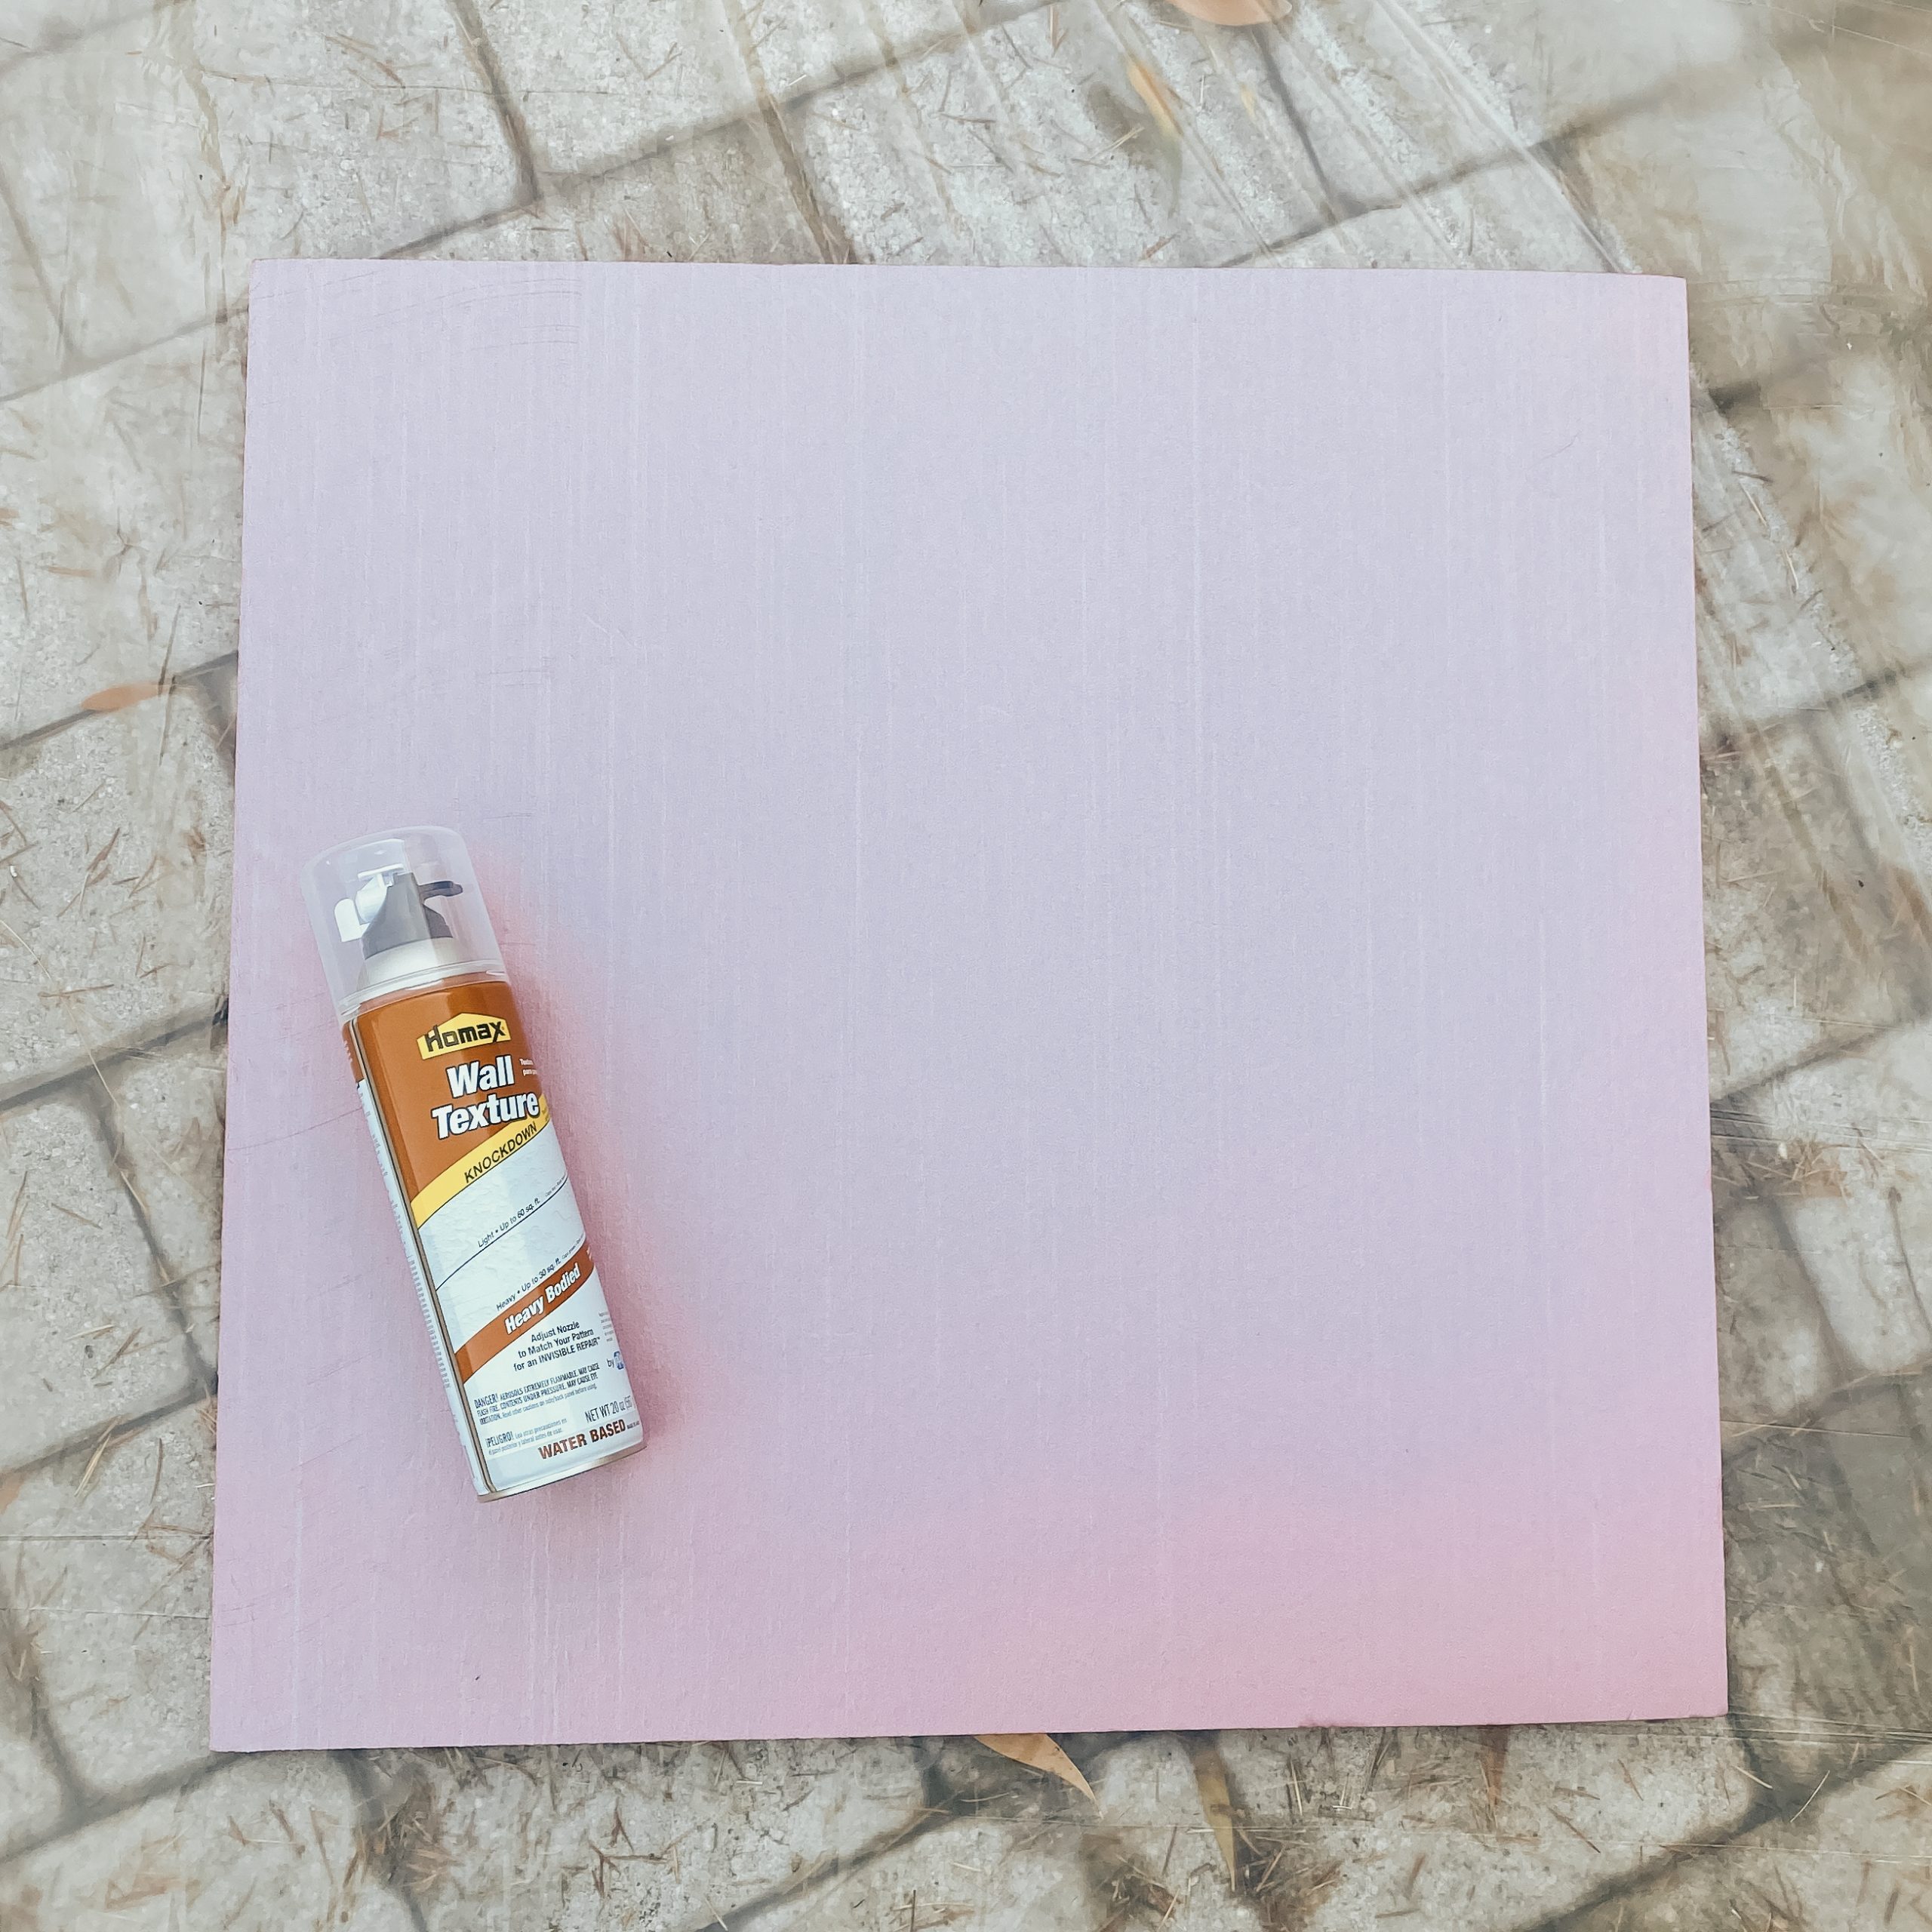
- 2′ x 2′ foam insulation board (1″ thick) – this is the exact one we got
- The original post called for a huge foam board that can be used for portrait photography. Since we do product photography, we opted for this smaller size which is easier to store and move around while shooting. Also less surface area to spray and paint!
- Spray on wall texture in ‘Knockdown’ result
- They make a larger can size with a more refined and apparently easier to use sprayer (which we would have liked). But it was approx. $6 more expensive so we stuck with the 20 oz can!
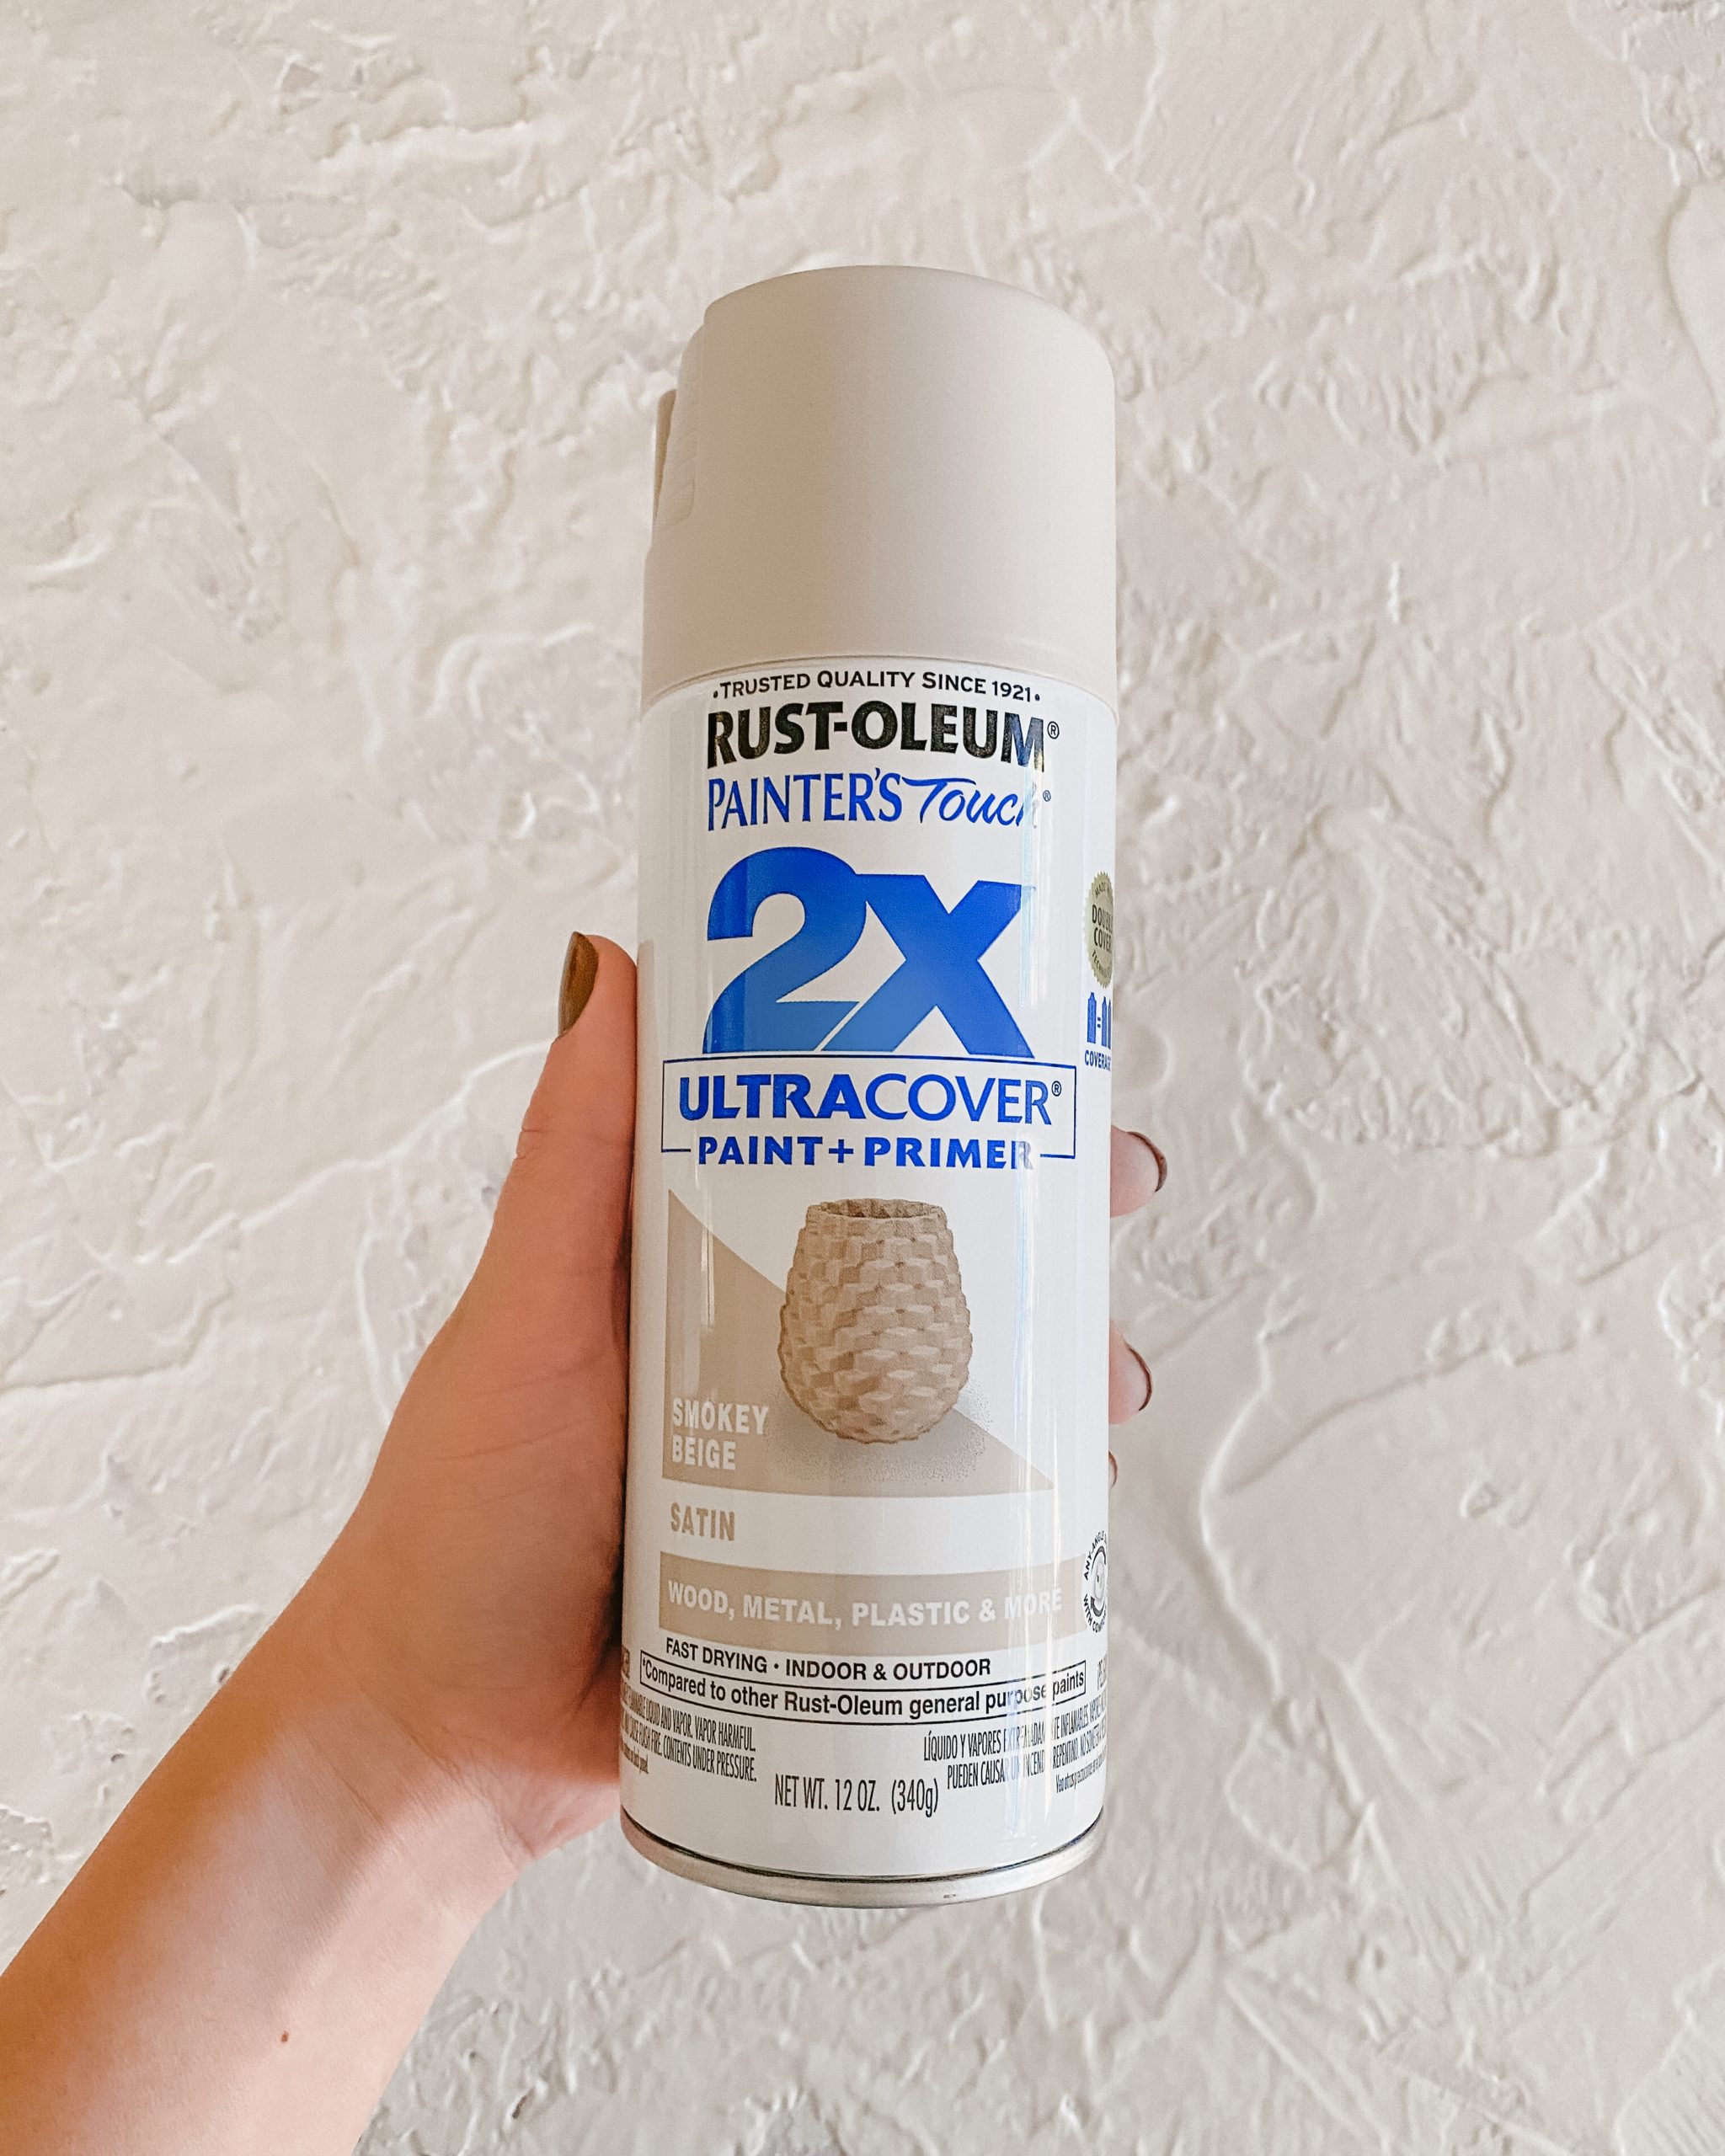
- Spray paint – we used Satin Smokey Beige & Flat White from Rust-Oleum brand
- The original tutorial called for normal paint applied via a paint brush or roller but we thought spray would be the easiest option.
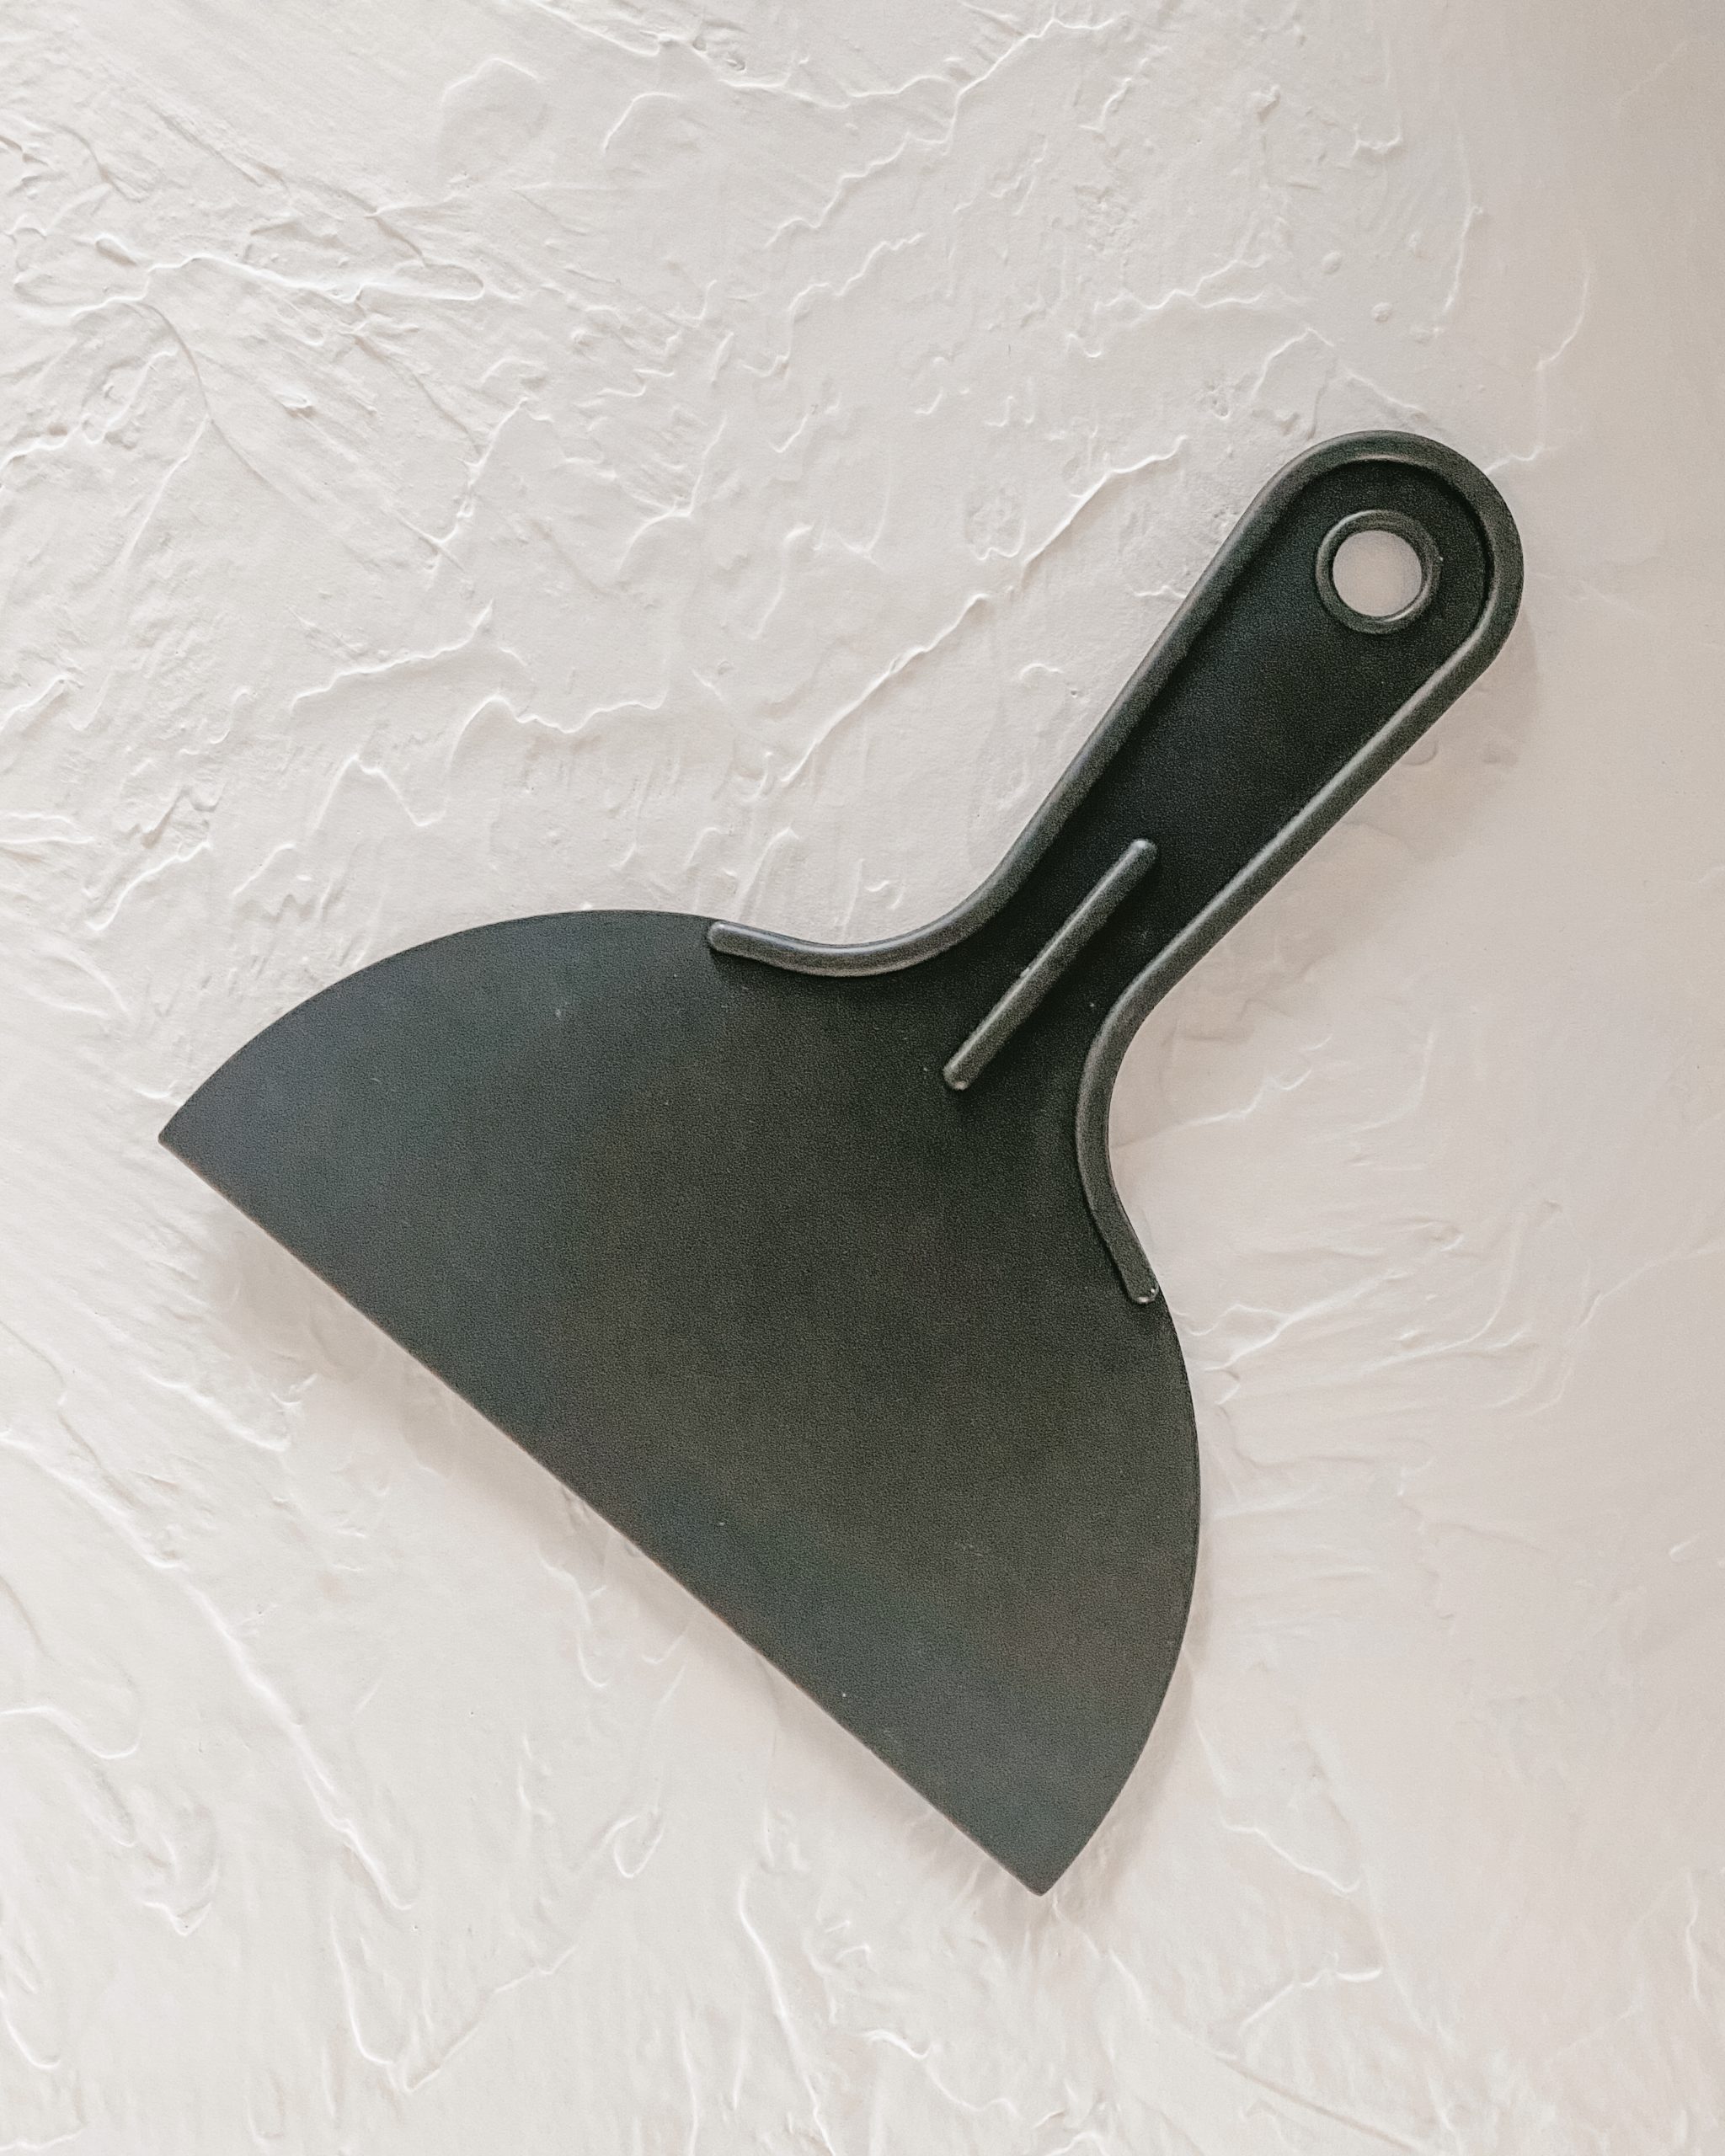
- Putty Knife Set
- After we stared, we realized the largest knife worked the best but the set was still the cheapest option!
- Plastic Drop Cloth – we got the 9 x 12″ size and cut it in half to use half for the wall texture and half for the spray painting
Instructions
Step One: Cut plastic drop cloth in half
With the small board size, you’l definitely need to cut the drop cloth down. We also felt this was the most affordable way so we could save the second half for when it was time to paint instead of buying a second one.
Step Two (optional): Secure drop cloth with books or heavy objects
The wall texture can be sprayed indoors. But since we used spray paint (which safely needs to be done outside) we set up the our workstation outside and so we needed books to hold down the drop cloth edges to ensure the wind didn’t blog it up. You can skip this step if you’re doing it indoors with no wind issue!
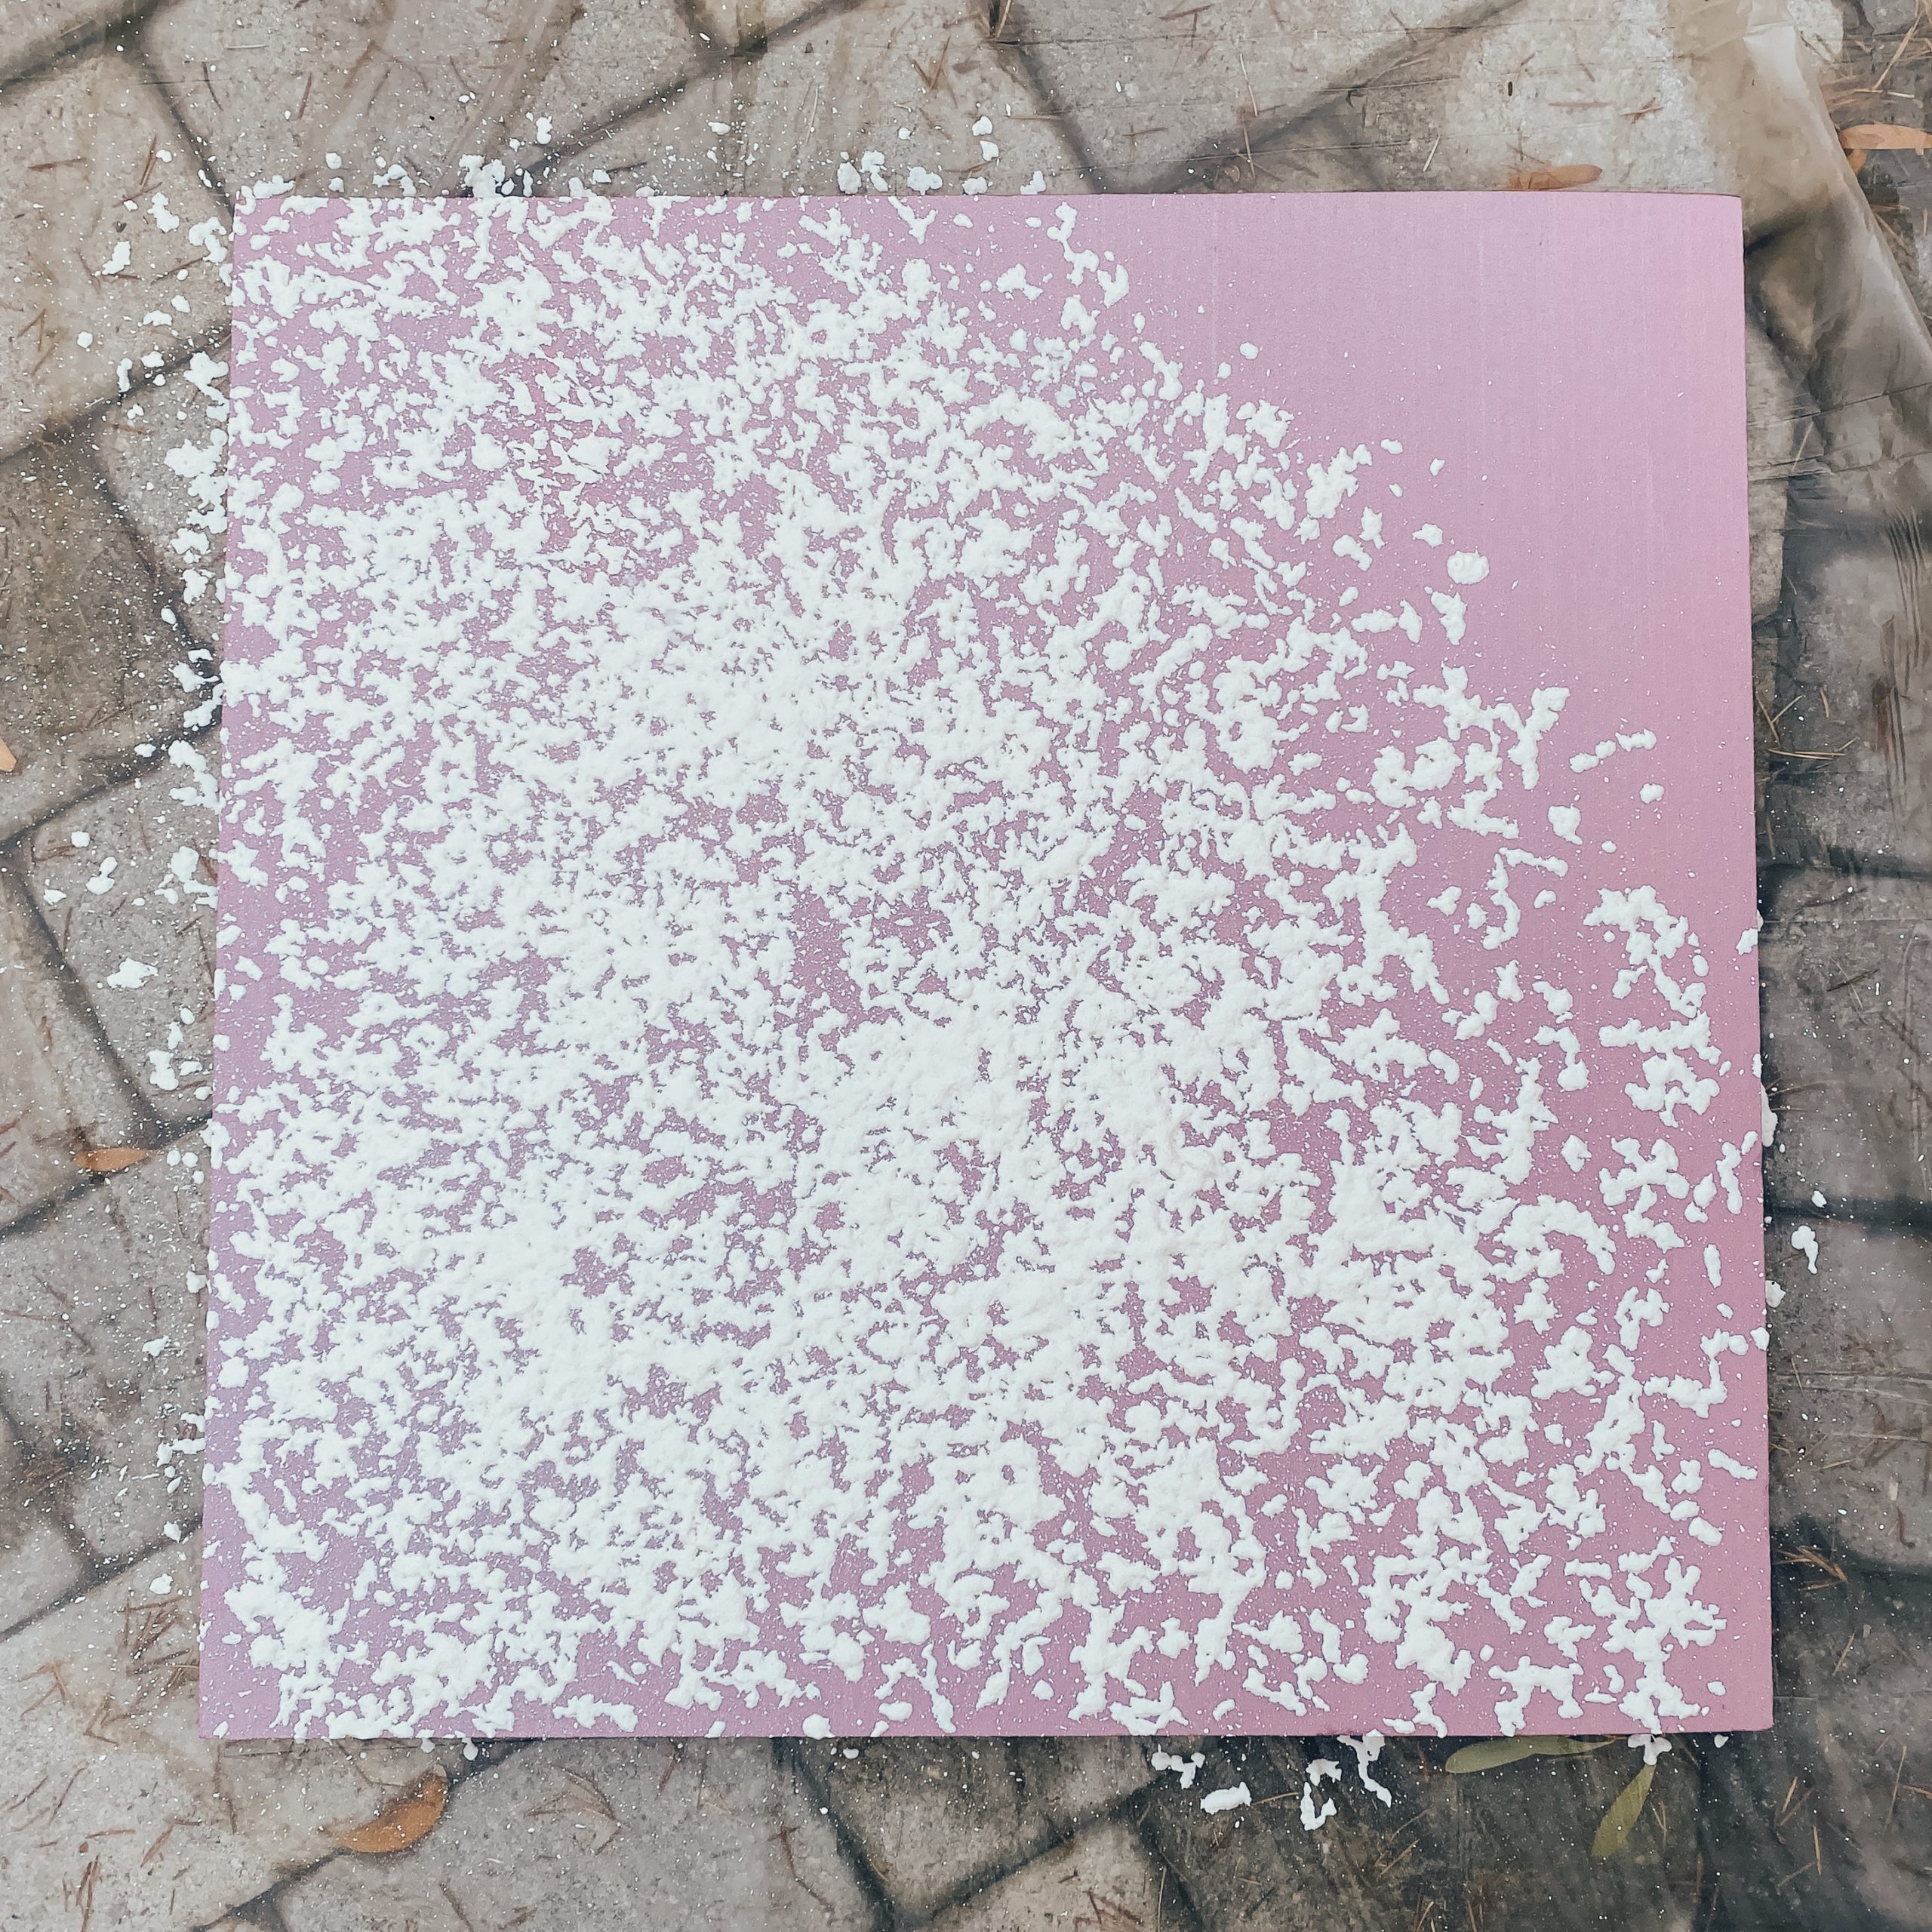
Step 3: Lay down board and start spraying!
Make sure board is clean before you start spraying the wall texture. Follow instructions on the can which are very simple:
- Adjust nozzle to heavy (you don’t want to spray on the light option)
- Shake can for 1-2 minutes
- Start spraying in a circular motion
- Let first coat dry for 2-4 minutes
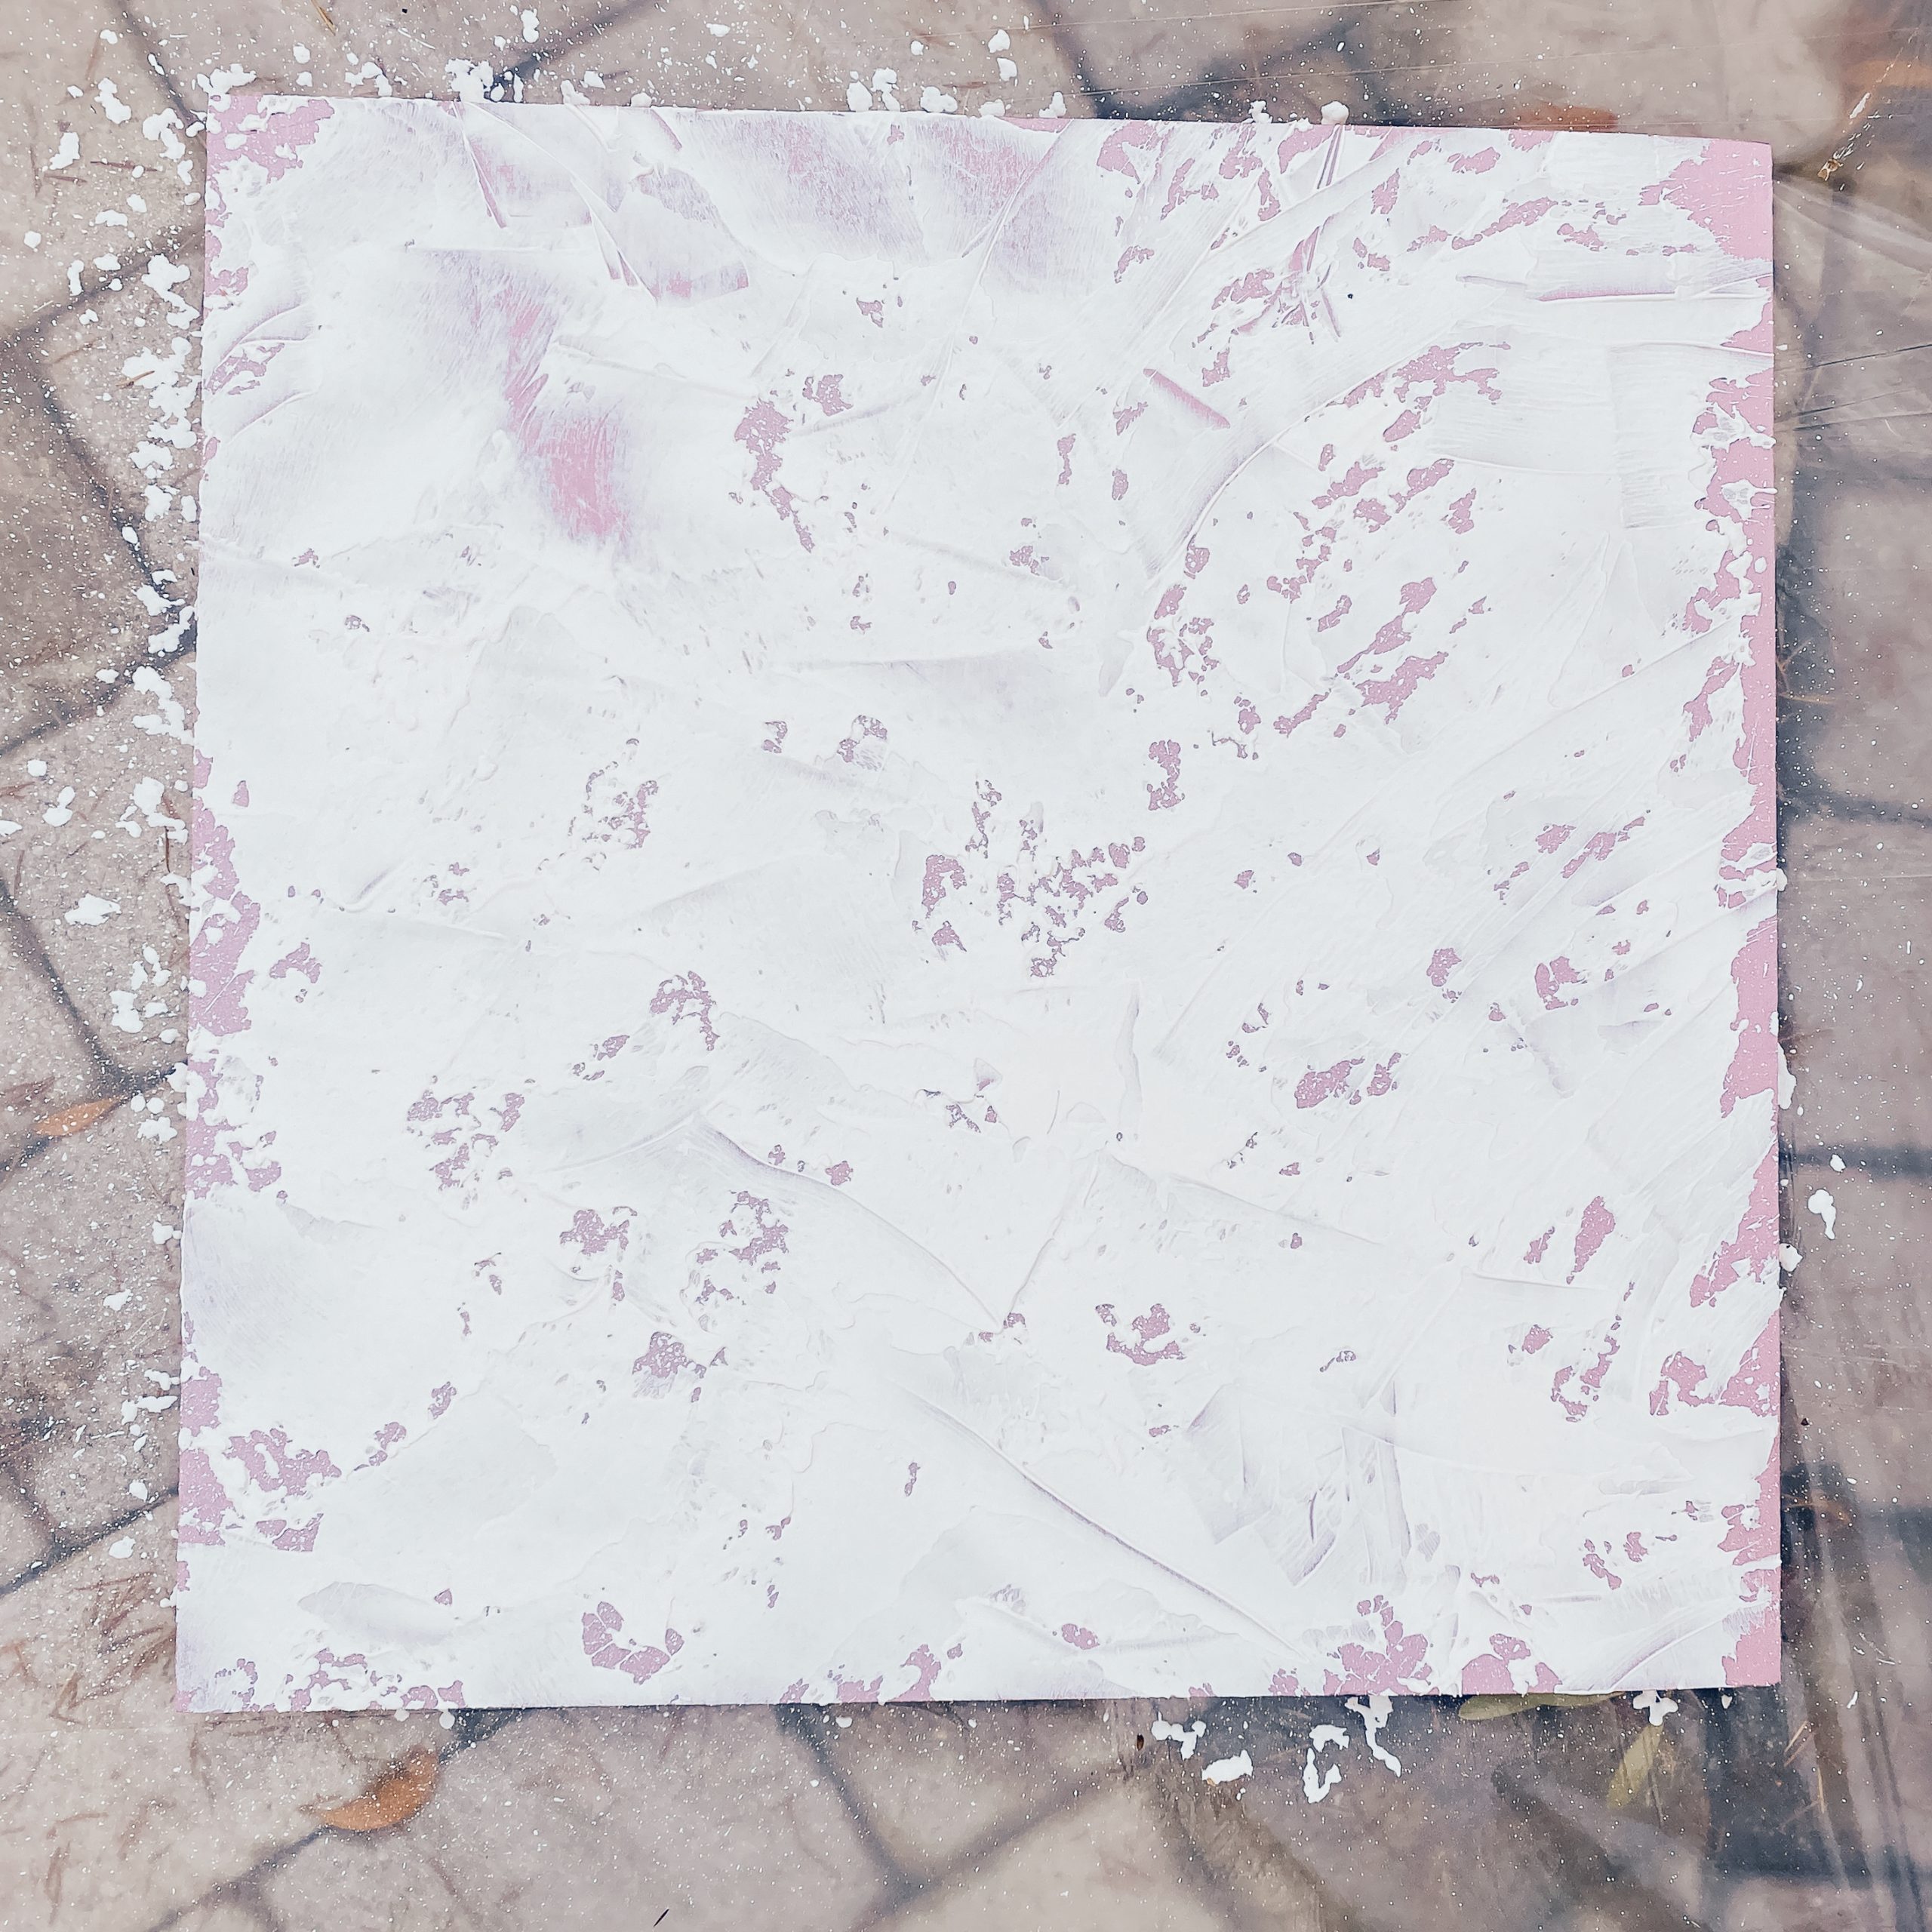
Step 4: Knock it down
Using the largest putty knife, very lightly sweep the edge across the plaster knocking it down or flattening it. We did this in multiple directions to get the look we desired.
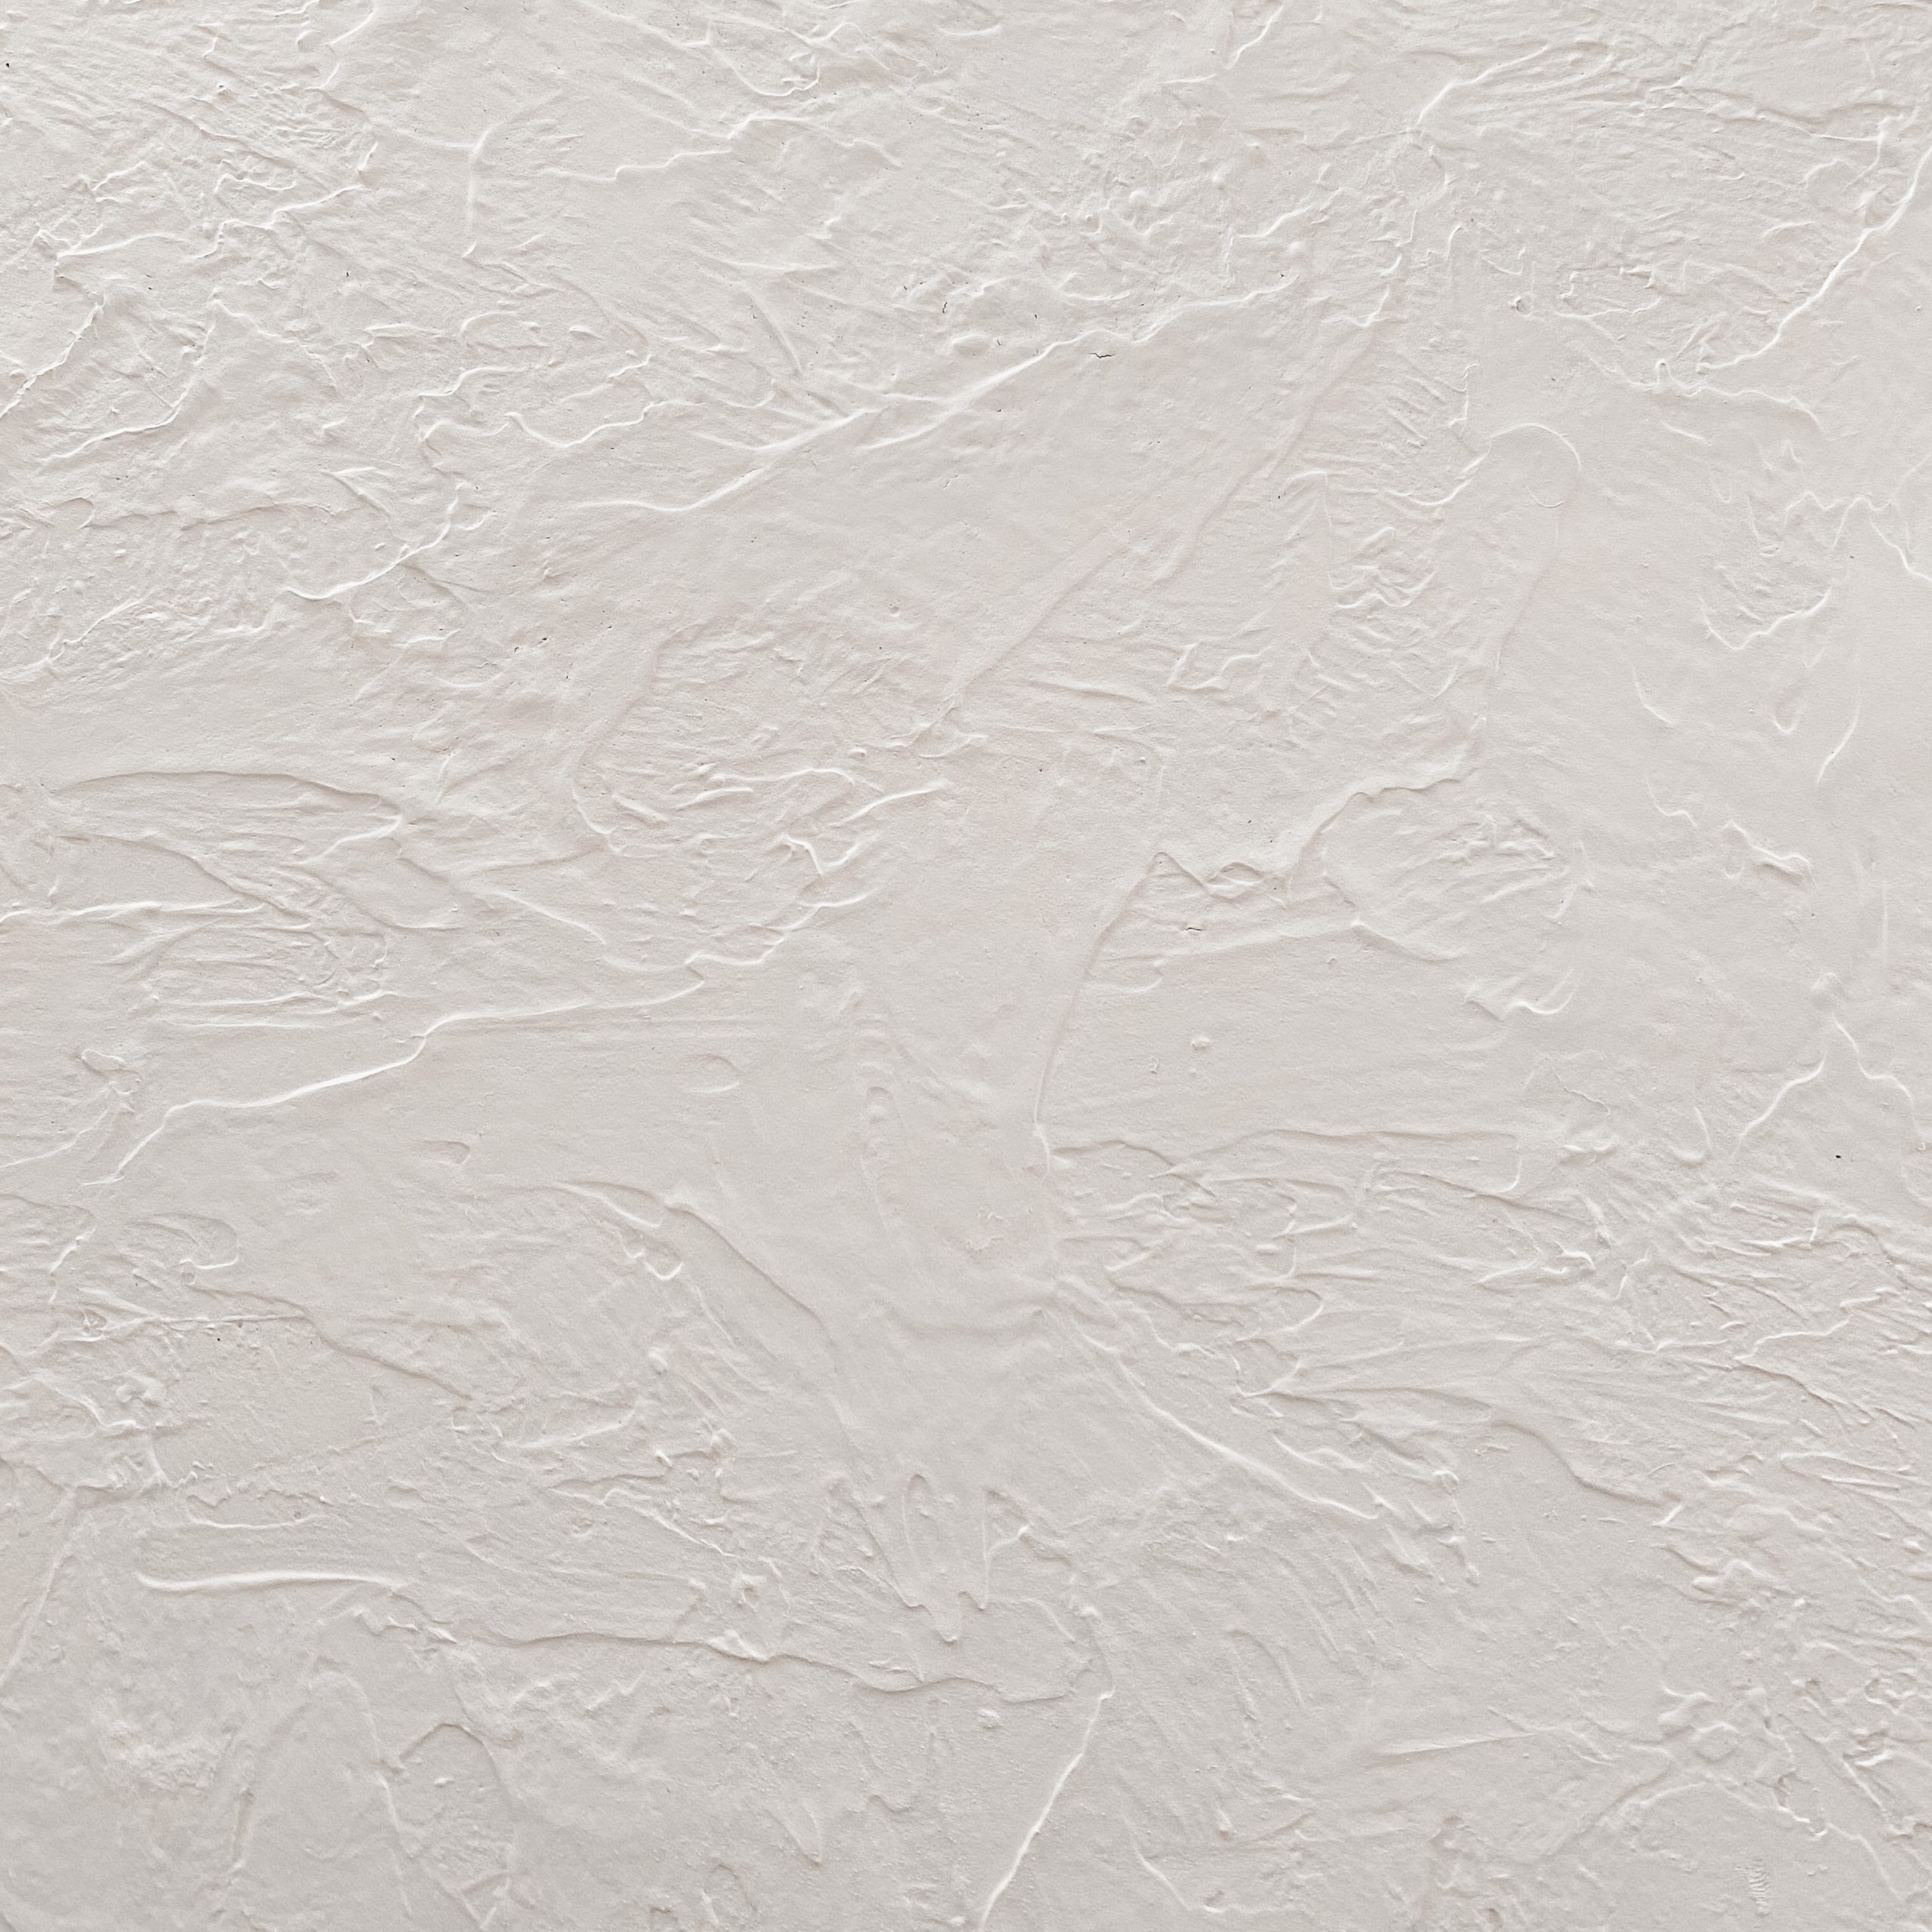
Repeat steps 3 & 4 until entire board is covered and you have the desired look you want.
An important note: The can said with the heavy knockdown style, it would last for 30 square feet. Our board was only 4 sq. ft. and we did about 4 layers and we somehow used the whole can. We think we just went way heavier than what you would normally do for a wall. We loved the final outcome but wanted to note that we thought a can would get us two boards but since we used so much, we used one can per board. This also meant it took longer to dry.
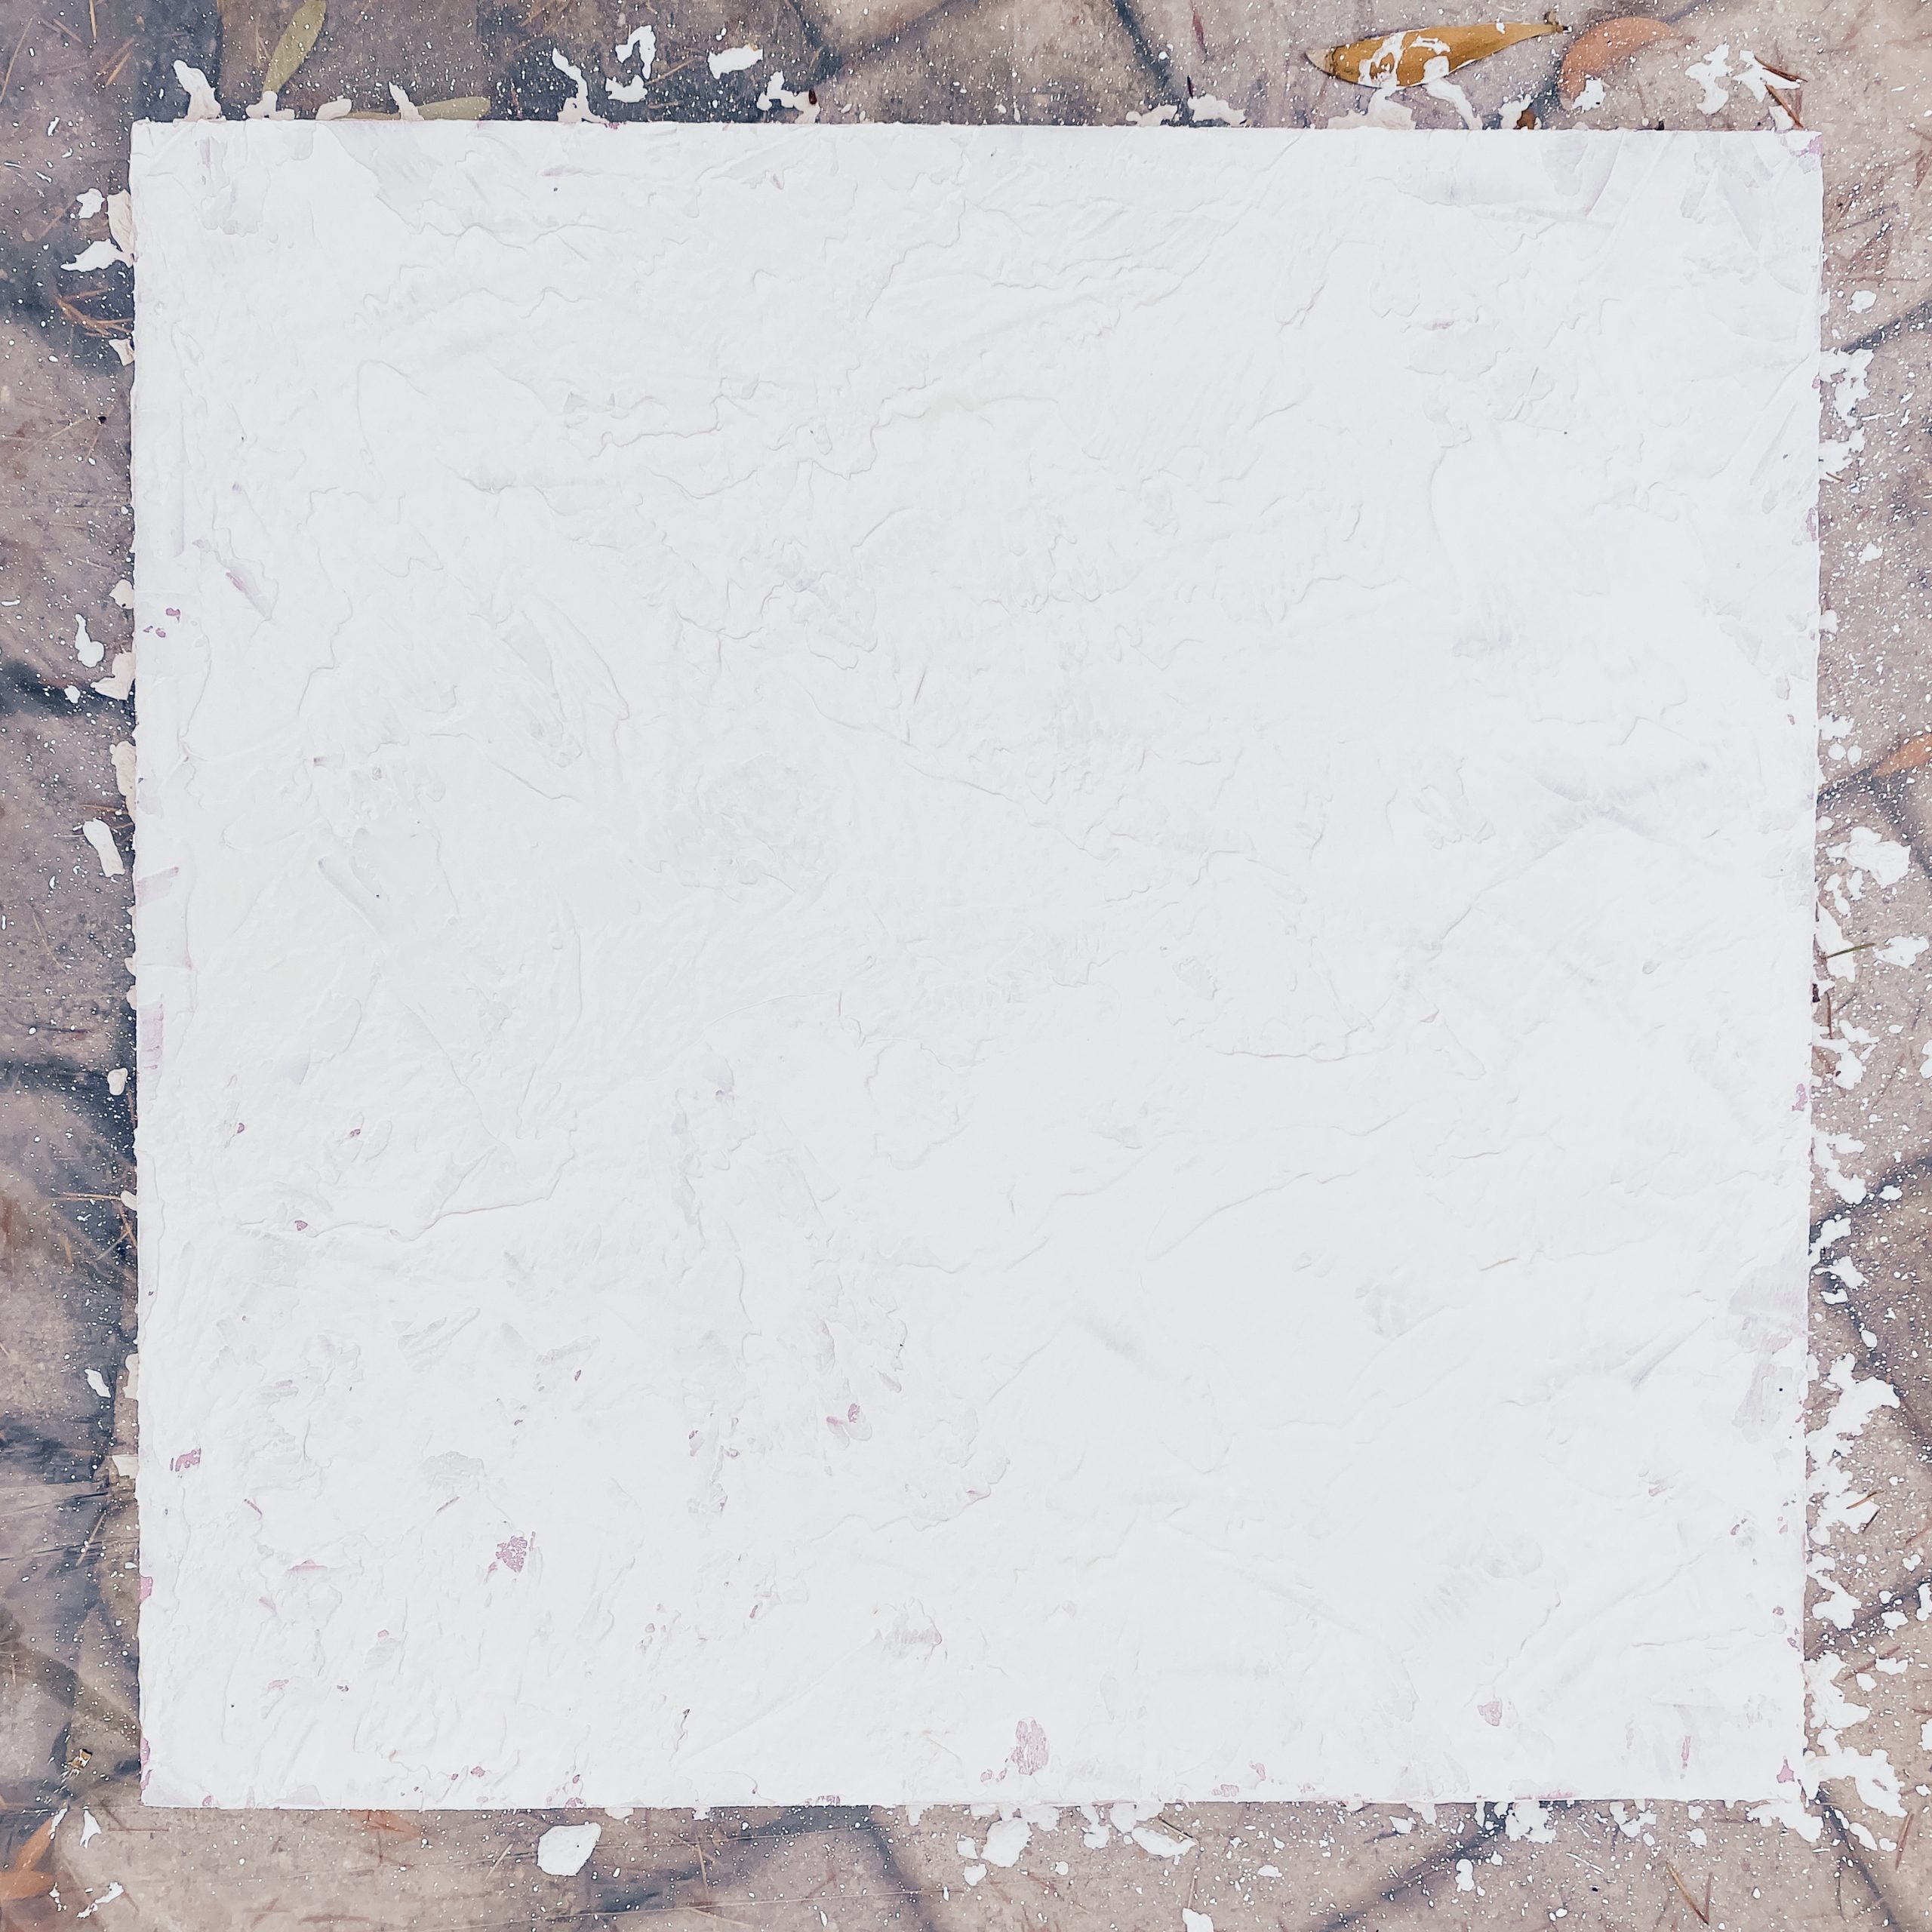
Step 5: Let dry (overnight preferably)
Again, the can said to let dry for 2-5 hours. But since we used so much, ours still wasn’t dry after 5 hours. We had to let it dry overnight before painting
Step 6: Paint!
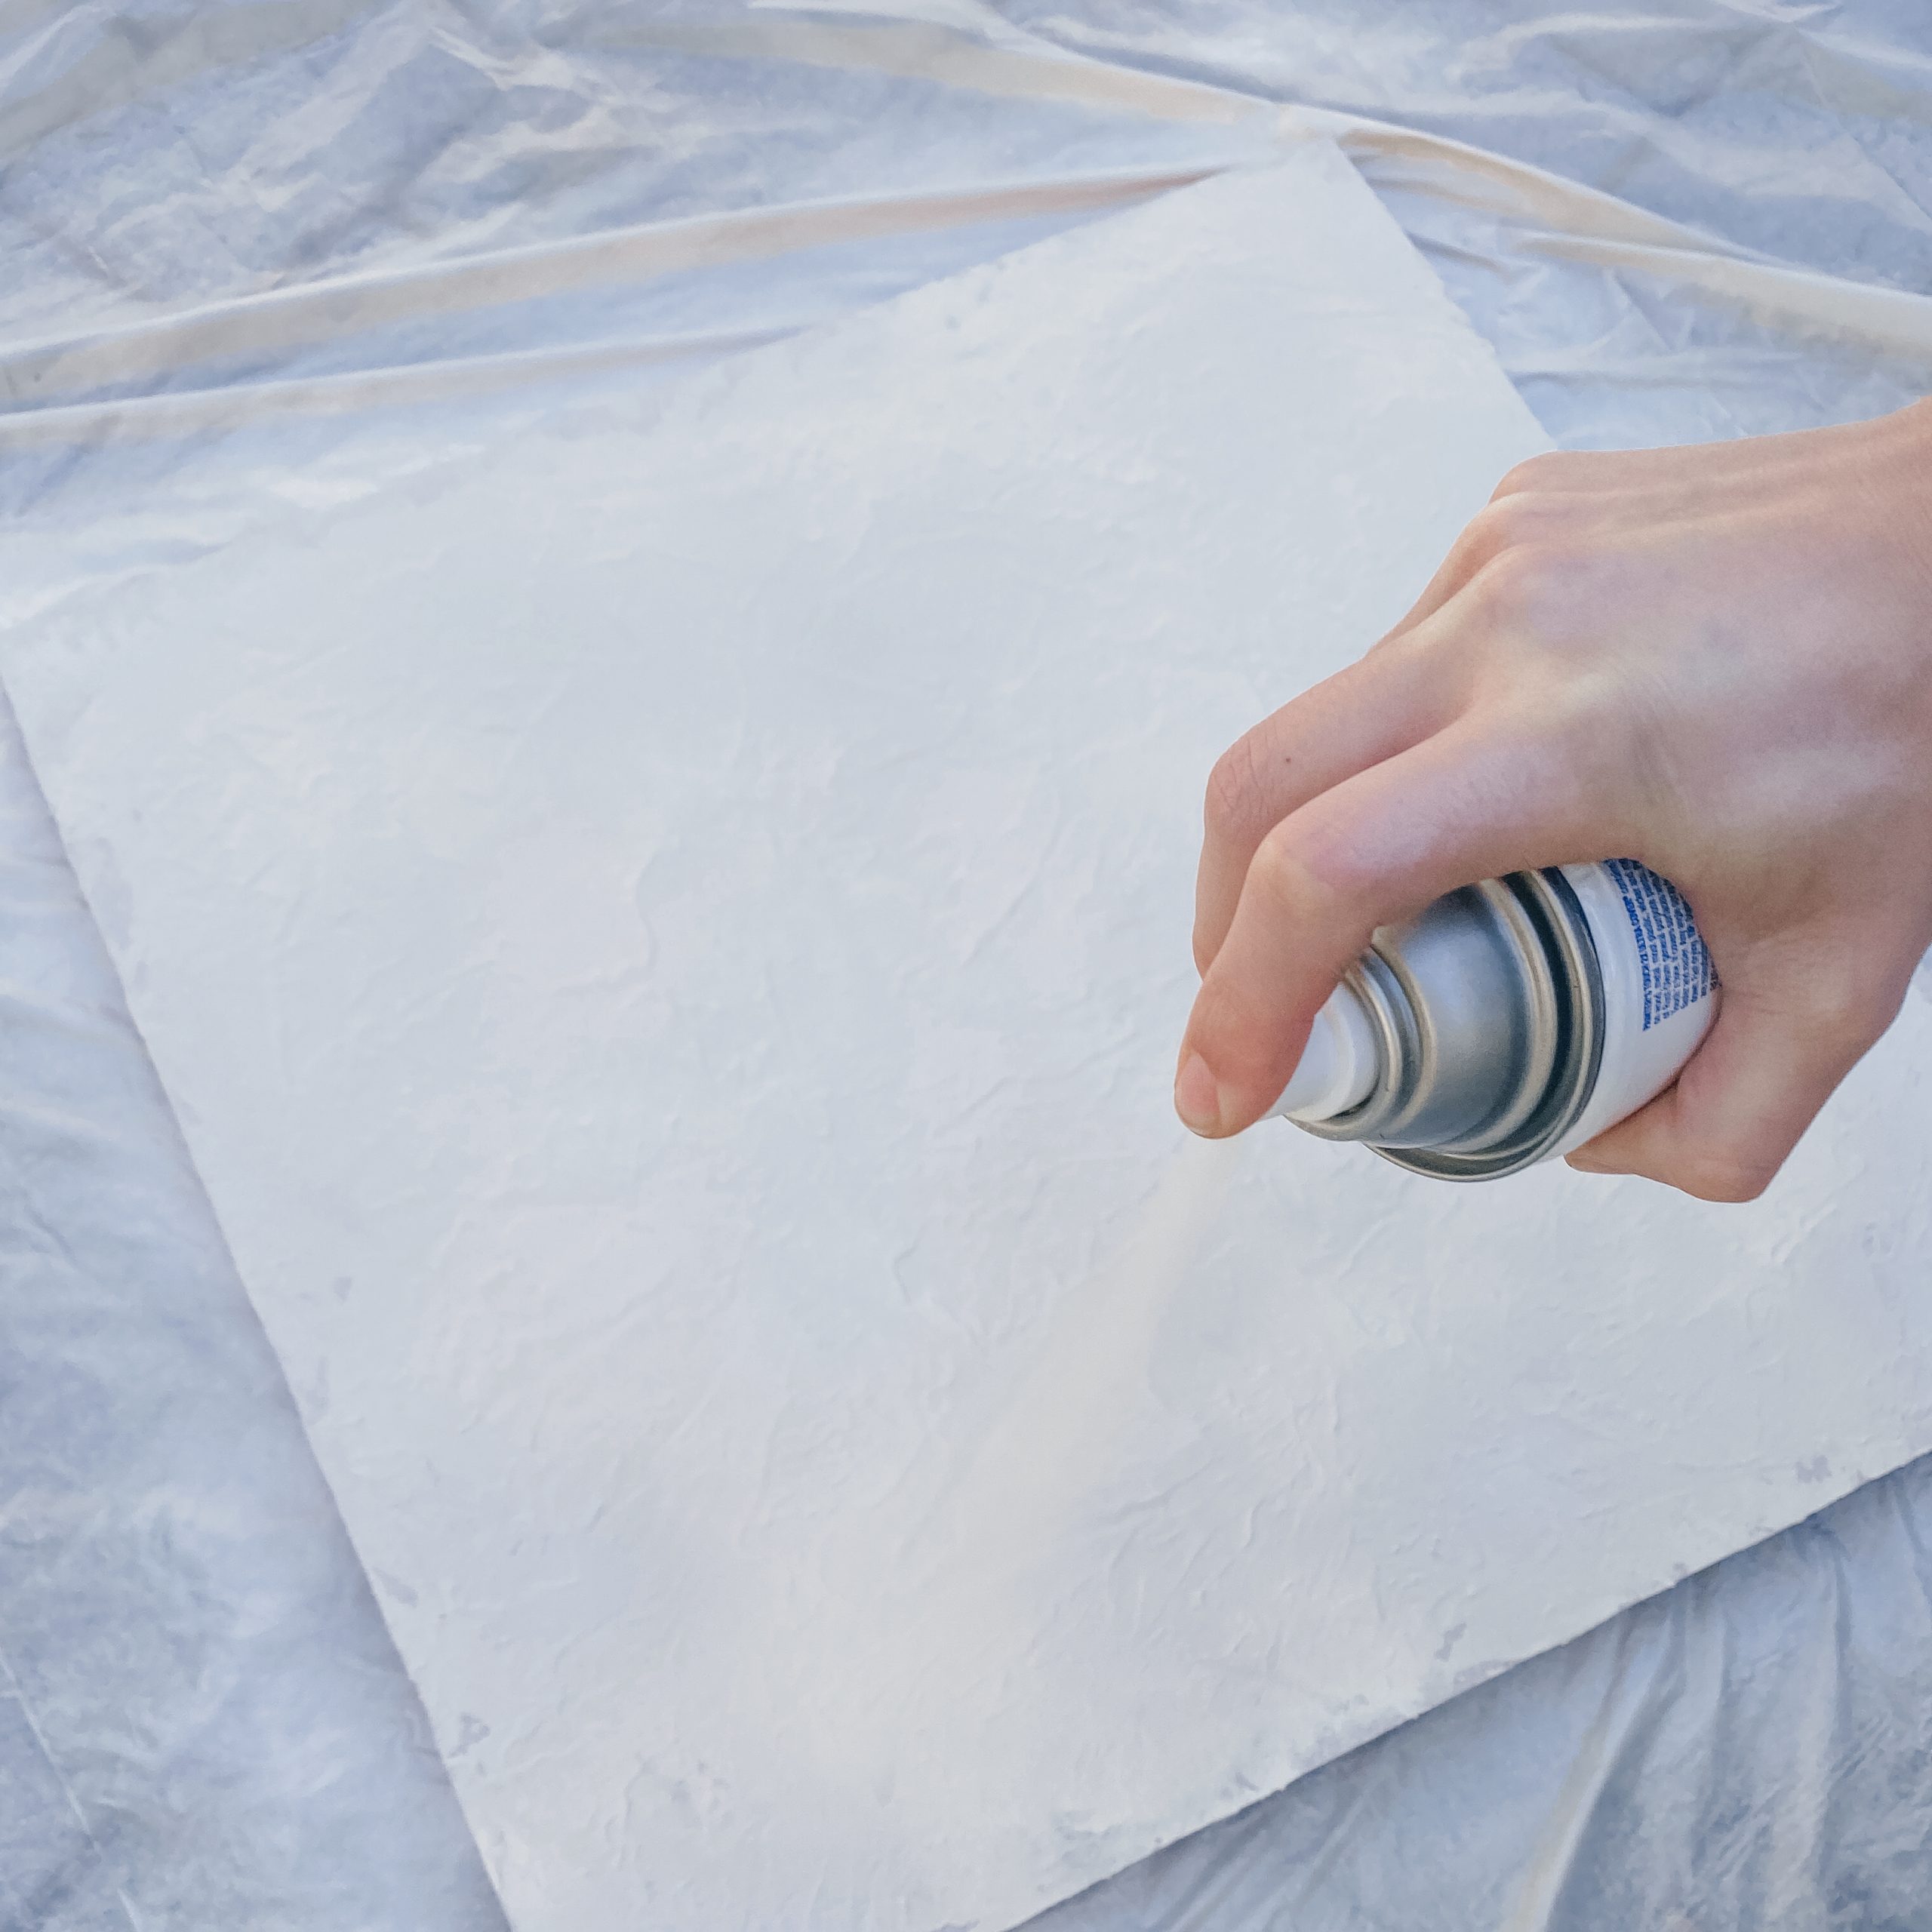
Lay down the second half of your plastic drop cloth and follow the spray paint instructions listed on the can. Make sure to do thin, even layers.
Another important note: The white spray paint was so quick and easy and we love how it turned out. However, with the smokey beige color, we noticed with the spray paint, we had a lot of white specs throughout where the paint wasn’t opaque enough to cover the white wall texture. We had to go in with so many coats it would have probably been easier if we would have just used normal paint with a paint brush. However we LOVE the smokey beige color so it may be worth it to just buy this spray paint if you love the color as well.
Step 7: Let paint dry for at least 2 hours
Your backdrop is now ready for all your product photography needs!
