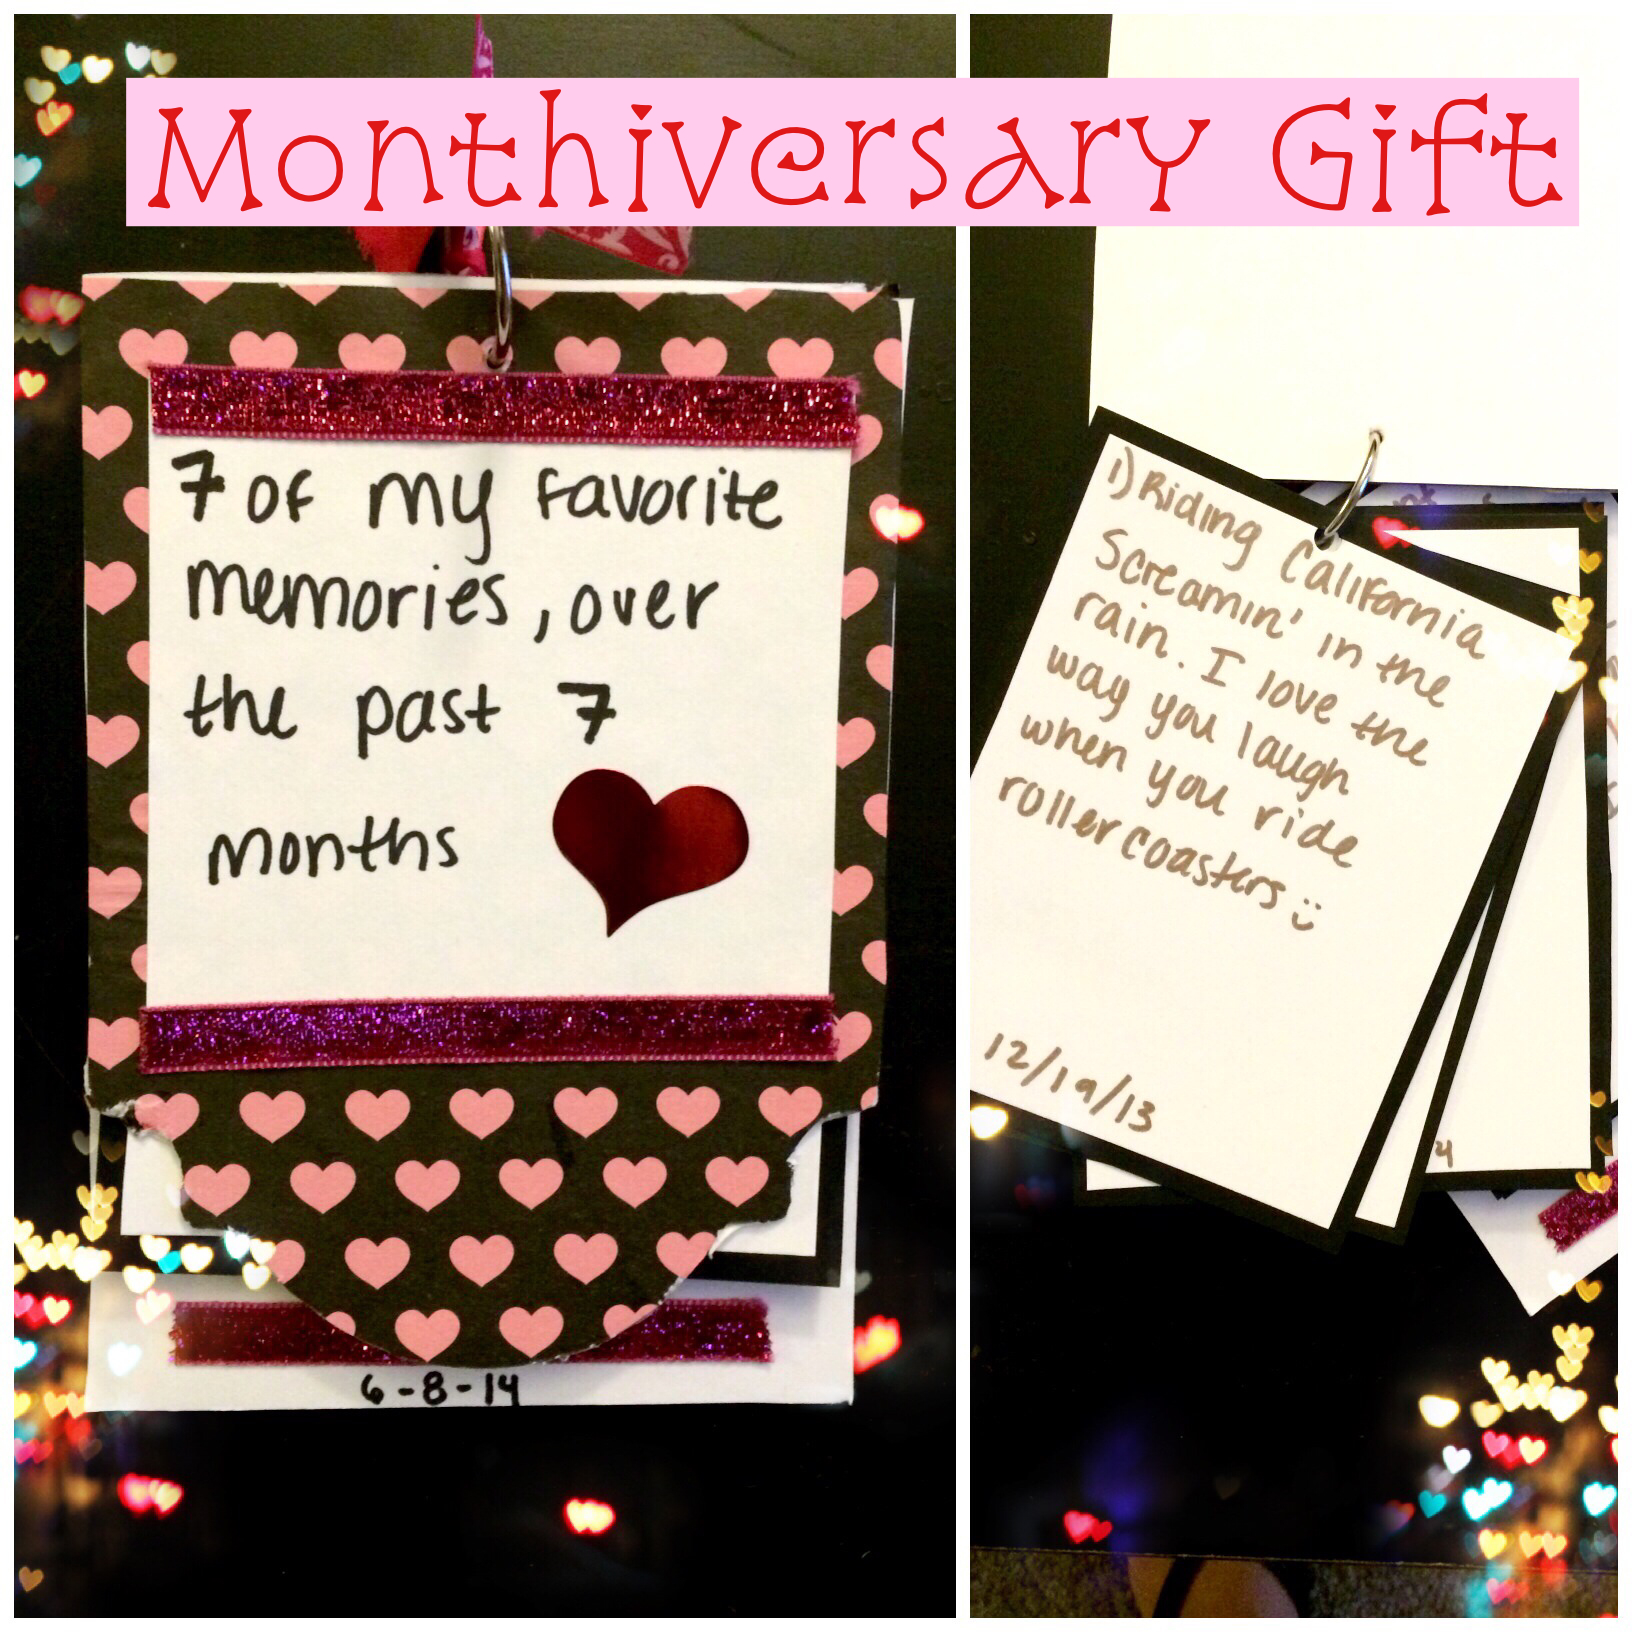
Monthiversary Gift
I am one of those people that likes to celebrate EVERYTHING. I love all the so called made-up/regional/silly holidays that exist. So when it comes to my relationship, I’m going to celebrate every milestone, even if it’s just being with the person that I love for one more month.
So to celebrate my boyfriend and I’s “7 Monthiversary” I made him this little book, complied of 7 of my favorite memories, thus far in our relationship. Of course he found the monthiversary gift super thoughtful, and it defintiely put a smile on his face (mission accomplished!).
This gift is really simple, and I had EVERYTHING I needed at home. I didn’t have to buy one thing! Here’s whatcha do:
Supplies:
- 1 mini chipboard album-front and back. Basically you only need a cover and back, so two pieces of chipboard total
- Multiple pieces of black AND white card stock- I had seven memories, so I needed to cut out 7 sheets from both the black and the white card stock
- 1 piece of “cute” scrapbook paper (to cover the chipboard-front and back, one piece should be plenty to cover both)
- One piece of ribbon
- Glue stick
- Modge Podge
- embellishments
- A Sharpie (I used the metallic gold and regular black)
- Razor blade
- Ring to hold the book together
- Single hole punch
Directions:
- Cover one side of the “cover” piece of chipboard with Modge Podge, press the piece of scrapbook paper down, and use a razor blade to cut off the excess paper. Use the same piece of scrapbook paper to cover the other side, as well as the other piece of chipboard (four sides total).
- Cut pieces of black card stock, that are small enough to fit inside of your front and back cover. Cut as many pieces as you have memories (I had seven memories, for seven months)
- Cut pieces of white card stock, just a little smaller than the black ones, so that you have a little black boarder around the white.
- Use a Sharpie to write a memory on each piece of card stock
- Punch a whole (in the appropriate place) in each piece of card stock
- Decorate the cover with whatever embellishments you want! Stickers, ribbon, decorative tape, etc.
- Put the book together with the binder ring, and add a little piece of ribbon to the top

