

LA Living: DIY Wall Hanging Workshop with ISIMO co
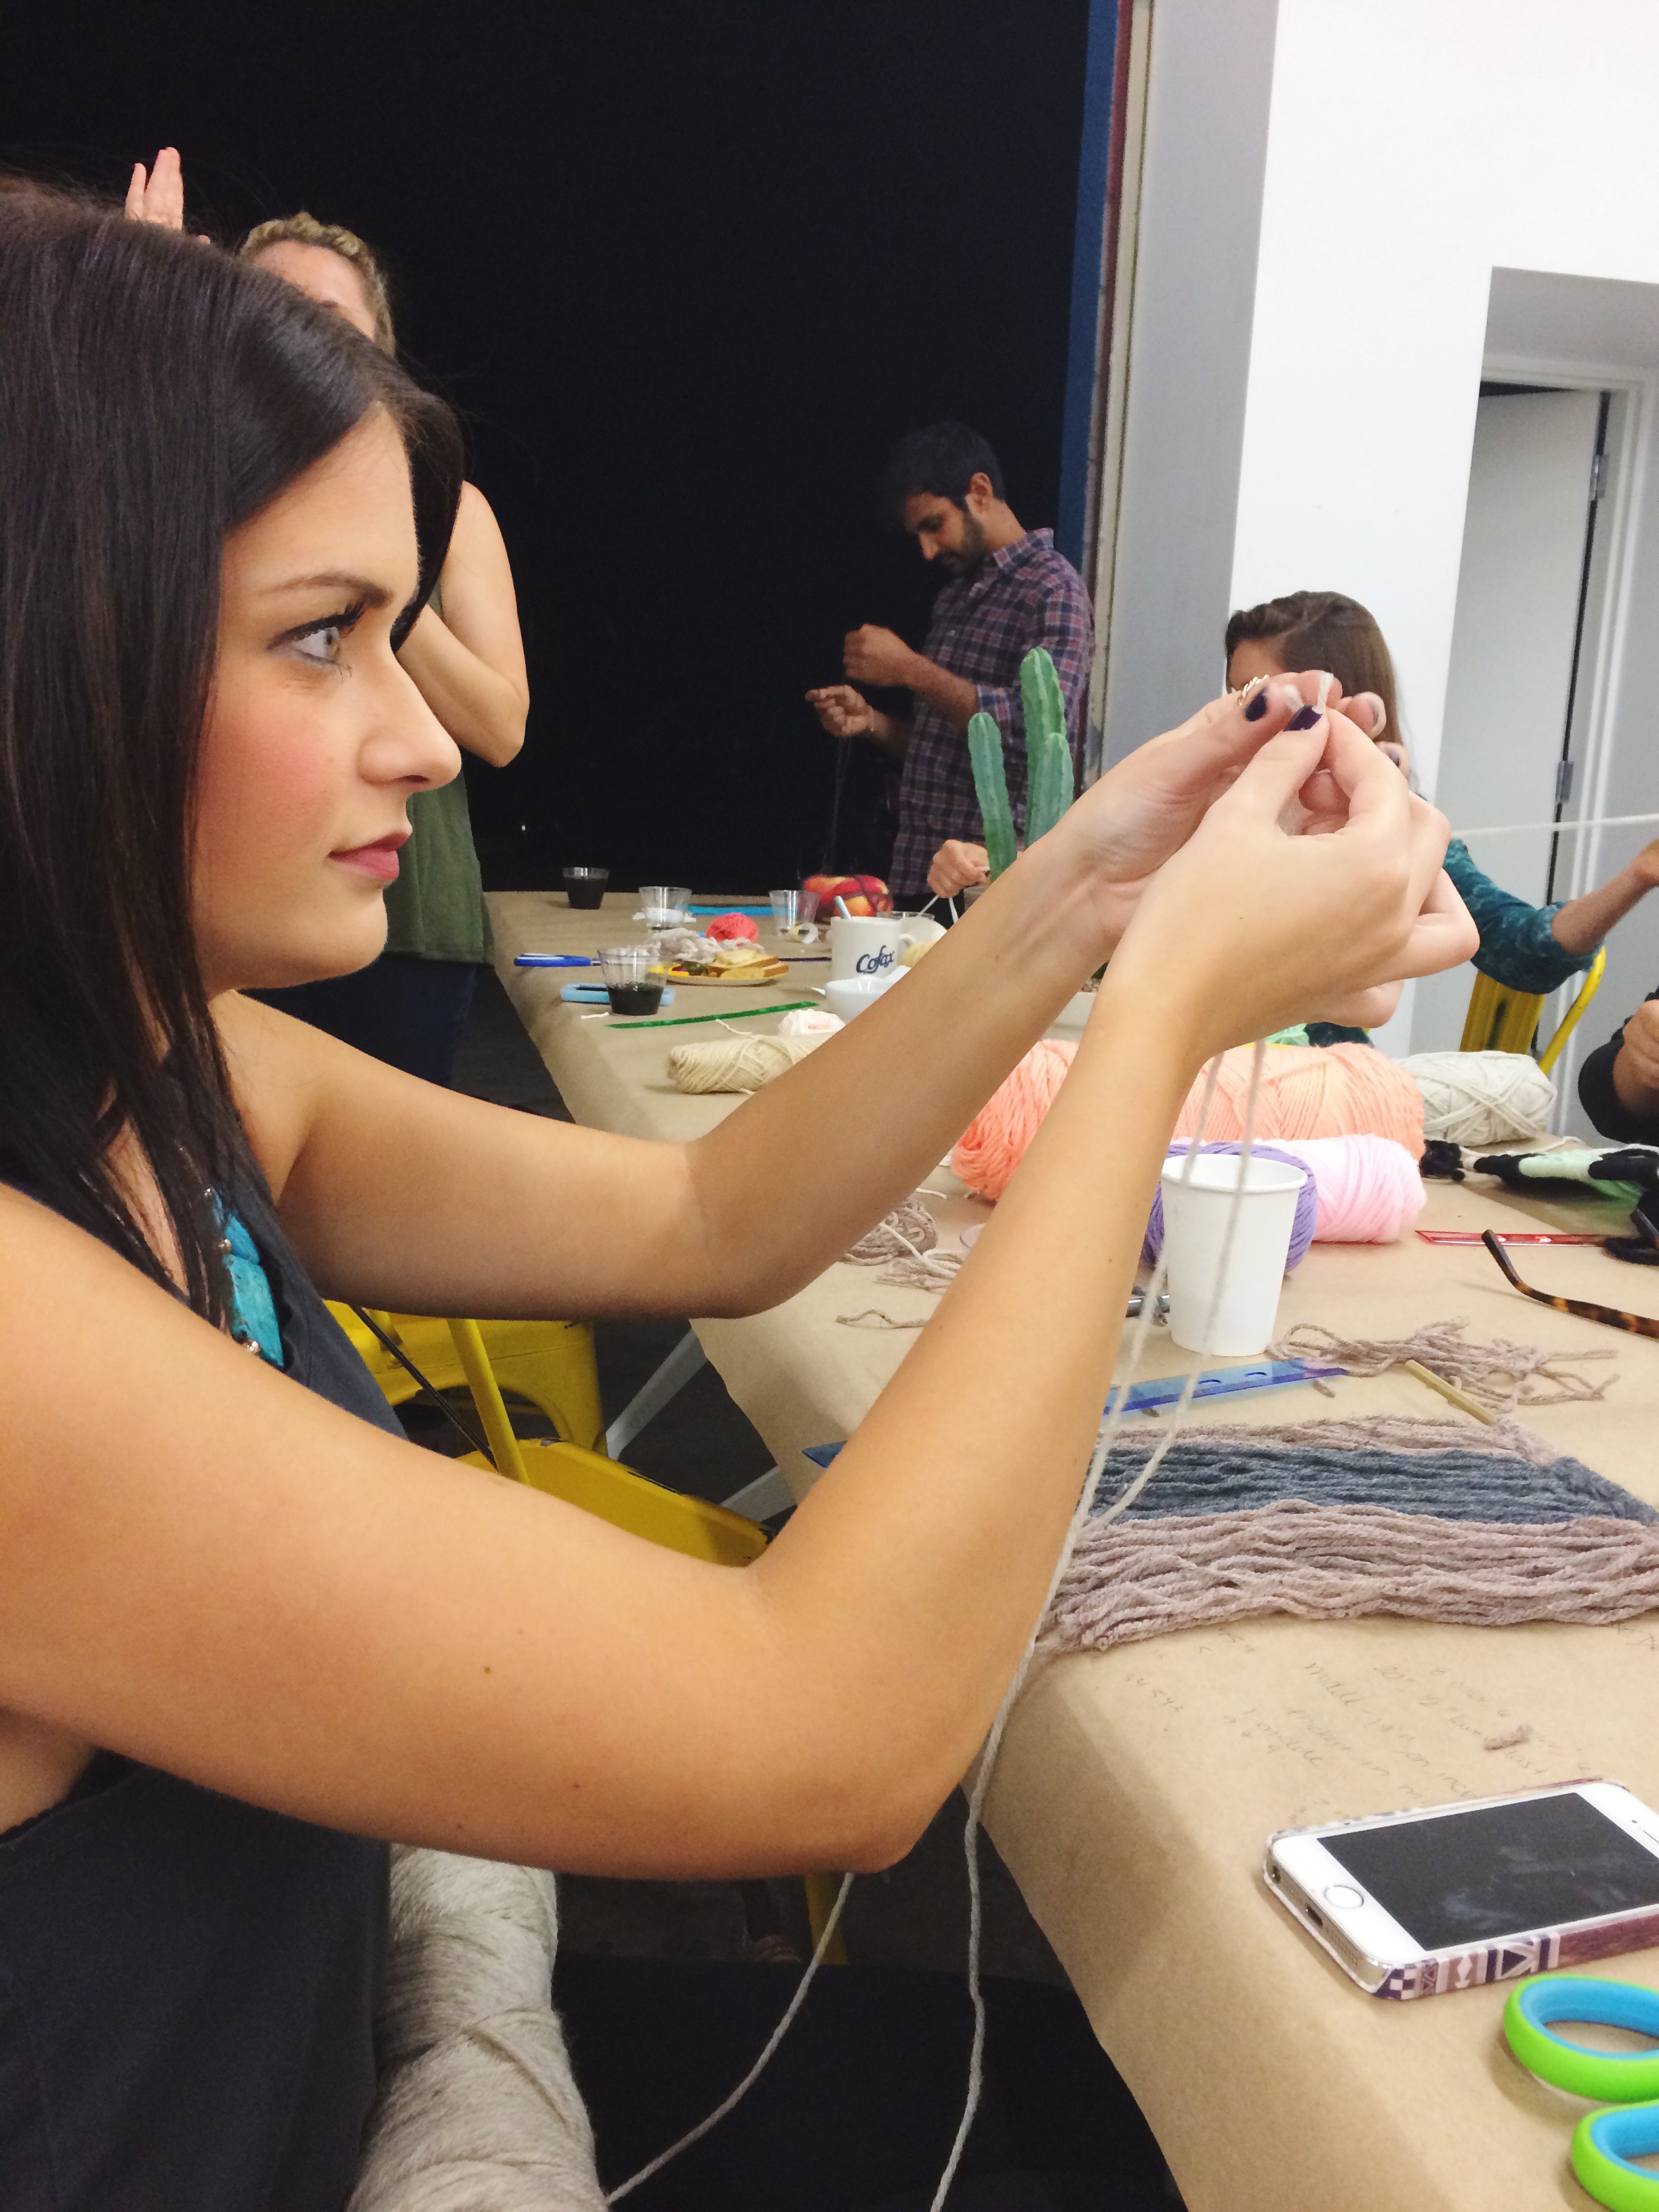
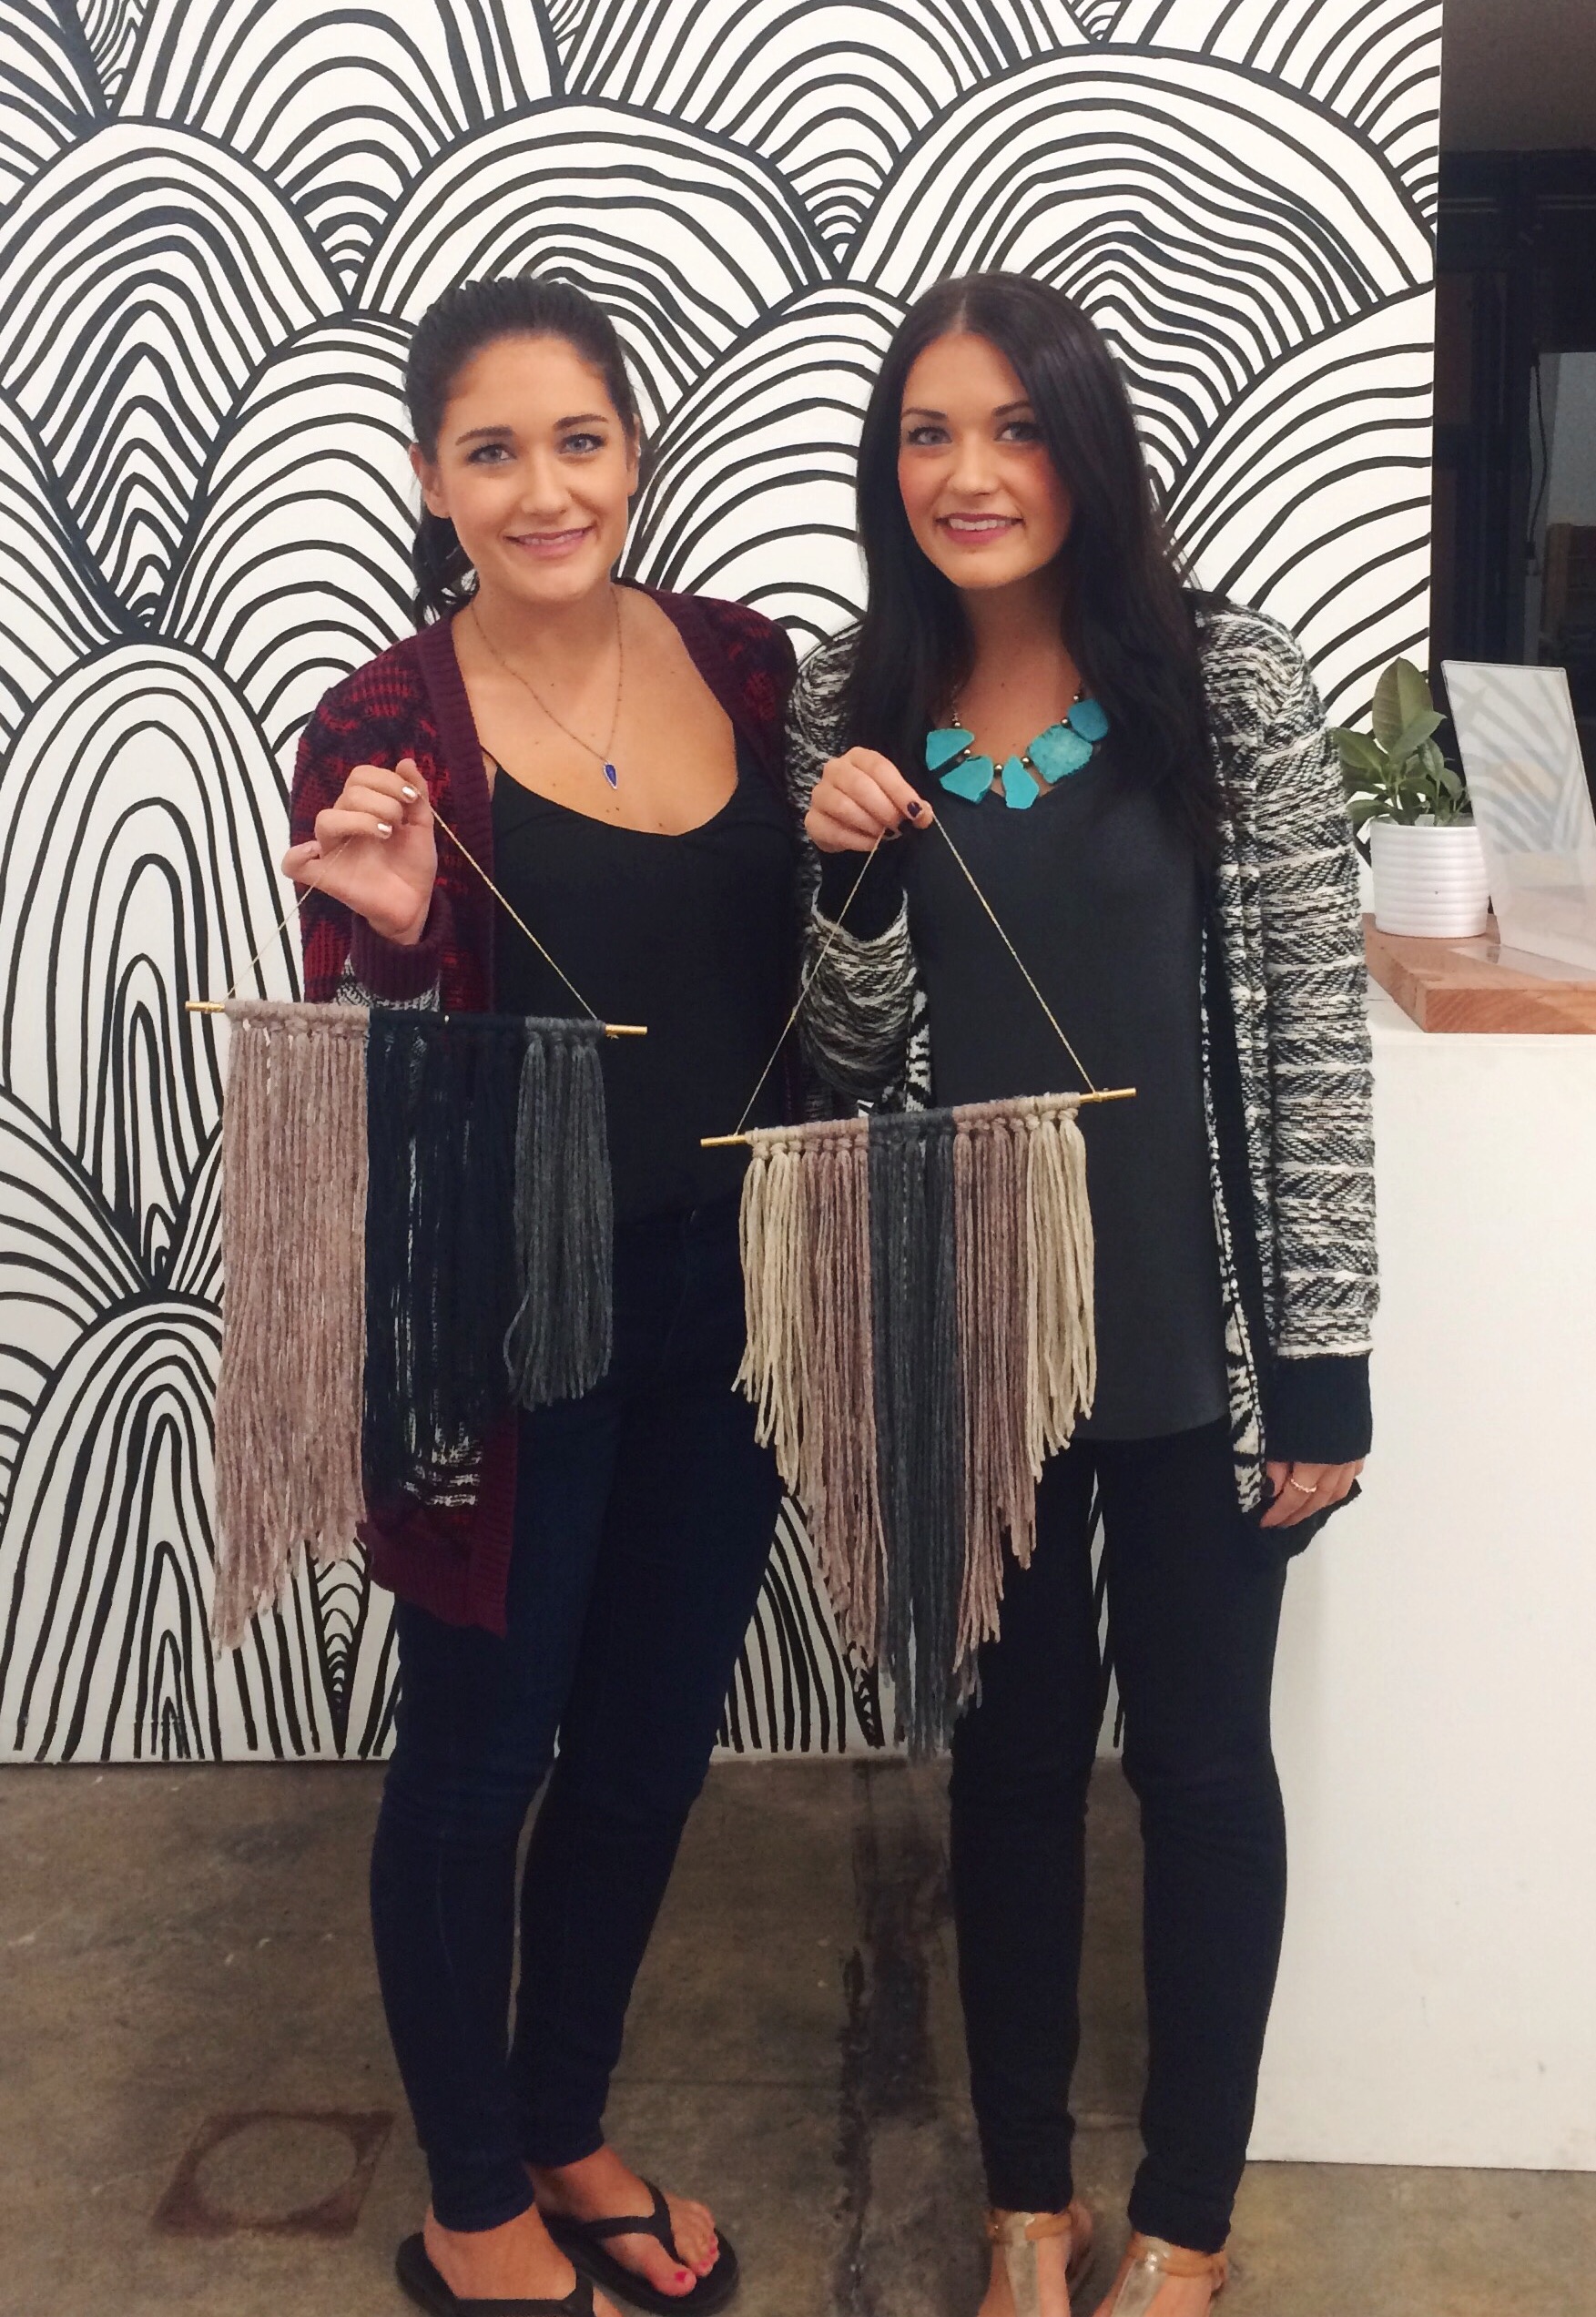
Last week we attended a DIY Wall Hanging Workshop with ISIMO co at The Subscription Room. It was a two hour workshop, and tickets were only $18!
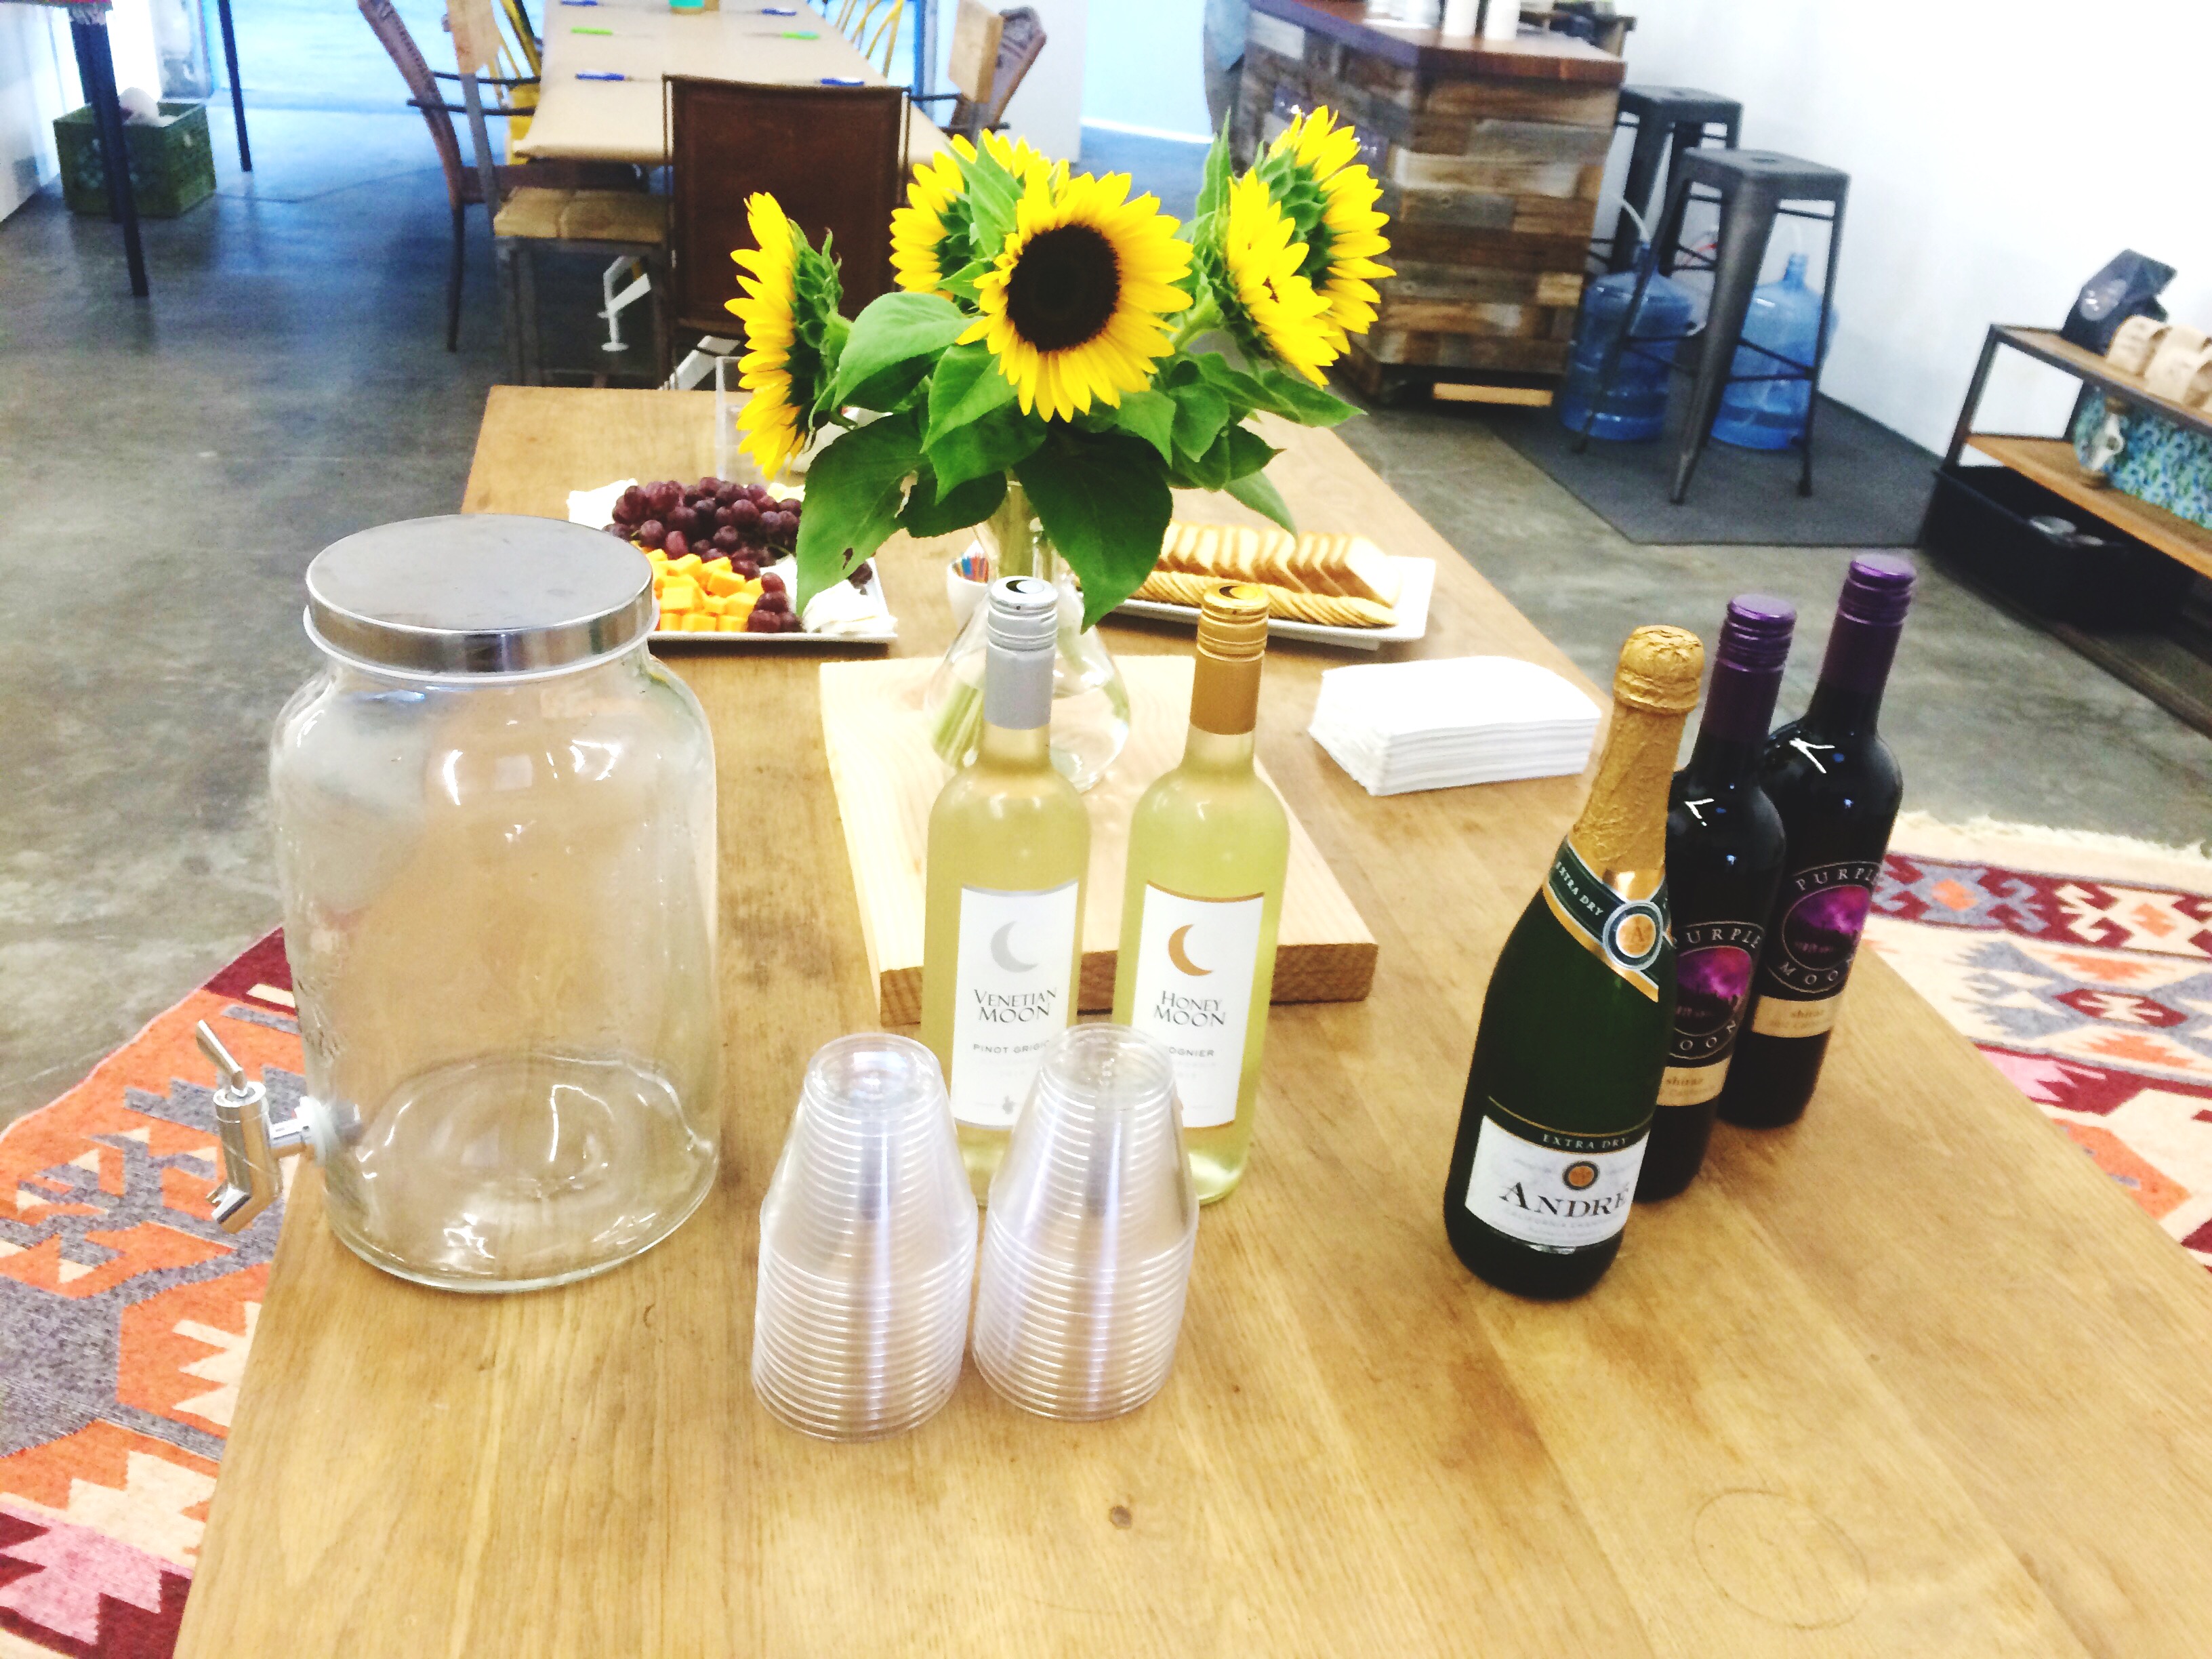
We are always up for learning new DIY/crafting techniques, so we were super excited for this event. The complimentary wine and cheese was just the cherry on top 🙂
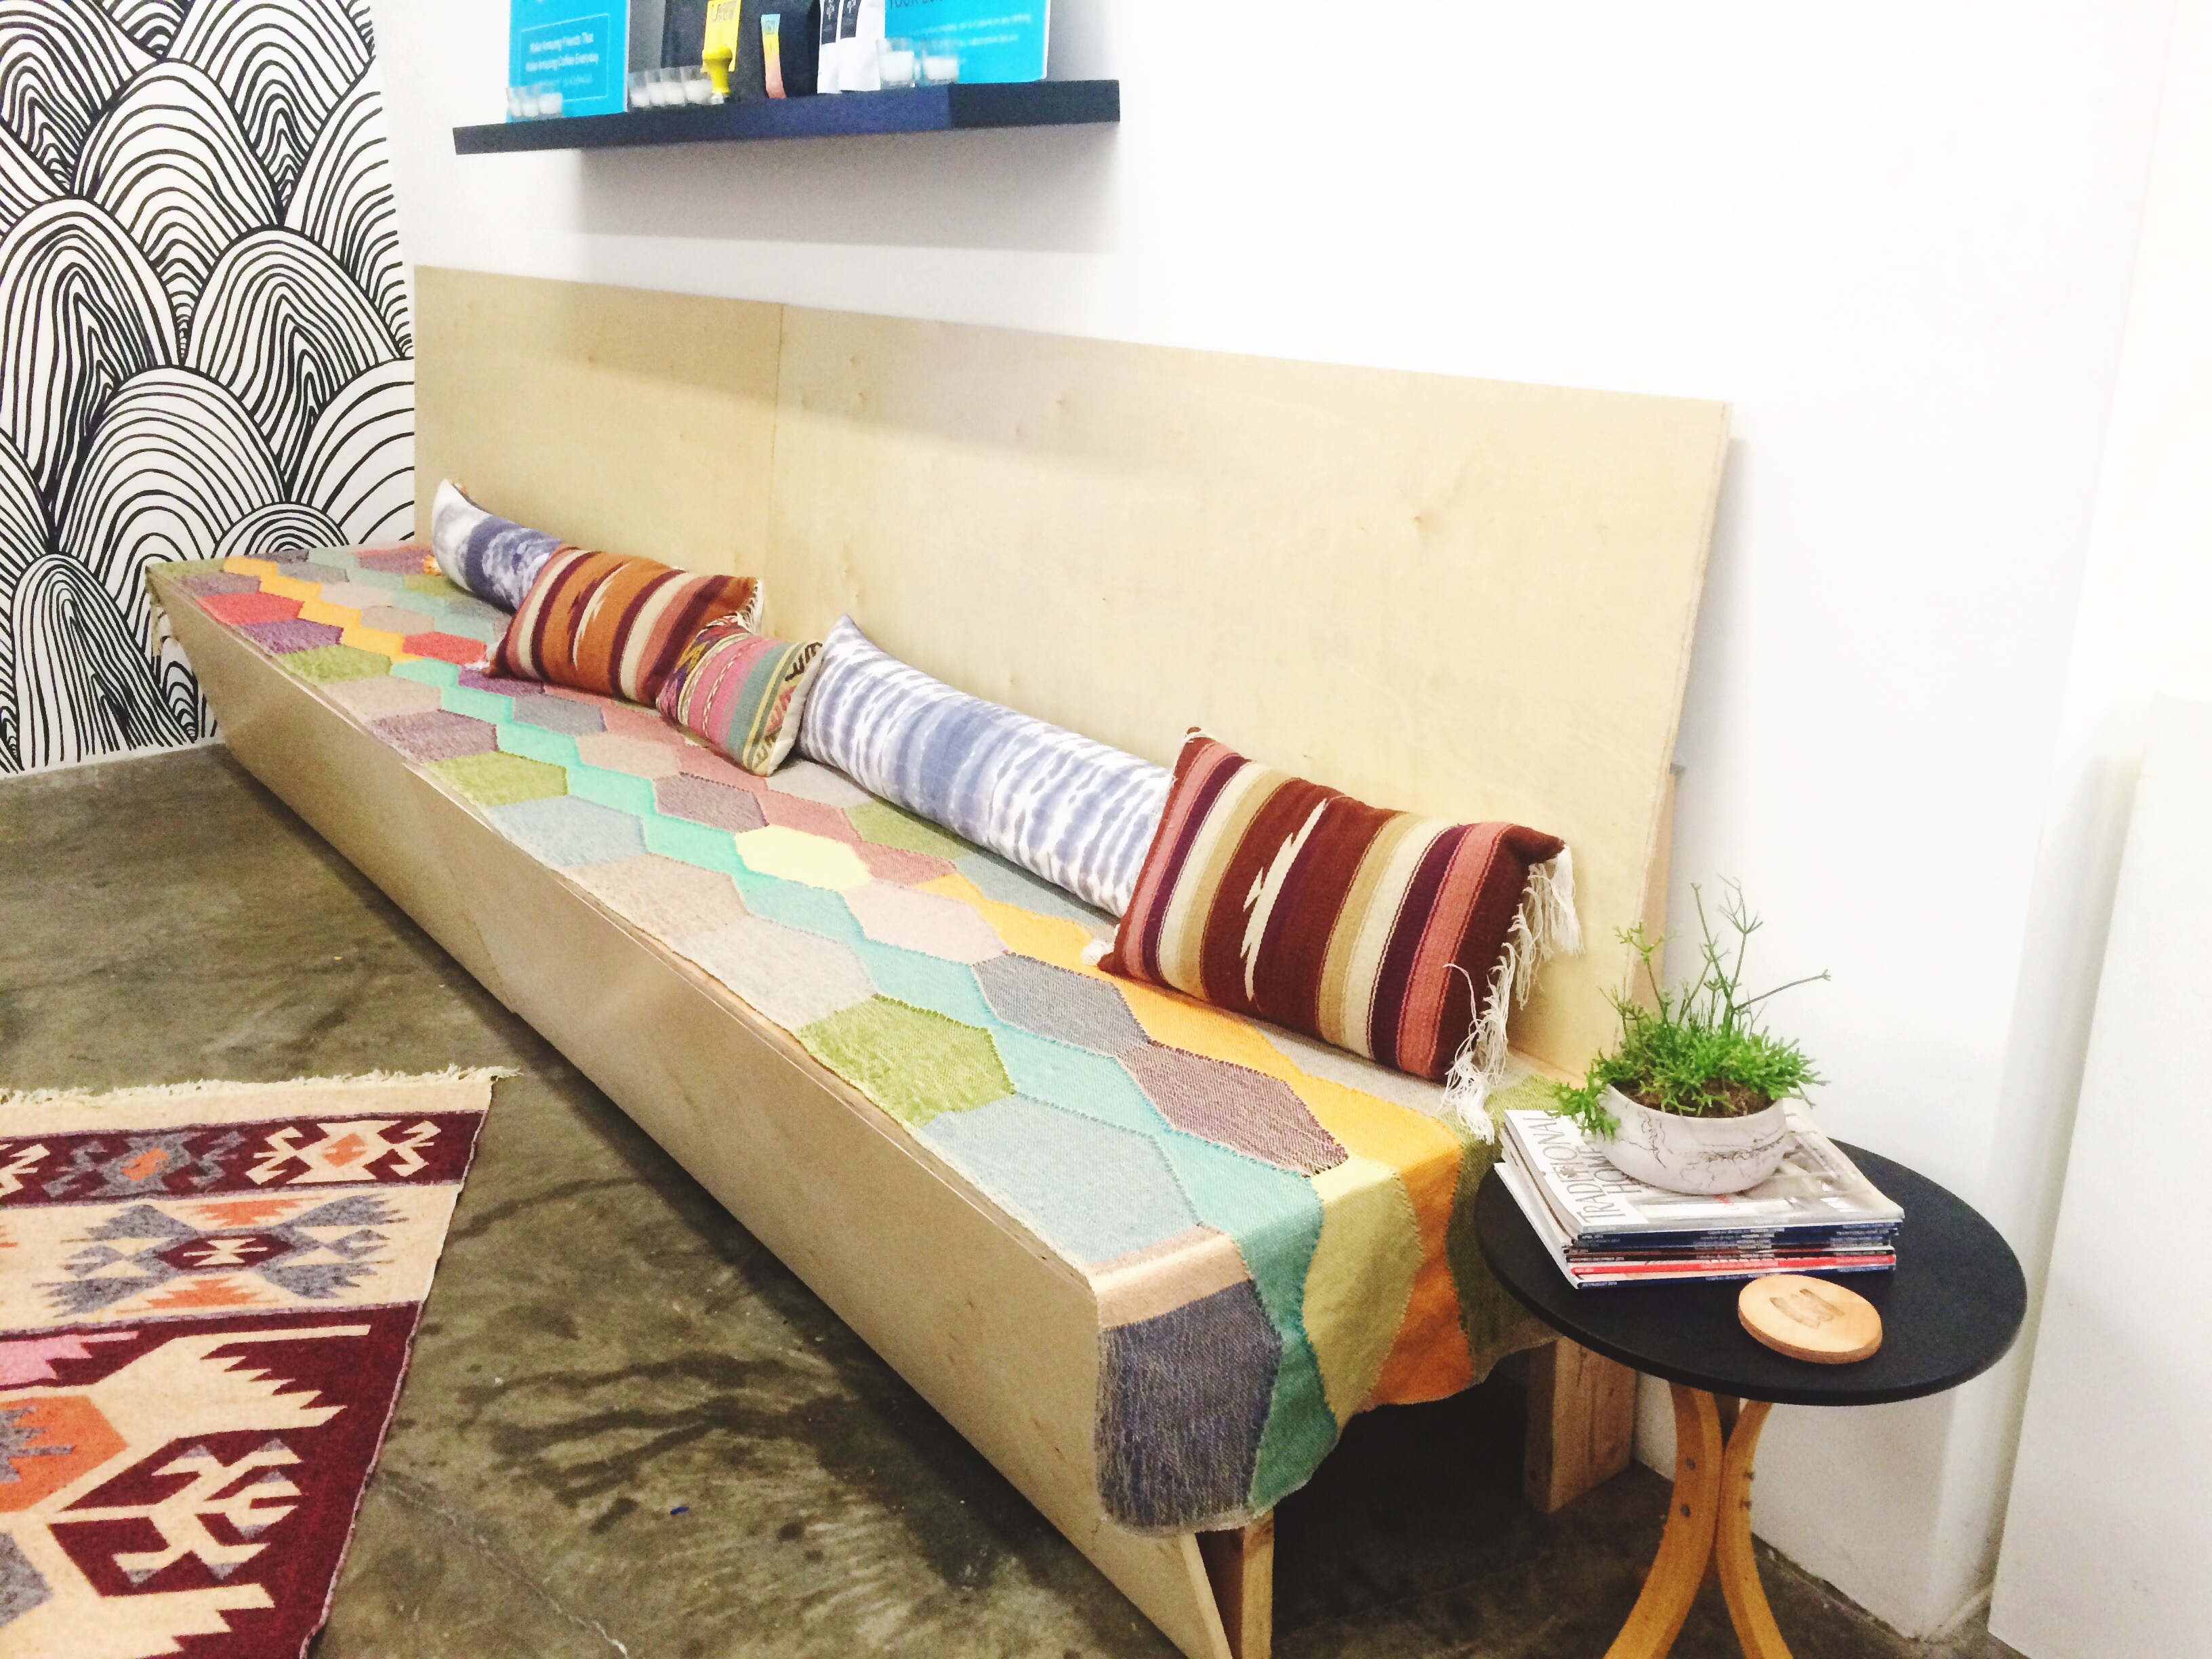
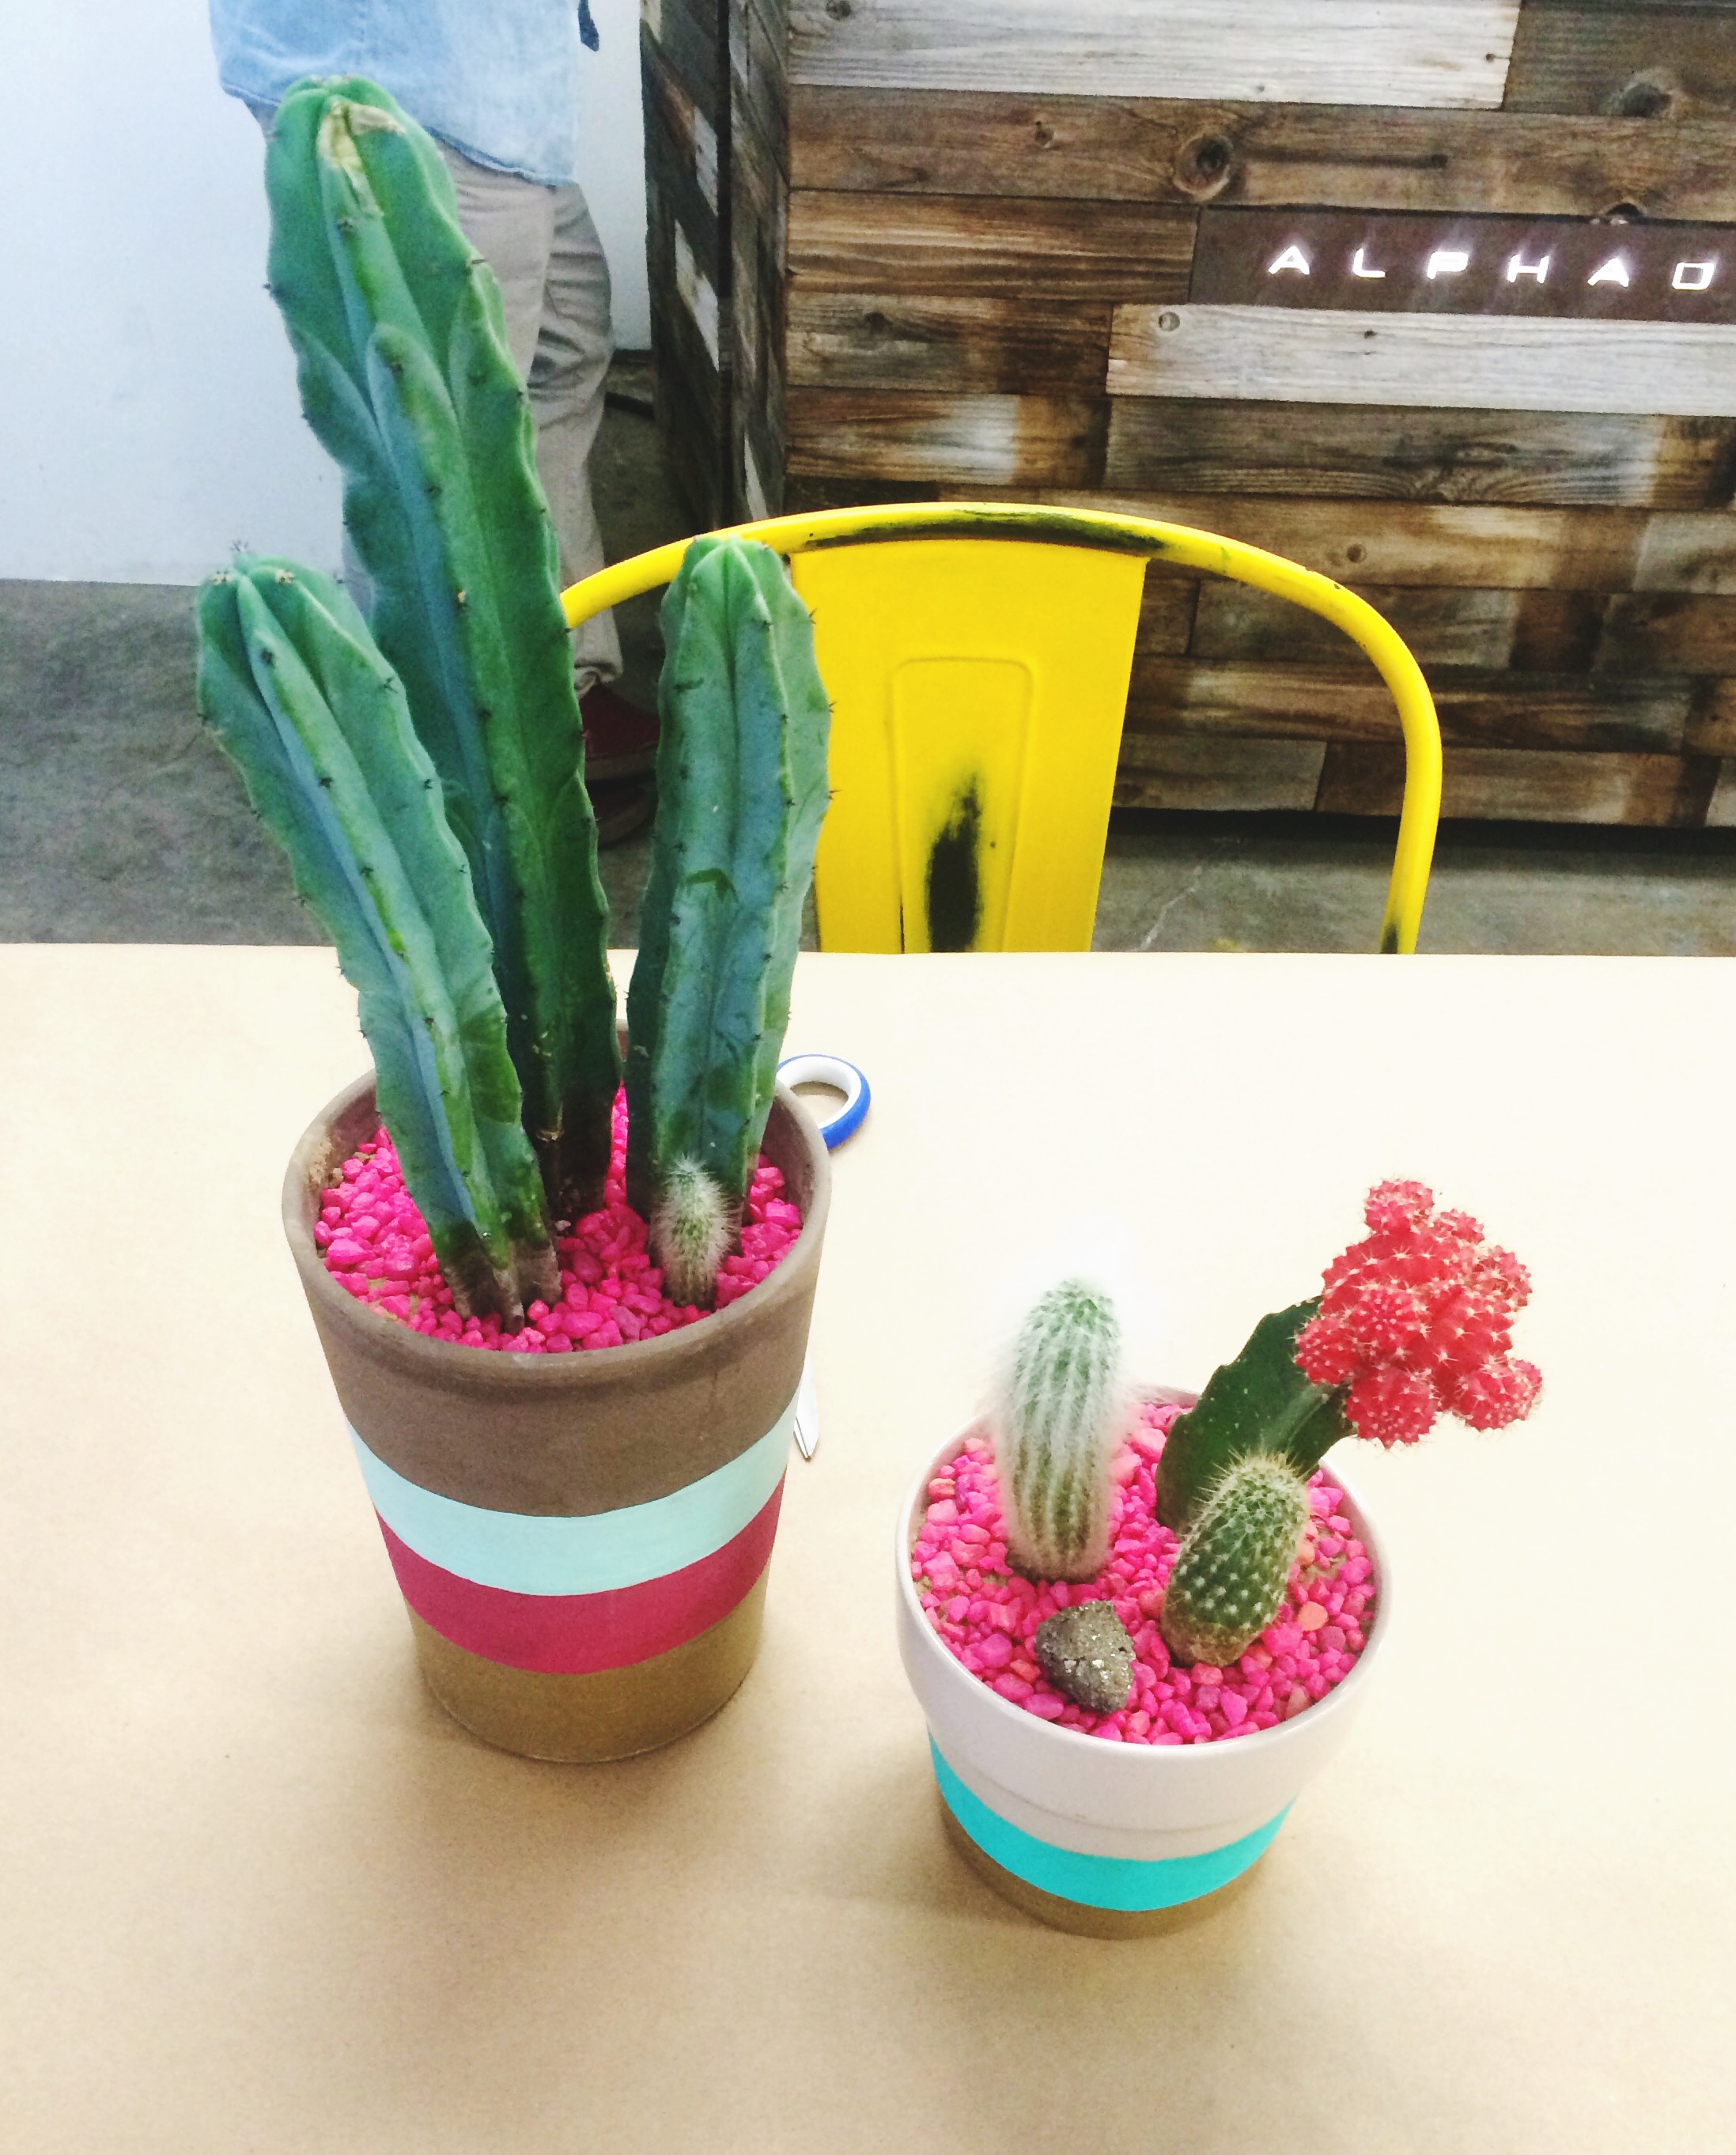
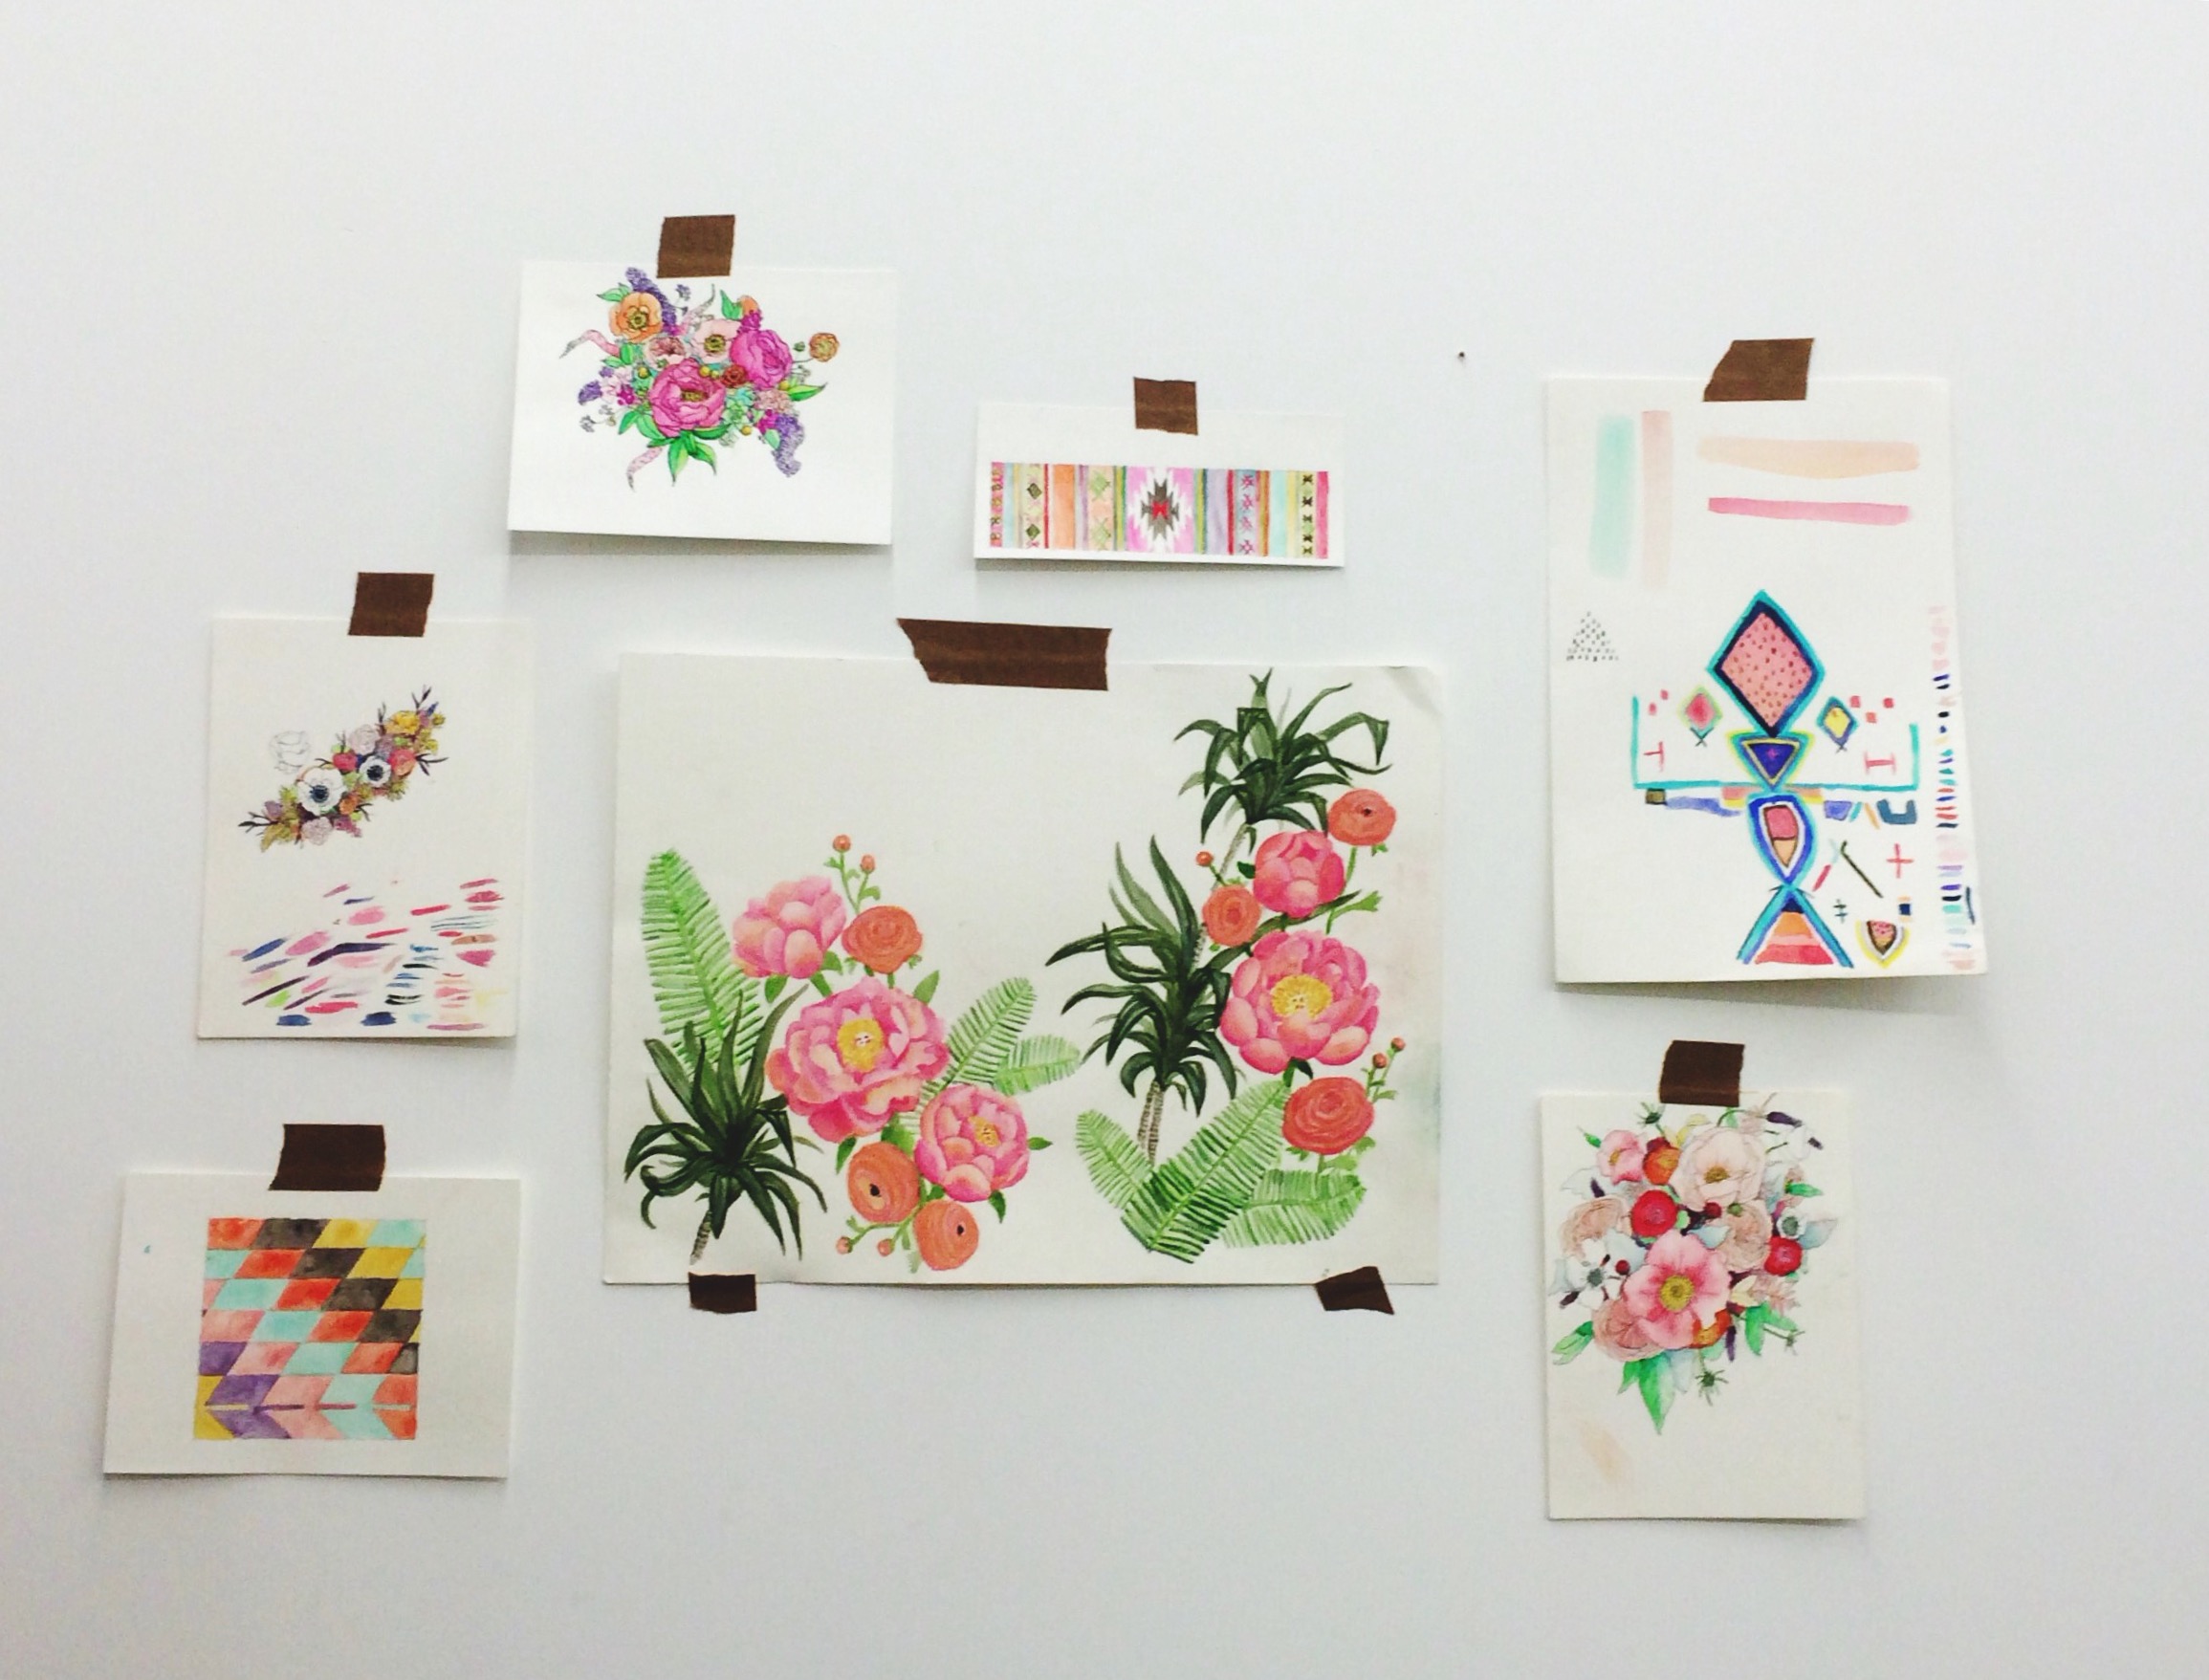
Here are some pictures from the event. We are seriously IN LOVE with this space. It’s so open and it essentially a white space with pops of colorful accents:

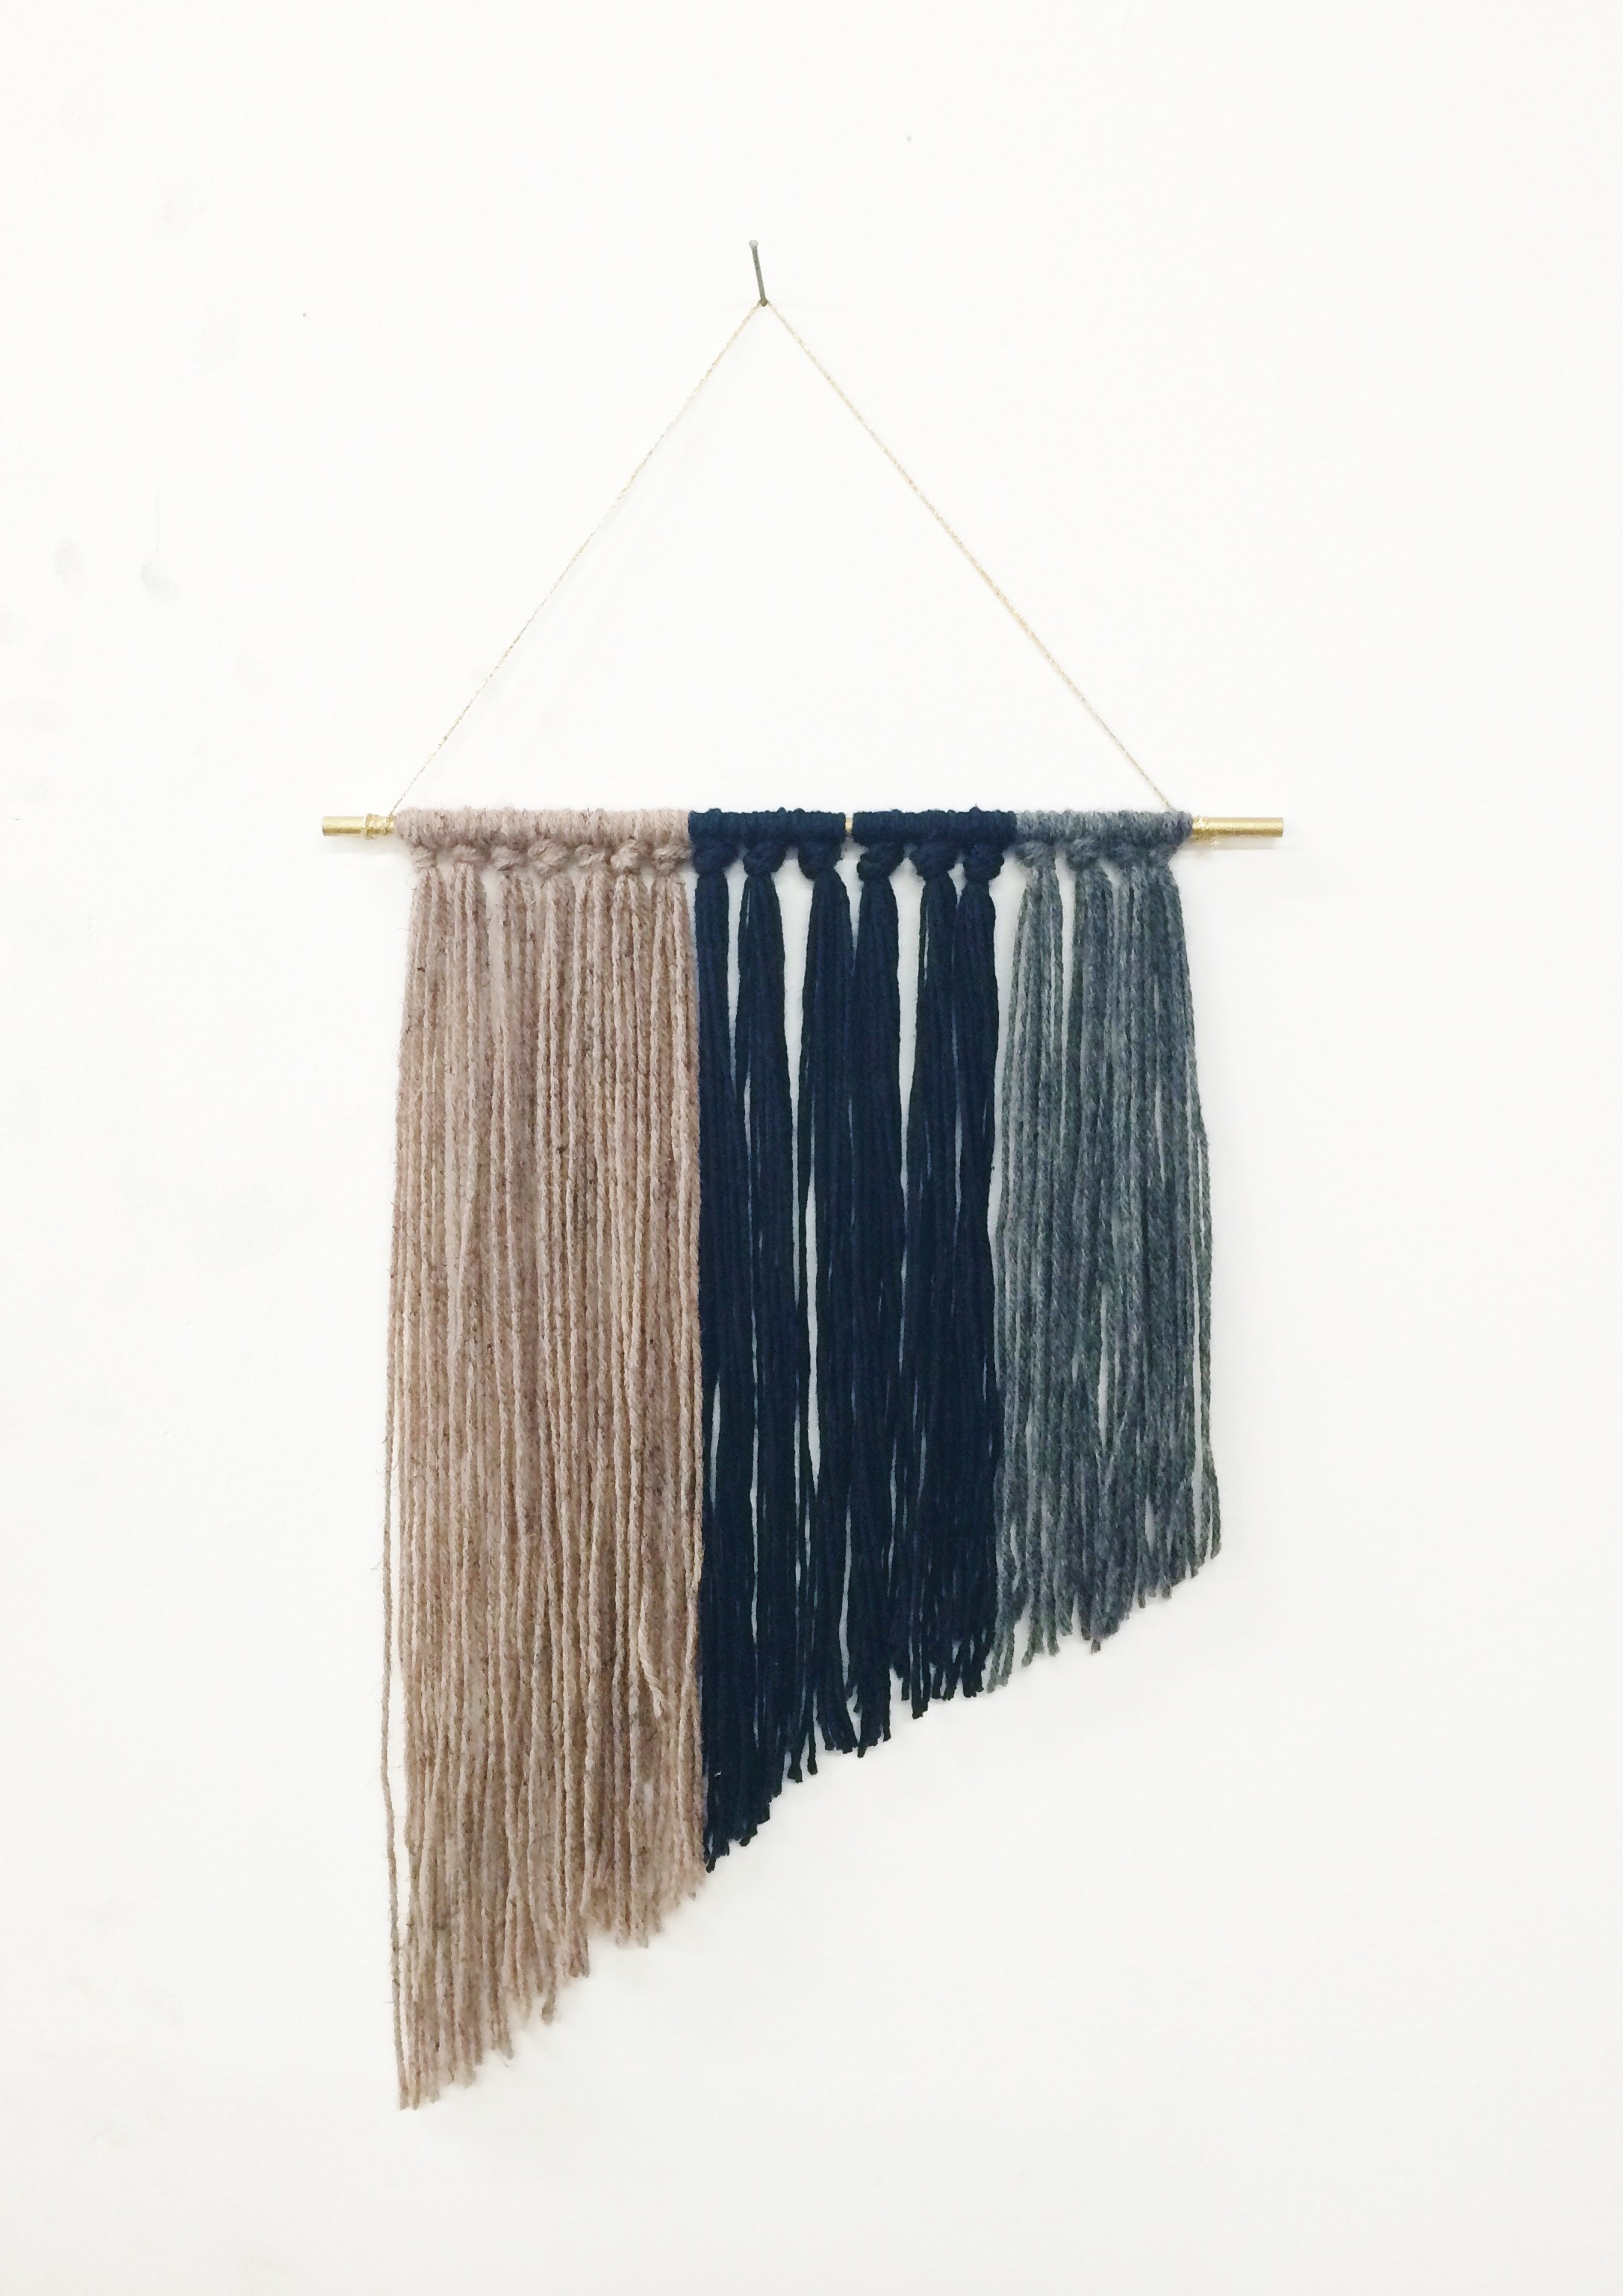
The DIY wall hanging was a pretty simple craft, but time consuming. The ideas are already circulating in our head of different variations of this craft! We’ll provide both directions for the angled wall hanging (Carli’s) and the “V” (Britta’s).
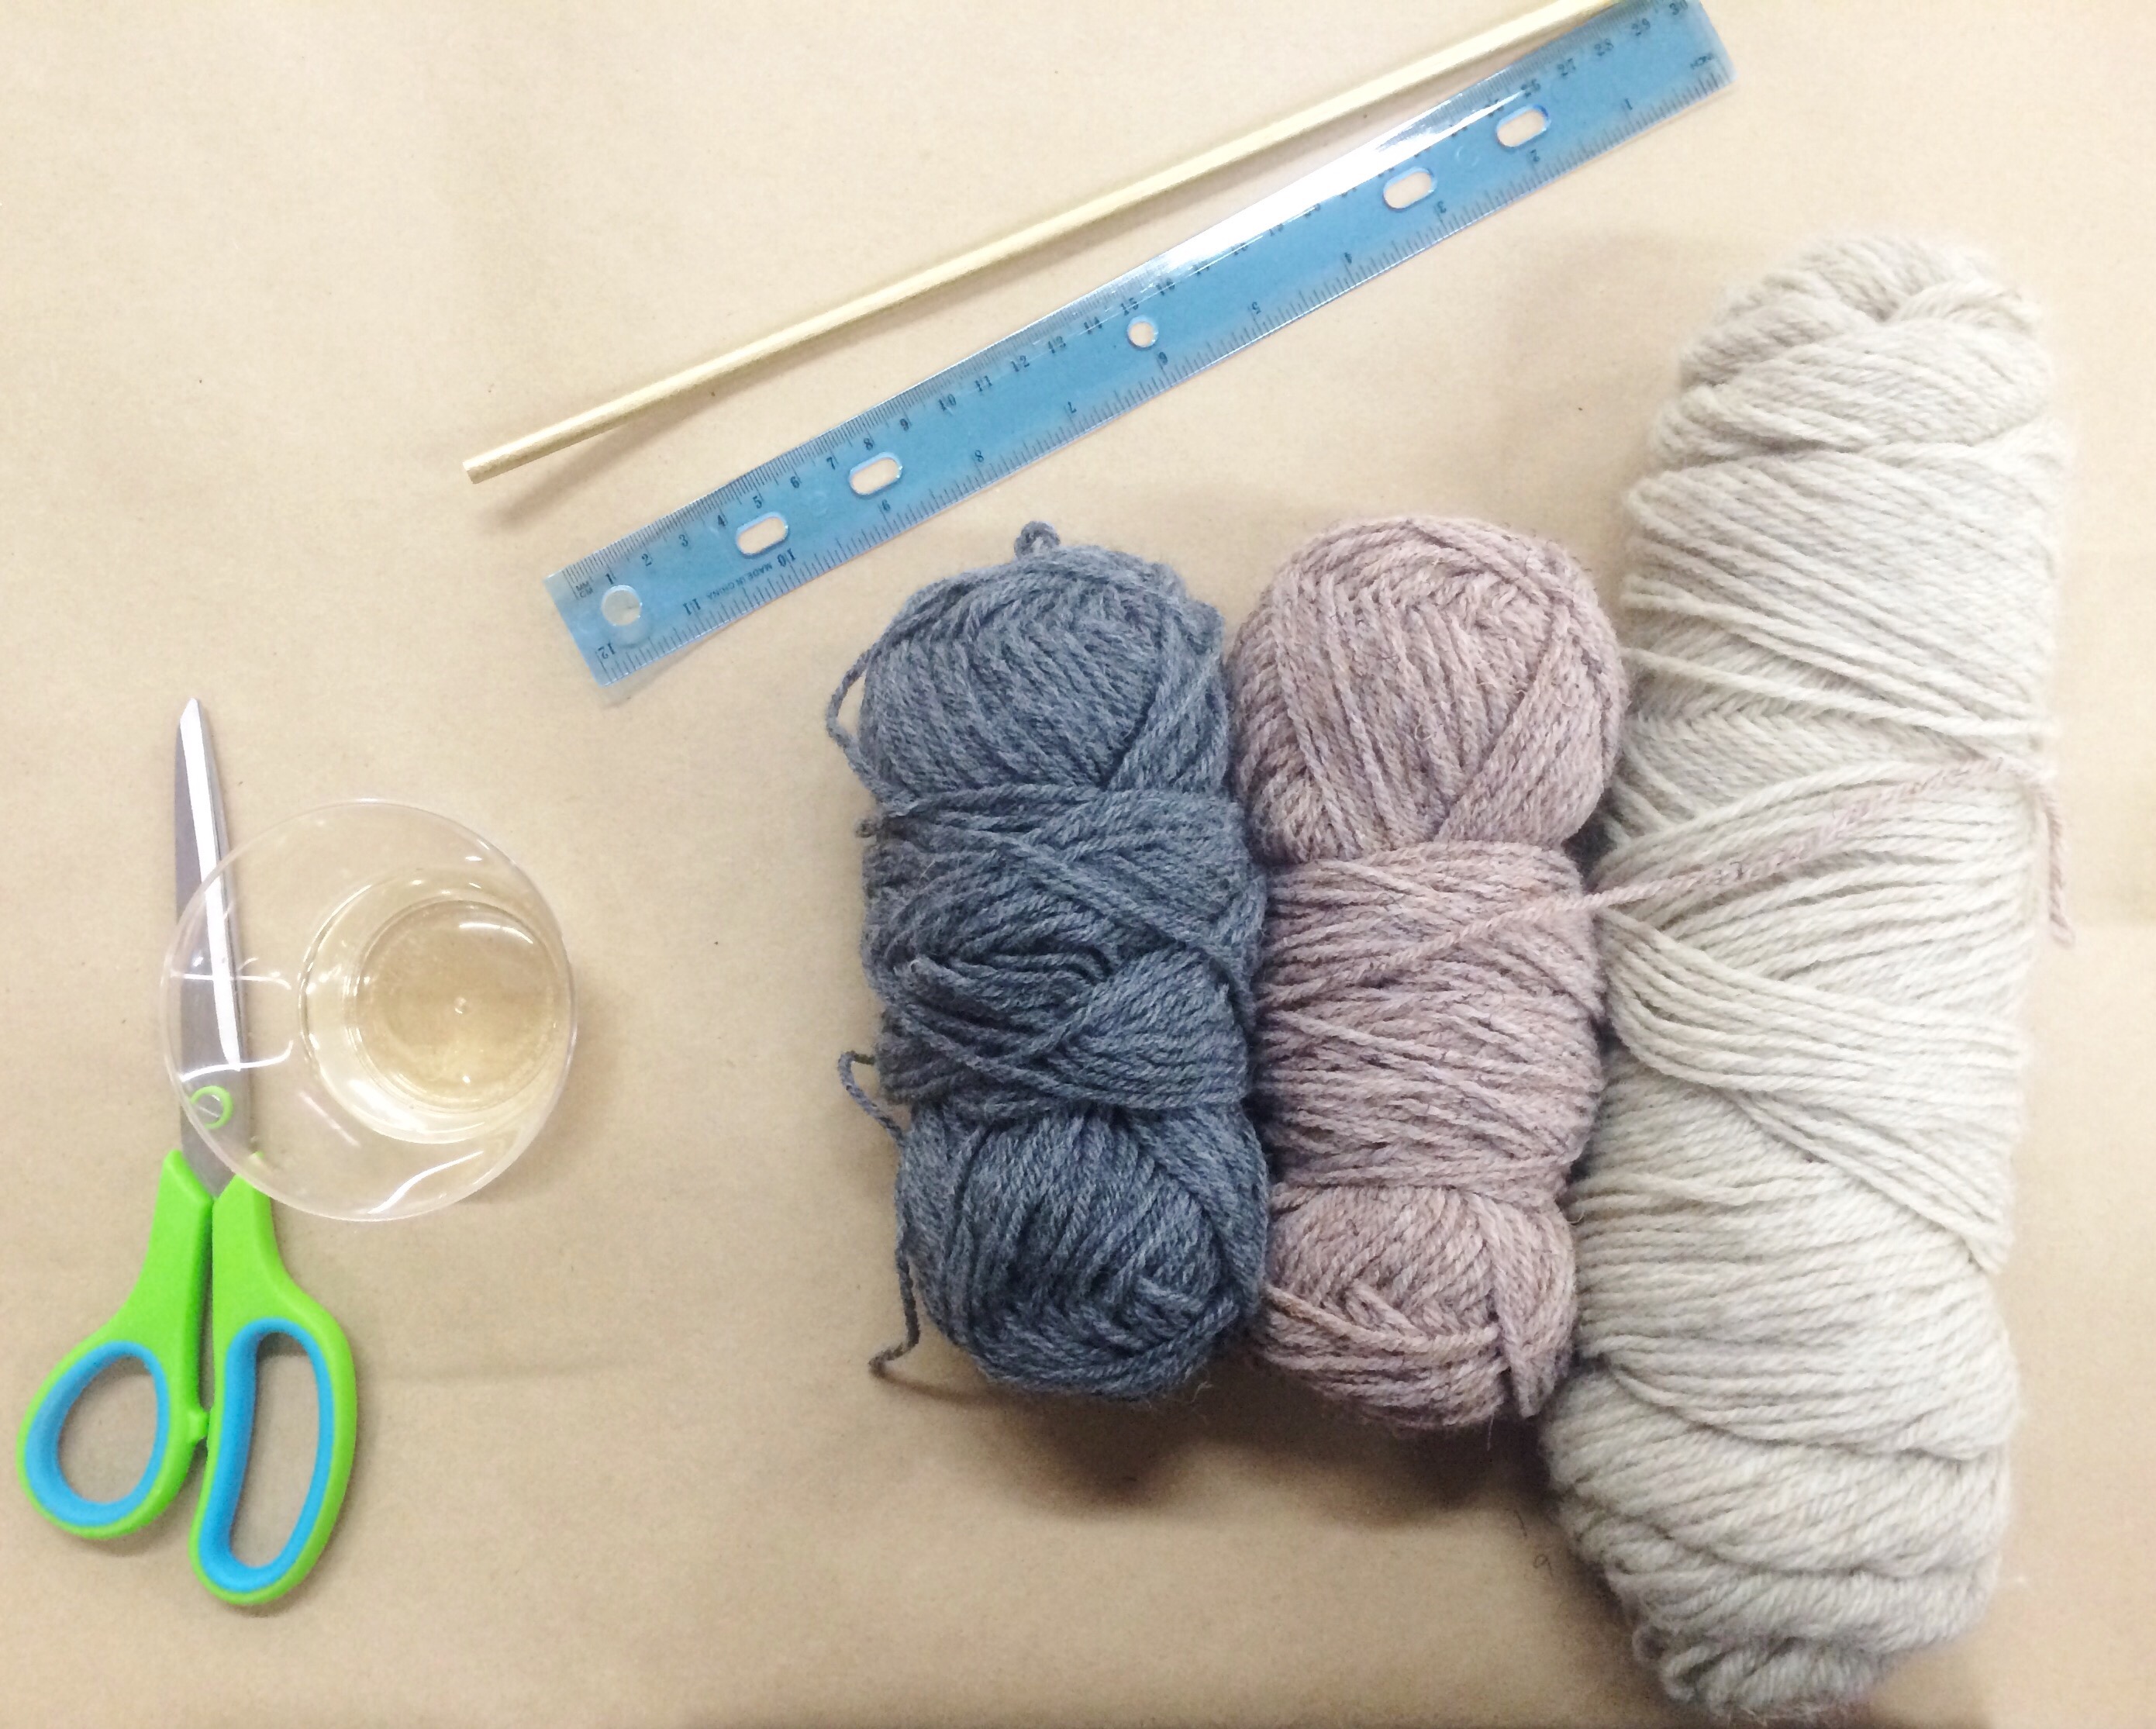
Supplies:
- 12 inch wooden dowel- ours were painted gold
- Assorted yarn- for this smaller sized wall hanging we used three colors
- Scissors
- Ruler
- String for hanging- we were provided with some beautiful metallic strong!
- Hot glue gun
- Wine
Directions for the “V”:
- Decide the order of your yarn. Color 1 (C1) will be the center color, Color 2 (C2) will be the color on either side of that, and Color 3 (C3) will be the outside color. You will have 19 total knots across the top. I’ll diagram below the pattern you should follow. The “|” indicates a change in color.
- C3 C3 C3 | C2 C2 C2 C2 | C1 C1 C1 C1 C1 | C2 C2 C2 C2 | C3 C3 C3
- The center string (the middle C1) will be 20″ long and you will drop an inch on either side, all the way up. I’ll diagram below the pattern you should follow. The “|” indicates a change in color.
- 11″ 12″ 13″ | 14″ 15″ 16″ 17″ | 18″ 19″ 20″ 19″ 18″ | 17″ 16″ 15″ 14″ | 13″ 12″ 11″
- Ok so take your Color 1 yarn and measure out 20 inches, using your ruler. Put your finger at the 20 inch mark and double your yarn, so you have a total of 40 inches. Cut the string. MAKE SURE you double each one the whole time!
- Repeat this process three more times, so you have a total of four pieces of 40inch yarn, all in the same color.
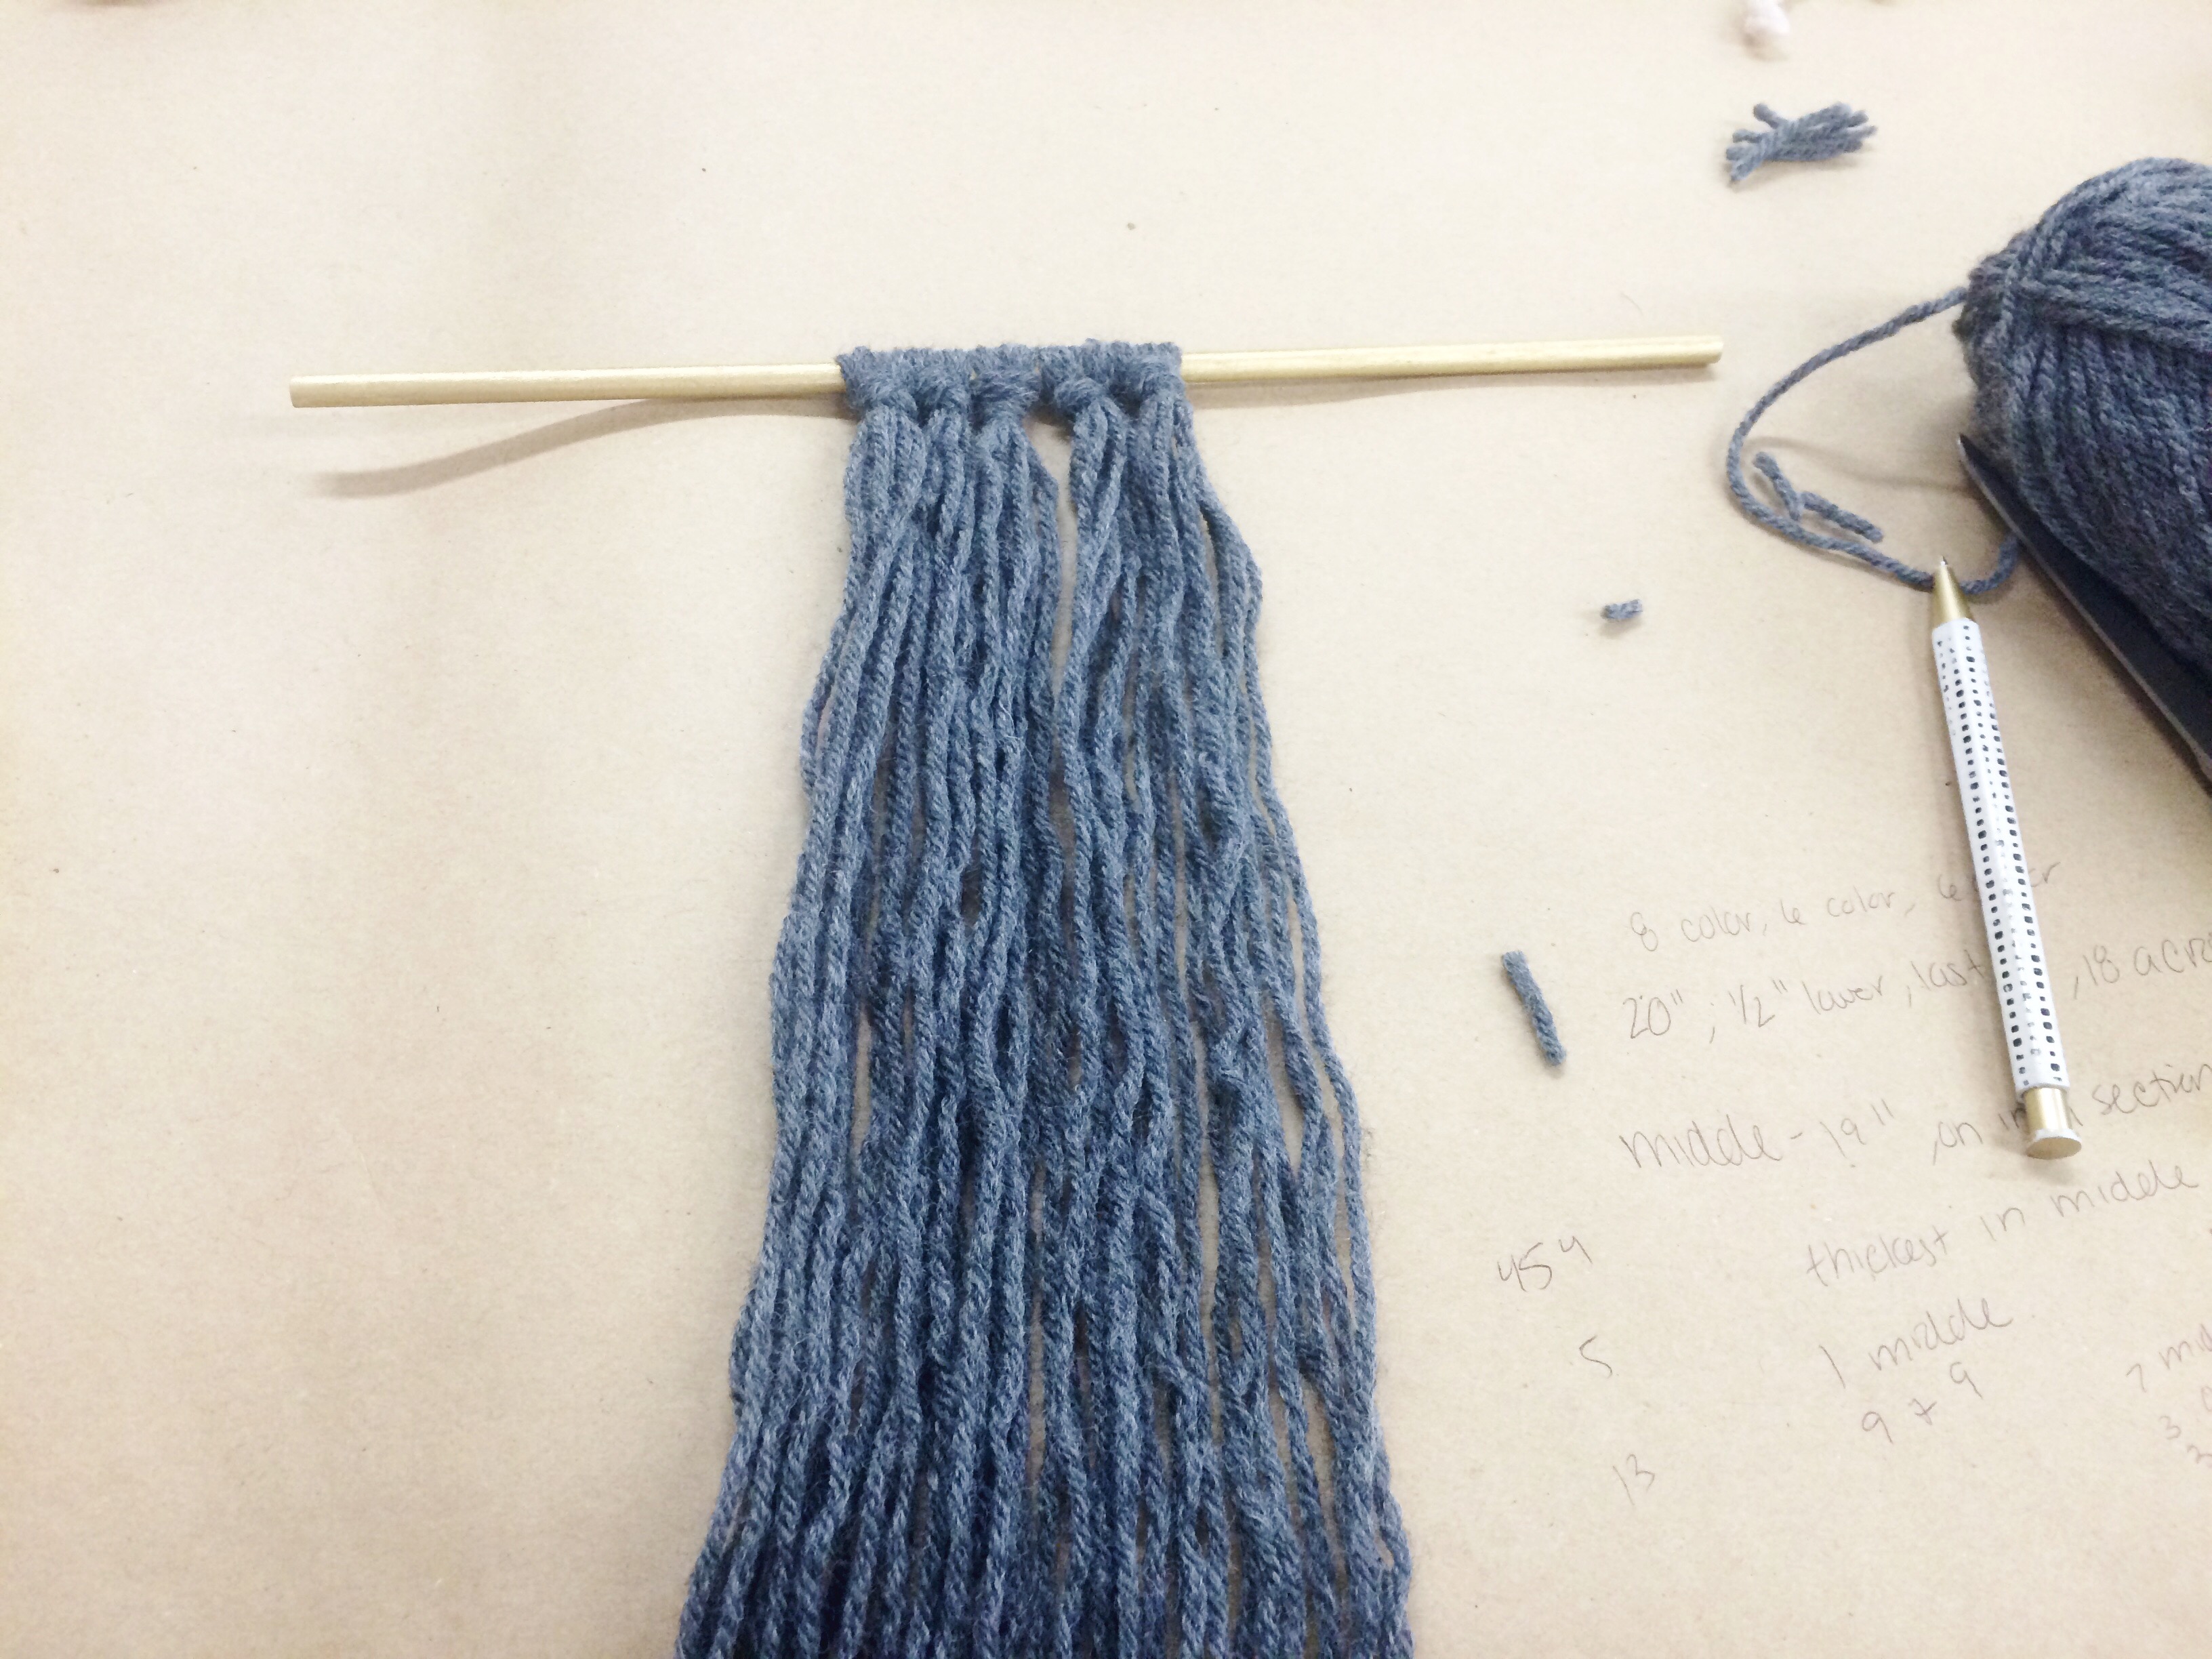
- Hold the pieces together and make sure they’re even. Fold the pieces in half. Take the loop on top and put it under your wooden dowel, leaving most of the string below the dowel, with an upside down “U” on top (ming you all the string is still underneath the dowel). Pull the string up and through the loop. Secure your first strand by tieing a knot on top of the knot you just made. That’s your first strand!
- Follow the diagrams above and repeat 18 MORE times. Getting an inch shorter on each side, each time. So for the next one, measure 19 inches, then double it up to make a total of 38 inches. Cut four 38 inch pieces, etc.
- When you have all 19 strands done take some twine and tie it on both ends of the dowel to hang your piece. Use a little bit of hot glue on the back to hold it in place.
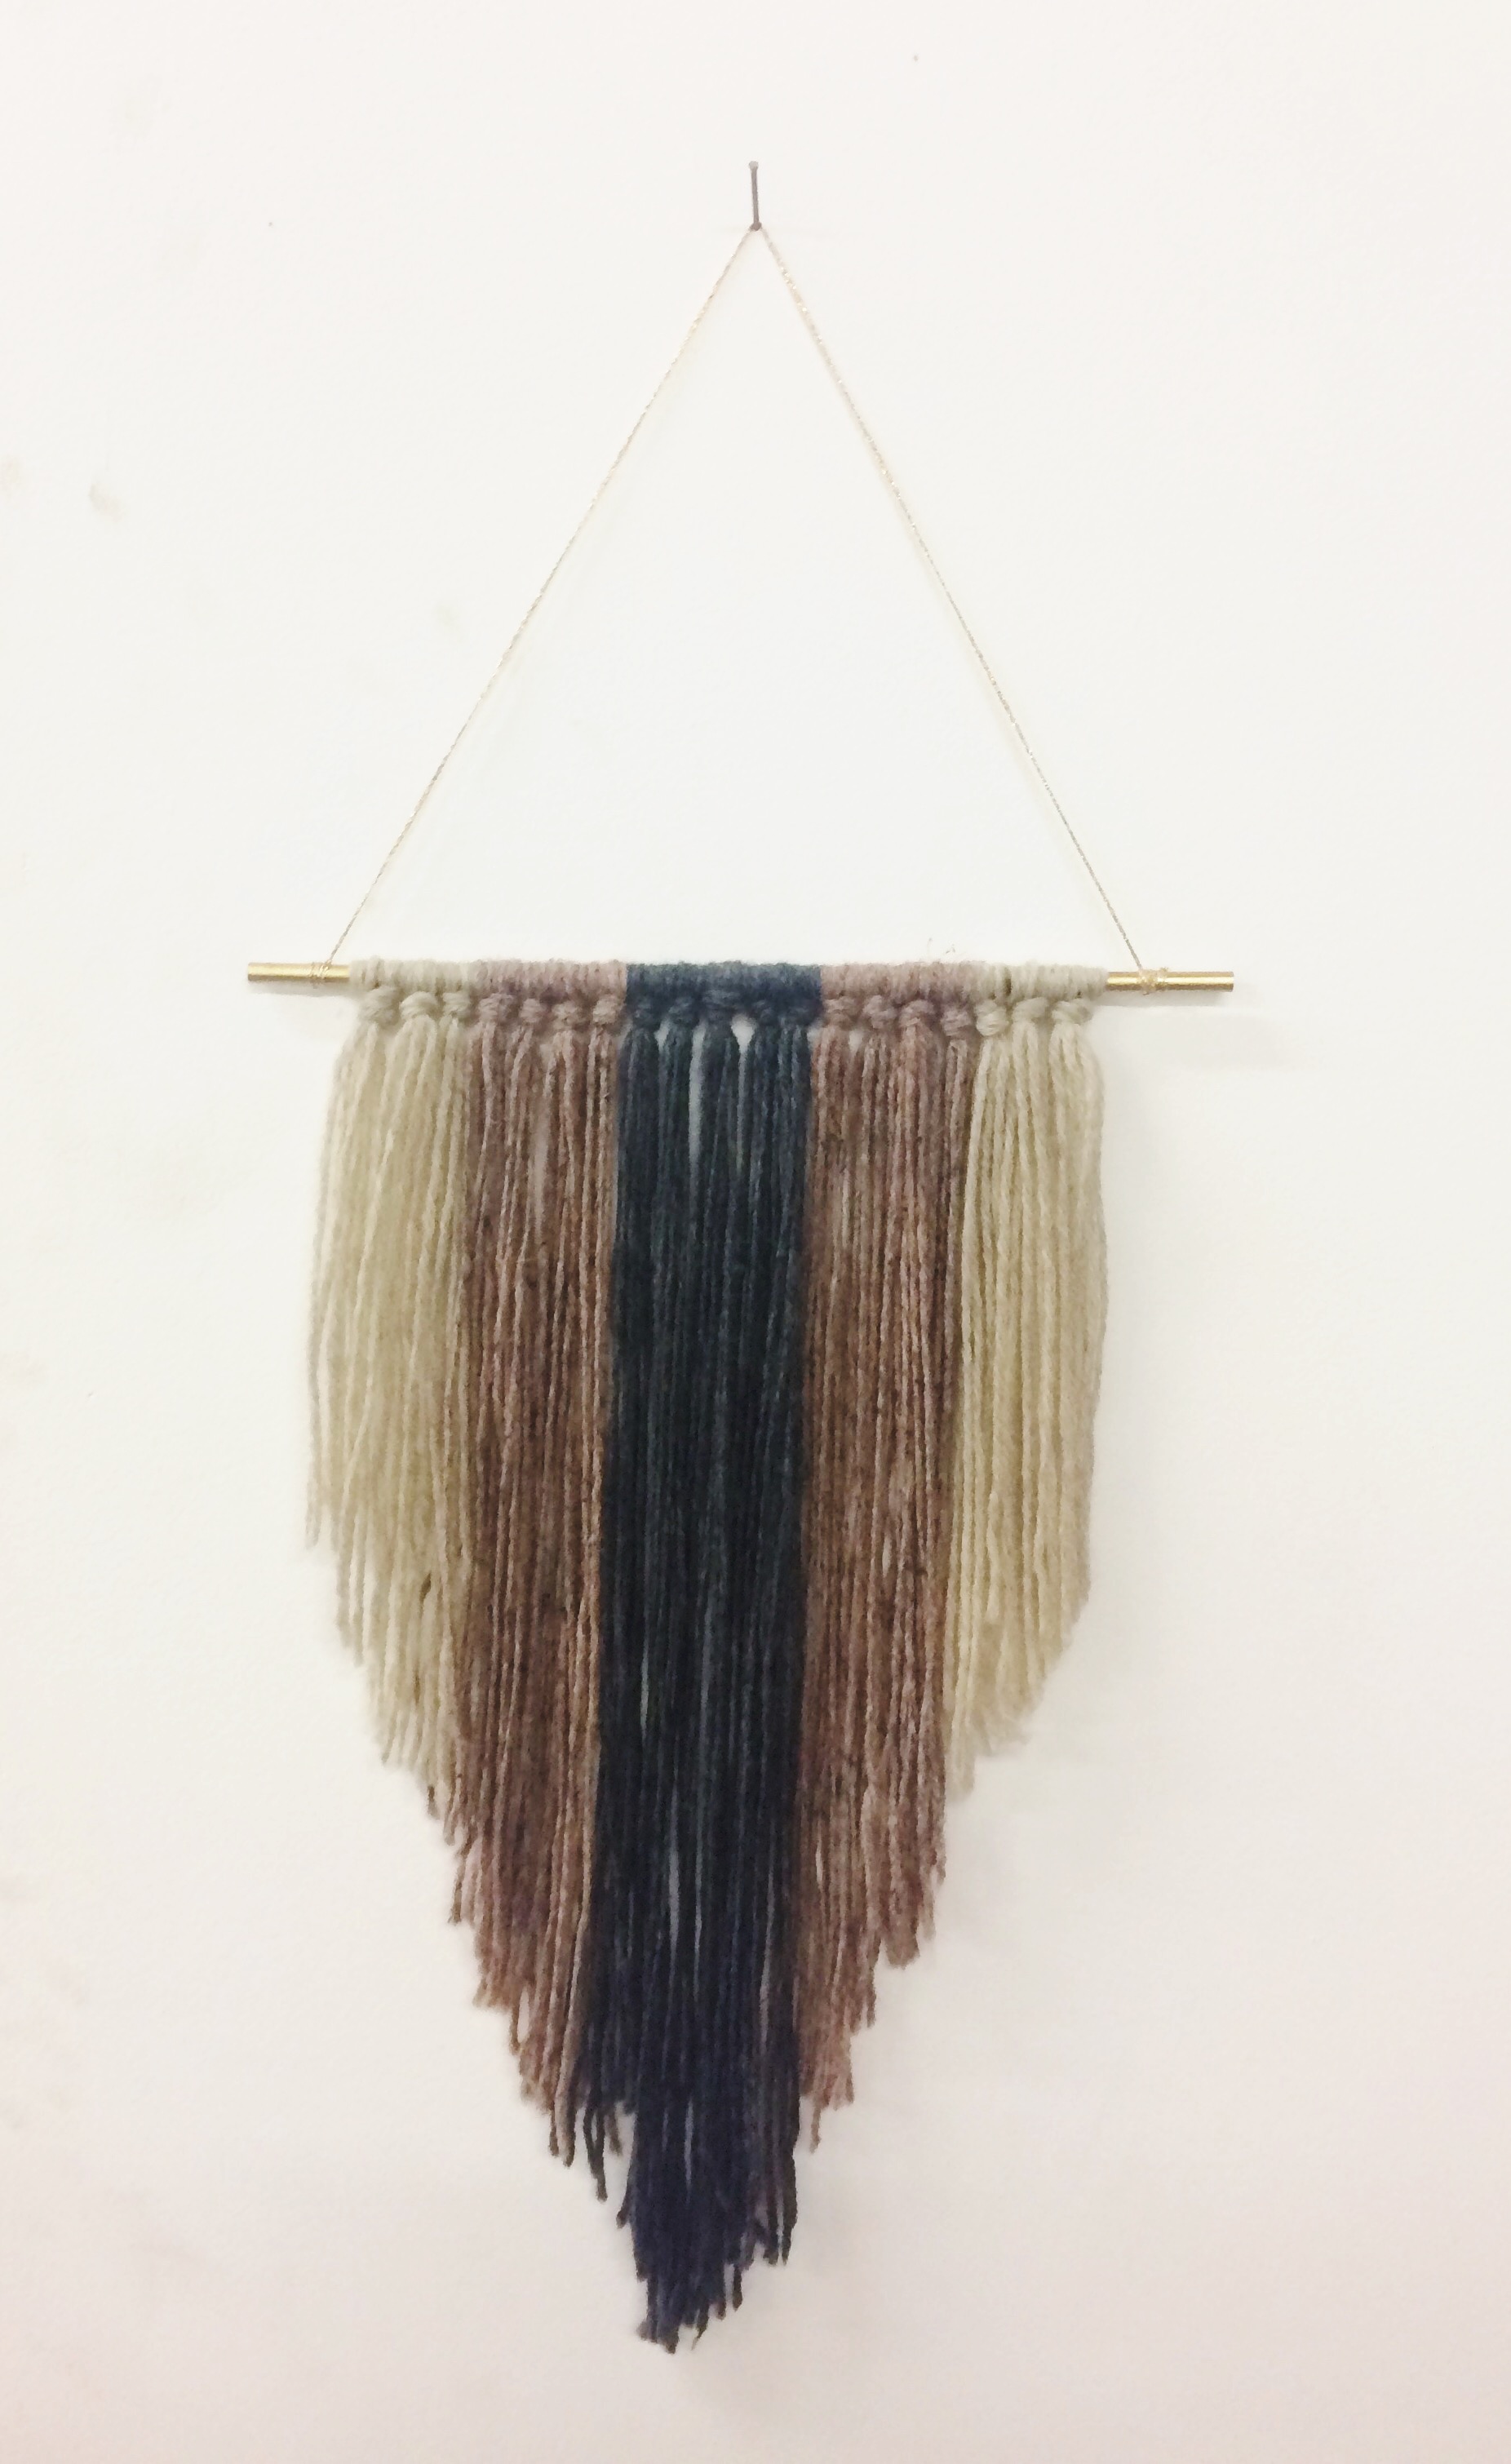
Directions for the “Angle”:
- Decide the order of your yarn. Color 1 (C1) will be the center color, Color 2 (C2) will be the color on either side of that, and Color 3 (C3) will be the outside color. You will have 18 total knots across the top. I’ll diagram below the pattern you should follow. The “|” indicates a change in color.
- C1 C1 C1 C1 C1 C1 C1 | C2 C2 C2 C2 C2 C2 | C3 C3 C3 C3 C3
- The first string all the way to left will be 20″ long and you will drop a half an inch on every strand after. I’ll diagram below the pattern you should follow. The “|” indicates a change in color.
- 20″ 19.5″ 19″ 18.5″ 18″ 17.5″ 17″ | 16.5″ 16″ 15.5″ 15″ 14.5″ 14″ | 13.5″ 13″ 12.5″ 12″ 11.5″
- Ok so take your Color 1 yarn and measure out 20 inches, using your ruler. Put your finger at the 20 inch mark and double your yarn, so you have a total of 40 inches. Cut the string. MAKE SURE you double each one the whole time!
- Repeat this process three more times, so you have a total of four pieces of 40inch yarn, all in the same color.
- Hold the pieces together and make sure they’re even. Fold the pieces in half. Take the loop on top and put it under your wooden dowel, leaving most of the string below the dowel, with an upside down “U” on top (ming you all the string is still underneath the dowel). Pull the string up and through the loop. Secure your first strand by tieing a knot on top of the knot you just made. That’s your first strand!
- Follow the diagrams above and repeat 17 MORE times. Getting a half an inch shorter on each strand. So for the next one, measure 19.5 inches, then double it up to make a total of 39 inches. Cut four 39 inch pieces, etc.
- When you have all 18 strands done take some twine and tie it on both ends of the dowel to hang your piece. Use a little bit of hot glue on the back to hold it in place.
We know it sounds confusing and we don’t have step by step pictures so let us know if you have any questions at all! We will include pictures in our original DIY wall hanging, which will definitely be coming soon! 🙂
I’ve been looking for some DIY projects to help decorate my new apartment. The wall hanging seems like a great idea. I might try it! 🙂
It is a great idea! Inexpensive and so customizable. Hopefully the instructions are clear for you! Good luck!
Love them!! Great job! 🙂
Thanks! They were really fun to make