DIY Cupcake Tray
We certainly have a thing for trays. They’re useful in an assortment of ways: organizing, serving, decorating, etc. We realized that we have many decorative trays (see here & here for proof), but NO serving trays. This is a bit ridiculous since we’re 90% certain that trays were invented for serving.
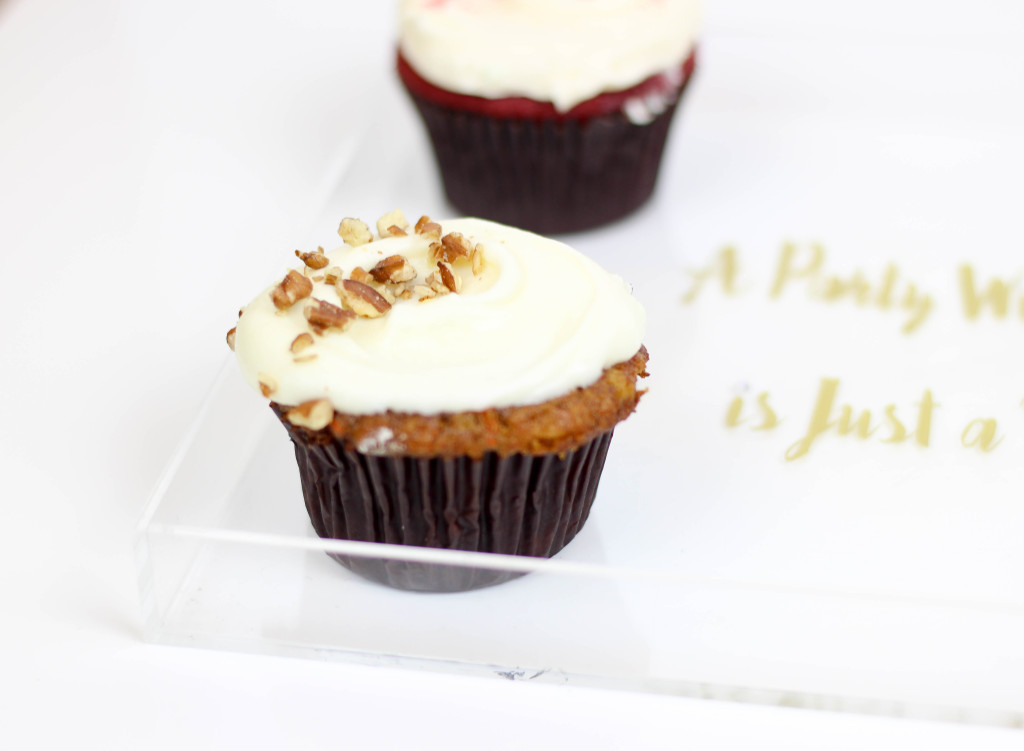
We have a birthday coming up (the big 2-5, eek), and wanted a way to serve cupcakes. We also thought a cupcake tray would come in handy for Valentines Day! Whether you’re spending the night in with you S.O, or having a “Galentines” Day Party (thanks Parks & Rec for creating that word) with your girlfriends, you’re going to need some cupcakes. End of story.
We found a simple acrylic tray at Home Goods for $6 and immediately thought of our Silhouette Cameo and the endless possibilities.
If you haven’t heard of Silhouette America they are a company that manufactures electronic cutting machines. With the Cameo you can cut any design or text out of an array of materials, including: vinyl, fabric, cardstock, plastic, and more! We’ve been wanting on of these for ages and finally caved on Black Friday (yay for sales!).
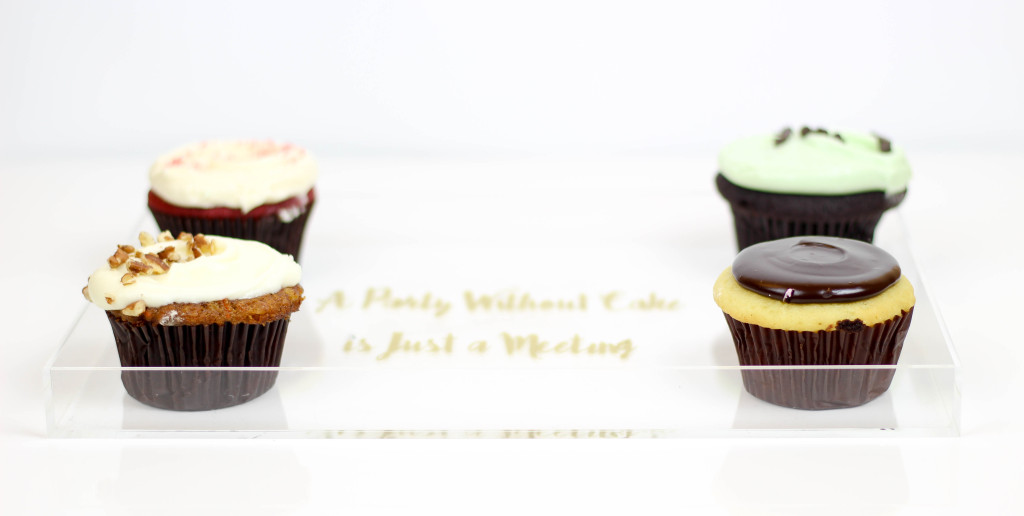
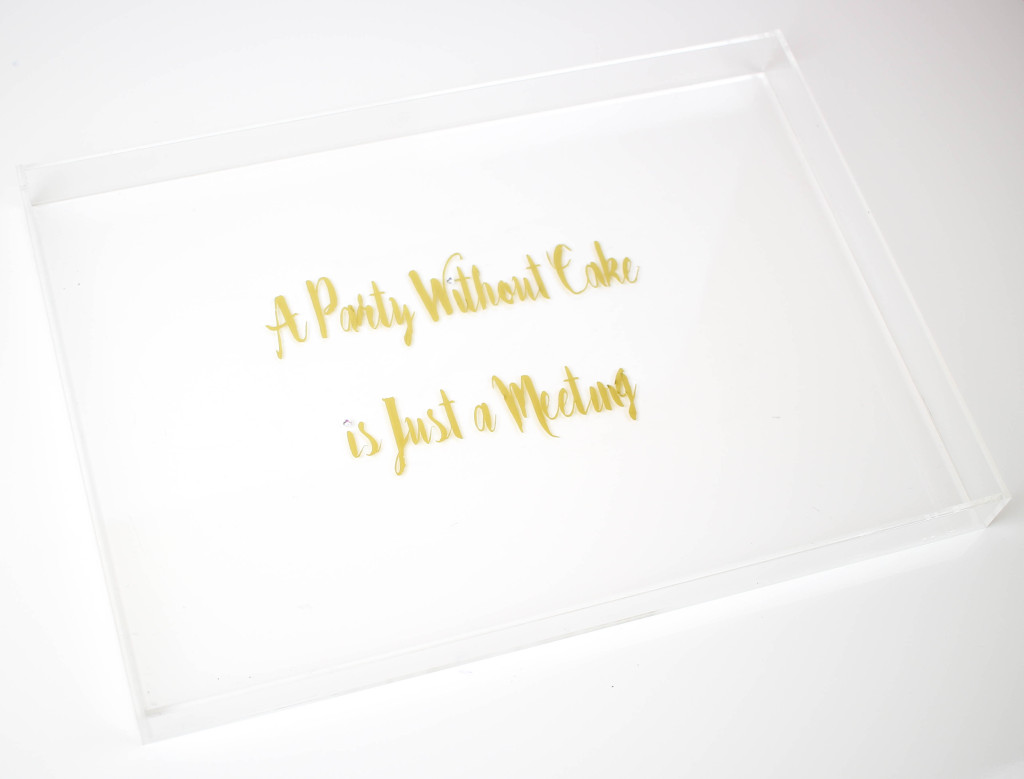
We decided to use gold vinyl and cut out the phrase “A Party is Just a Meeting Without Cake” for our acrylic tray. The font we used is called ‘Bakery’, HOW PERFECT IS THAT?
Supplies:
- Silhouette Cameo & Tools (Cutting Mat, Scraper, Hook)
- Cupcake Tray Silhouette File
- Gold Metallic Vinyl
- Acrylic Tray– Ours is 12″x8.5″, we wanted it smaller for the cupcakes
- Optional: Iridescent Rhinestone Stickers– we used the smaller ones to dot the i’s
Directions:
- Open the Cupcake Tray Silhouette File in your Silhouette Software. Save it to a USB
- Place a piece of gold vinyl onto the sticky side of your cutting mat. You don’y need to use a whole piece, 1/3 of the 12×12 sheet should be enough.
- Turn on your Cameo, press “Load Cutting Mat” and load the mat into your machine. Insert your USB into the port on the side.
- Select the file that says “Cupcake Tray” and press “Cut.”
- When it’s done cutting unload the cutting mat and peel off ALL the excess vinyl, including the inside of all the letters. This part takes the longest, so go slow and be patient. Your Hook will help you with the small pieces of vinyl.
- Place a piece of transfer paper over your design and scrape it down with the Scraper, so the transfer paper is firmly stuck to your design. Slowly lift the transfer paper off the vinyl backing, and the vinyl design should stick to the transfer paper.
- Place your design on the bottom of your tray. Use the Scraper again to press down on the vinyl. Rip off the transfer paper.
- Optional: Dot the two i’s with Iridescent Rhinestone Stickers
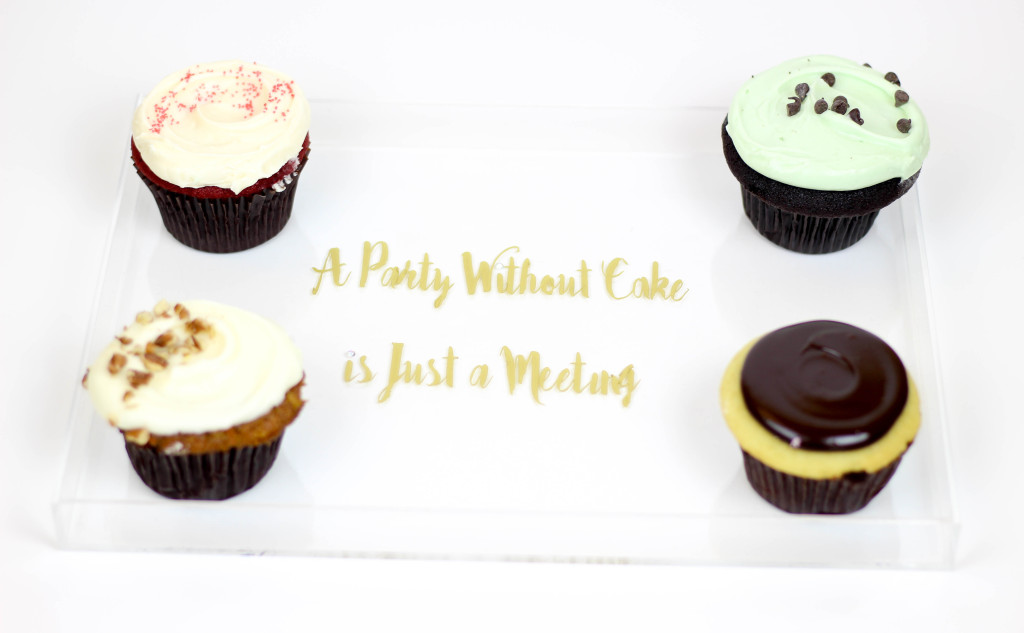
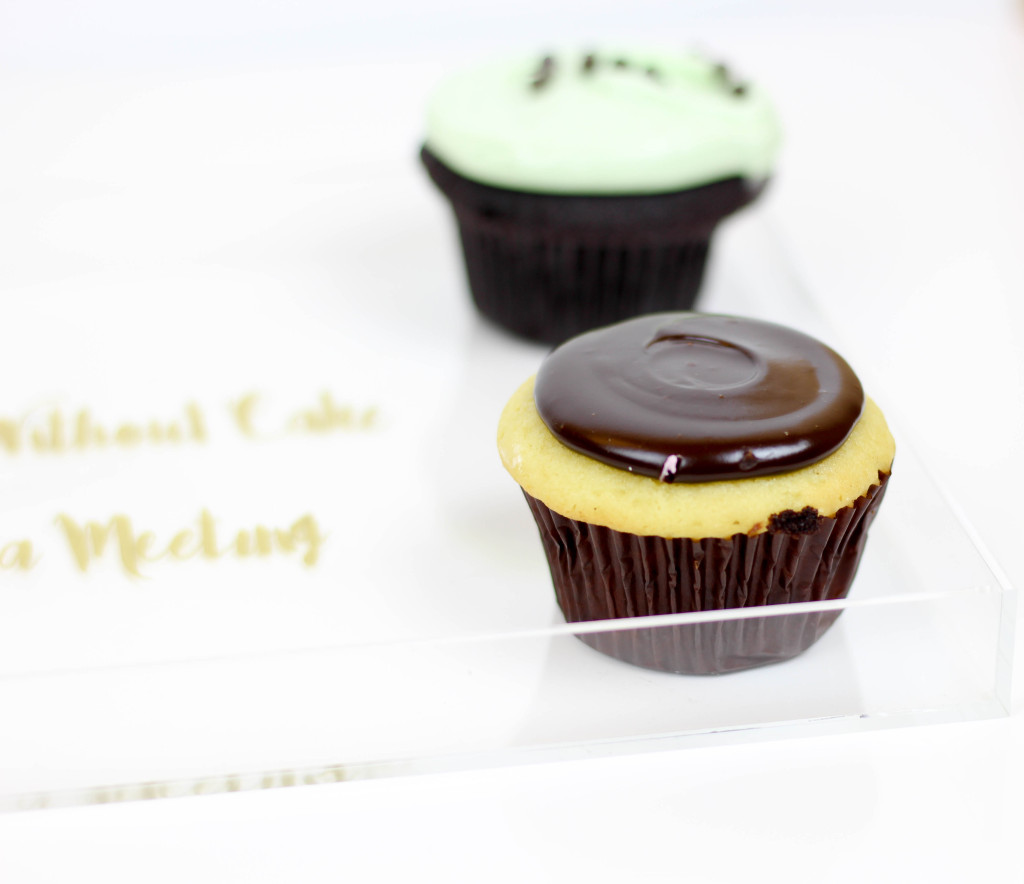
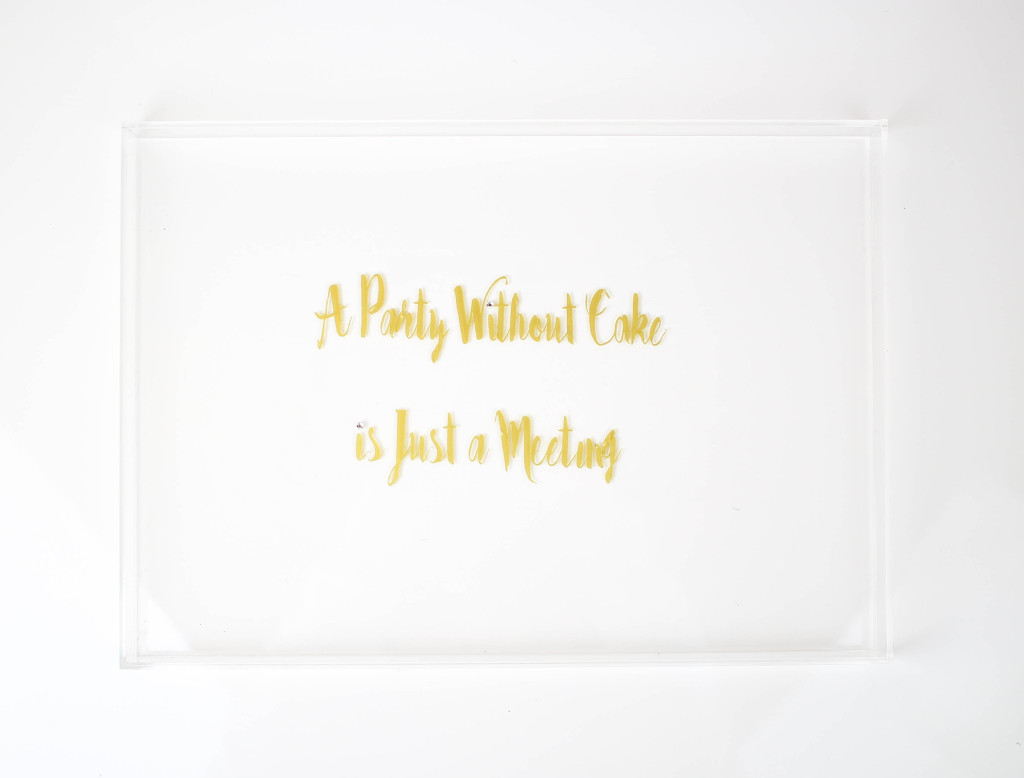
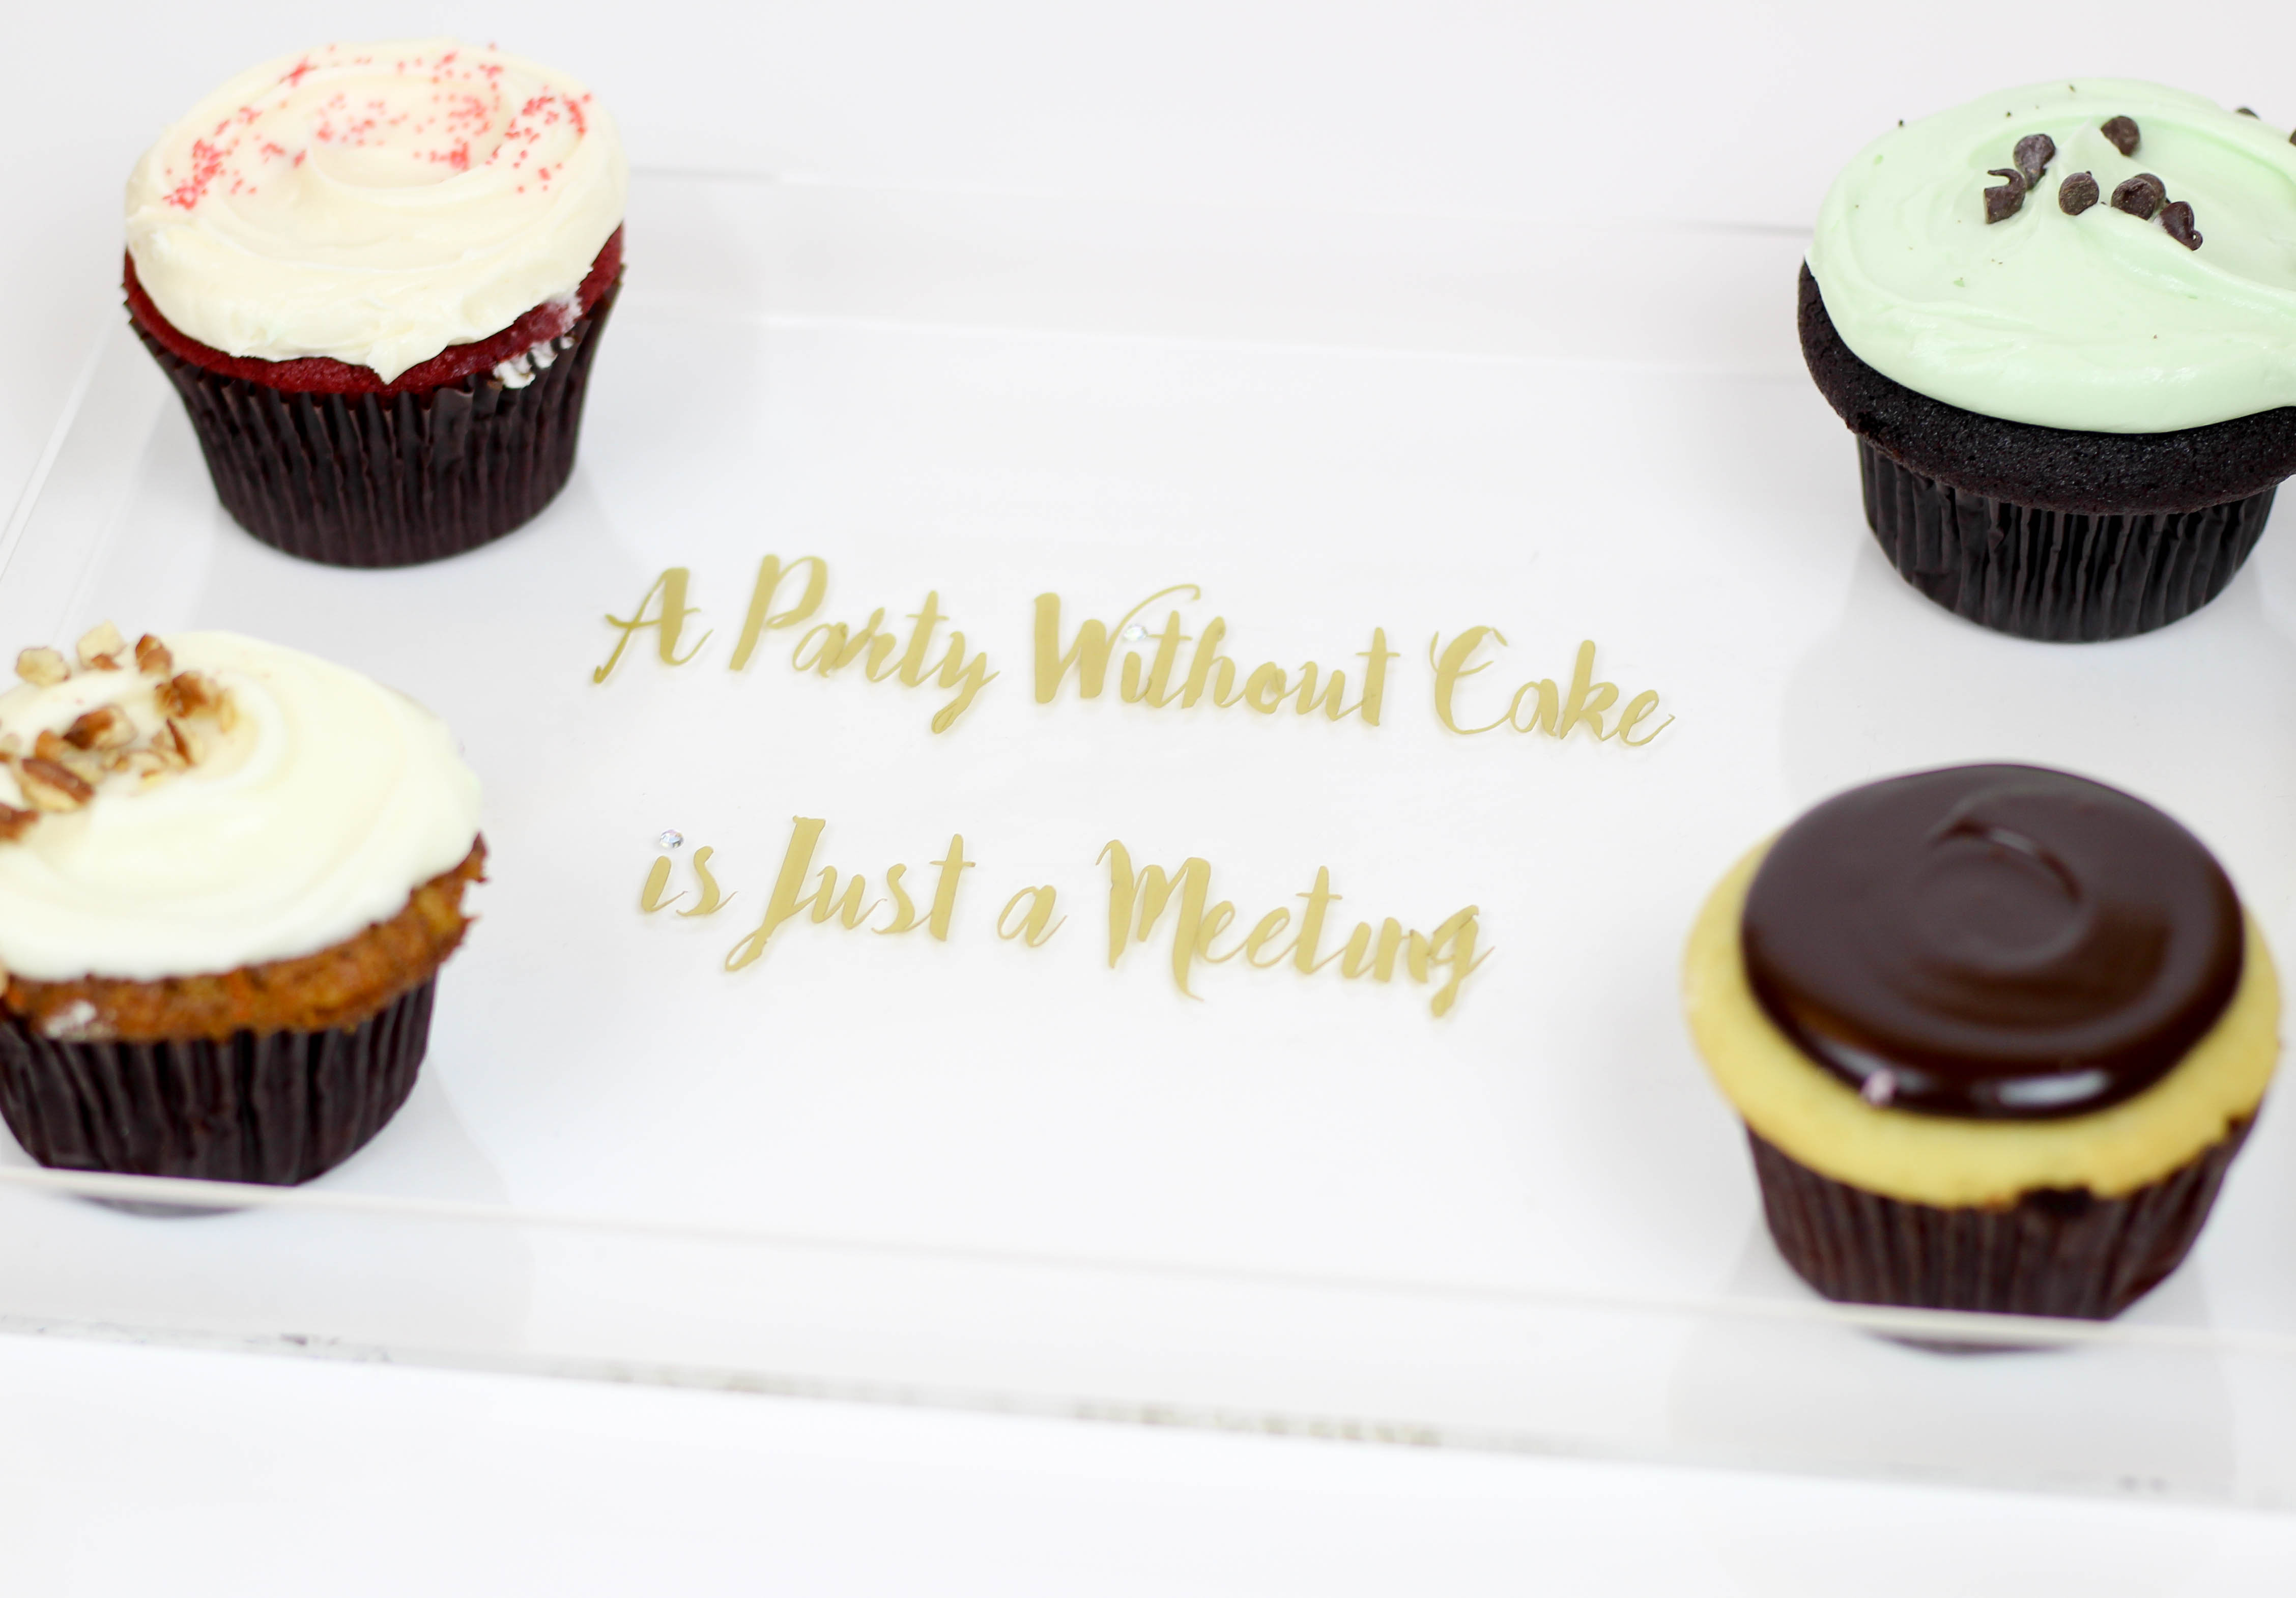
This may sound intimidating but once you get used to the Cameo it’s a breeze. We truly love how our tray turned out and cant wait to use it for each and every occasion.
We’d love to know what you all have made with your Silhouette Cameo! We truly love this machine. It’s so much fun to play around with and come up with creative ways to use common materials.
XO, Britta
*This post is sponsored by Silhouette America

I absolutely love that! I need to make one immediately!
Thanks Carlee! You do! 🙂
Love this!!! Wish I had a Cameo! 🙂
Thanks! You should get one!
Maybe someday….when I have a bigger place. B would kill me if I bring another crafting thing into this place.