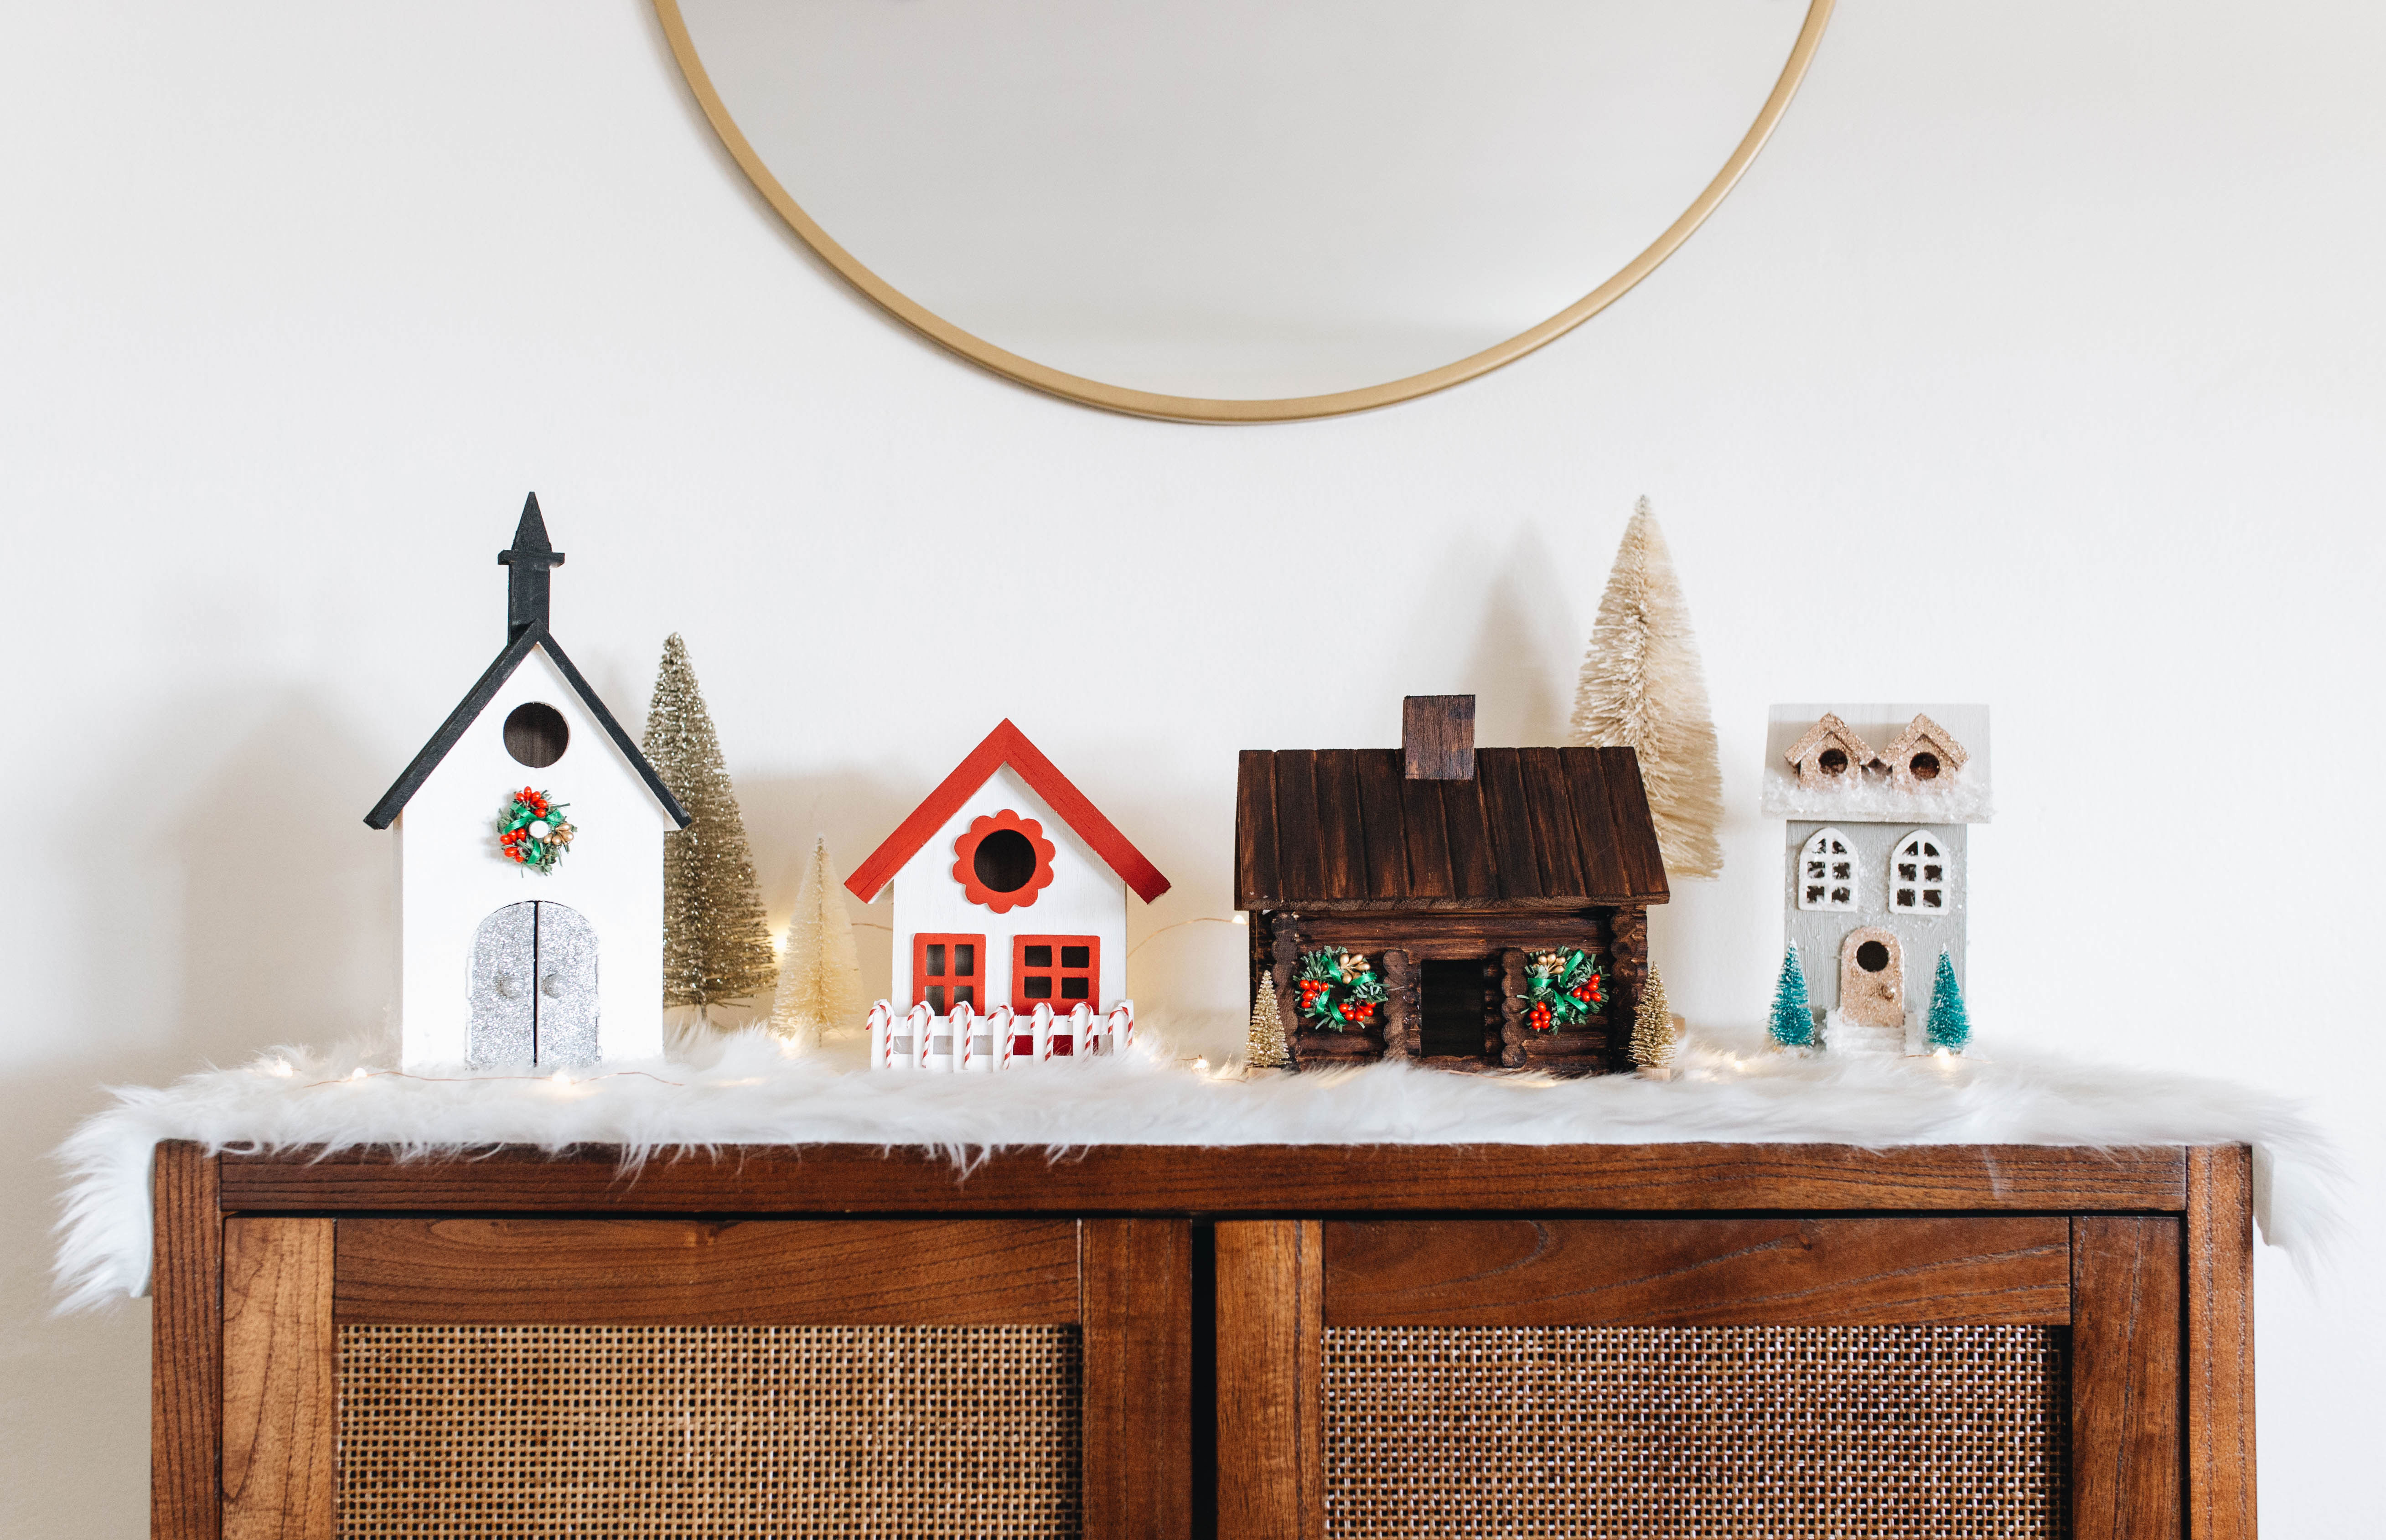
DIY Christmas Village
We saw Studio DIY’s colorful Christmas village last year and knew we had to make our own at some point. You all know that we’re not big on color and even our holiday decor is rather muted. It’s generally a mix of white, gold, and silver. We do have pops of blue on our Christmas tree though. Anyways, for this reason, we decided to stick with neutral tones for our village. Specifically black, white, and gray. But when we went to Michael’s for supplies we found the most gorgeous red paint called ‘lipstick red’ and we knew we had to incorporate it into this project.

We made a candy cane themed house, a black and white church, a snowy house and a wood stained log cabin. As soon as we saw this cabin at the store we had the idea to stain it. We’ve never used wood stain before but this one seemed user-friendly and we really had nothing to lose. Although this cabin was time-consuming we’re ob-sessed with how it turned out!
We’ll go through each piece and let you know what we used and how we did it!
Log Cabin

What you’ll need:
- Log cabin birdhouse
- Wood stain
- Mini wreaths
- Gold bottle brush trees
- Glue gun & glue sticks
- E6000 glue
- Foam sponge
1 | Use a foam sponge to paint on the wood stain. I found it worked best when I applied the stain directly onto the sponge and painted it on the cabin, a little at a time. I went back in with a detail paintbrush to get the spots the sponge couldn’t get. Let dry between coats. I did two generous coats of stain.
2 | Using hot glue, glue the wreaths on windows. Hot glue was the most precise option I found for this step.
3 | Using E6000 glue the trees onto either front corner. This glue is strong and I wanted these trees to stay on when they go into storage.
Church

What you’ll need:
- Wood church
- White craft paint
- Black craft paint
- Mod Podge
- Fine silver glitter
- Mini wreath
- Adhesive spray
- Faux snow
- Foam sponge
1 | Paint the whole church white, aside from the roof using a foam sponge. I had to use about three coats to make it opaque. Paint the roof of the black. This was pretty opaque in one coat.
2 | Mix mod podge with your silver glitter and paint it onto the doors of the church, using a brush or foam sponge. you may need two coats depending on your glitter to glue ratio. Let dry.
3 | Spray adhesive on the base of the church and pour faux snow over adhesive.
4 | Add wreath above the door. I didn’t glue mine since it fits perfectly.
Candy Cane House

What you’ll need:
- Wood house with fence
- White craft paint
- Red craft paint
- Small paint brush
- Foam sponge
- Glue gun & glue sticks
- Mini candy canes
1 | Paint the whole house white, aside from the trim. Again, you’ll probably need two to three coats of white.
2 | Paint the trim red. This paint was pretty opaque on one coat. Use a detail paint brush to ensure that you don’t get any red paint on the white.
3 | Hot glue your candy canes on the fence.
Glam House

What you’ll need:
- Wood house (we couldn’t find this one online, but here are some options)
- White craft paint
- Gray paint
- Foam sponge
- Adhesive spray
- Faux snow
- Topaz fine glitter
- Small paintbrush
- Mod Podge
- Bottle brush trees
- E6000 glue
1 | Paint the body of the house gray. This ‘Wet Cement‘ shade is the prettiest gray paint we’ve ever used! Then paint the roof, windows, door and stairs white. We left it a little translucent so that the wood looked whitewashed.
2 | Mix together your mod podge and glitter. Paint the windows and door with two coats of the mixture, letting each coat dry in between.
3 | Spray adhesive and add faux snow wherever you see fit. We concentrated ours on the roof, windows, and base of the house.
4 | Use E6000 glue to add two bottle brush trees to the front of the house.


Which is your favorite of the four?
xx, Britta


Aw this looks lovely – I particularly love the candy cane house! Great job x
Emily | TwicetheTalk
Thanks, Emily!
This looks amazing!