DIY Glitter Computer Case

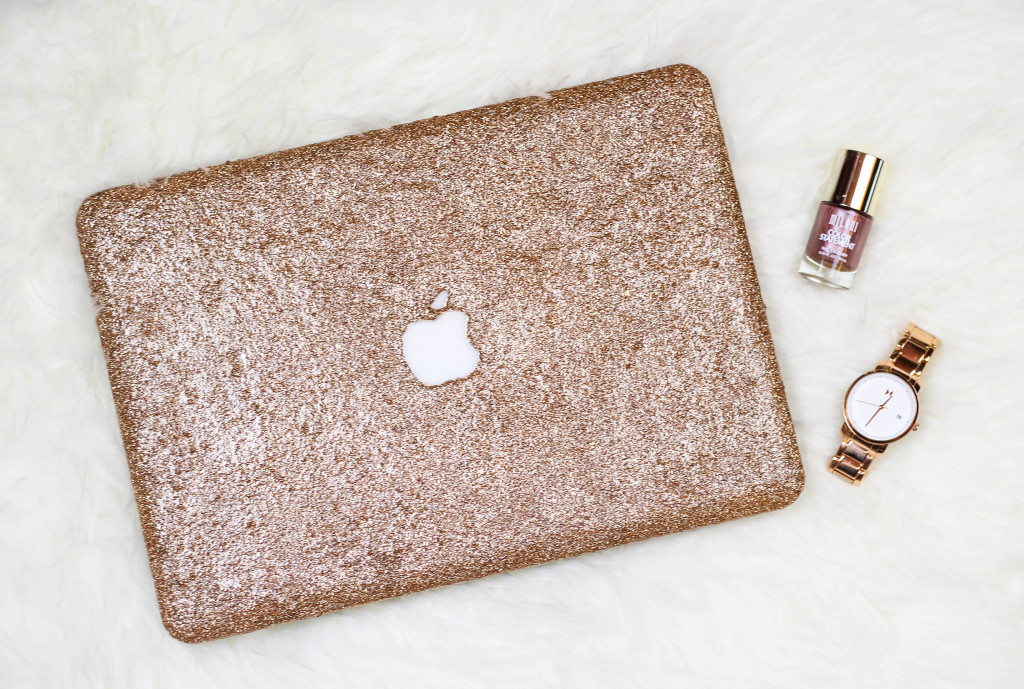
Awhile back I found a Macbook glitter case online for $52.00. I thought that was a steep price to pay for a little bit of bling. I did however NEED a Macbook case, as there were one too many dings in my computer. I didn’t want to get something inexpensive that I didn’t really like, so I decided to DIY the glitter case I had been eyeing. I wanted to find a pretty rose gold glitter but it’s basically the unicorn of crafting supplies. I did however find this amazing Champagne Glitter. They didn’t sell it in a the large 5oz bottle, so I had to go to two different Michael’s stores to get two small 1.5oz bottles. I definitely recommend having at least 3 ounces of glitter for this project!
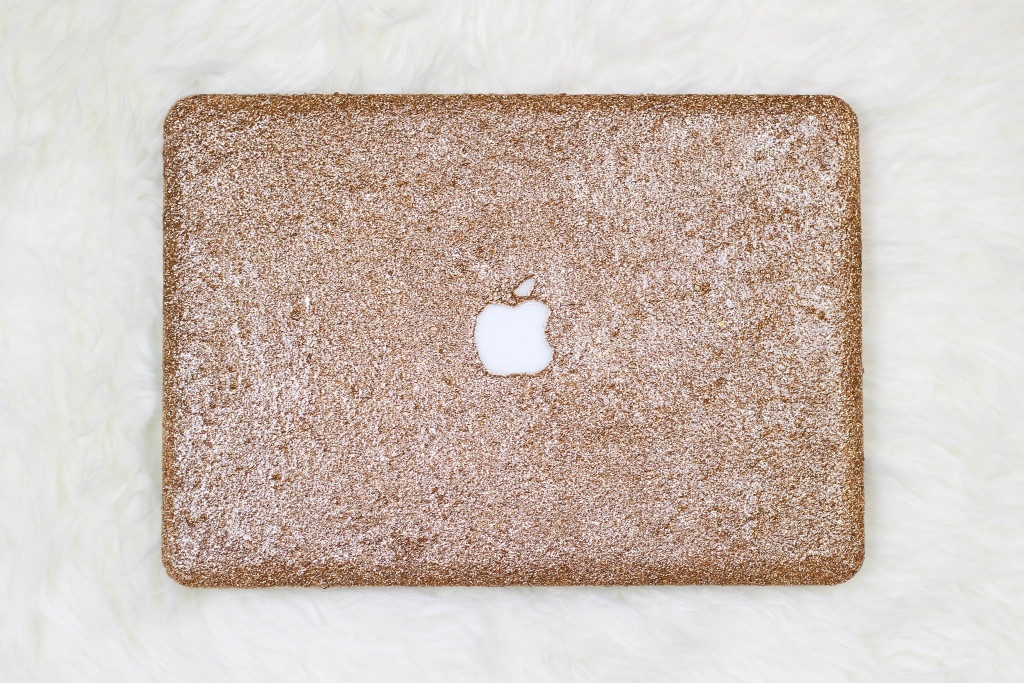
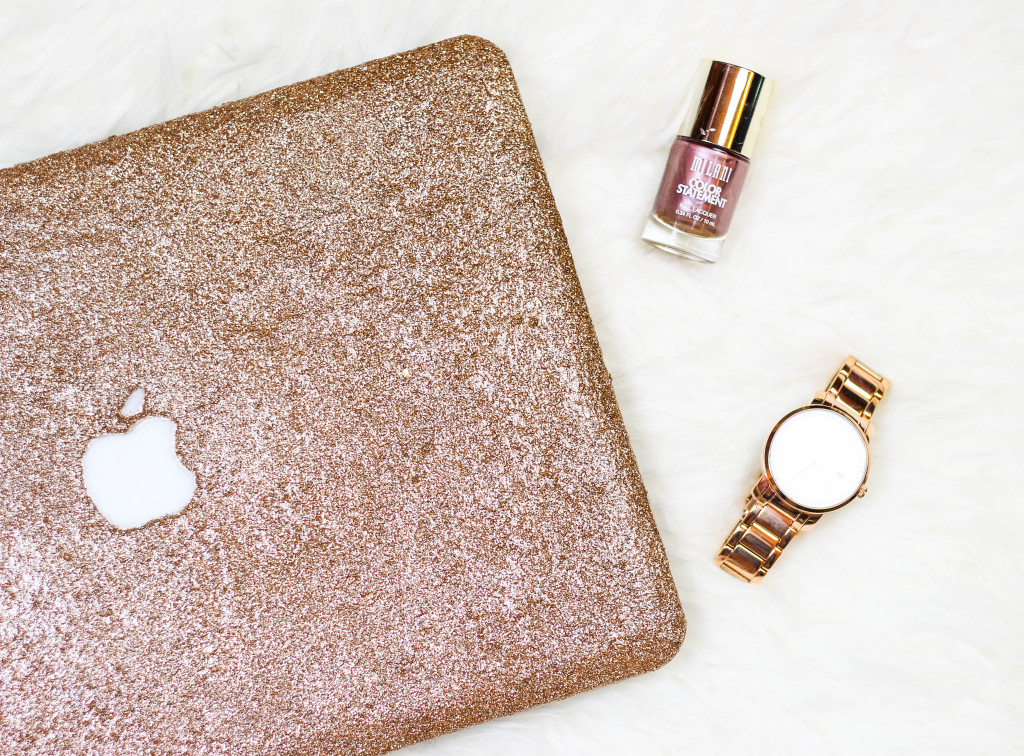
Overall I love how this case turned out and with all the coupons I used (never buy craft supplies without a coupon) it costed me a lot less than $52!

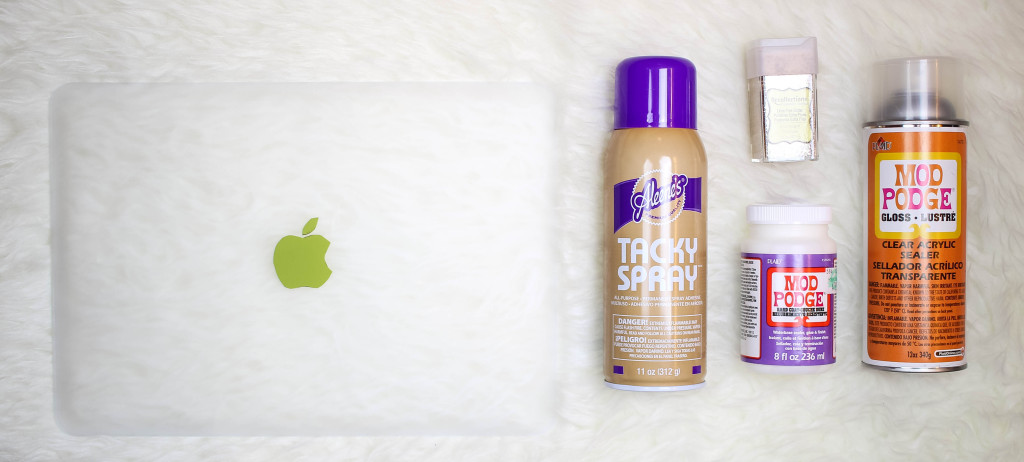
Supplies:
- Macbook Case in ‘Clear’
- All Purpose Adhesive Spray
- Mod Podge Hard Coat
- Mod Podge Acrylic Sealer
- 2 Bottles of Extra Fine Glitter in ‘Champagne’– You can use any glitter you want. I just LOVED this color. I also mixed in a little bit of Martha Stewart Crafts Yellow Gold glitter to add some dimension.
- X-ACTO Knife
- Foam Brush
- Optional: Vinyl Apple Sticker or Macbook
Directions:
- Optional: Put your case on your Macbook. Find the “apple” logo. If you still have the original MAC logo sticker, place that on over the lighted apple. If you do not, create your own like I did. I used a regular piece of white paper and traced the apple. Then I cut it out and used that paper apple to trace out another apple on a piece of vinyl. I ripped off the vinyl backing and placed my apple sticker over the lighted up apple. This is so the lighted apple logo isn’t covered up by the glitter
- Lay your case on a paper bag to avoid a mess. Spray a generous coat of adhesive spray on half of the case and immediately pour glitter over the top. Wait about a minute, and do the same on the other half. Wait five minutes, repeat. Wait another five minutes, and repeat. I did three coats of glitter total. Make sure all the blotchy spots are covered. Also make sure to go around your apple sticker so it’s easier to pull off. When your case feels dry pull the sticker off.
- When you feel like the adhesive spray is dry put on your first layer of Mod Podge Hard Coat. I found it easiest to pour a little bit on the case and use my foam brush to move it around. Let dry and put on one more thin coat. Let dry overnight.
- Use your X-ACTO Knife to carve out the apple logo, if it shifted at all. Spray on one coat of your acrylic sealer.
- Put the case on your macbook and there you go!


Xo, Britta


lovely!
Thank you!
I wish I could do one as well, unfortunately here in Luxembourg we cannot buy those materials =(
Love this tutorial and the rose gold colored glitter you used I may have to try it with my hard iPad case.
You should definitely try it! The glitter is really stunning. I want to put it on everything! haha
Great Dude 🙂