DIY Plants on Pink Pumpkins
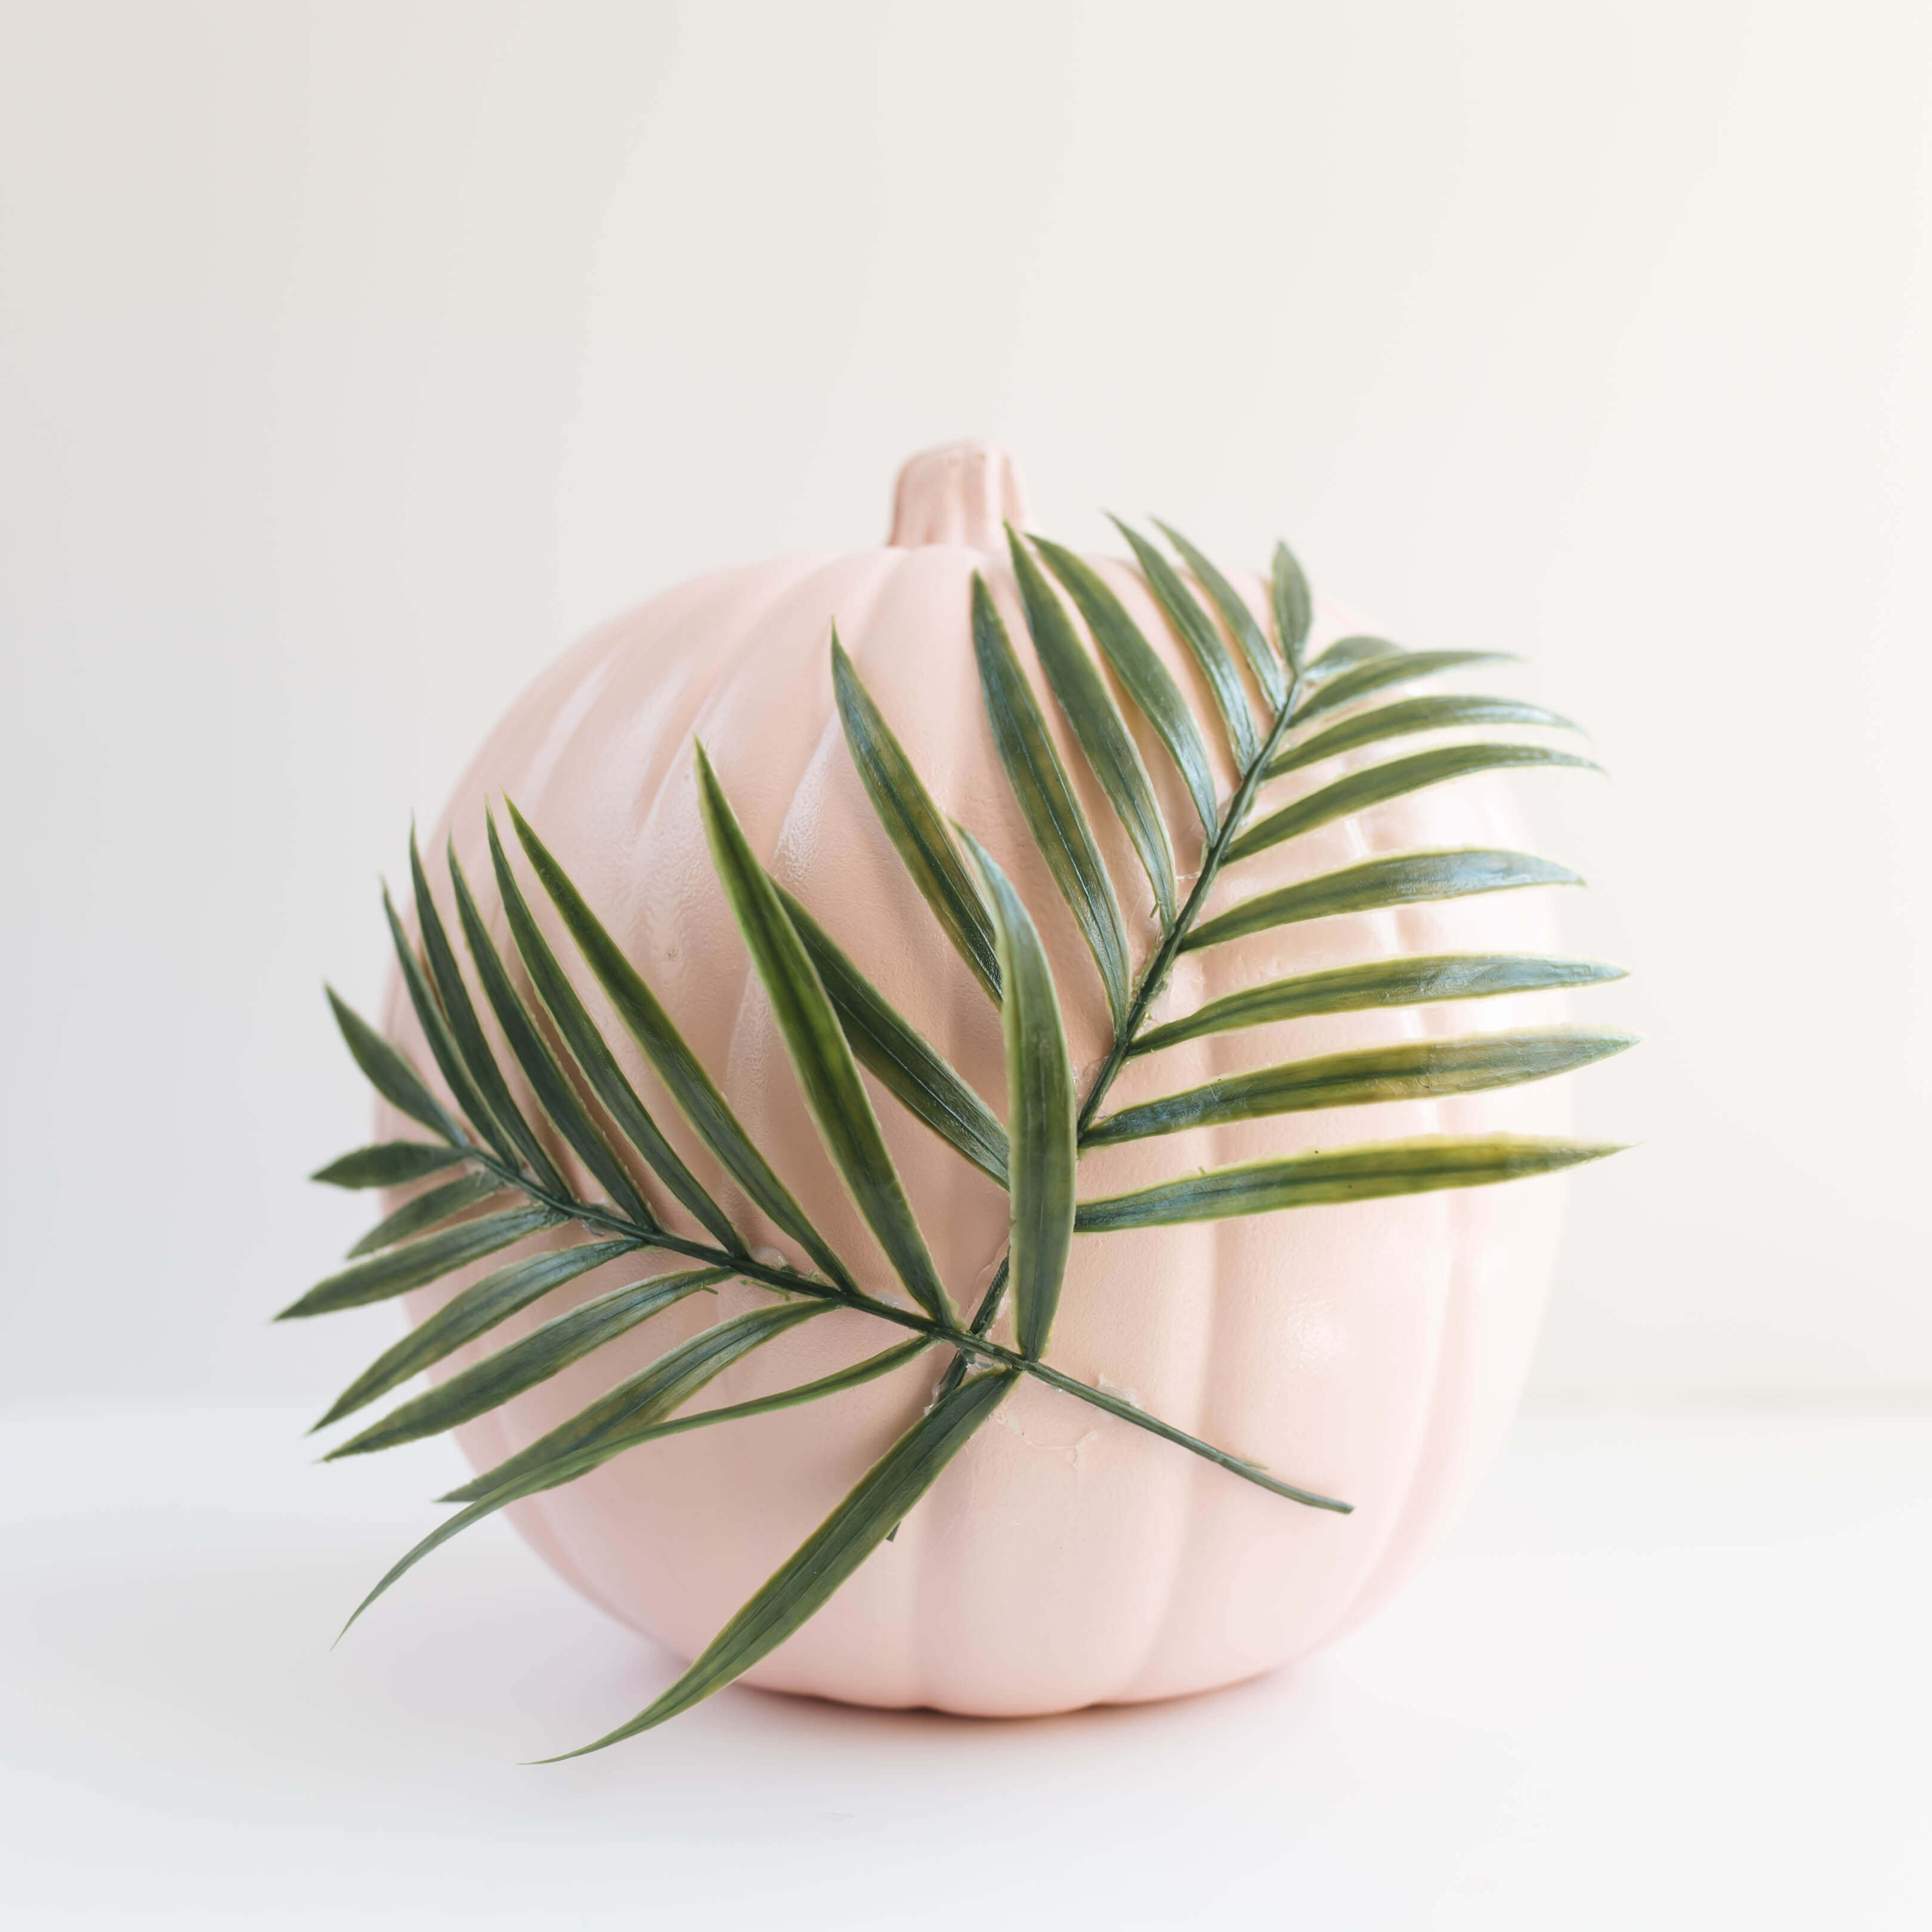
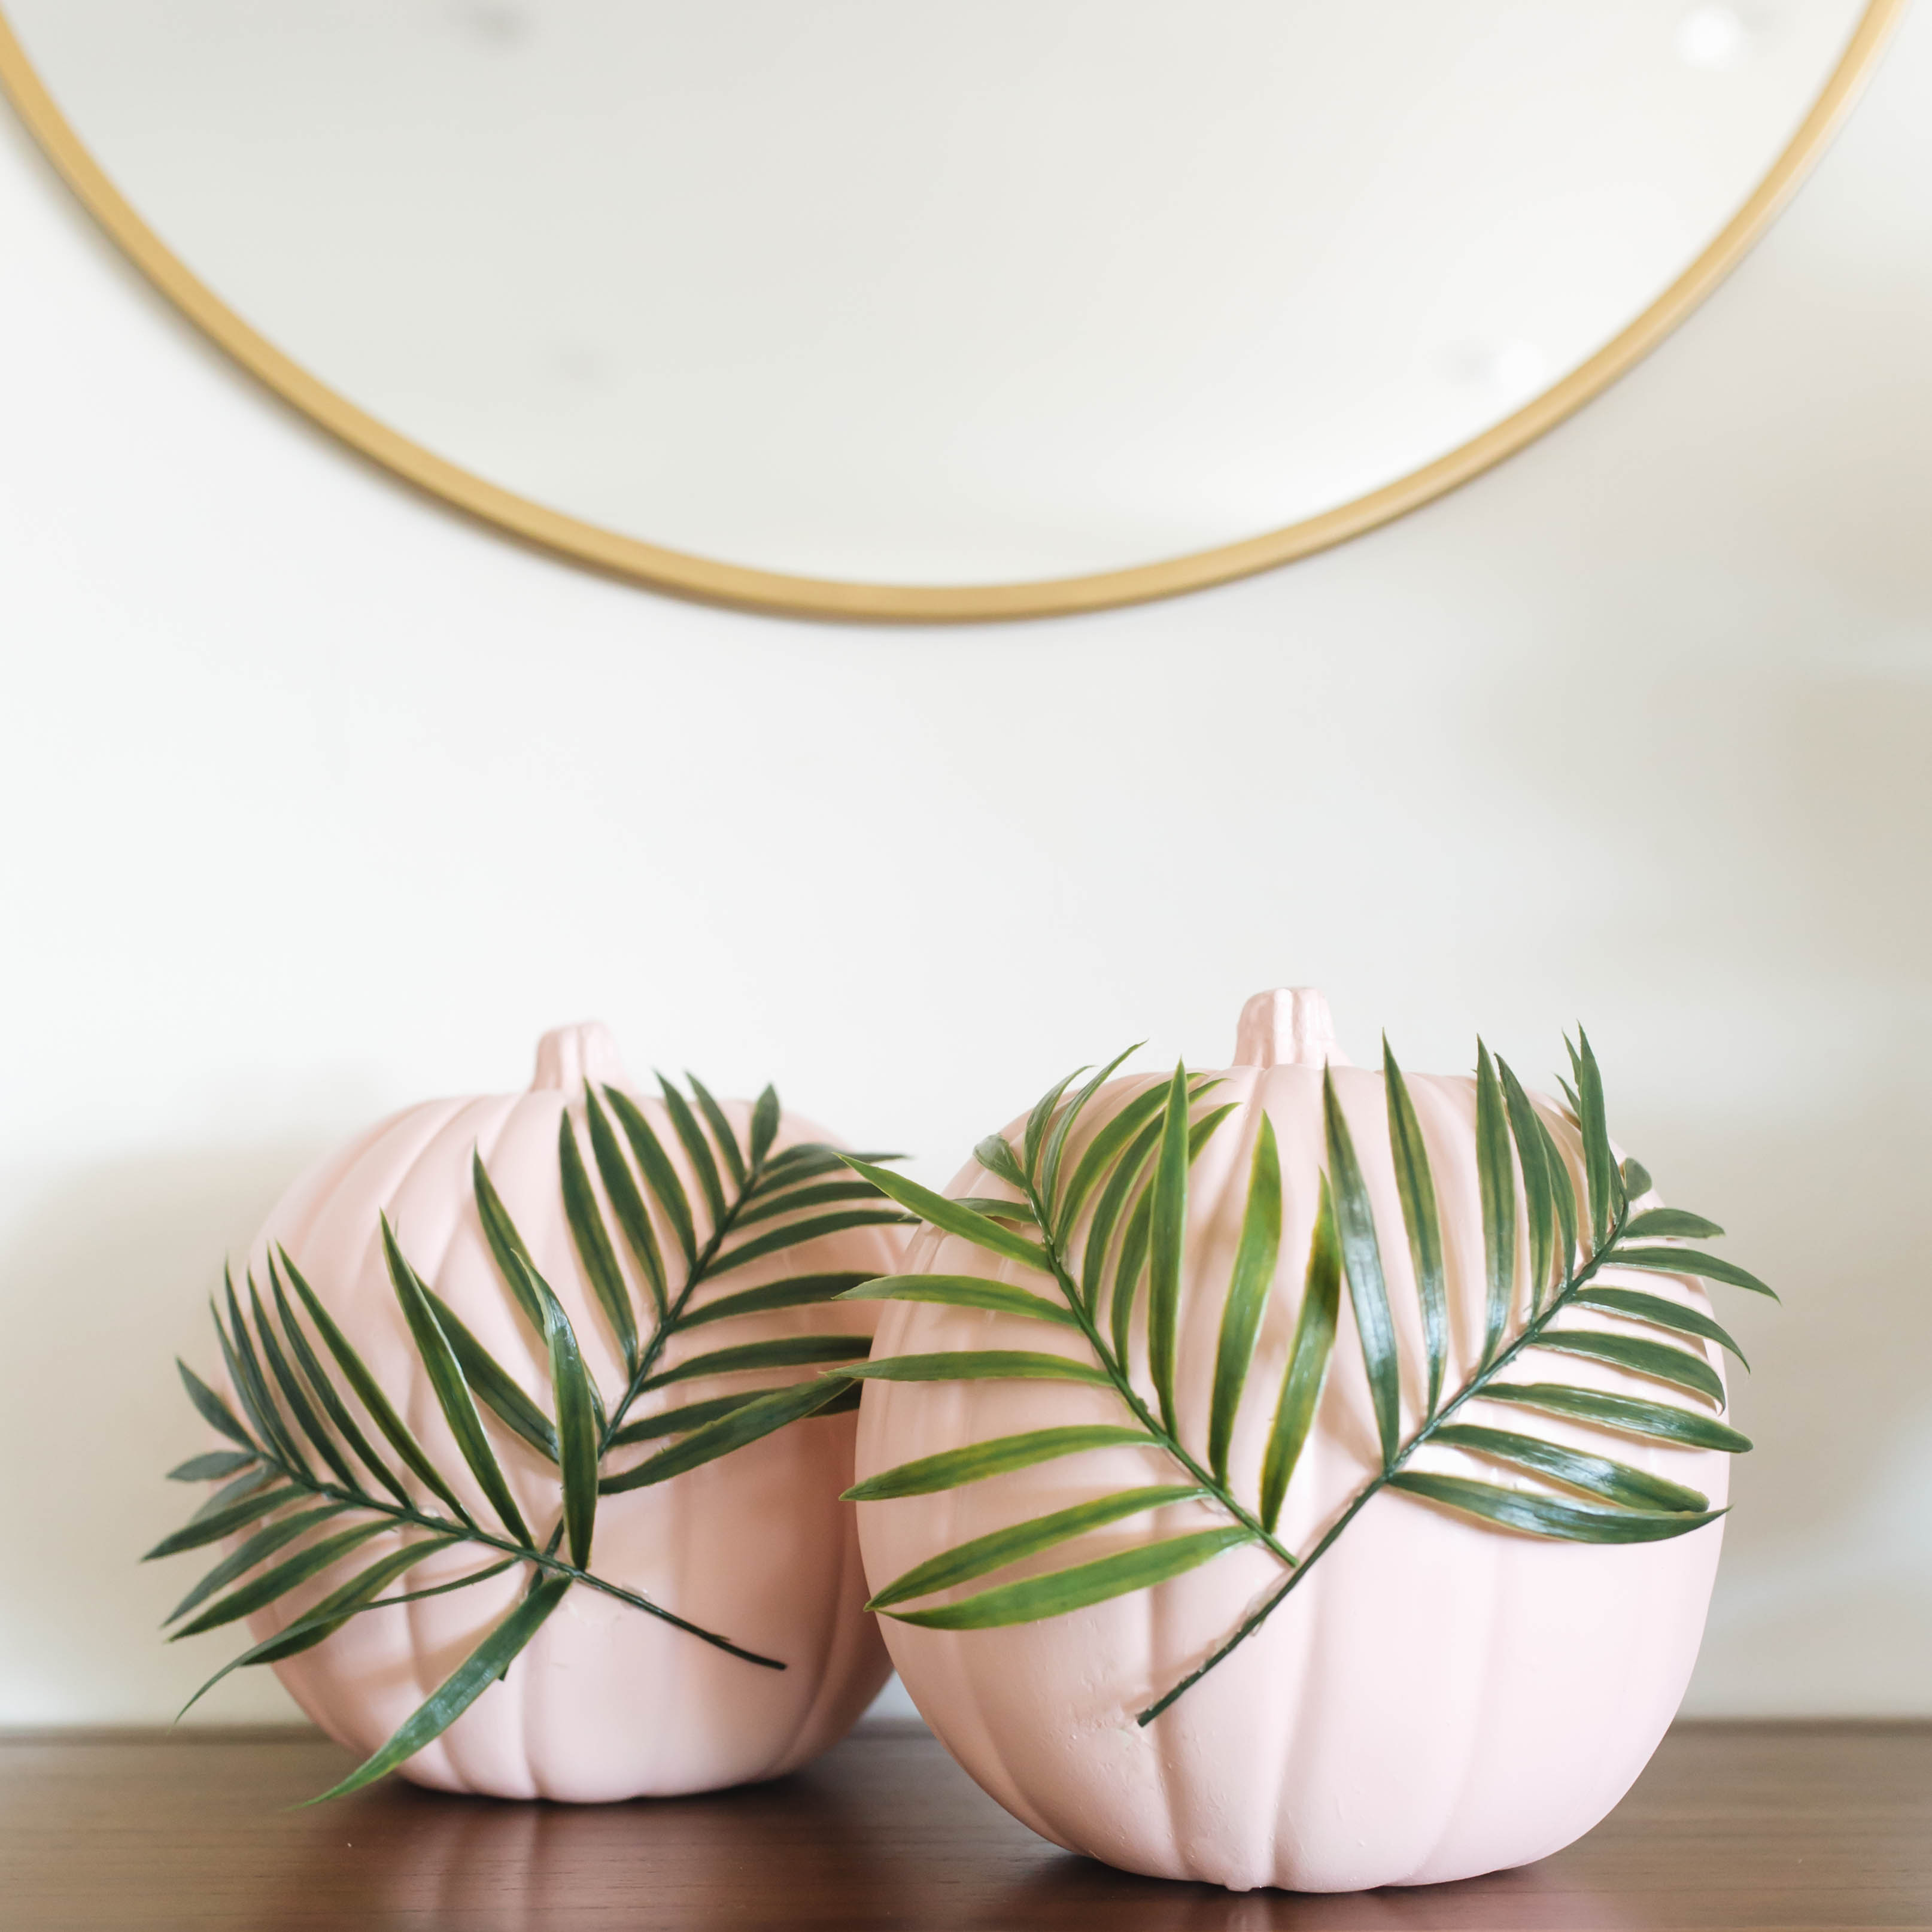
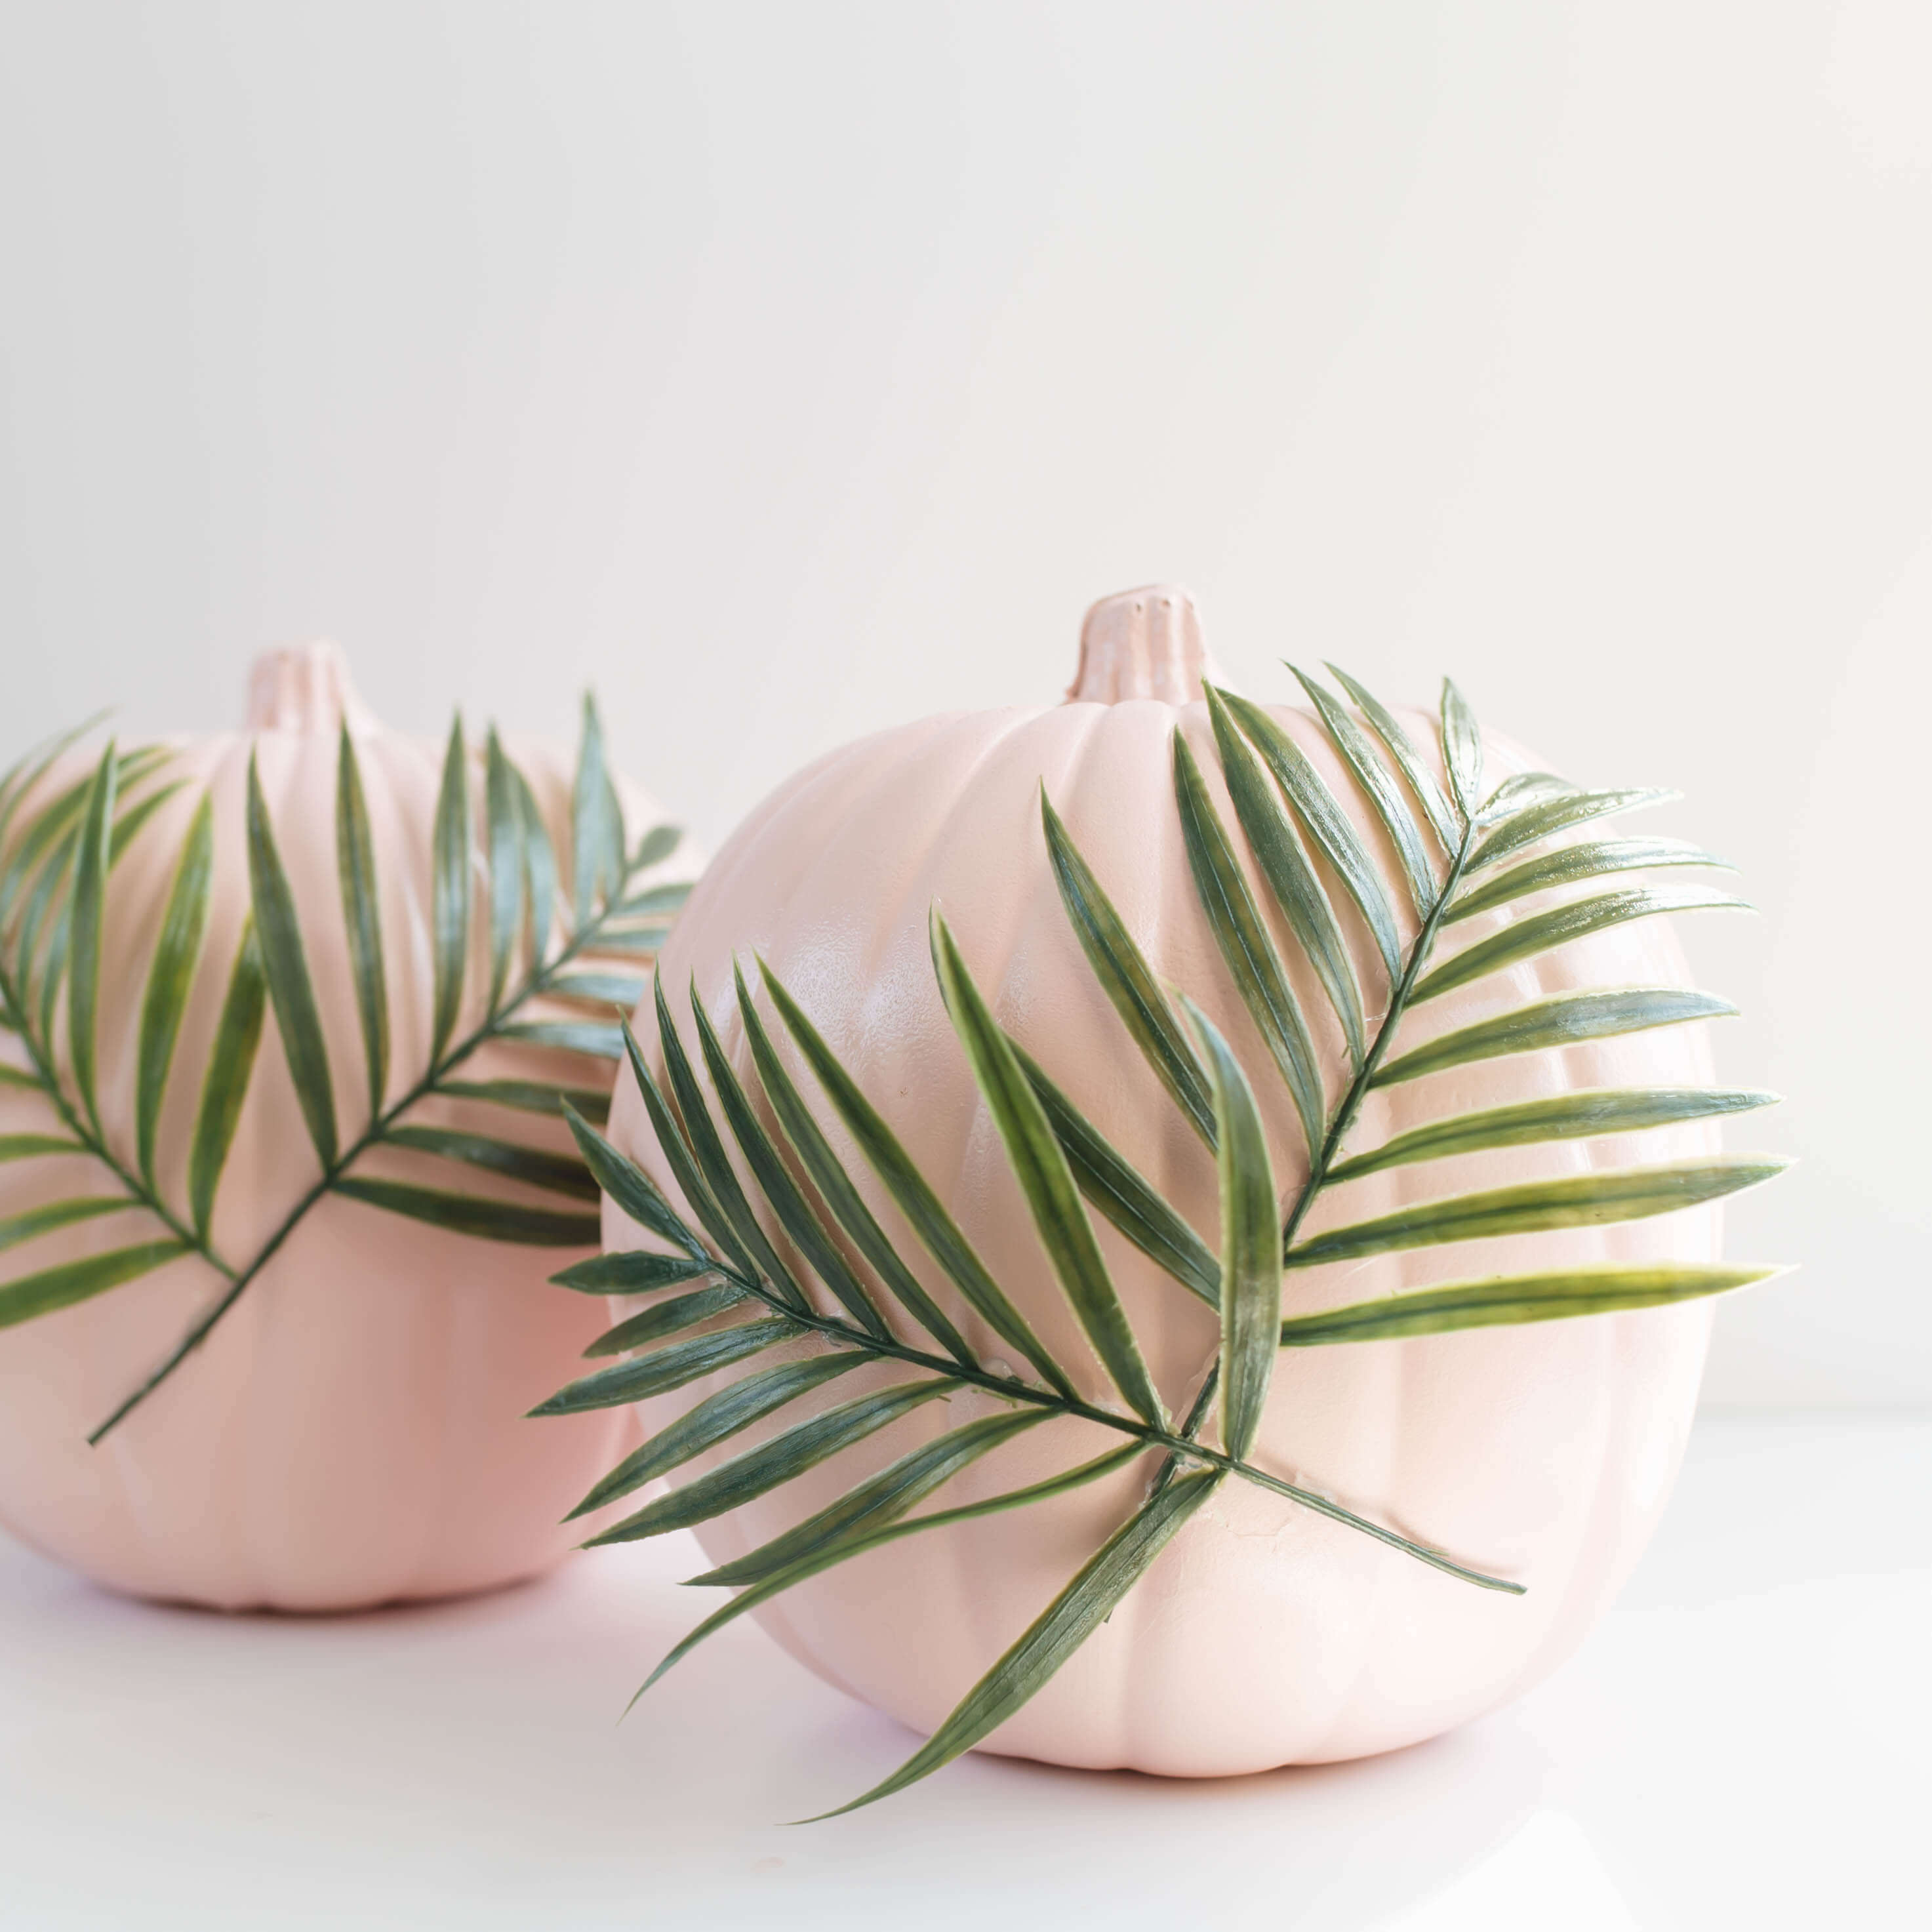
We used to do so many more DIY projects on our blog and while we don’t have the time anymore, we will never miss an opportunity to make a new DIY craft pumpkin! You may remember these watercolor pumpkins we made two years ago. We moved last October so that’s why we didn’t have a DIY pumpkin for you last year. Anyways, this year in full millennial spirit we decided to create these “plants on pink” pumpkins. We’ve been following the @plantsonpink Instagram account for years and we always found it so aesthetically pleasing that we decided to incorporate the concept into our fall home decor.
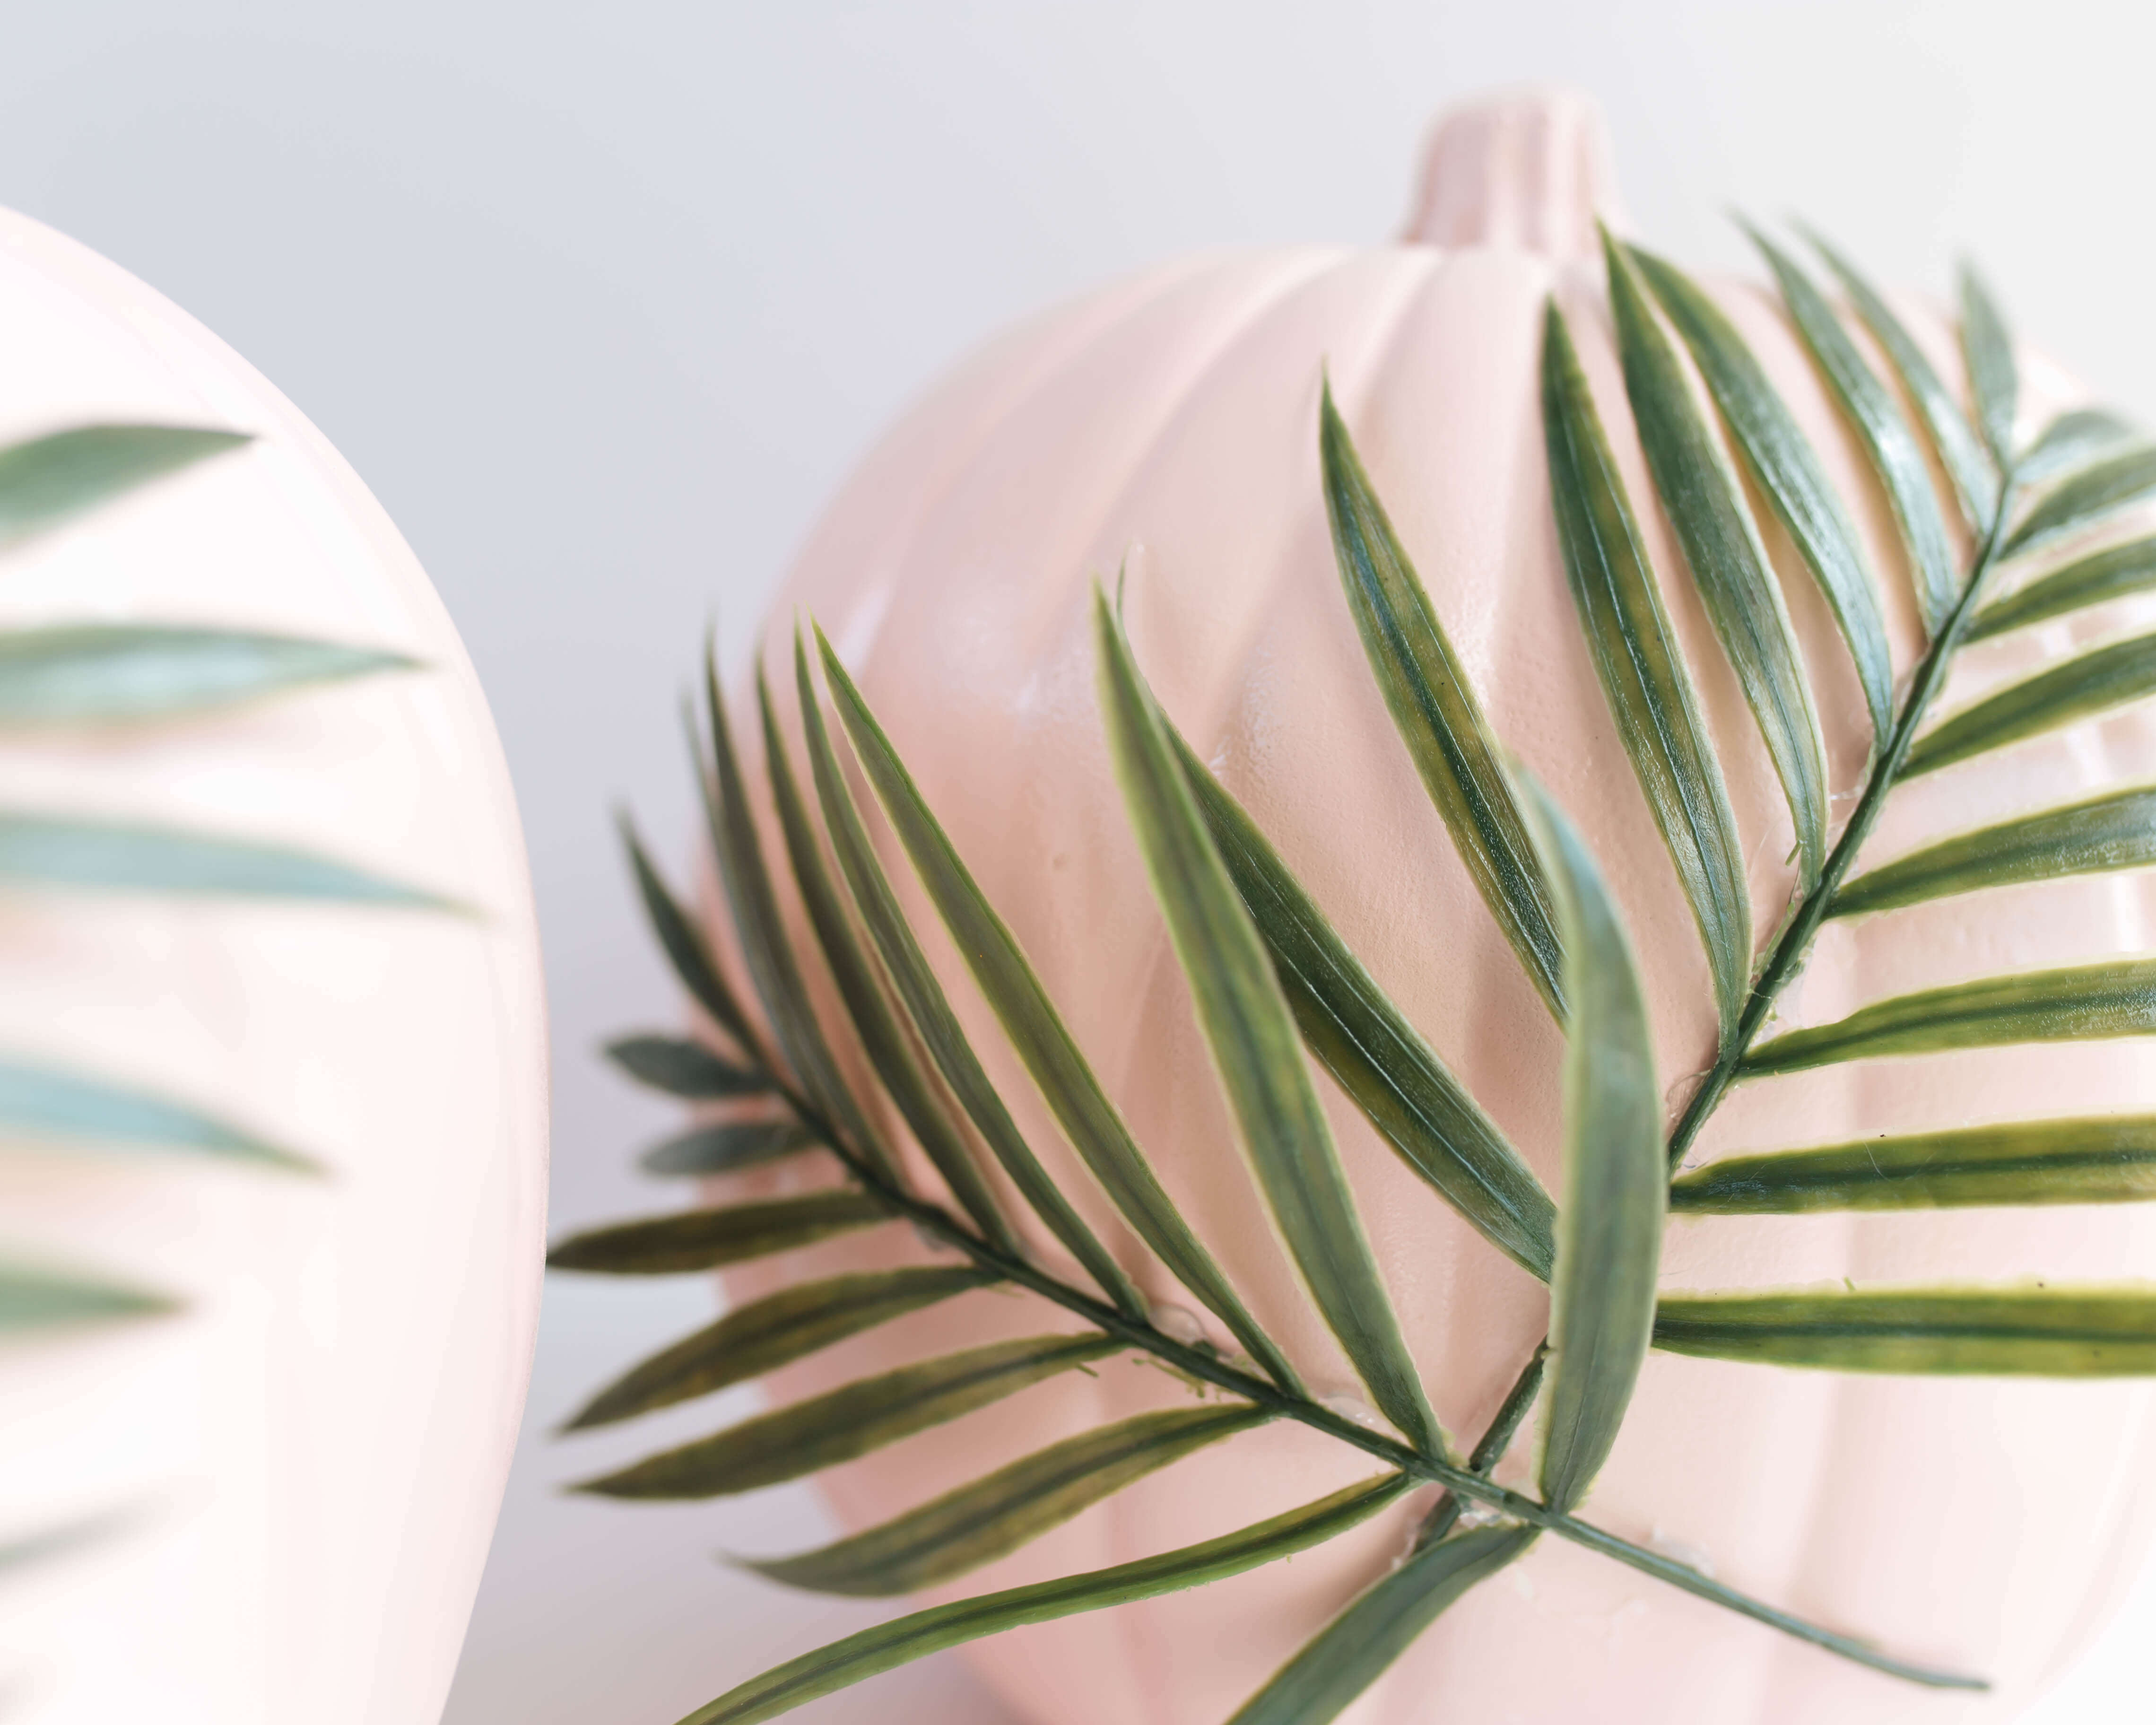
These craft pumpkins are simple but we think they make quite the statement. While we generally don’t gravitate towards pink, we absolutely love this color. It’s called “ballet slipper” and we find the same so fitting.
If you want to know how to make your own “plants on pink” pumpkin read the directions below! We also want to see what you come up with so use the hashtag #plantsonpinkpumpkin
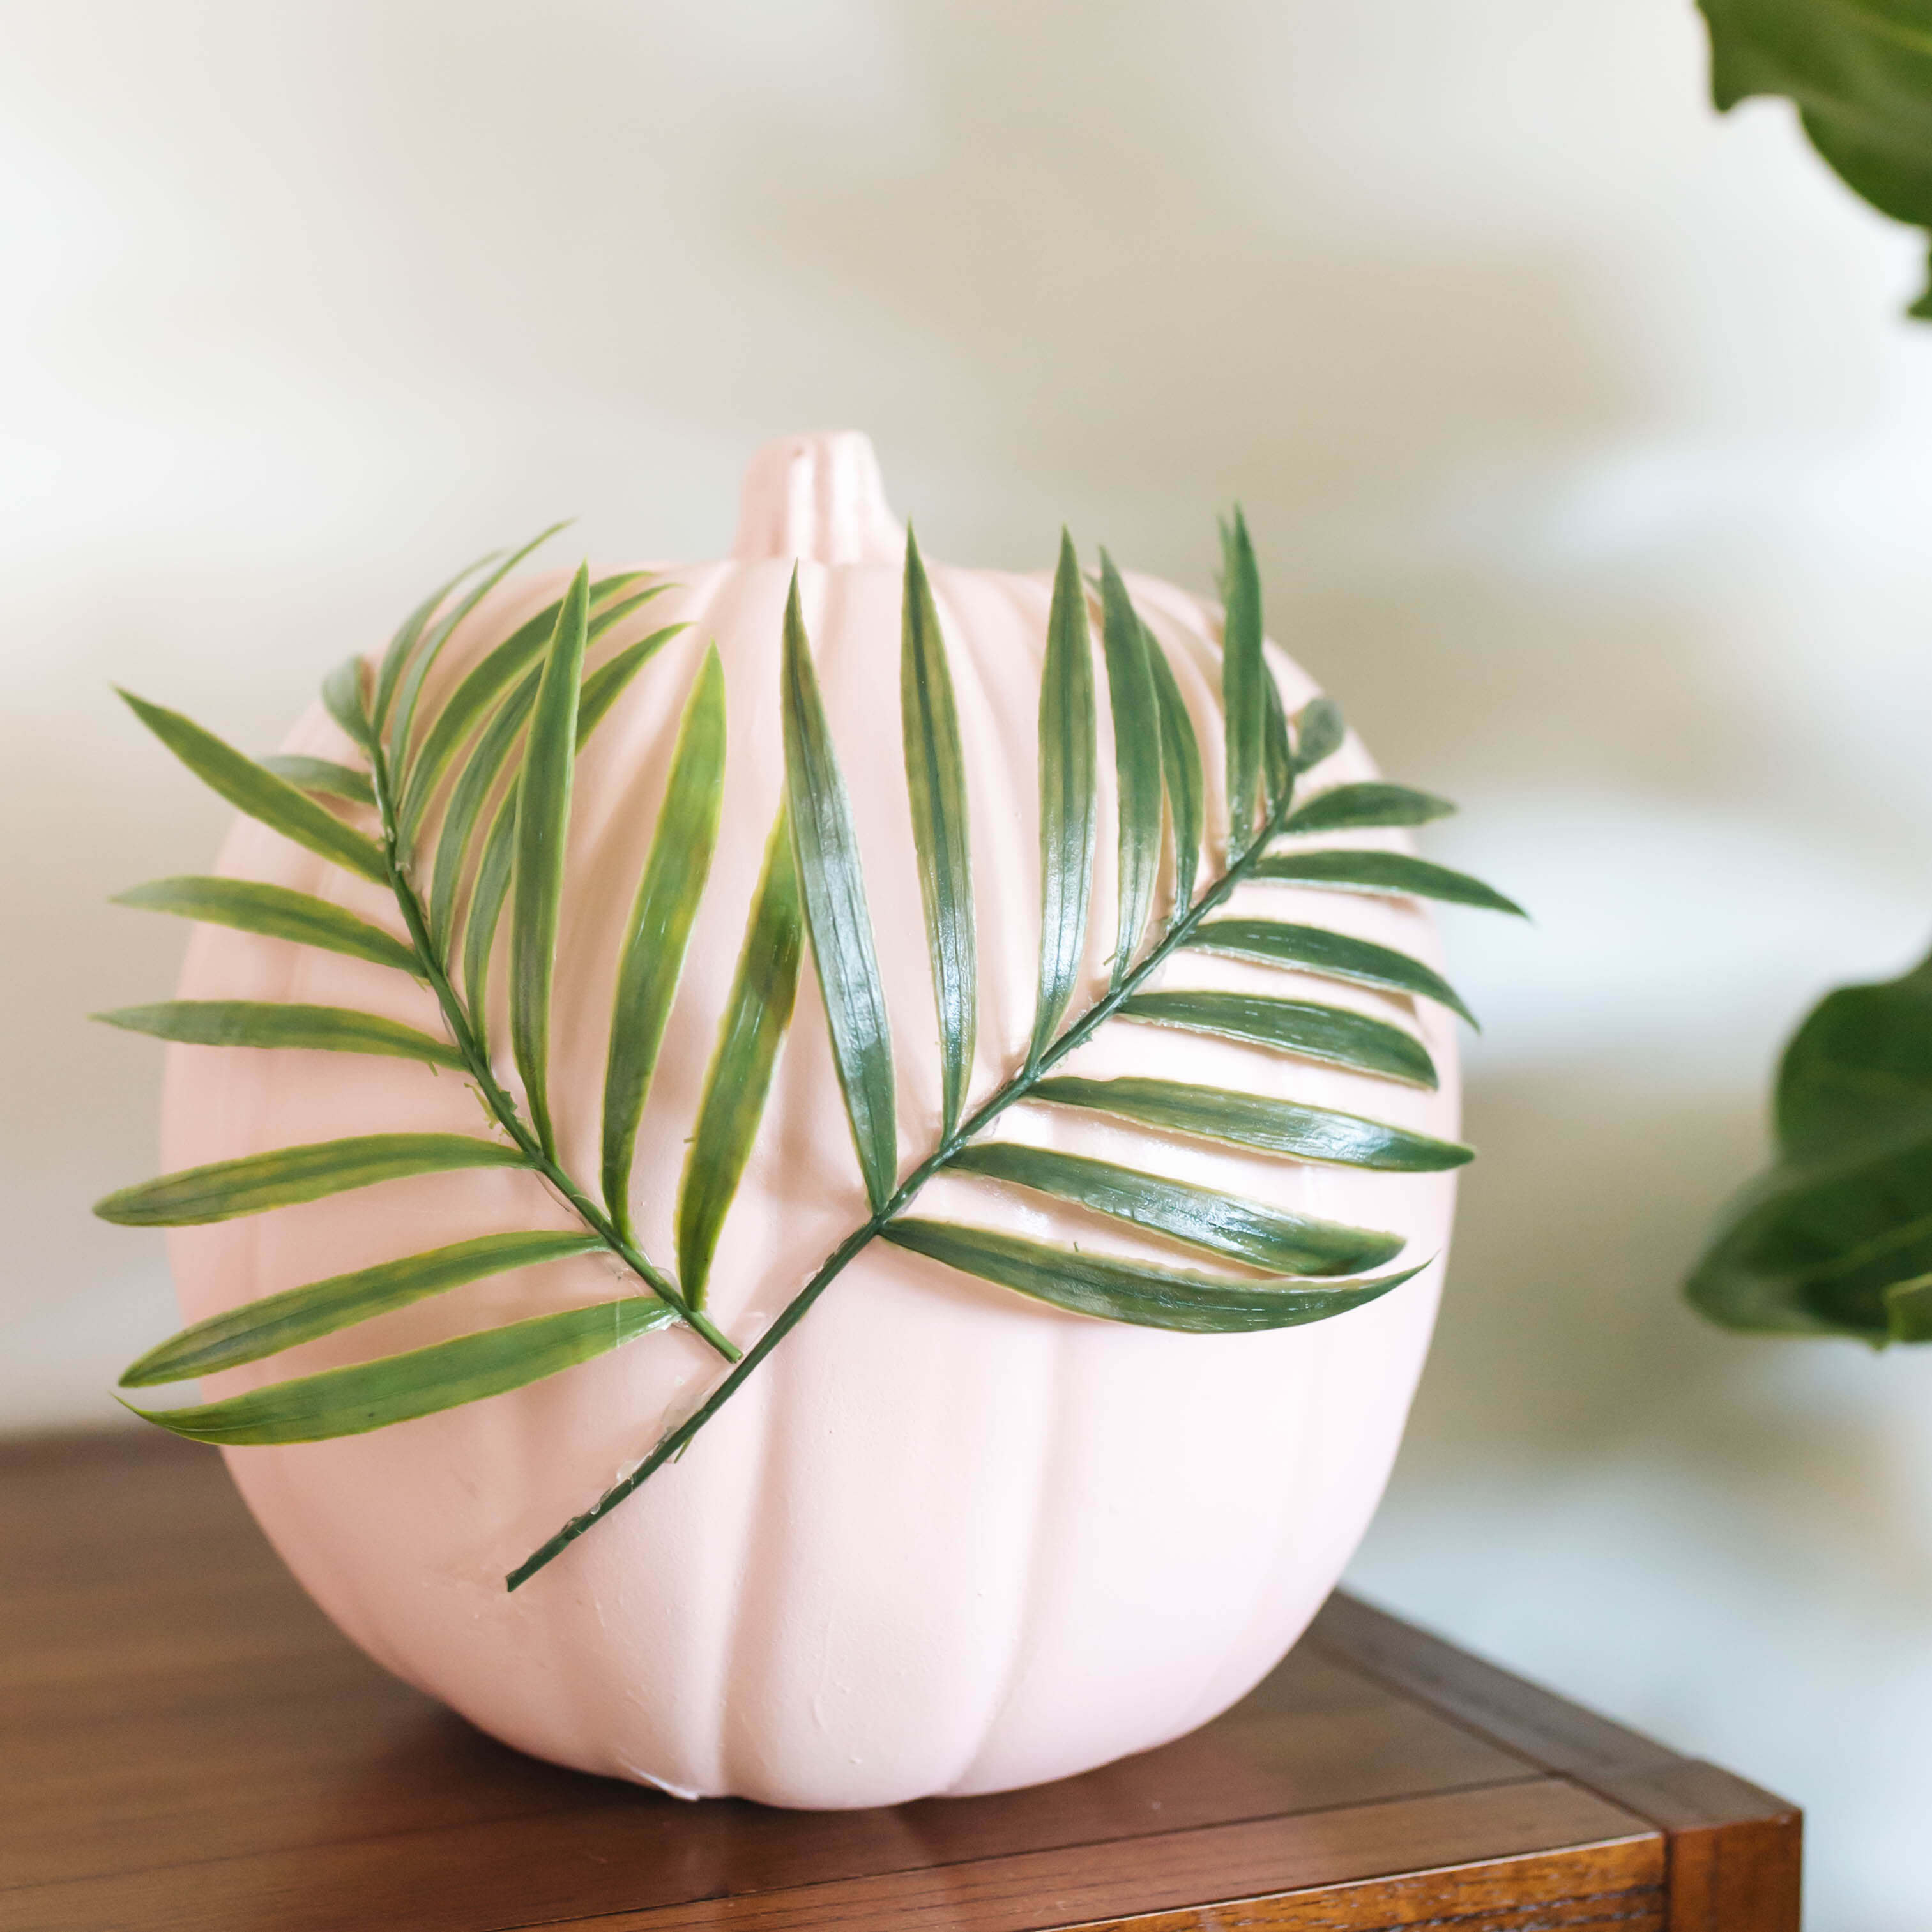
What you’ll need:
- 9″ white craft pumpkin
- Flat white primer (optional)
- Pink spray paint– we went with this one because it was the most “millennial pink” and we liked the glossy finish.
- Faux plant stems- I can’t find a link but we got ours at Michaels
- Hot glue gun + glue sticks
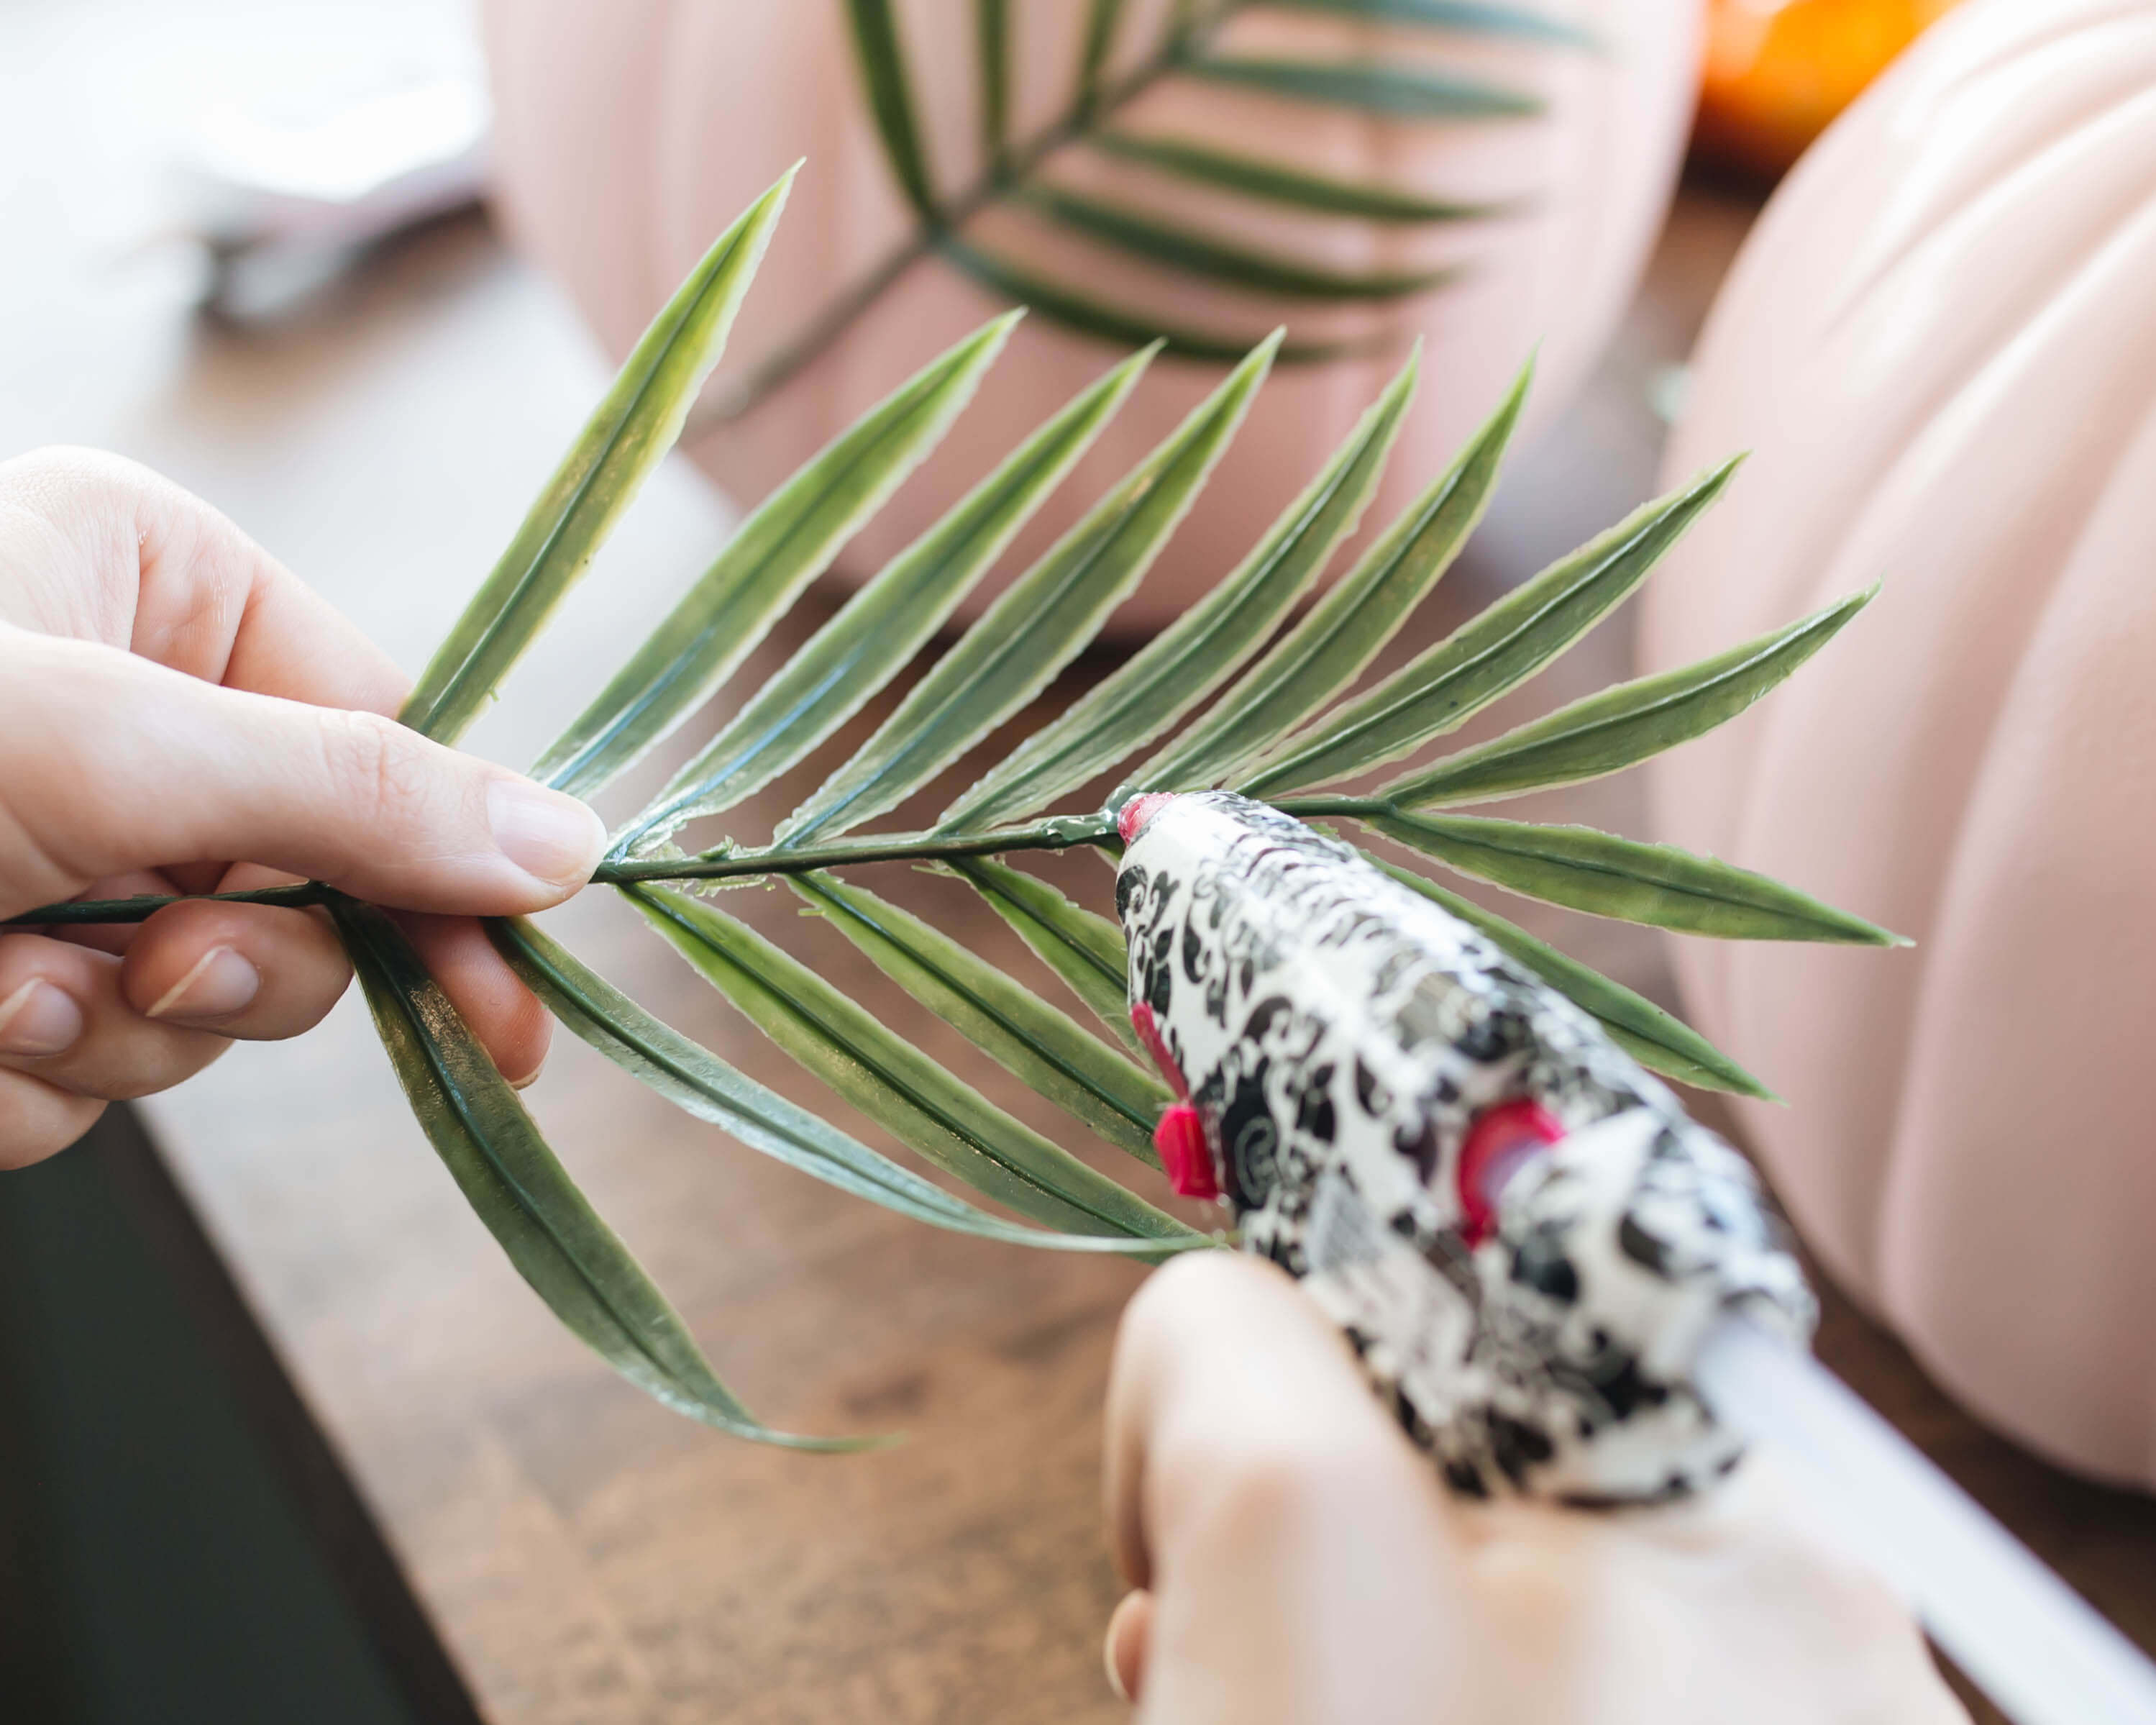
Directions:
1 | (optional) We bought white craft pumpkins but the tops were black so we primed them with white spray paint. Wait about 20 minutes to make sure the white is dry.
2 | Paint one coat of pink spray paint, wait twenty minutes and then paint another. Remember to use a sweeping motion when paint so you don’t get any drips. You want thin, even coats!
3 | Once the pumpkin is dry turn it on its side and spray a light layer on the bottom. We just wanted ours to be pink all the way around even though you don’t see the bottom. Wait 20 minutes to dry.
4 | Cut your faux plant stems down so there’s not a long tail. The tail will be hard to glue on the curved surface of the pumpkin. Bend your stems to be curved, not flat so that they conform to the shape of the pumpkin.
5 | Using a hot glue gun glue, place hot glue on the middle of your stem (not the leaves). You should only need a thin line. Place the stem on the pumpkin and hold down until its dry. Repeat as many times as you’d like. We did two stems each!
