DIY Glitter Shoes
Gold is everything.
I don’t know when my obsession with gold started, because as a child I found the color gaudy and repulsive. But these days I can’t get enough of it. Most of my statement necklaces are gold (besides all the turquoise ones of course), and I try to decorate my room with as many gold accents as possible. I recently spray painted my bed posts gold, as well as two picture frames. Oh, and my boyfriend made me go to Home Goods with him this past weekend (torture when you have no money) and I found an adorable gold vase for $7, which is less than a meal at Panera (P.S. I eat unhealthy high quantities of Panera during the Fall/Winter months).
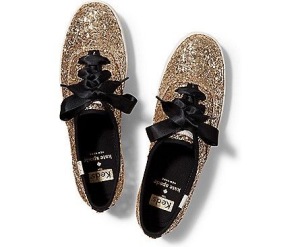
Anyways, gold has slowly but surely made its way into my wardrobe as well. So when I stumbled upon the Keds x kate spade new york Champion Glitter Shoes I knew I had to have them. But then I realized they were $80, and I don’t even have 80 cents to spare. So like any self-proclaimed crafting queen I decided to make my own. I assumed Mod Podge and glitter would do the trick, and Pinterest reassured my thought process. This is a very easy project and turned out great!
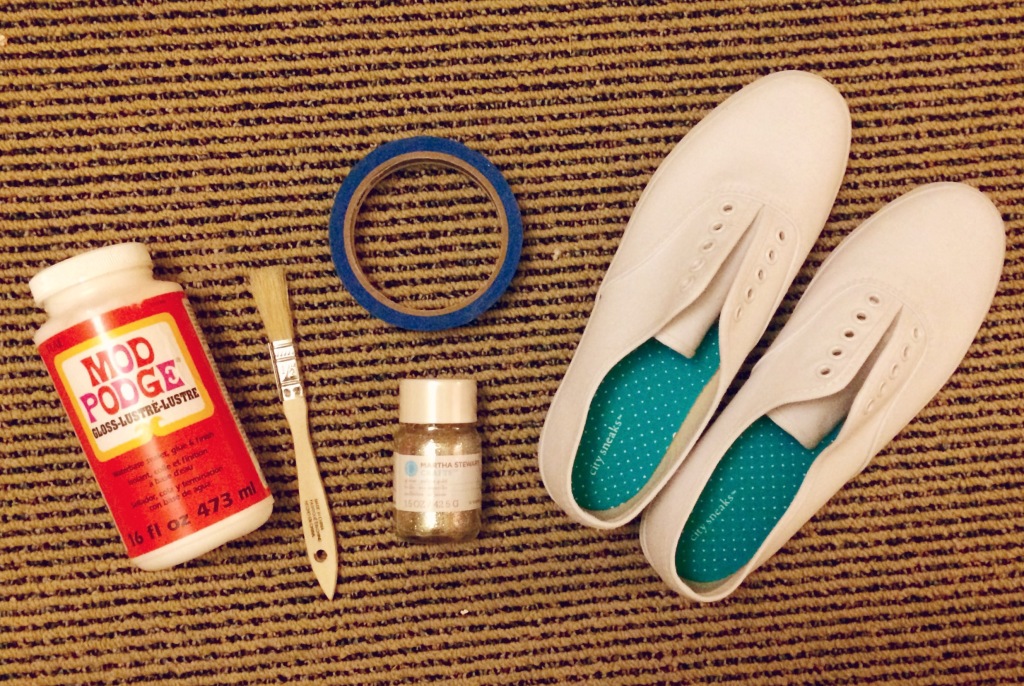
Supplies:
- A pair of Keds, or any “look-alike” shoes. I purchased a pair of Womens Bal Sneakers from Payless, for $18
- Gold Glitter. My favorite is Martha Stewart Crafts Fine Glitter, in Yellow Gold
- Mod Podge
- Small Bowl
- A Small Paint Brush
- Painter’s Tape
- Razor
- Black, Satin Shoelaces. I ordered mine here on Etsy. Since my shoes didn’t have very many rivets, I only need the 91 cm length.

Directions:
- Tape the soles of your shoes, to ensure no glitter gets below the fabric portion of the shoe.
- Mix the Mod Podge and glitter together in a small bowl. I didn’t measure mine. My mixture wasn’t runny at all, but also wasn’t very thick. I personally think it’s better to have more Mod Podge then you think necessary, since that is what holds the glitter to the shoe. It dries clear anyways, so too much is better than not enough.
- Use the paint brush to paint three coats of the mixture on each shoe. Allow each coat to dry for 30 minutes before applying another.
- Let the shoes dry overnight and remove the tape. Then use a razor blade to scrape off any glitter that got on any rubber part of the shoes, since you want the glitter to only be on the canvas section.
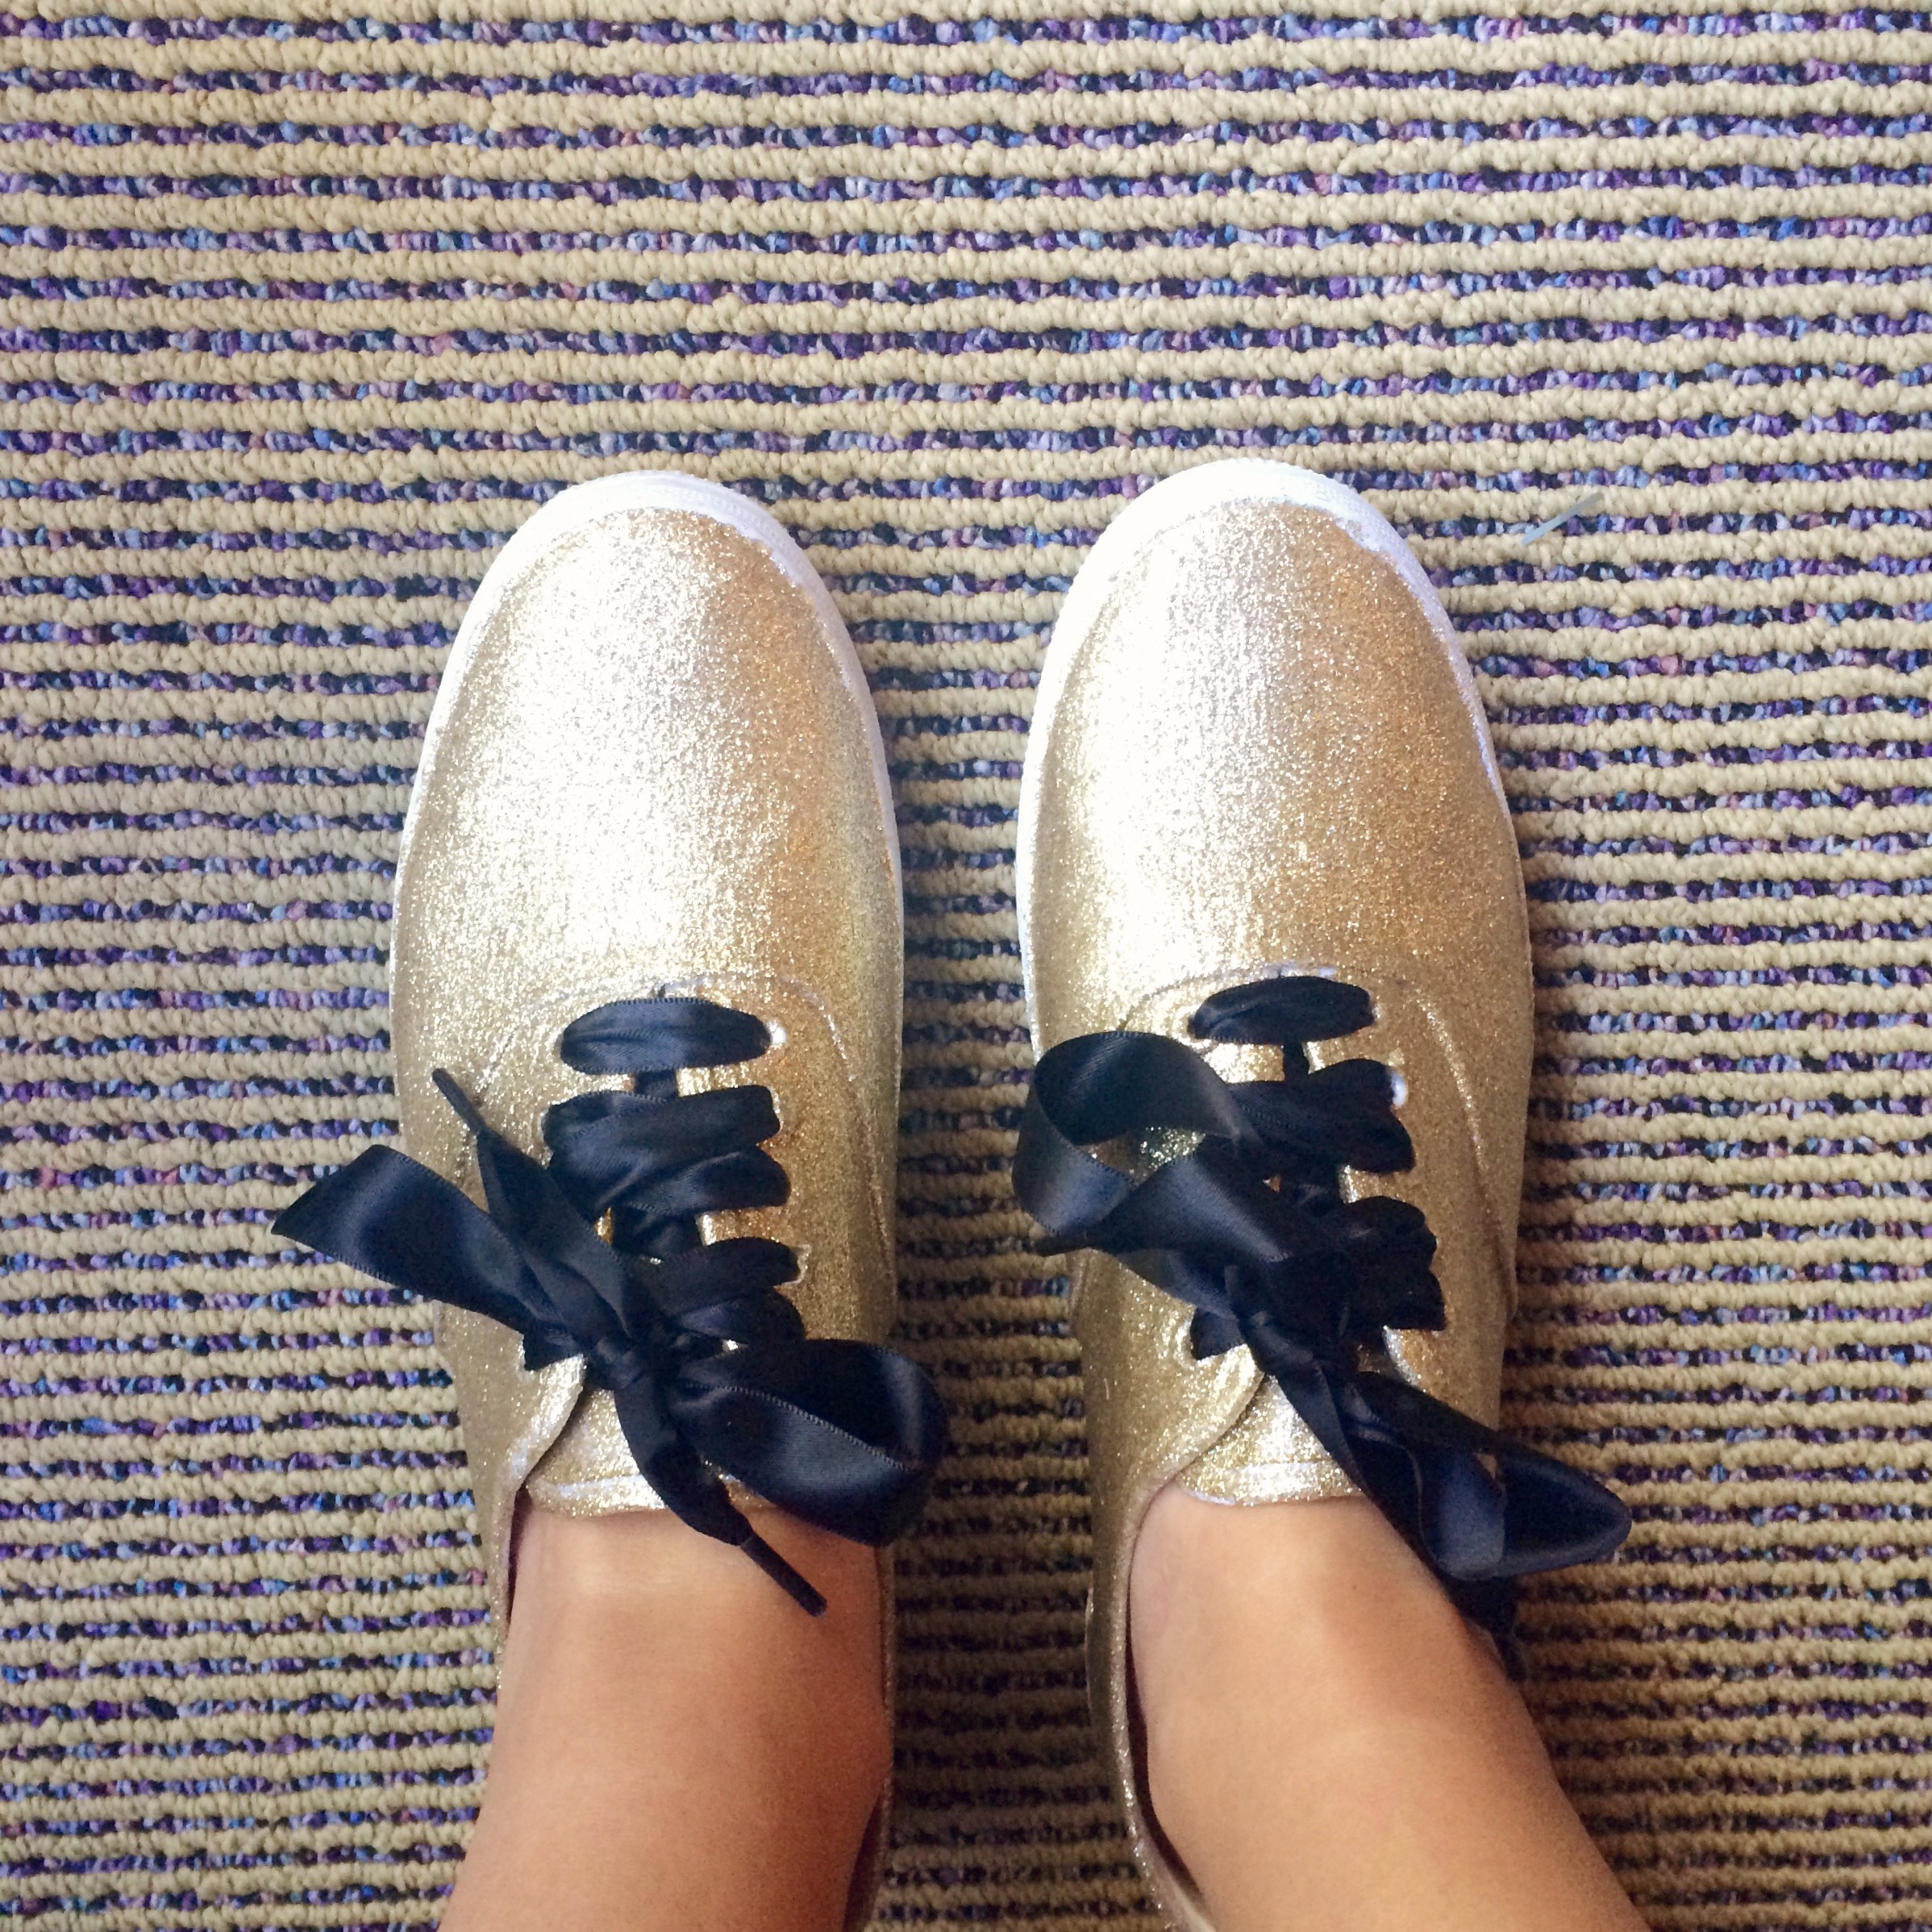
- Insert shoelaces, and that’s it!
I already had most of the supplies I needed for this project, so I only had to purchase: the shoes ($18), the glitter ($2.50-with a 50% off coupon from Michaels), a small paintbrush (79 cents at Michaels), and satin shoelaces ($6.50-including shipping). That brings my grand total to about $28! Which is a whole lot less than $80.
Yay for saving money!!!


Adorable! 🙂
Yes!! You did it again 🙂
I,ll take a picture of the flats I told you about so you can whip up a pair.
How durable are these? Would love to make some for my daughter if they hold up well.
They definitely hold up well! The glitter has never fallen off. Since the shoes are made of canvas the mod podge grabs on really well.