How To Customize Your Snapcode
Anyone else not the biggest fan of the Snapchat yellow? Britta and I wanted to put our Snapcode on this blog’s sidebar & our social accounts so people could easily follow us, but the yellow just didn’t fit with our brand. I searched high & low for tutorials on how to customize your Snapcode and couldn’t really find simple instructions that got the job done fast. I’m no Photoshop pro and even I was able to change our Snapcode color and insert a picture of us inside the ghost. Follow these simple instructions so you can do the same!
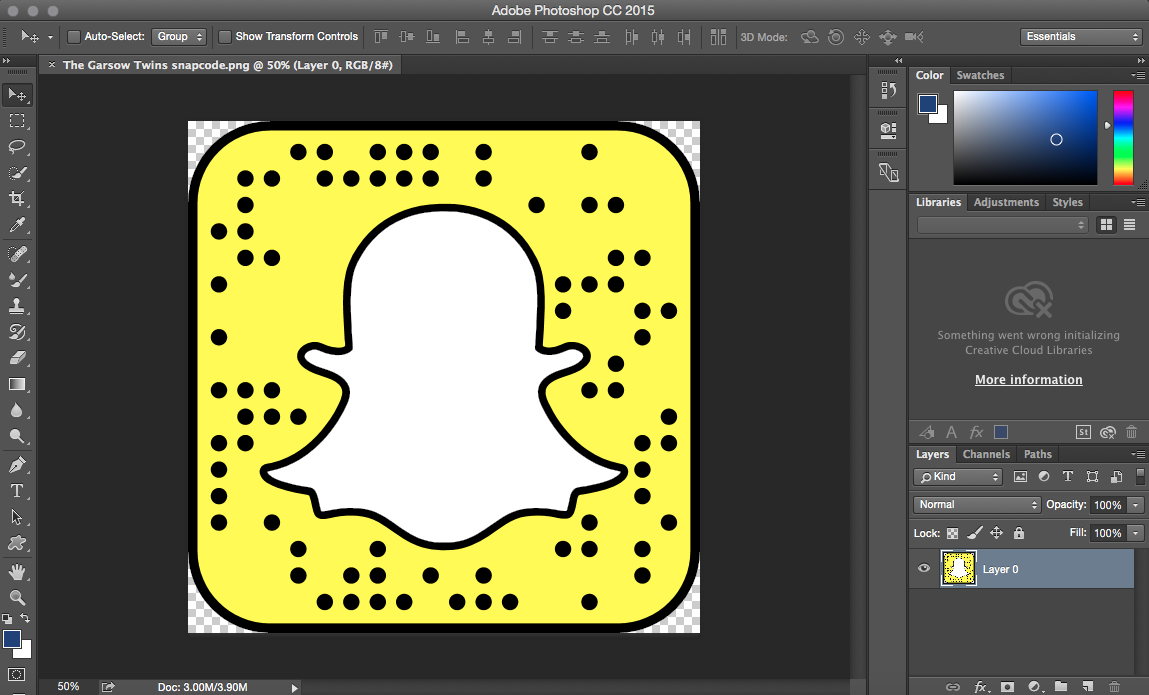
Step 1: Go here to download a .png version of your Snapcode. Save the picture to your Desktop.
Step 2: Open up Photoshop & drag the picture from your desktop into the program (we use Photoshop CC, it’s only $10/month for Photoshop & Lightroom. You can download a free trial of Photoshop here).

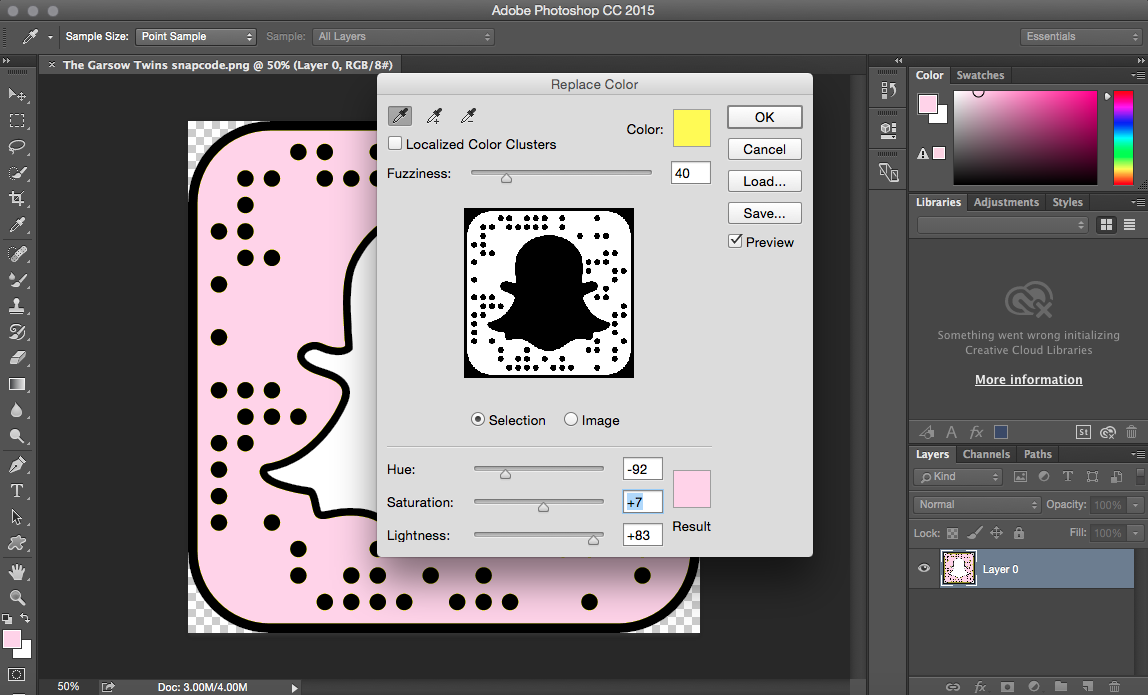
Step 3: Go to Image –> Adjustments –> Replace Color.
Next, tap the yellow in the image (anywhere there is yellow is fine). A “Replace Color” screen will pop up.

First, start by moving the Hue slider until you are in the range of the color you want (I did pink/purple).
Now it’s time to move the Lightness slider. Move the slider left to make the color darker and to the right to make the color lighter.
I moved the Saturation slider last since it was the smallest change I made. Moving it to the left will de-saturate & the right will saturate.
Step 4: Go to File –> Export –> Quick Export as PNG
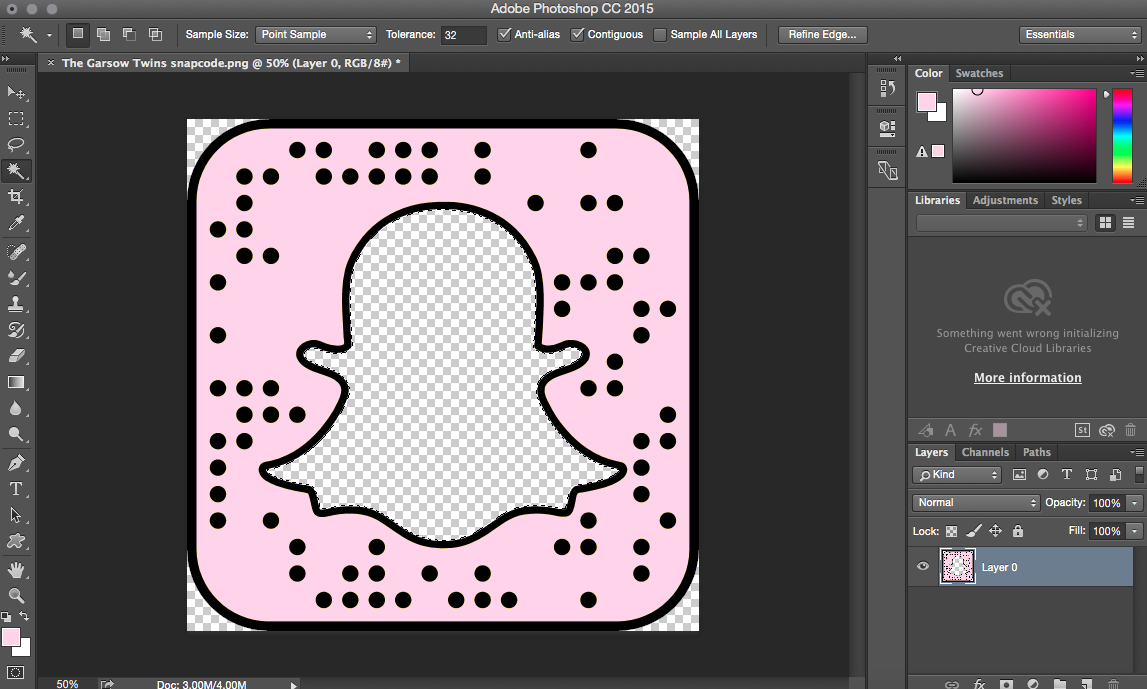
This was our Snapcode with just the color change:

To customize your code further with a pic of yourself in the ghost, follow these steps:
Step 5: Use the wand tool (4th from the top in the toolbar) and click on the white ghost to select. Press the delete button to get rid of the white and make it transparent (press backspace if you’re on a PC).

Step 6: Create a new layer by going Layer –> New –> Name it (I did “Layer w/pic”)
Step 7: Make sure your new layer is highlighted and go to File –> Place Embedded –> Find the image you’d like to import and select that.

Step 8: Click the Move Tool (very top button in the toolbar) & confirm you would like to “place” the image.
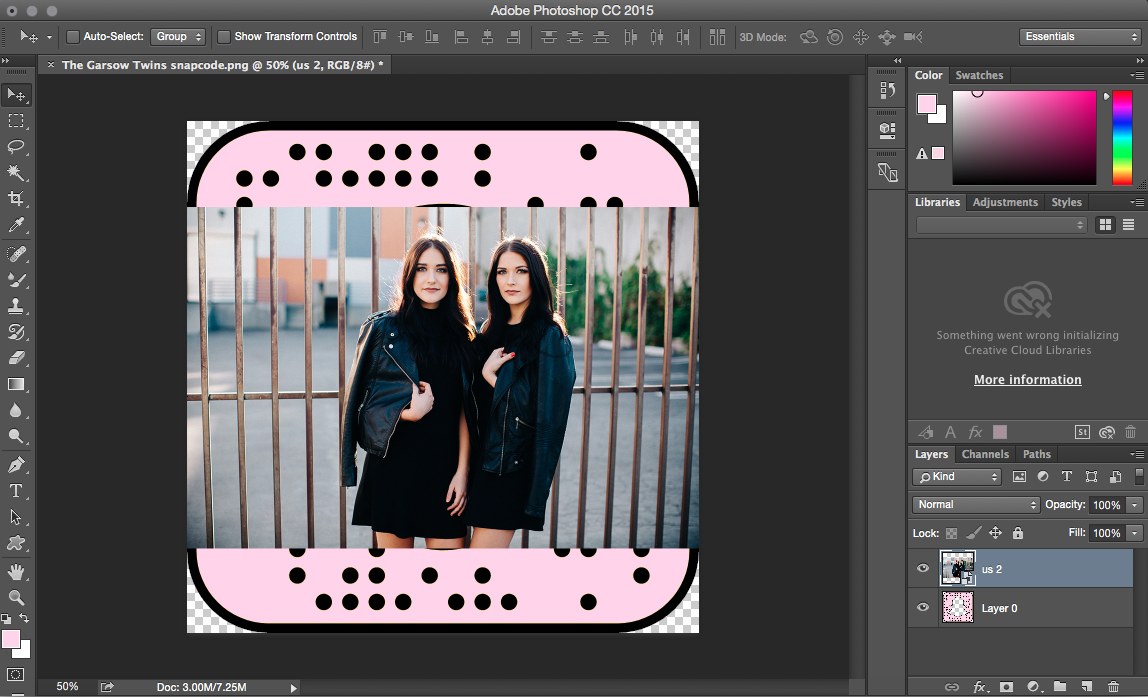
Step 9: Reorder layers by moving the first layer on top of the new picture layer. Just drag the bottom layer on top of the other. It should look like the image below.

Step 10: Make sure your picture layer is selected, move the picture around until it looks right to you. You won’t be able to change the picture size, you’ll just be able to move it.
Step 11: Once again, go to File –> Export –> Quick Export as PNG.
Now your Snapcode is ready to go on your socials or blog! To put your brand new, custom Snapcode on your WordPress blog like we did, you’ll need to download this free Snapchat Widget for WordPress. Just follow the instructions under Installation.
Please share your Snapcodes with us, we’d love to see!
xo Carli


I love this! I hate the yellow.