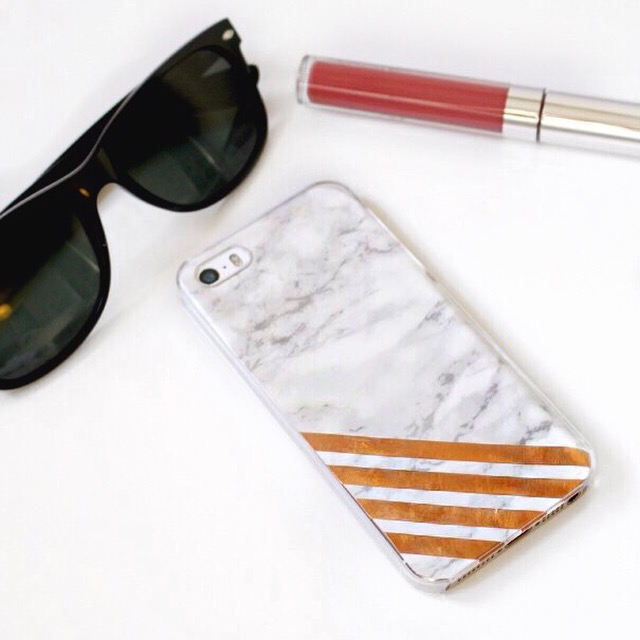
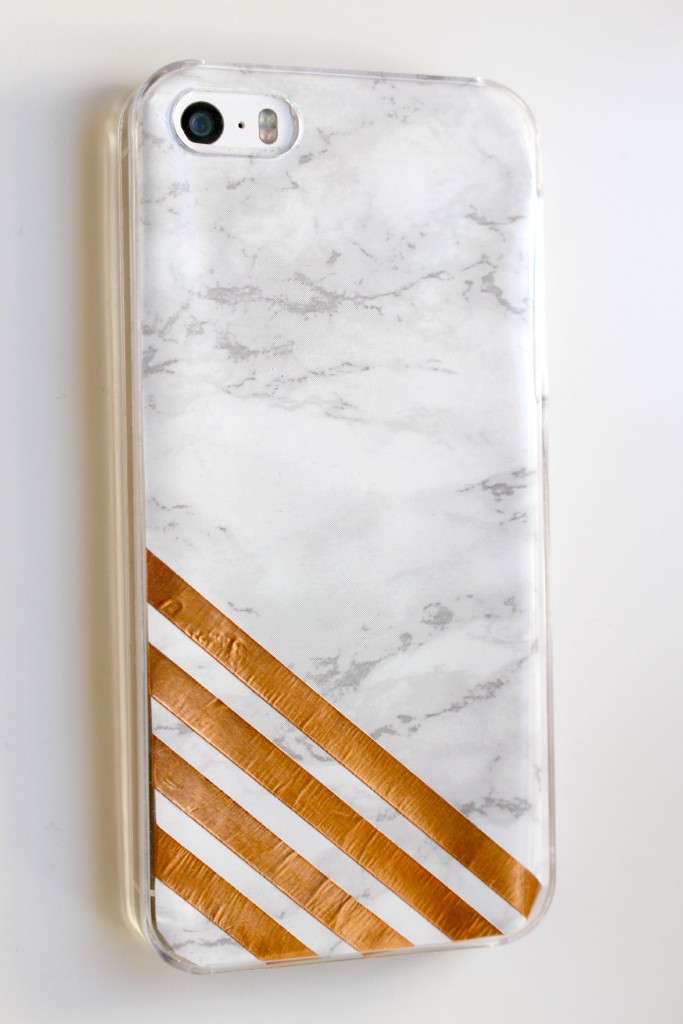
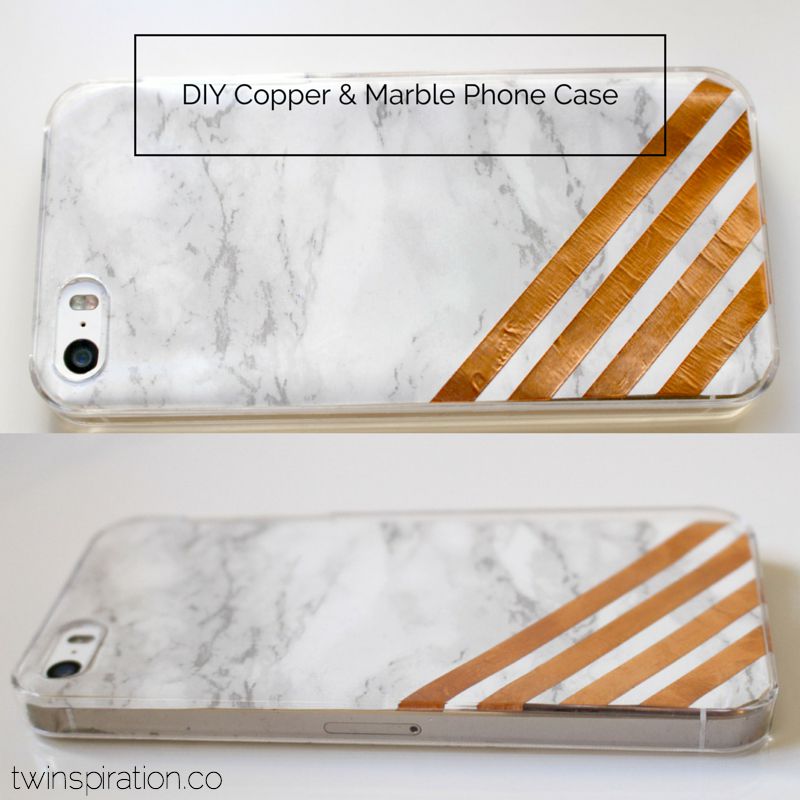
DIY Copper & Marble Phone Case
Do you want to know what the BEST DIY projects are?! The ones you do with leftover supplies. That’s right, those crafts that are basically free to complete. Anything free is good in my book. Free food is my favorite, but that’s besides the point. If you saw my ring dish post, you know how obsessed I am with copper tape now. I had so much left after that project, I knew I needed to use it again. Soon.
I put a copper tape project on the back burner until Britta brought home marble contact paper for a project that’s coming soon to the blog (get excited, people). Then it hit me: marble & copper is a beautiful combo! So the idea of a marble & copper phone case came to life. This project wasn’t entirely free, but the clear phone case was only $1.05. Beat that.
Supplies for this project:
- Clear phone case (I got this one for my iPhone 5s)
- Copper tape
- Marble contact paper (this is the kind I used)
Directions:
- Place the clear phone on top of a section of the contact paper. Trace the phone with a pencil.
- Cut out the piece you just traced. Place the piece you cut out inside the phone case, marble side down.
- Trace around the open circle part meant for the camera phone
- Cut out the circle you just traced. This was a little difficult but not impossible. You can use an X-ACTO Knife to make it easier, but I just used regular scissors.
- Cut out various lengths of copper tape and place them on the bottom left corner in a backslash direction. (You can do a different pattern if you’d like, make it your own. Do you.)
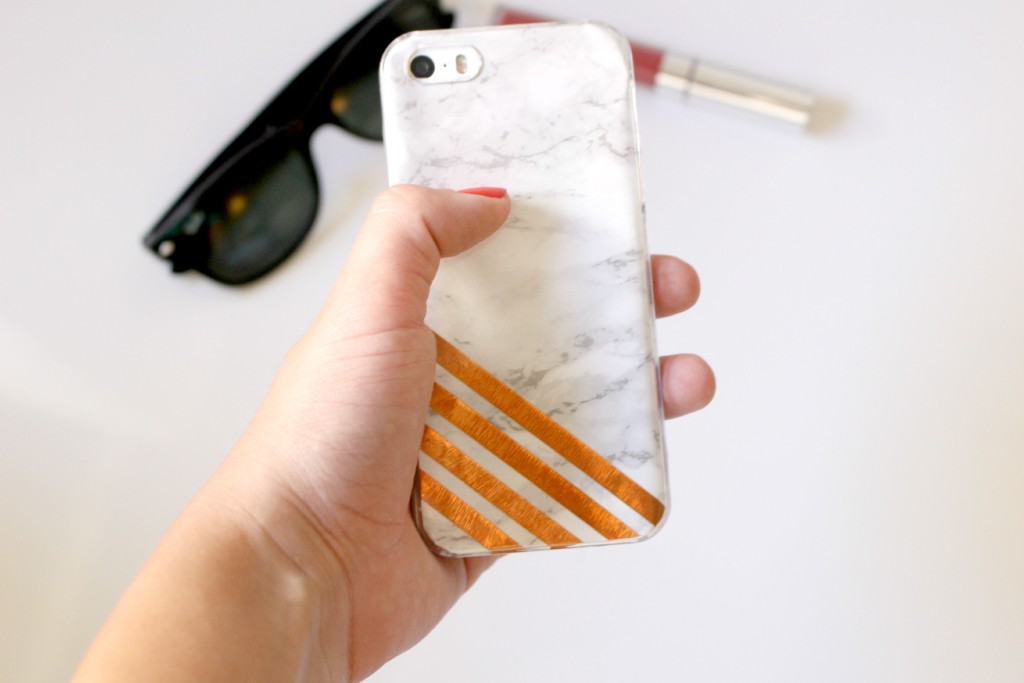
- Once you put the copper tape on, you’re done! Just place the paper inside the clear phone case (marble side down) and viola! You’ve got a new awesome phone case.
Notes: Do NOT take off the backing from the marble contact paper. It will get messy & sticky.


Super cute! 🙂
Thanks!
Great design ?I like it
Thank you!