DIY Blue Watercolor Box
DIY projects are hard. Most of the time it takes a lot of effort and creativity to create something that looks store-bought. And while we consider ourselves creative people, and enjoy a good DIY, it’s often times hard to think of something that hasn’t been done that we would ACTUALLY use. Many times on this blog you’ll see home decor or beauty DIY projects since these are two of our passions. We’ve been in a little bit of a creative rut when it comes to DIYs and we wanted to try a new technique and think outside of the box. One of our favorite bloggers Homey Oh My has done some super cute box projects and we realized we had never attempted one, so here we are!
While picking up supplies at Michael’s we stumbled across some new Martha Stewert watercolor paints. You guys already know how much we love her line of paints. They come in the most stunning shades and are completely budge proof! So, of course, we had to try her watercolors ASAP.
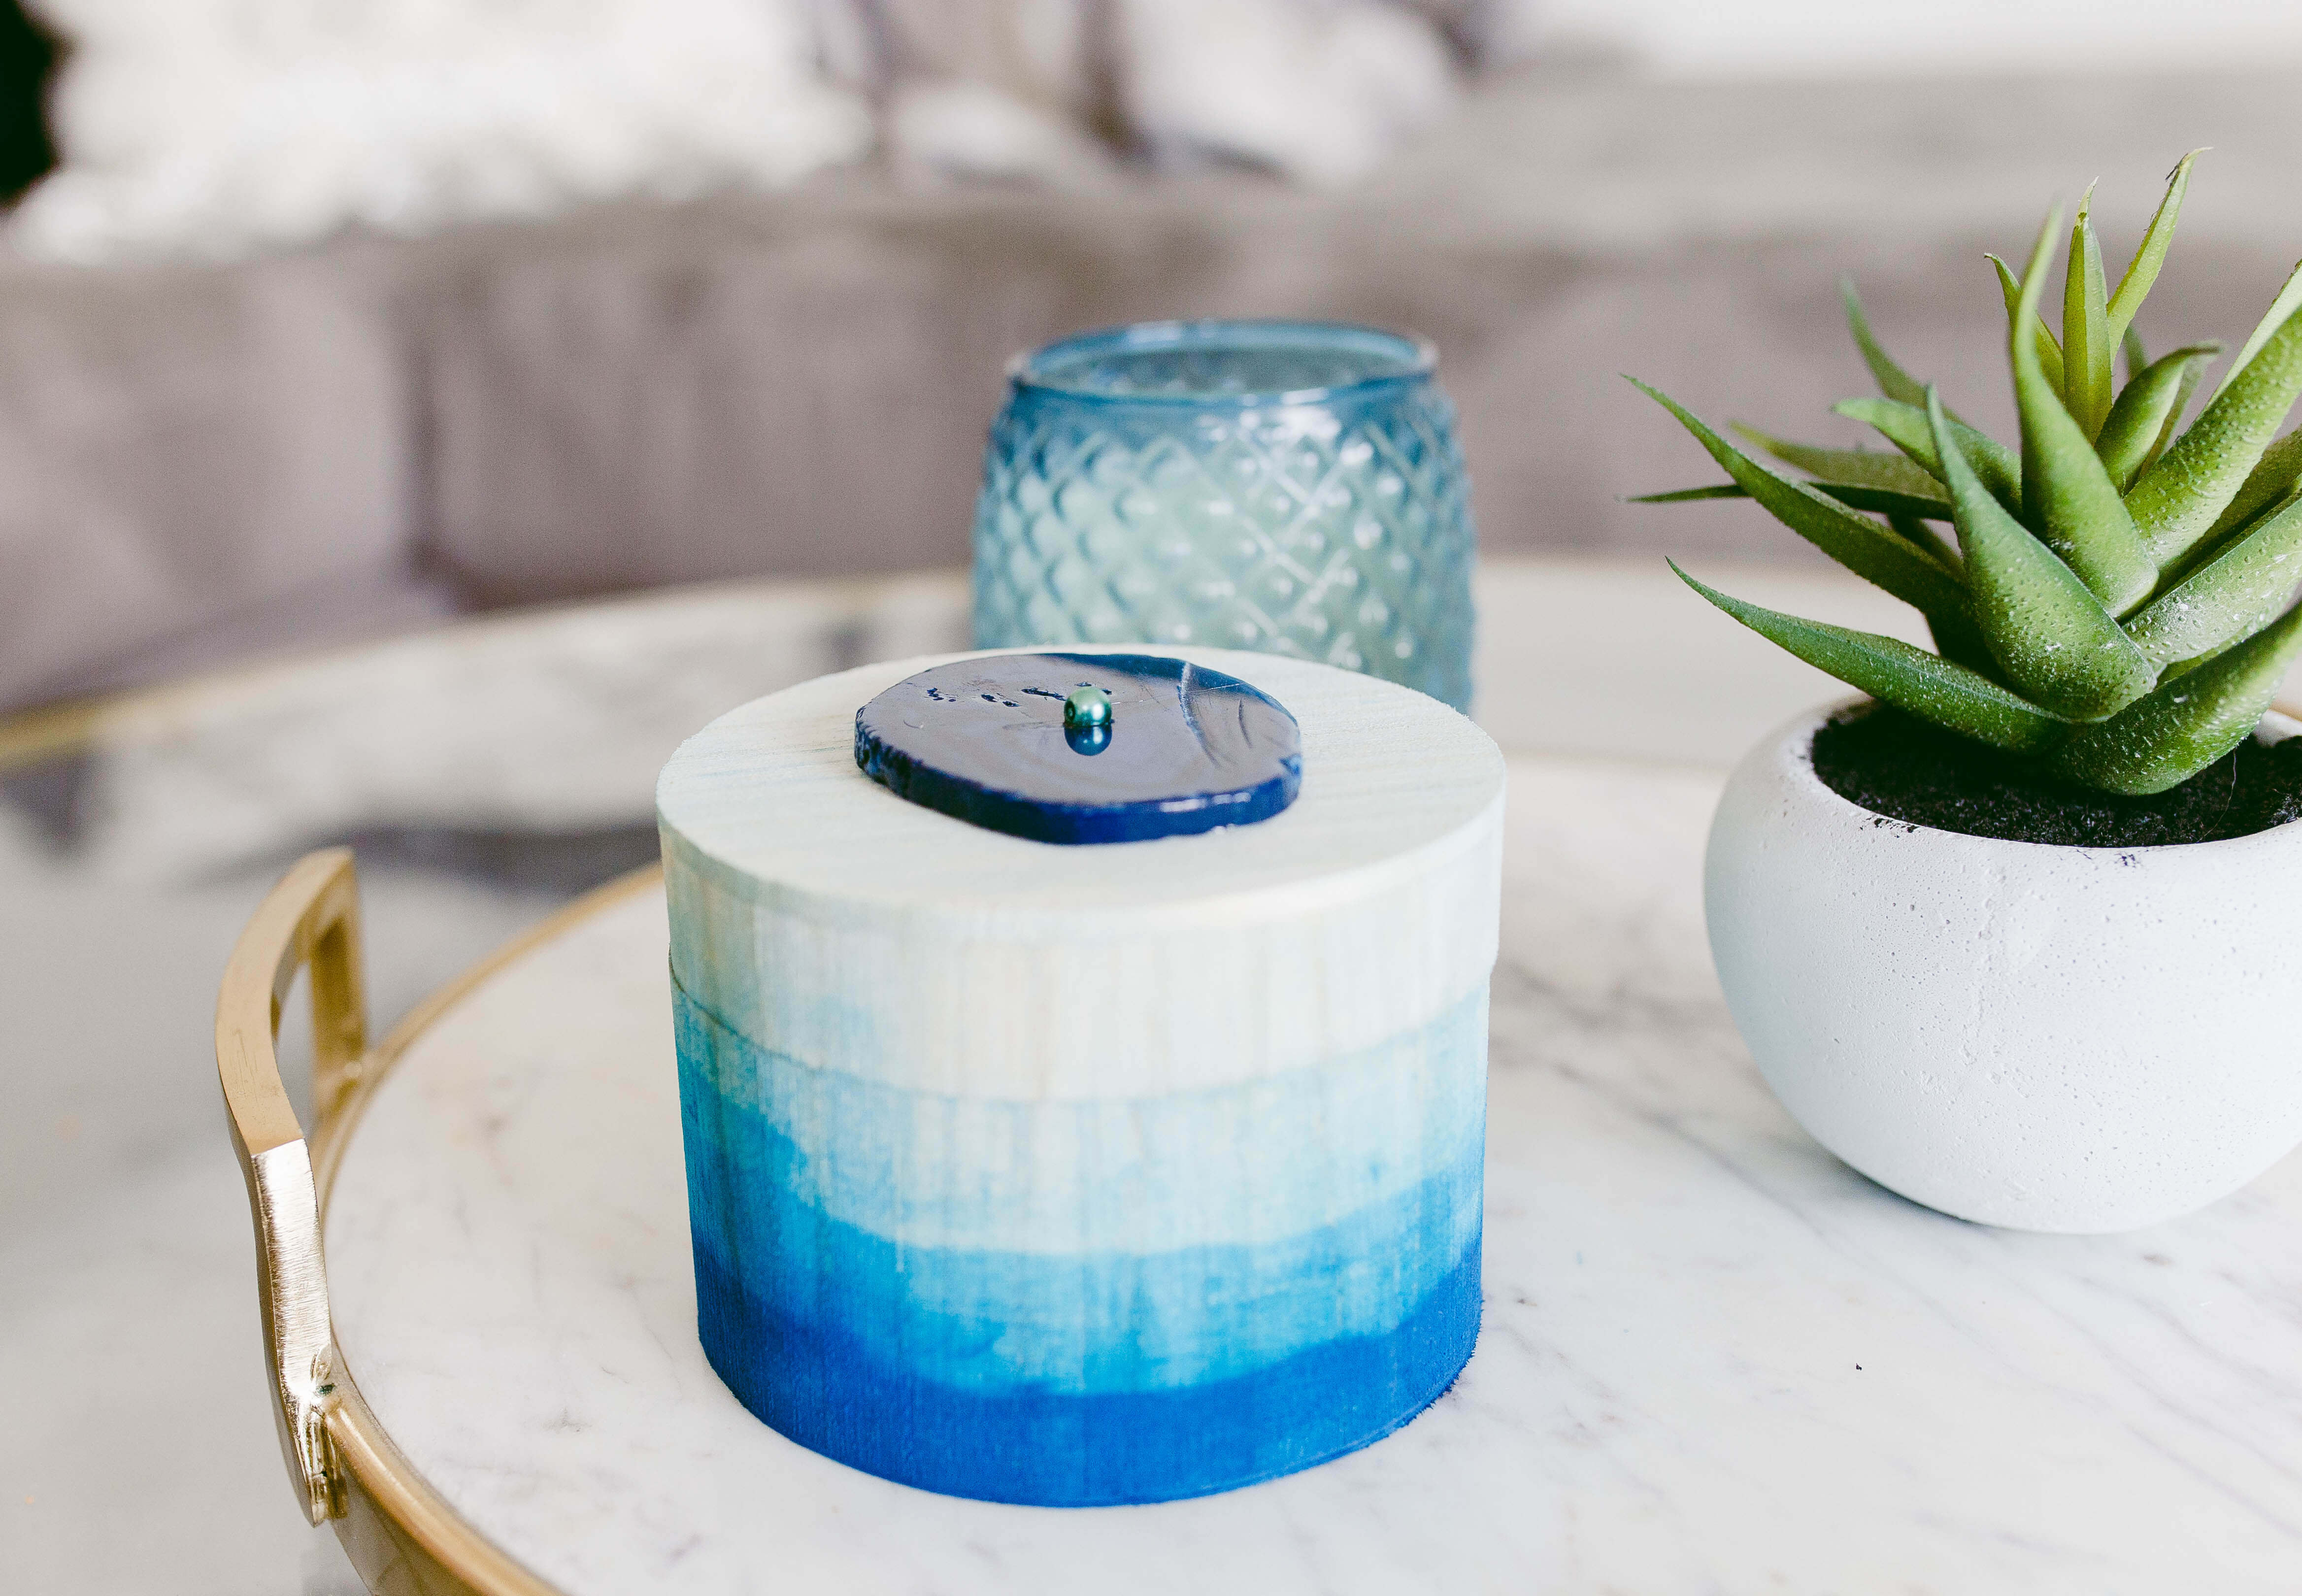
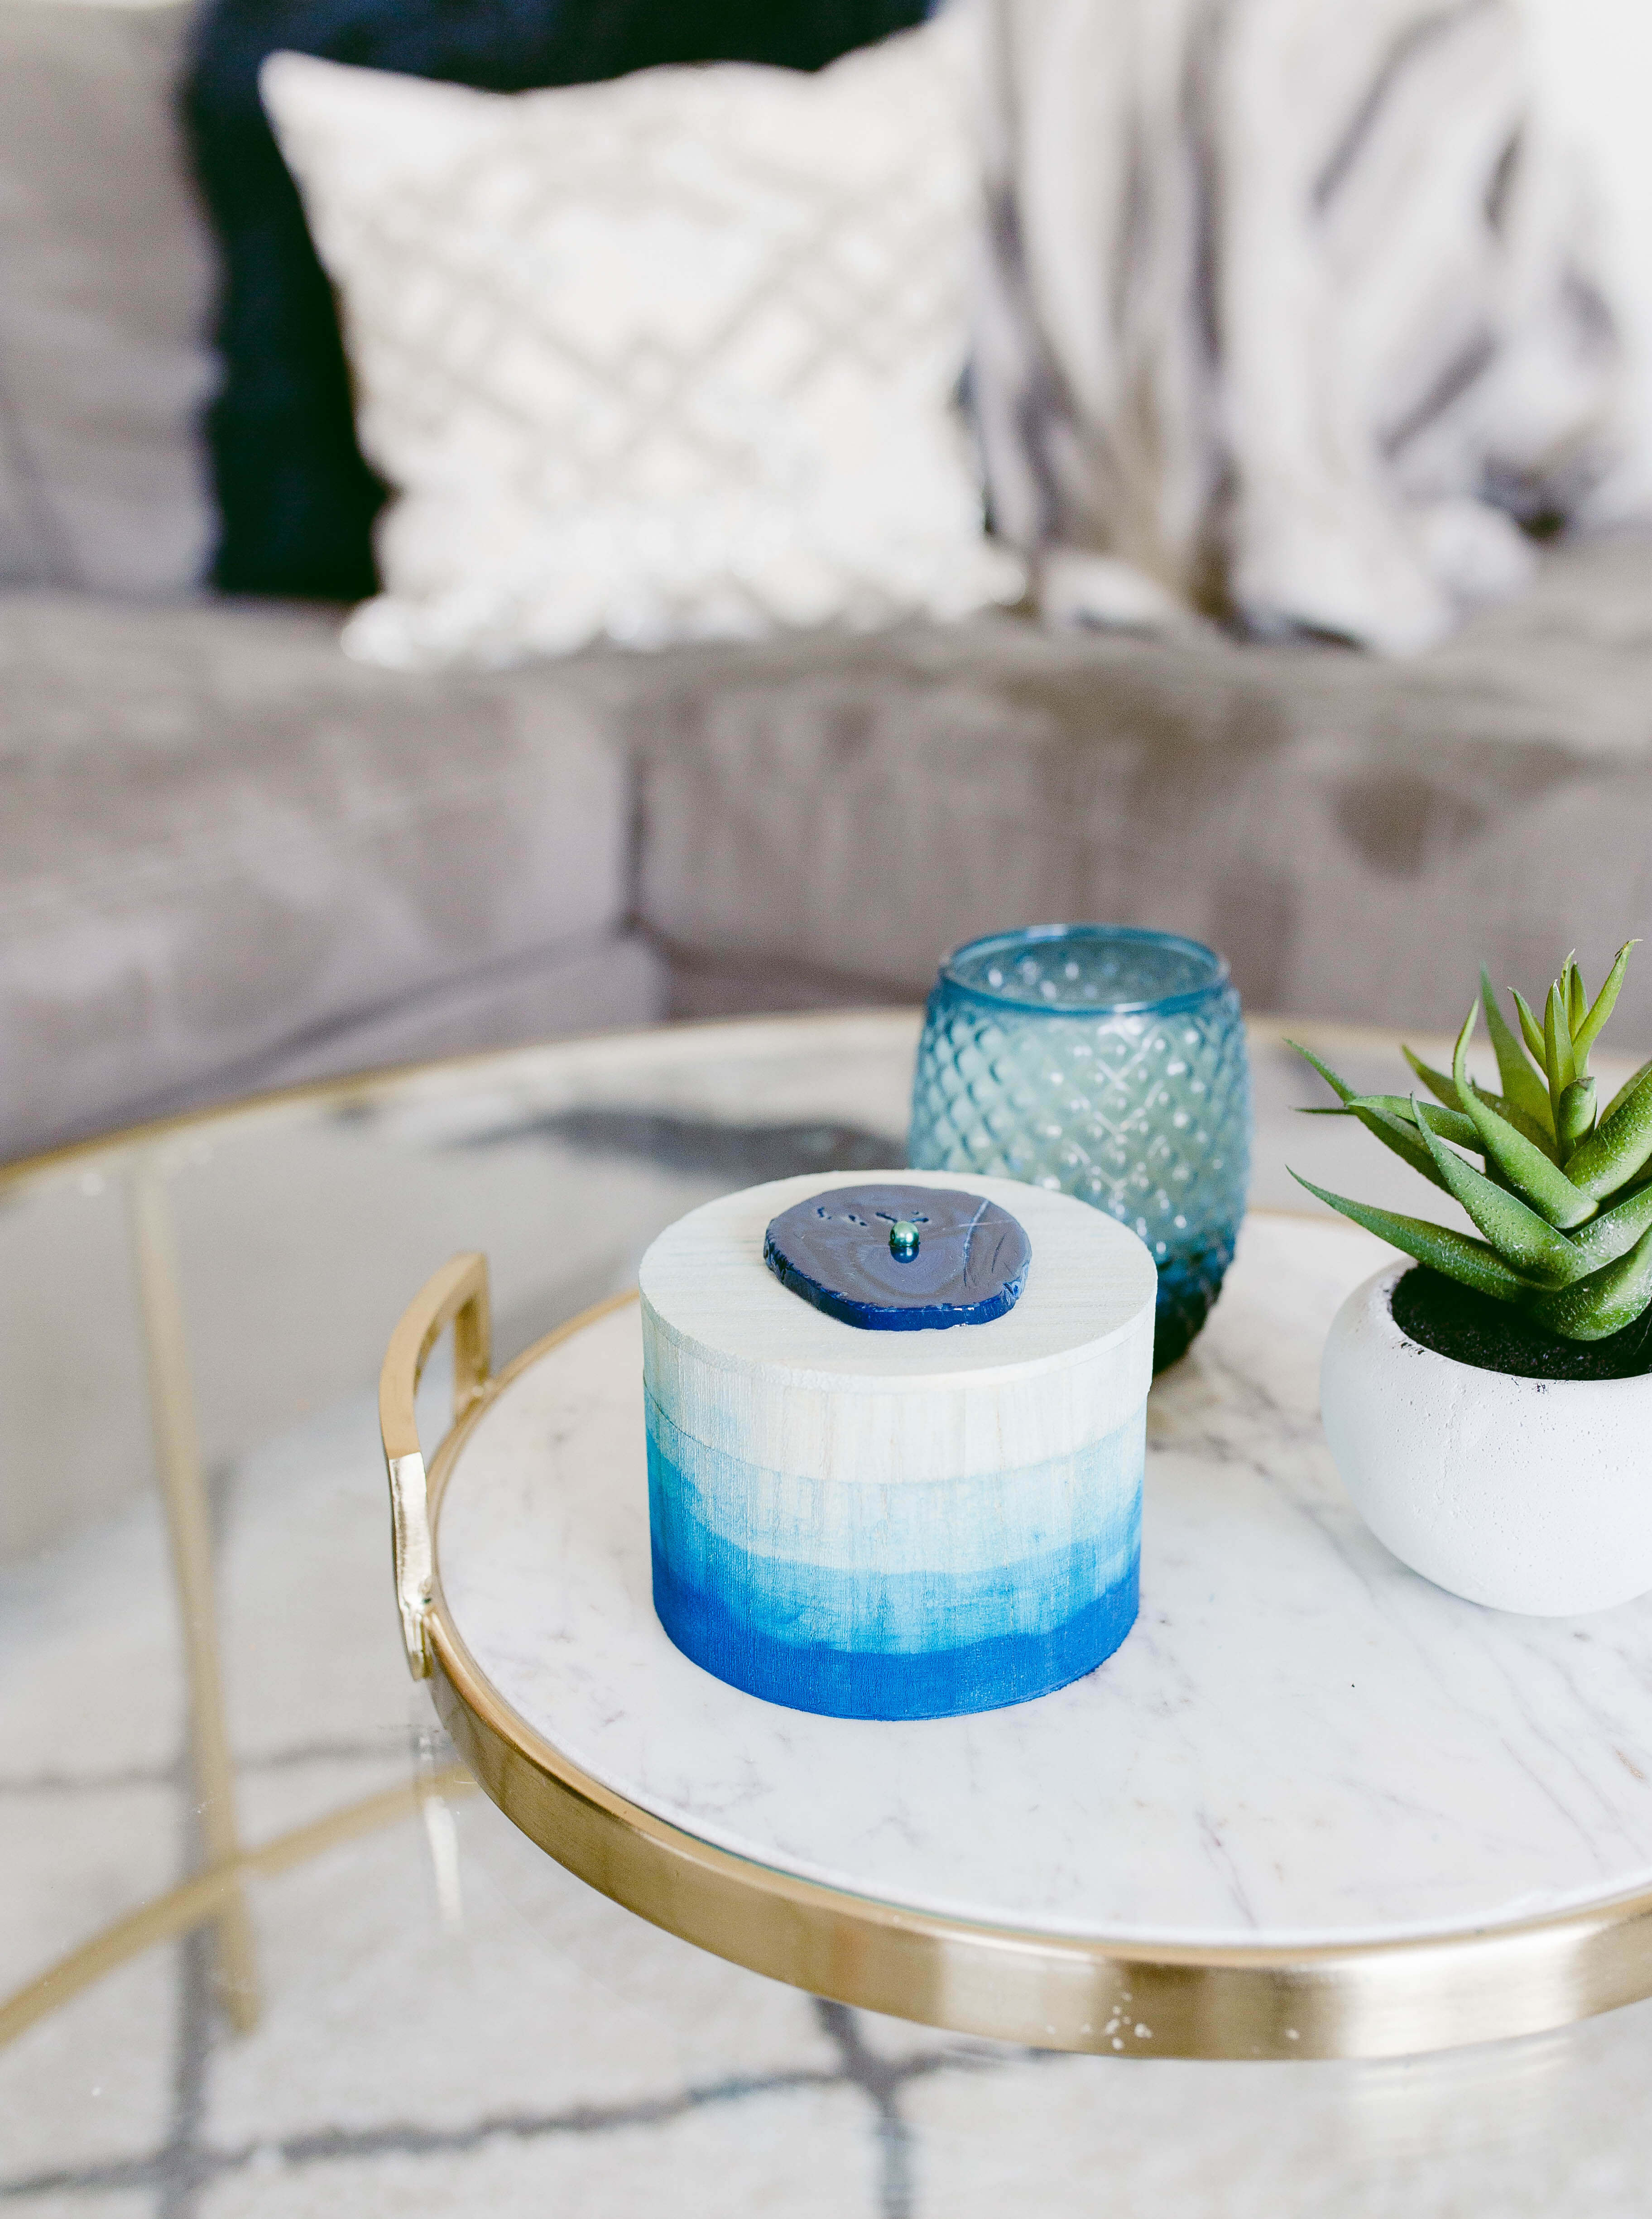
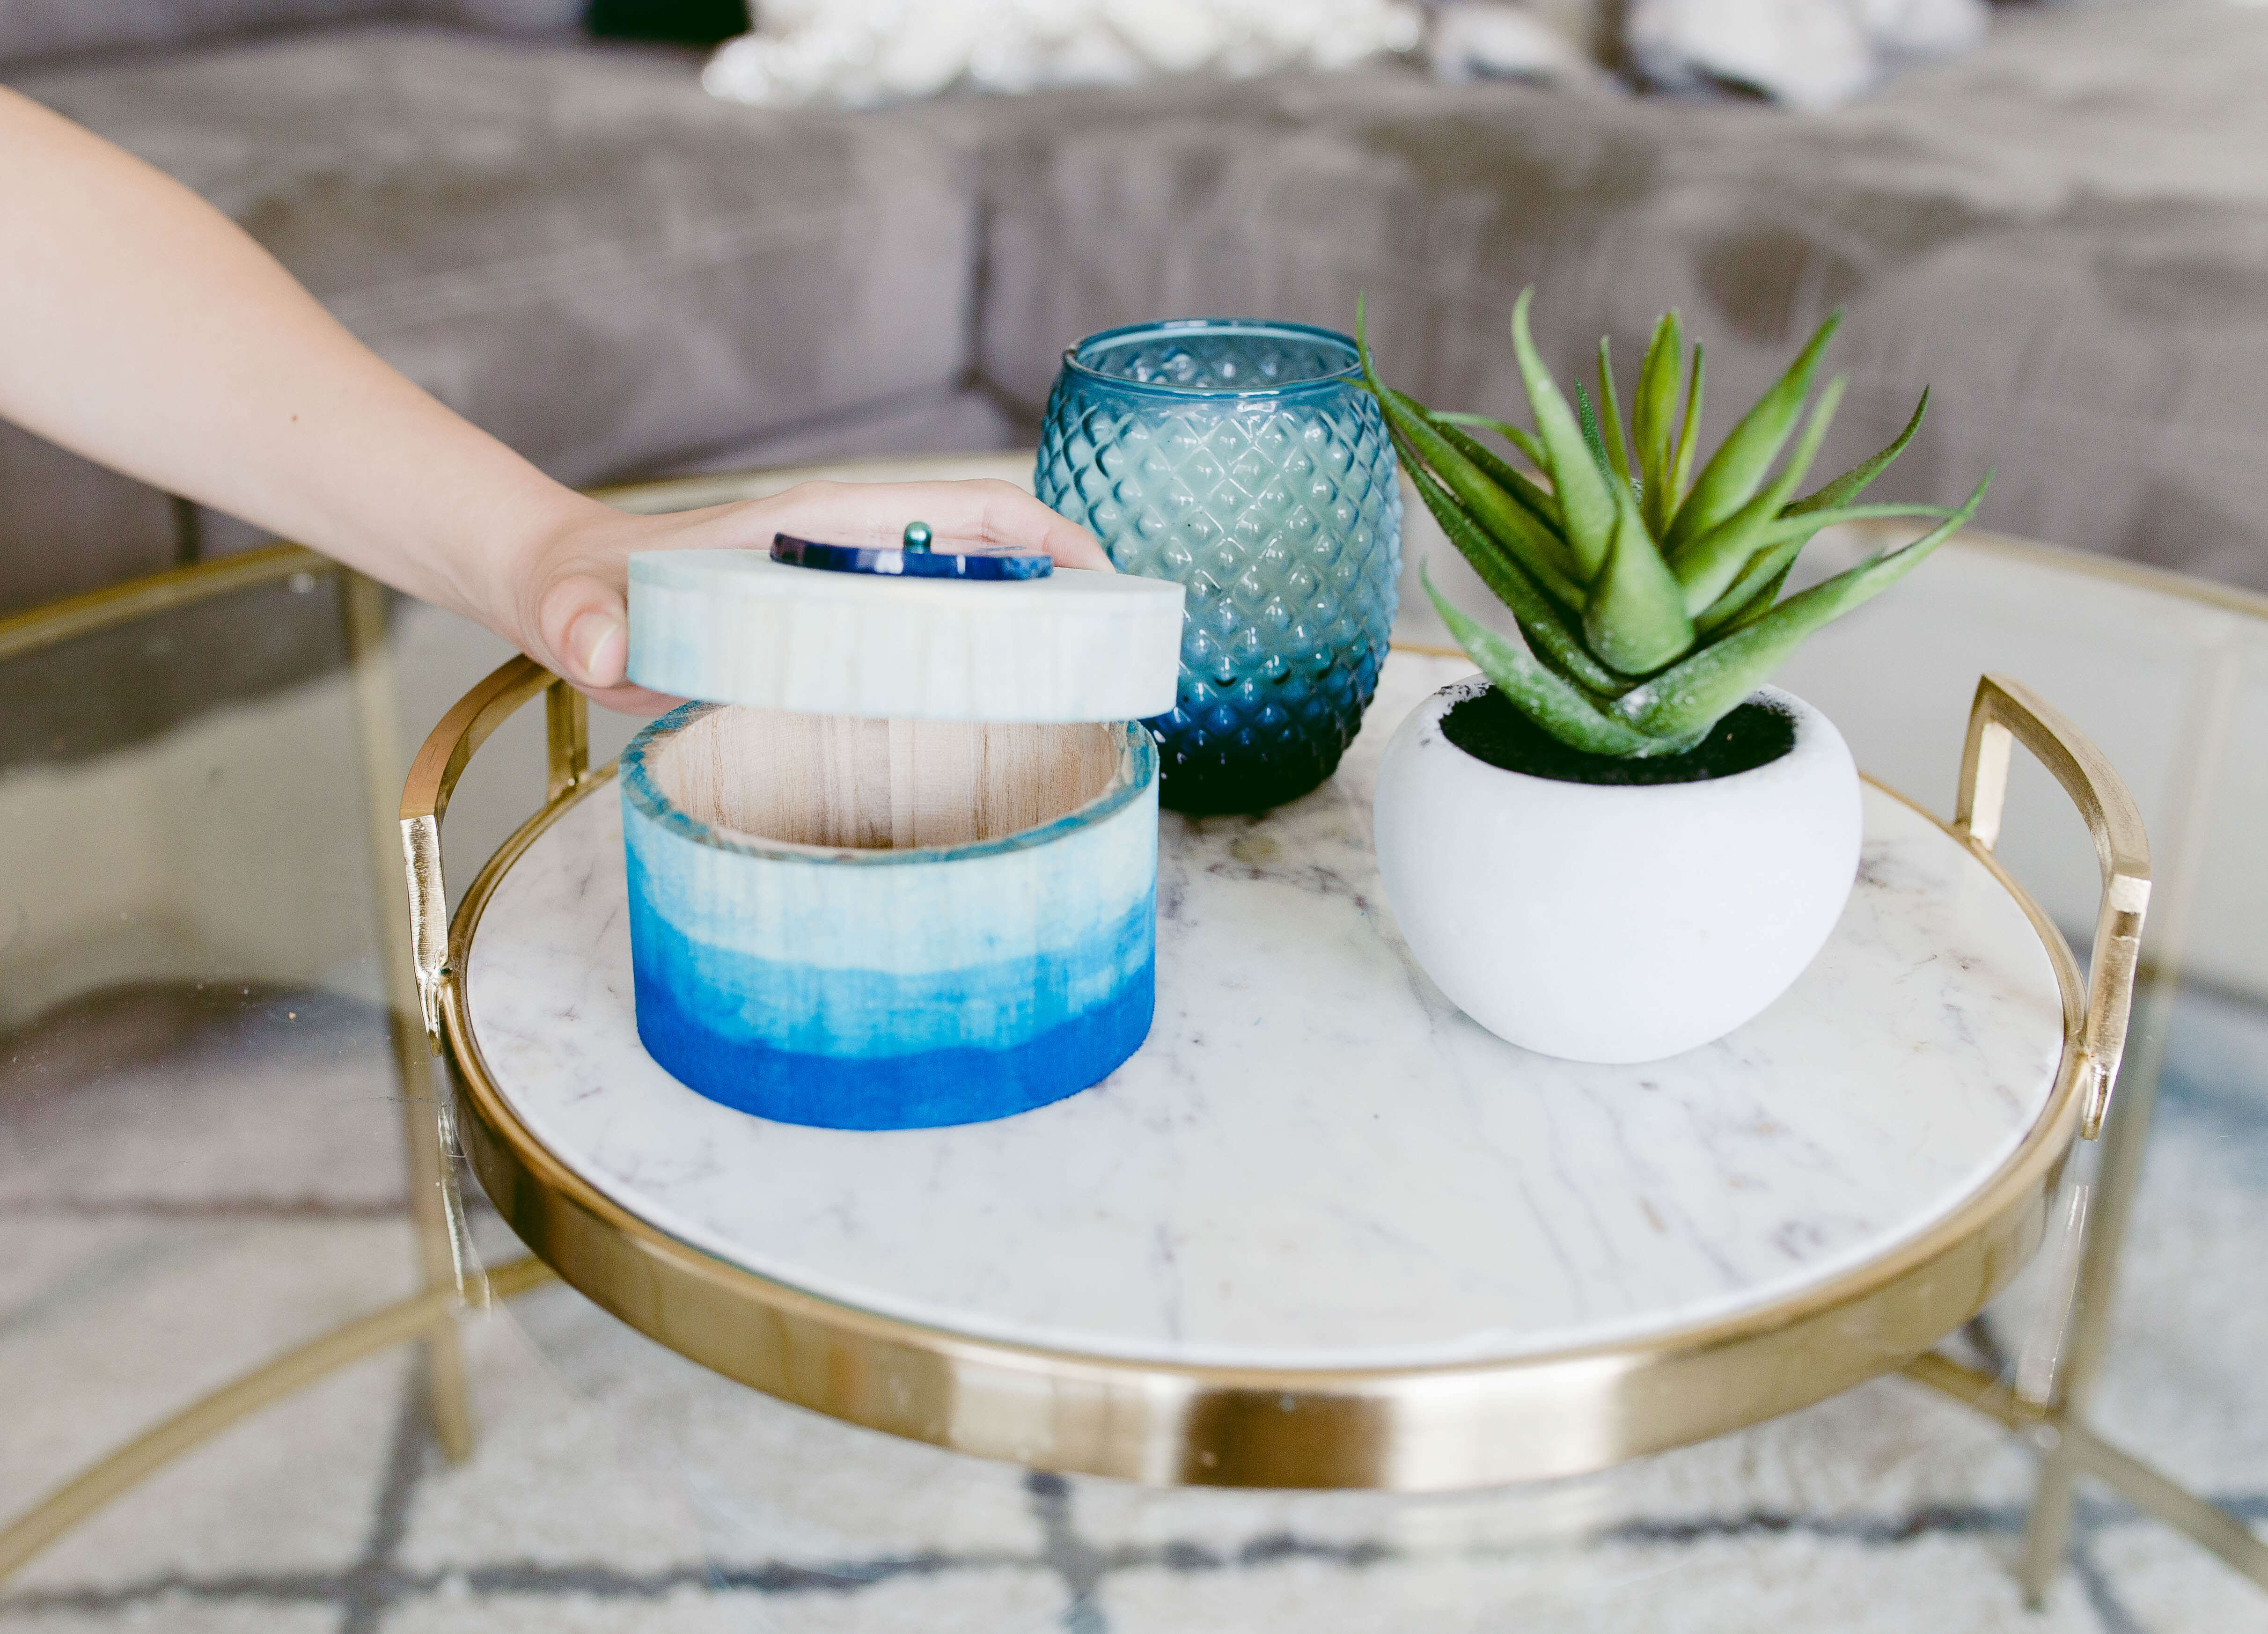
This was our first time using watercolors so it was a challenge, to say the least. As you can see our first layer is a bit more opaque than most water colors. We think it’s because we choose such a dark shade. But as we added more water to the paint it definitely sheered it out and we are pleased with the final project. It was really fun to try a new technique and although this box is nowhere near perfect we still love the different shades of blue and how it ties in parts of our living room!
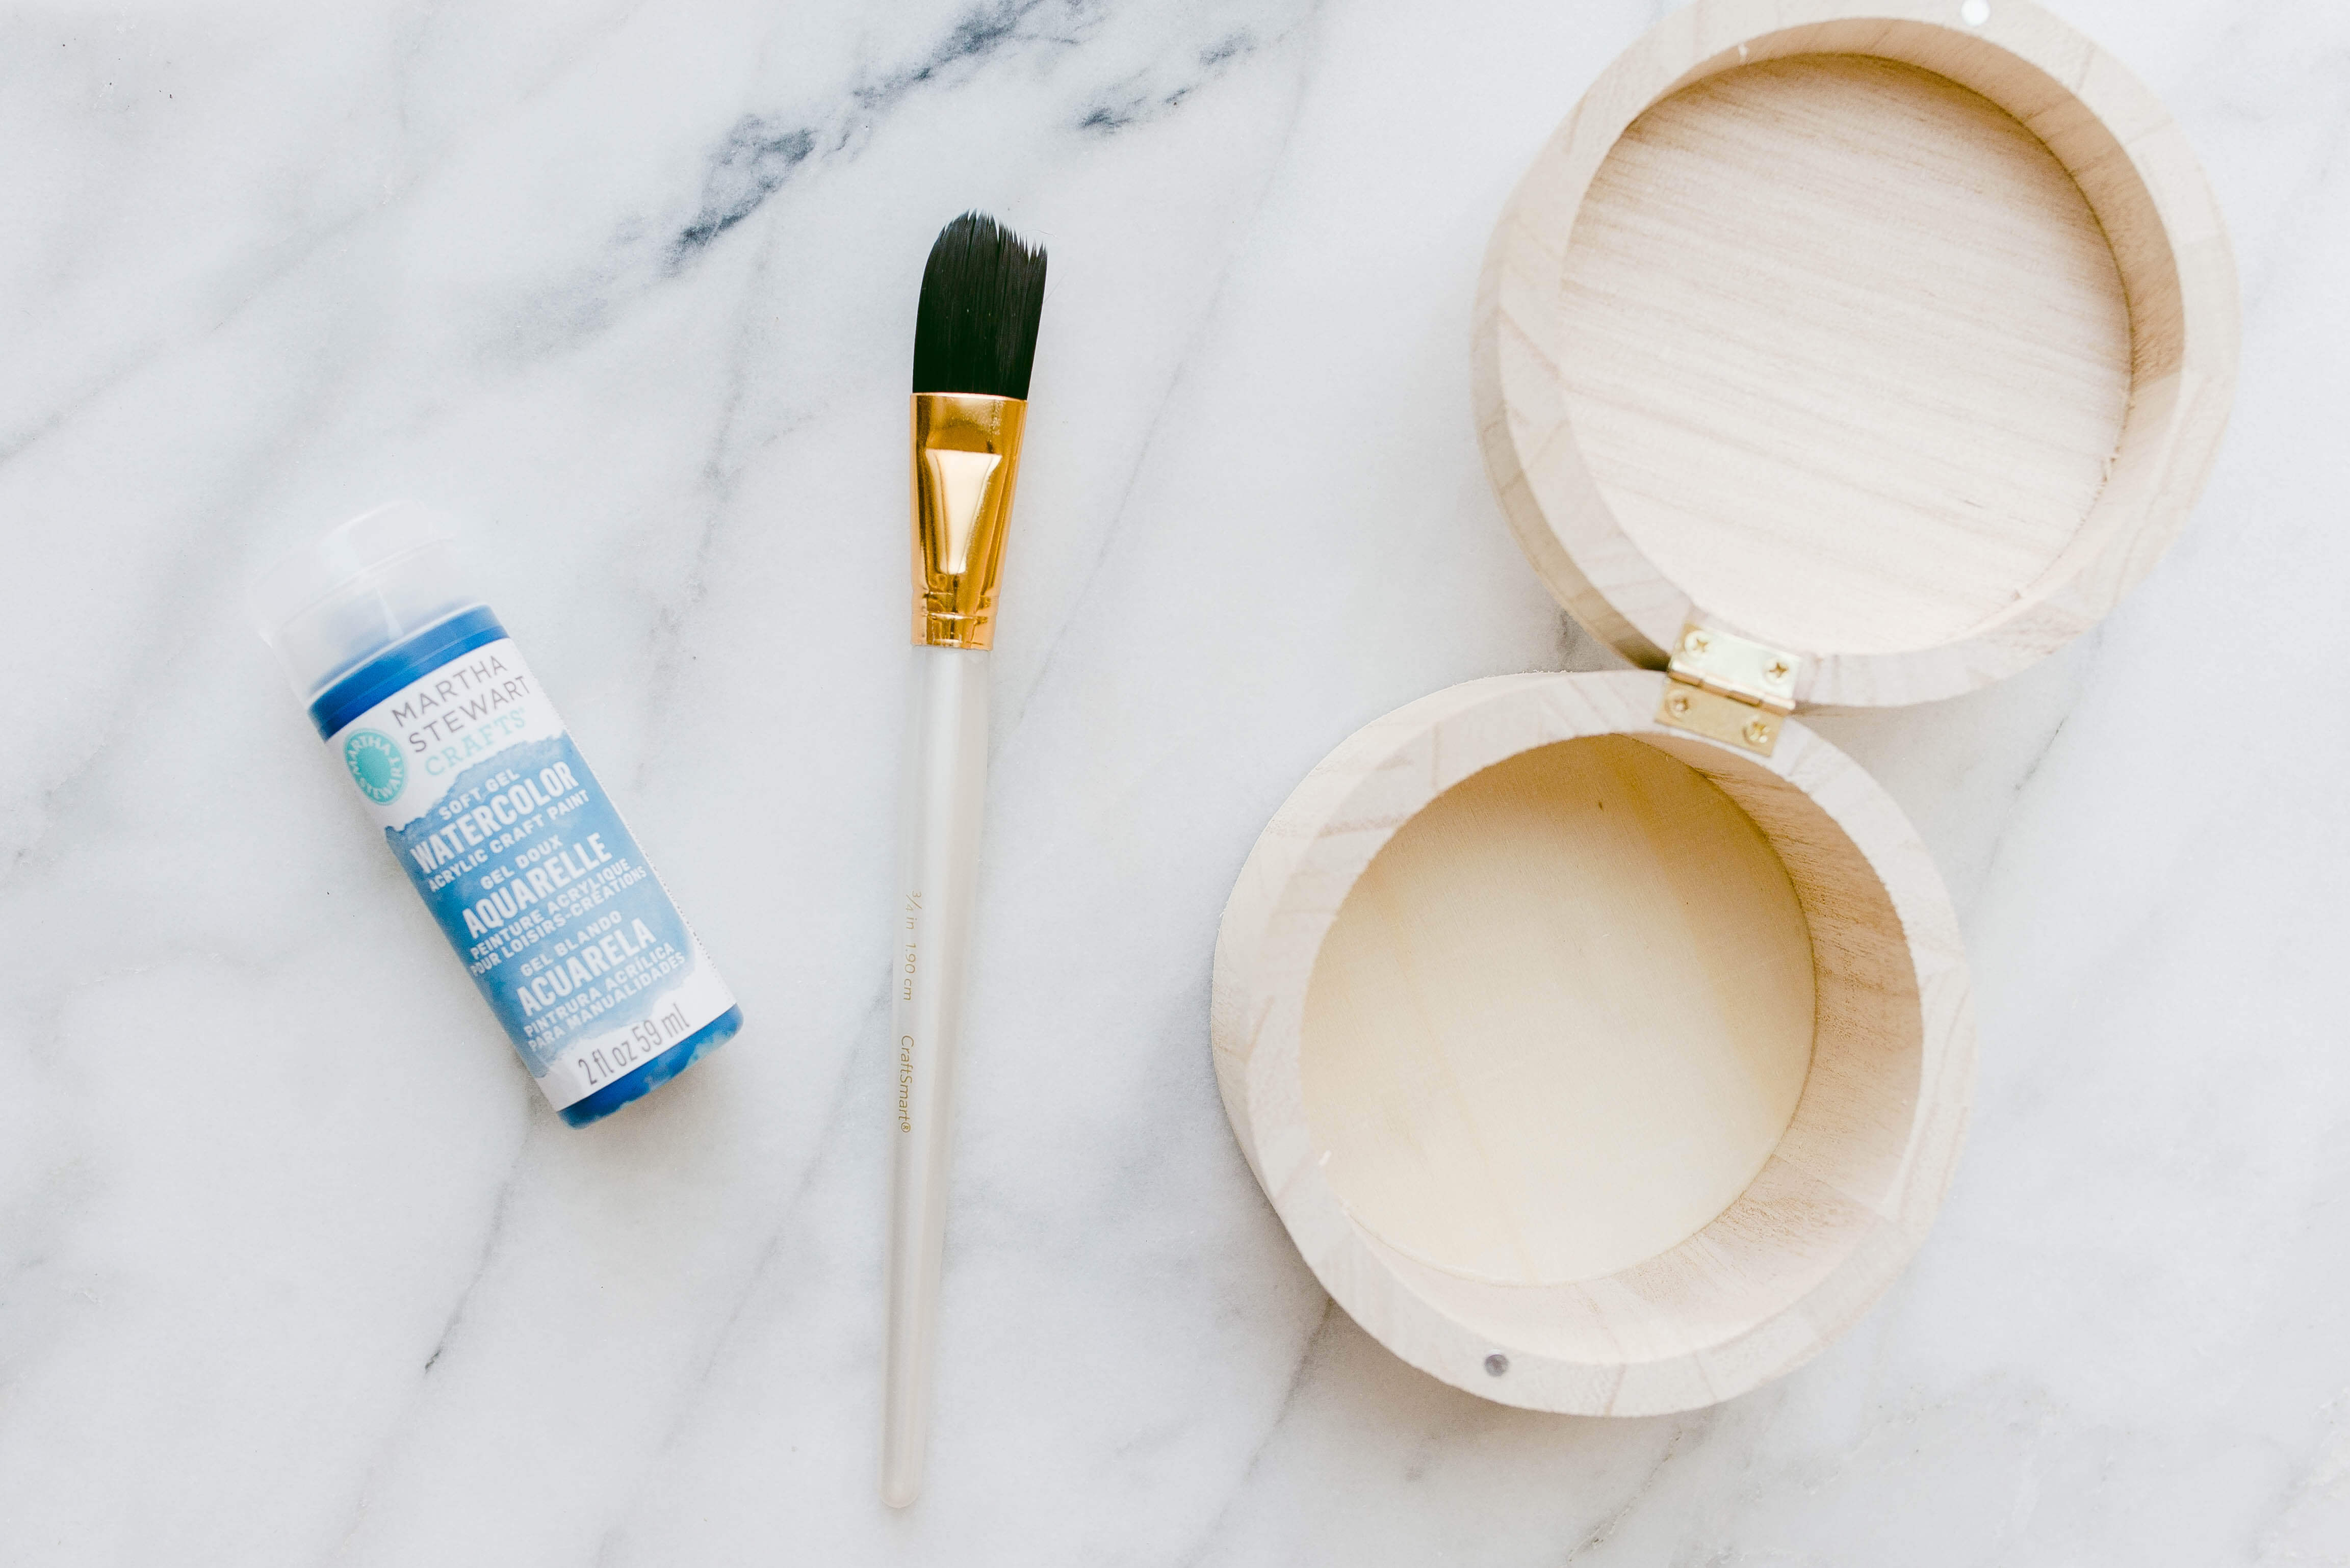
What you’ll need:
- Small round wooden box
- Blue watercolor paint
- Small mixing dishes
- Paint brush– We used a medium sized tapered brush
- Geode Embellishment
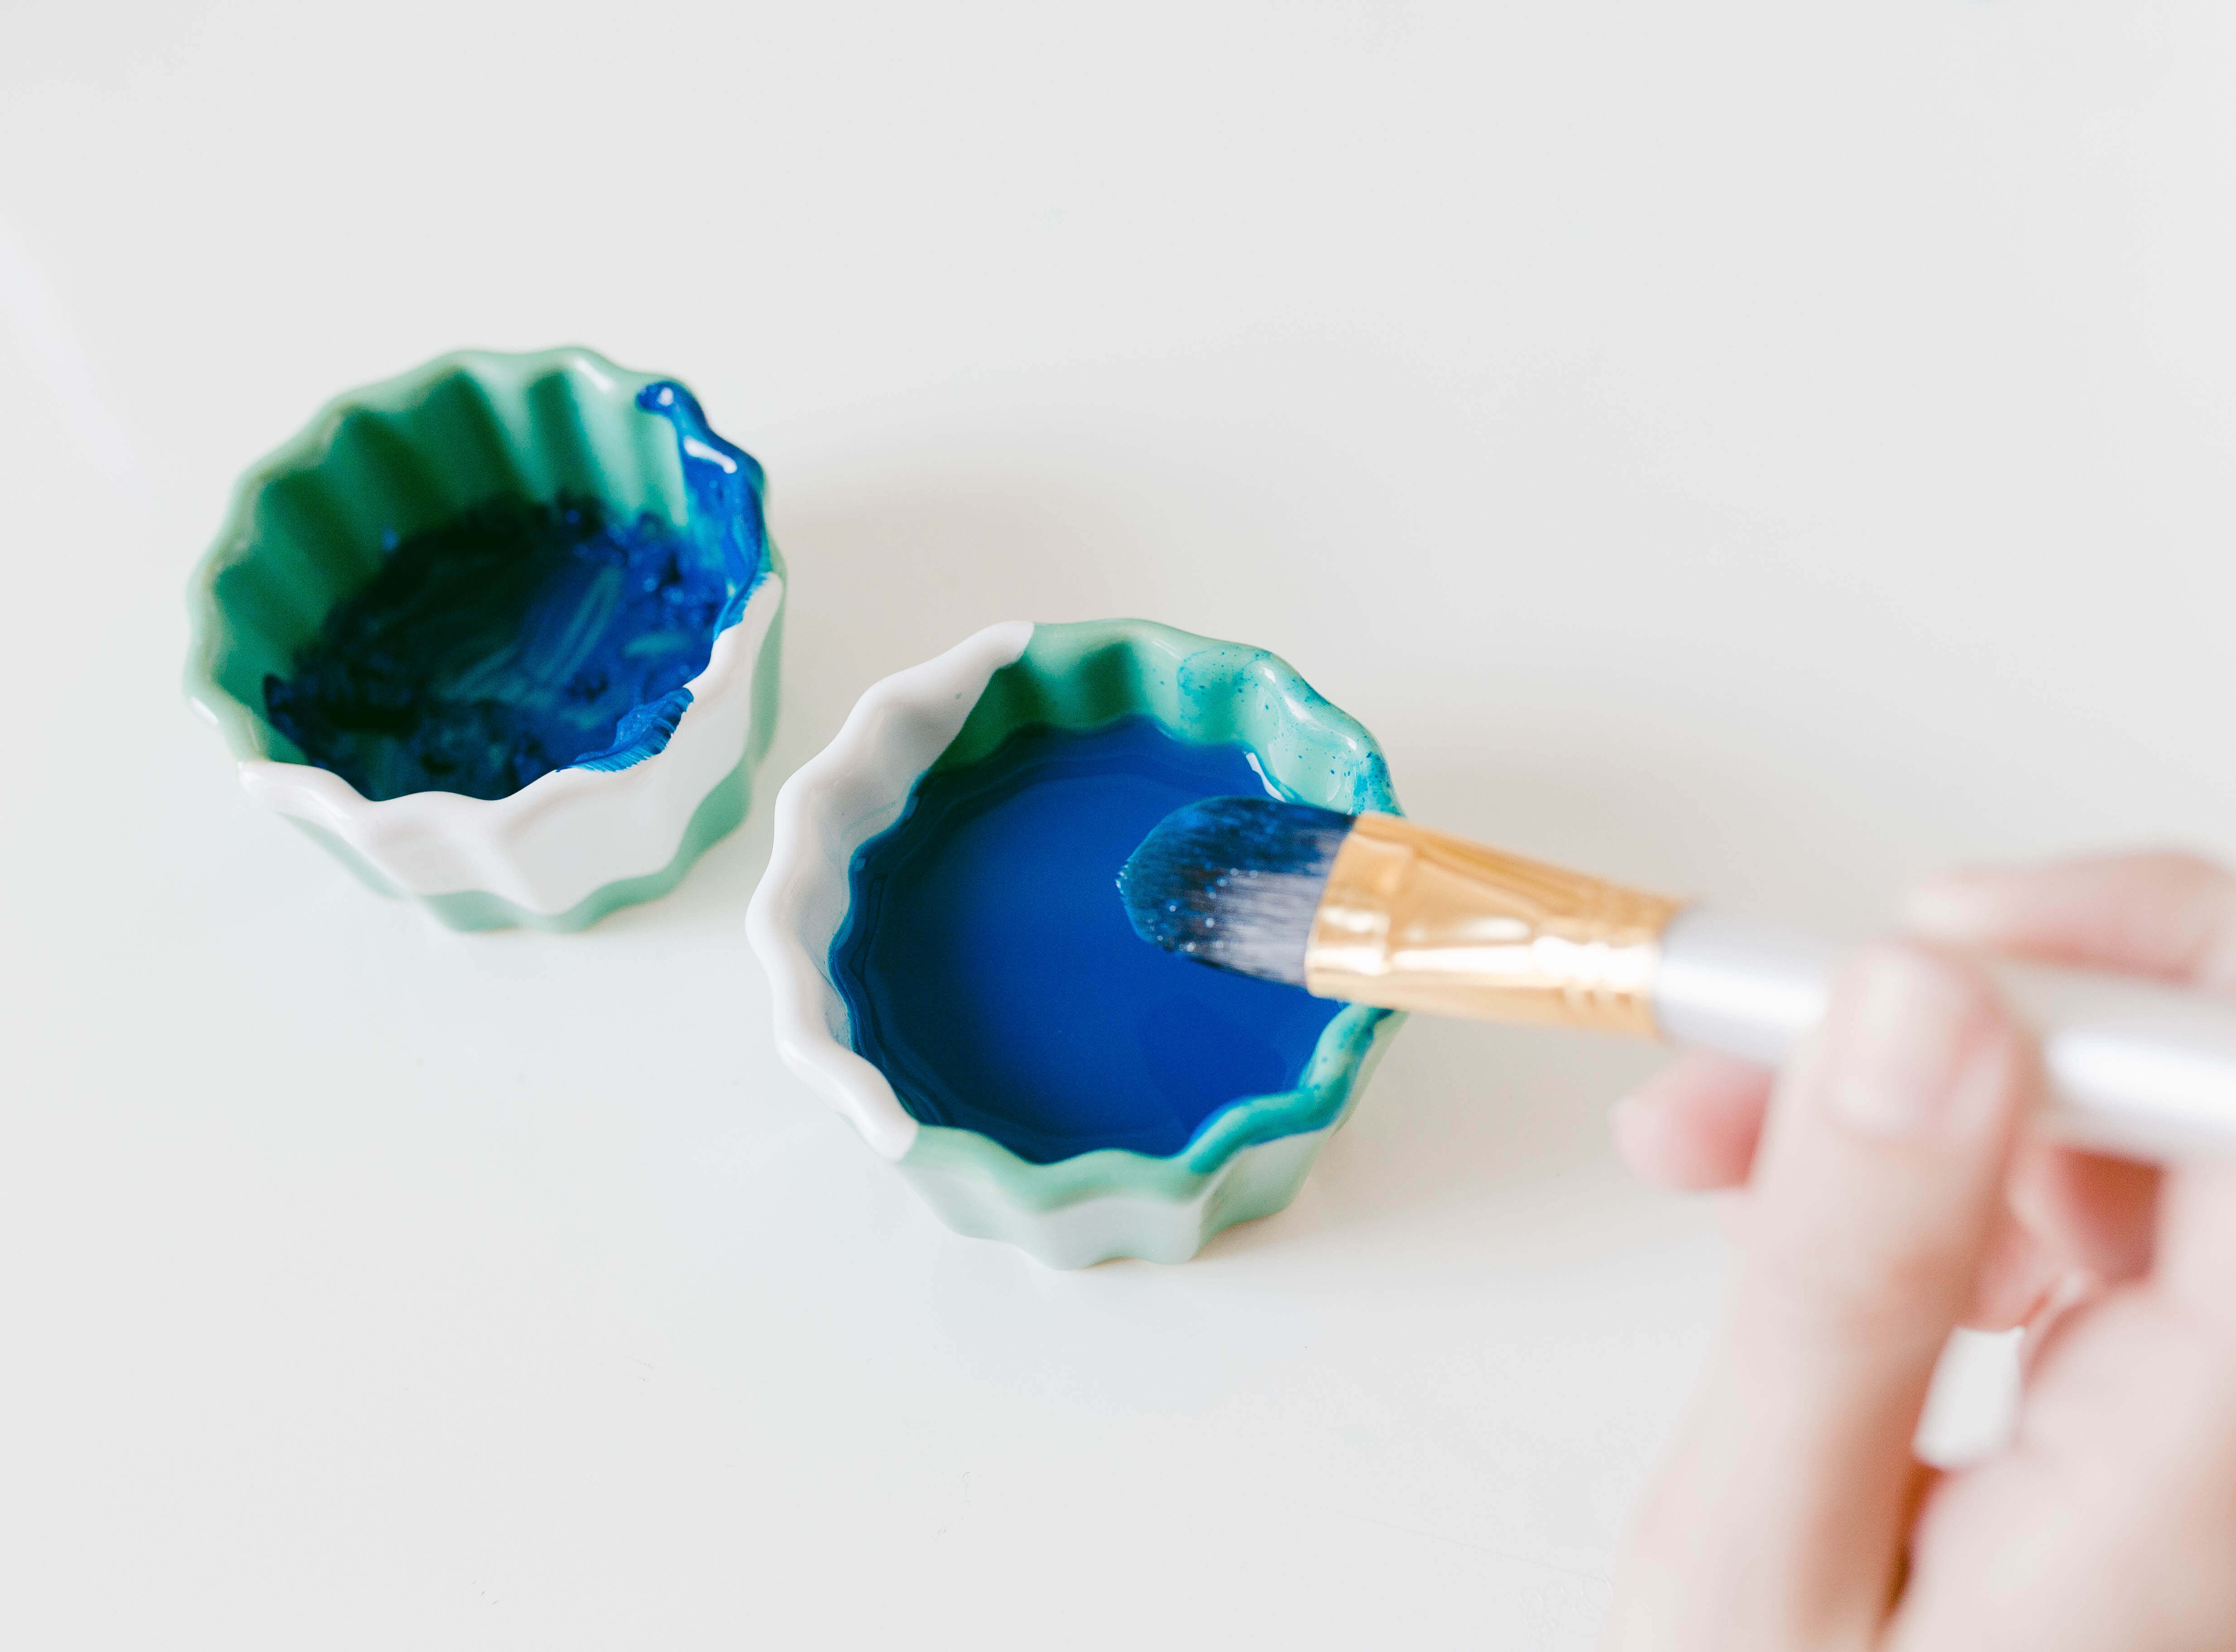
First get out two small mixing bowls. Pour some paint in one and add a small amount of water. In the other pour in water and add a small amount of paint. You’re going to want one of the bowls to be very watered down.
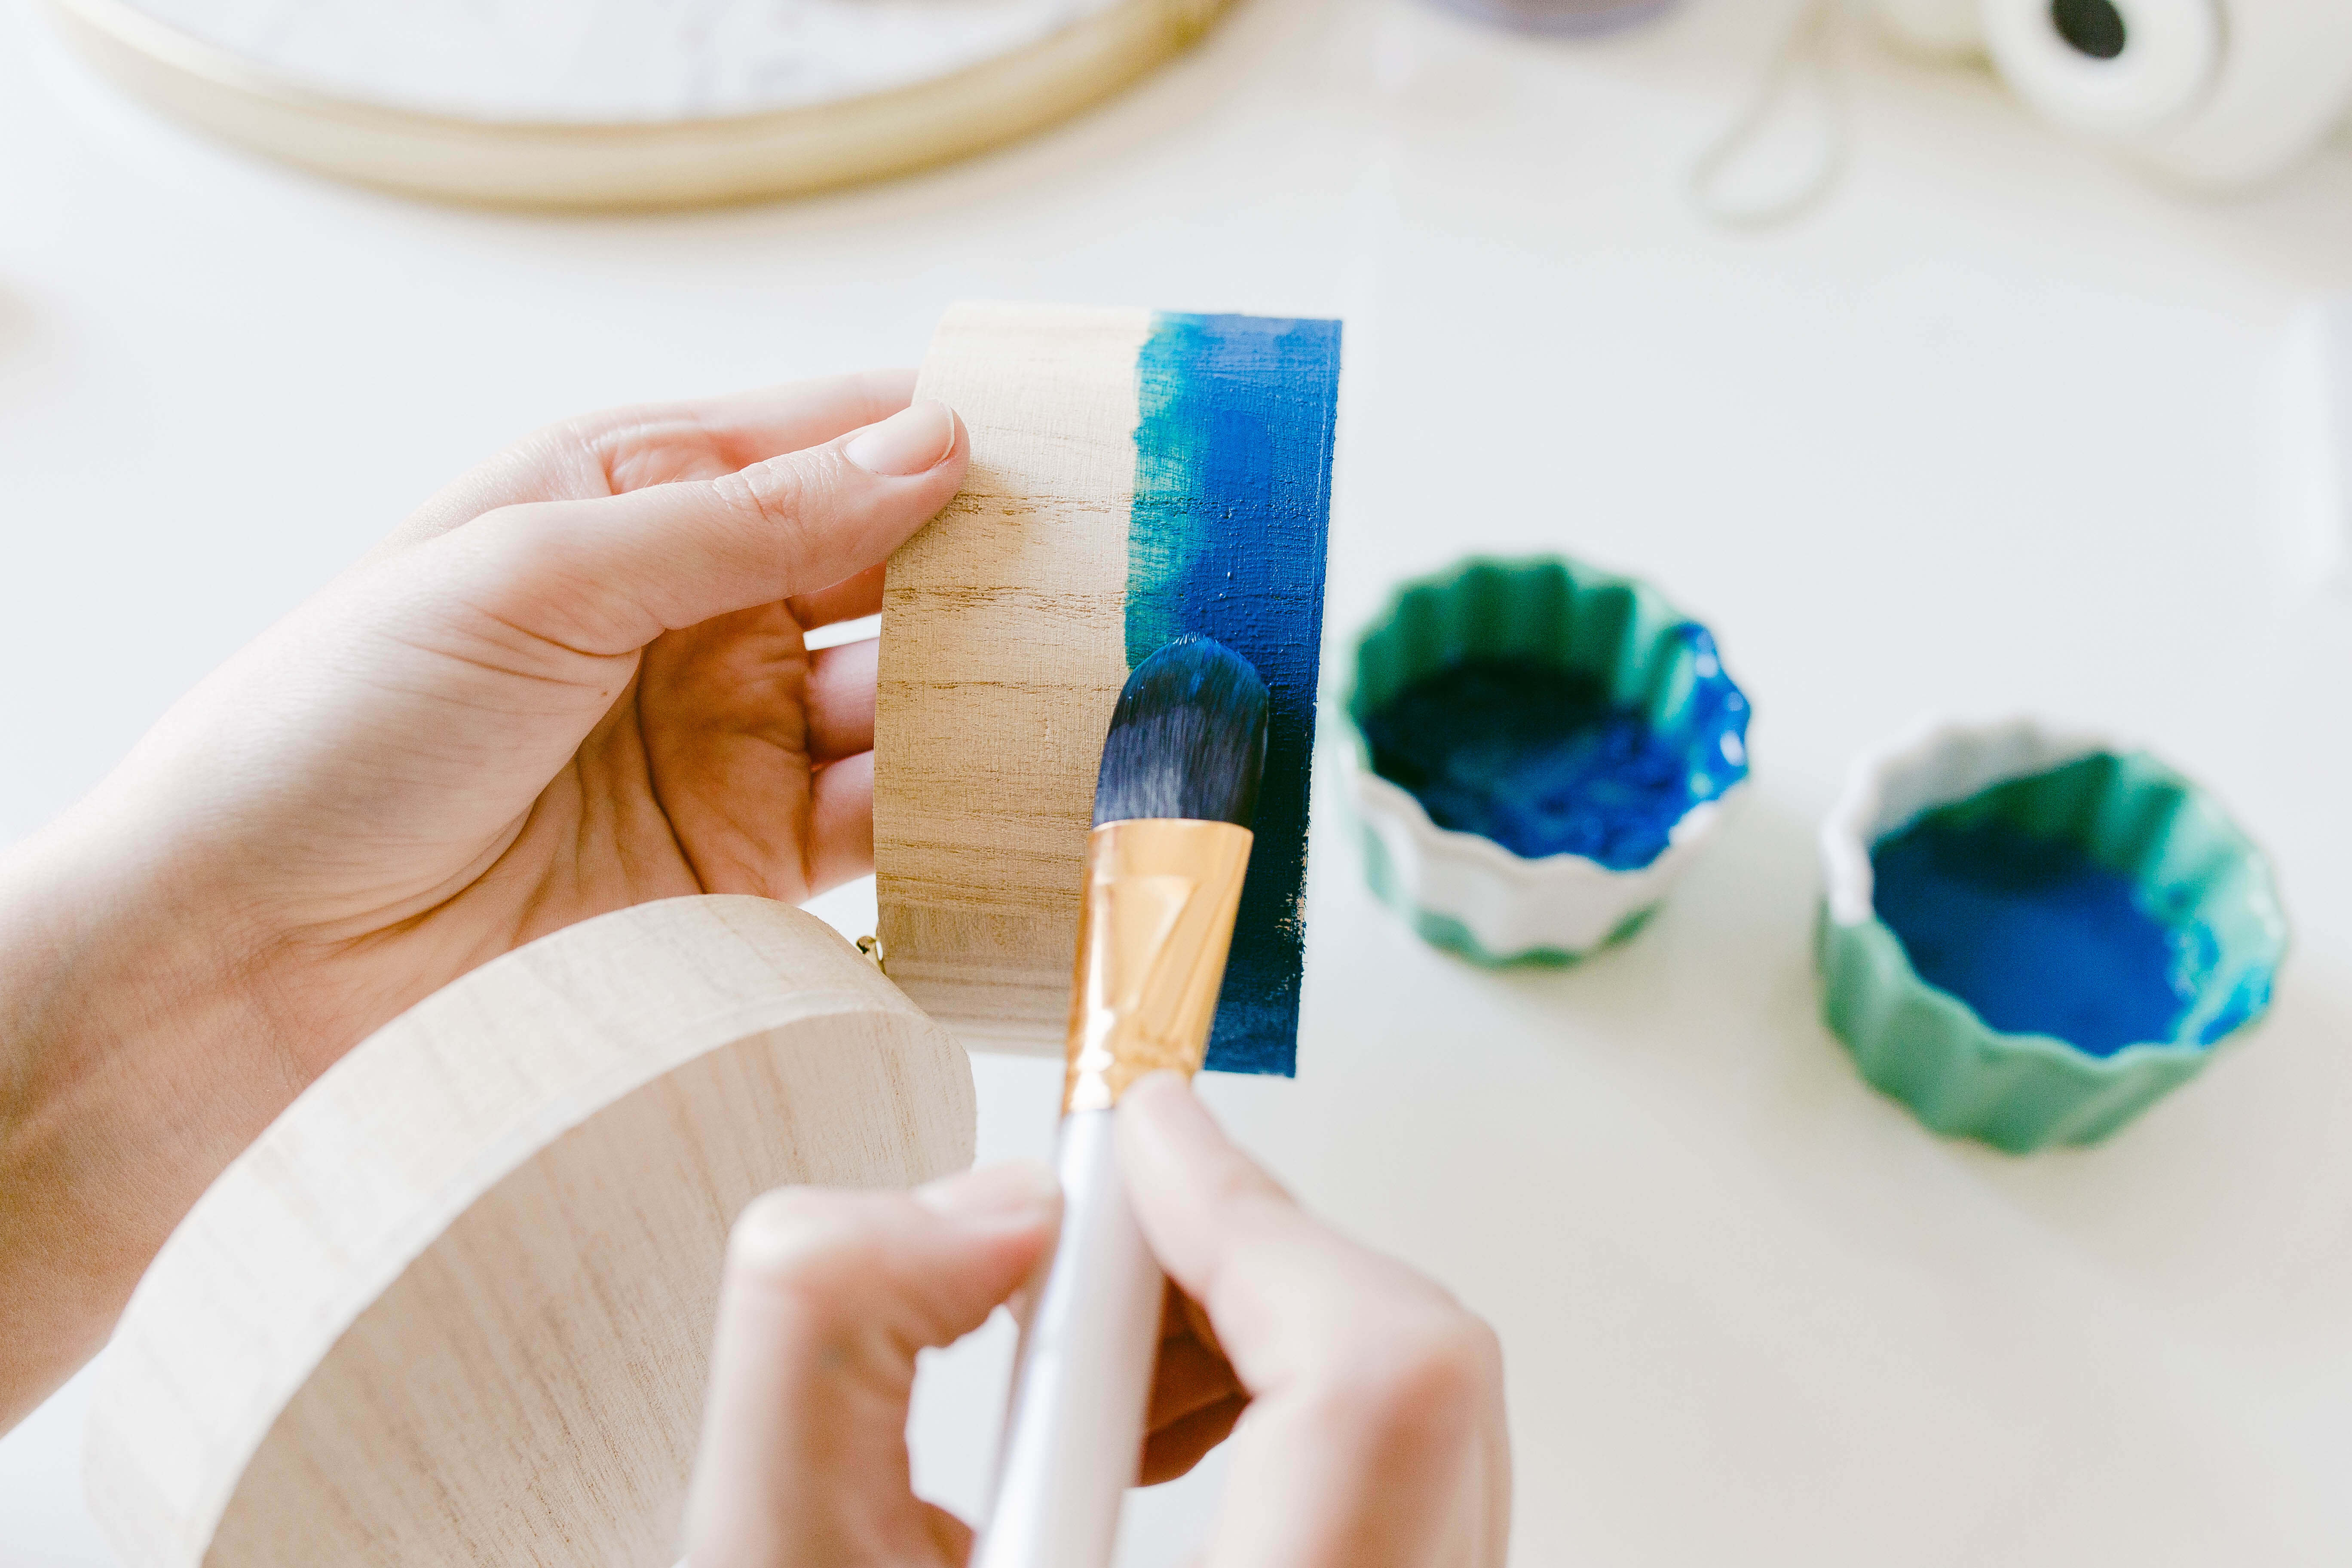
Now take your brush into the thicker paint formula and paint a line all the way around the bottom of your box. It shouldn’t be exactly perfect since this is supposed to be a gradient effect.
Next, go into the thinner paint mixture and repeat.
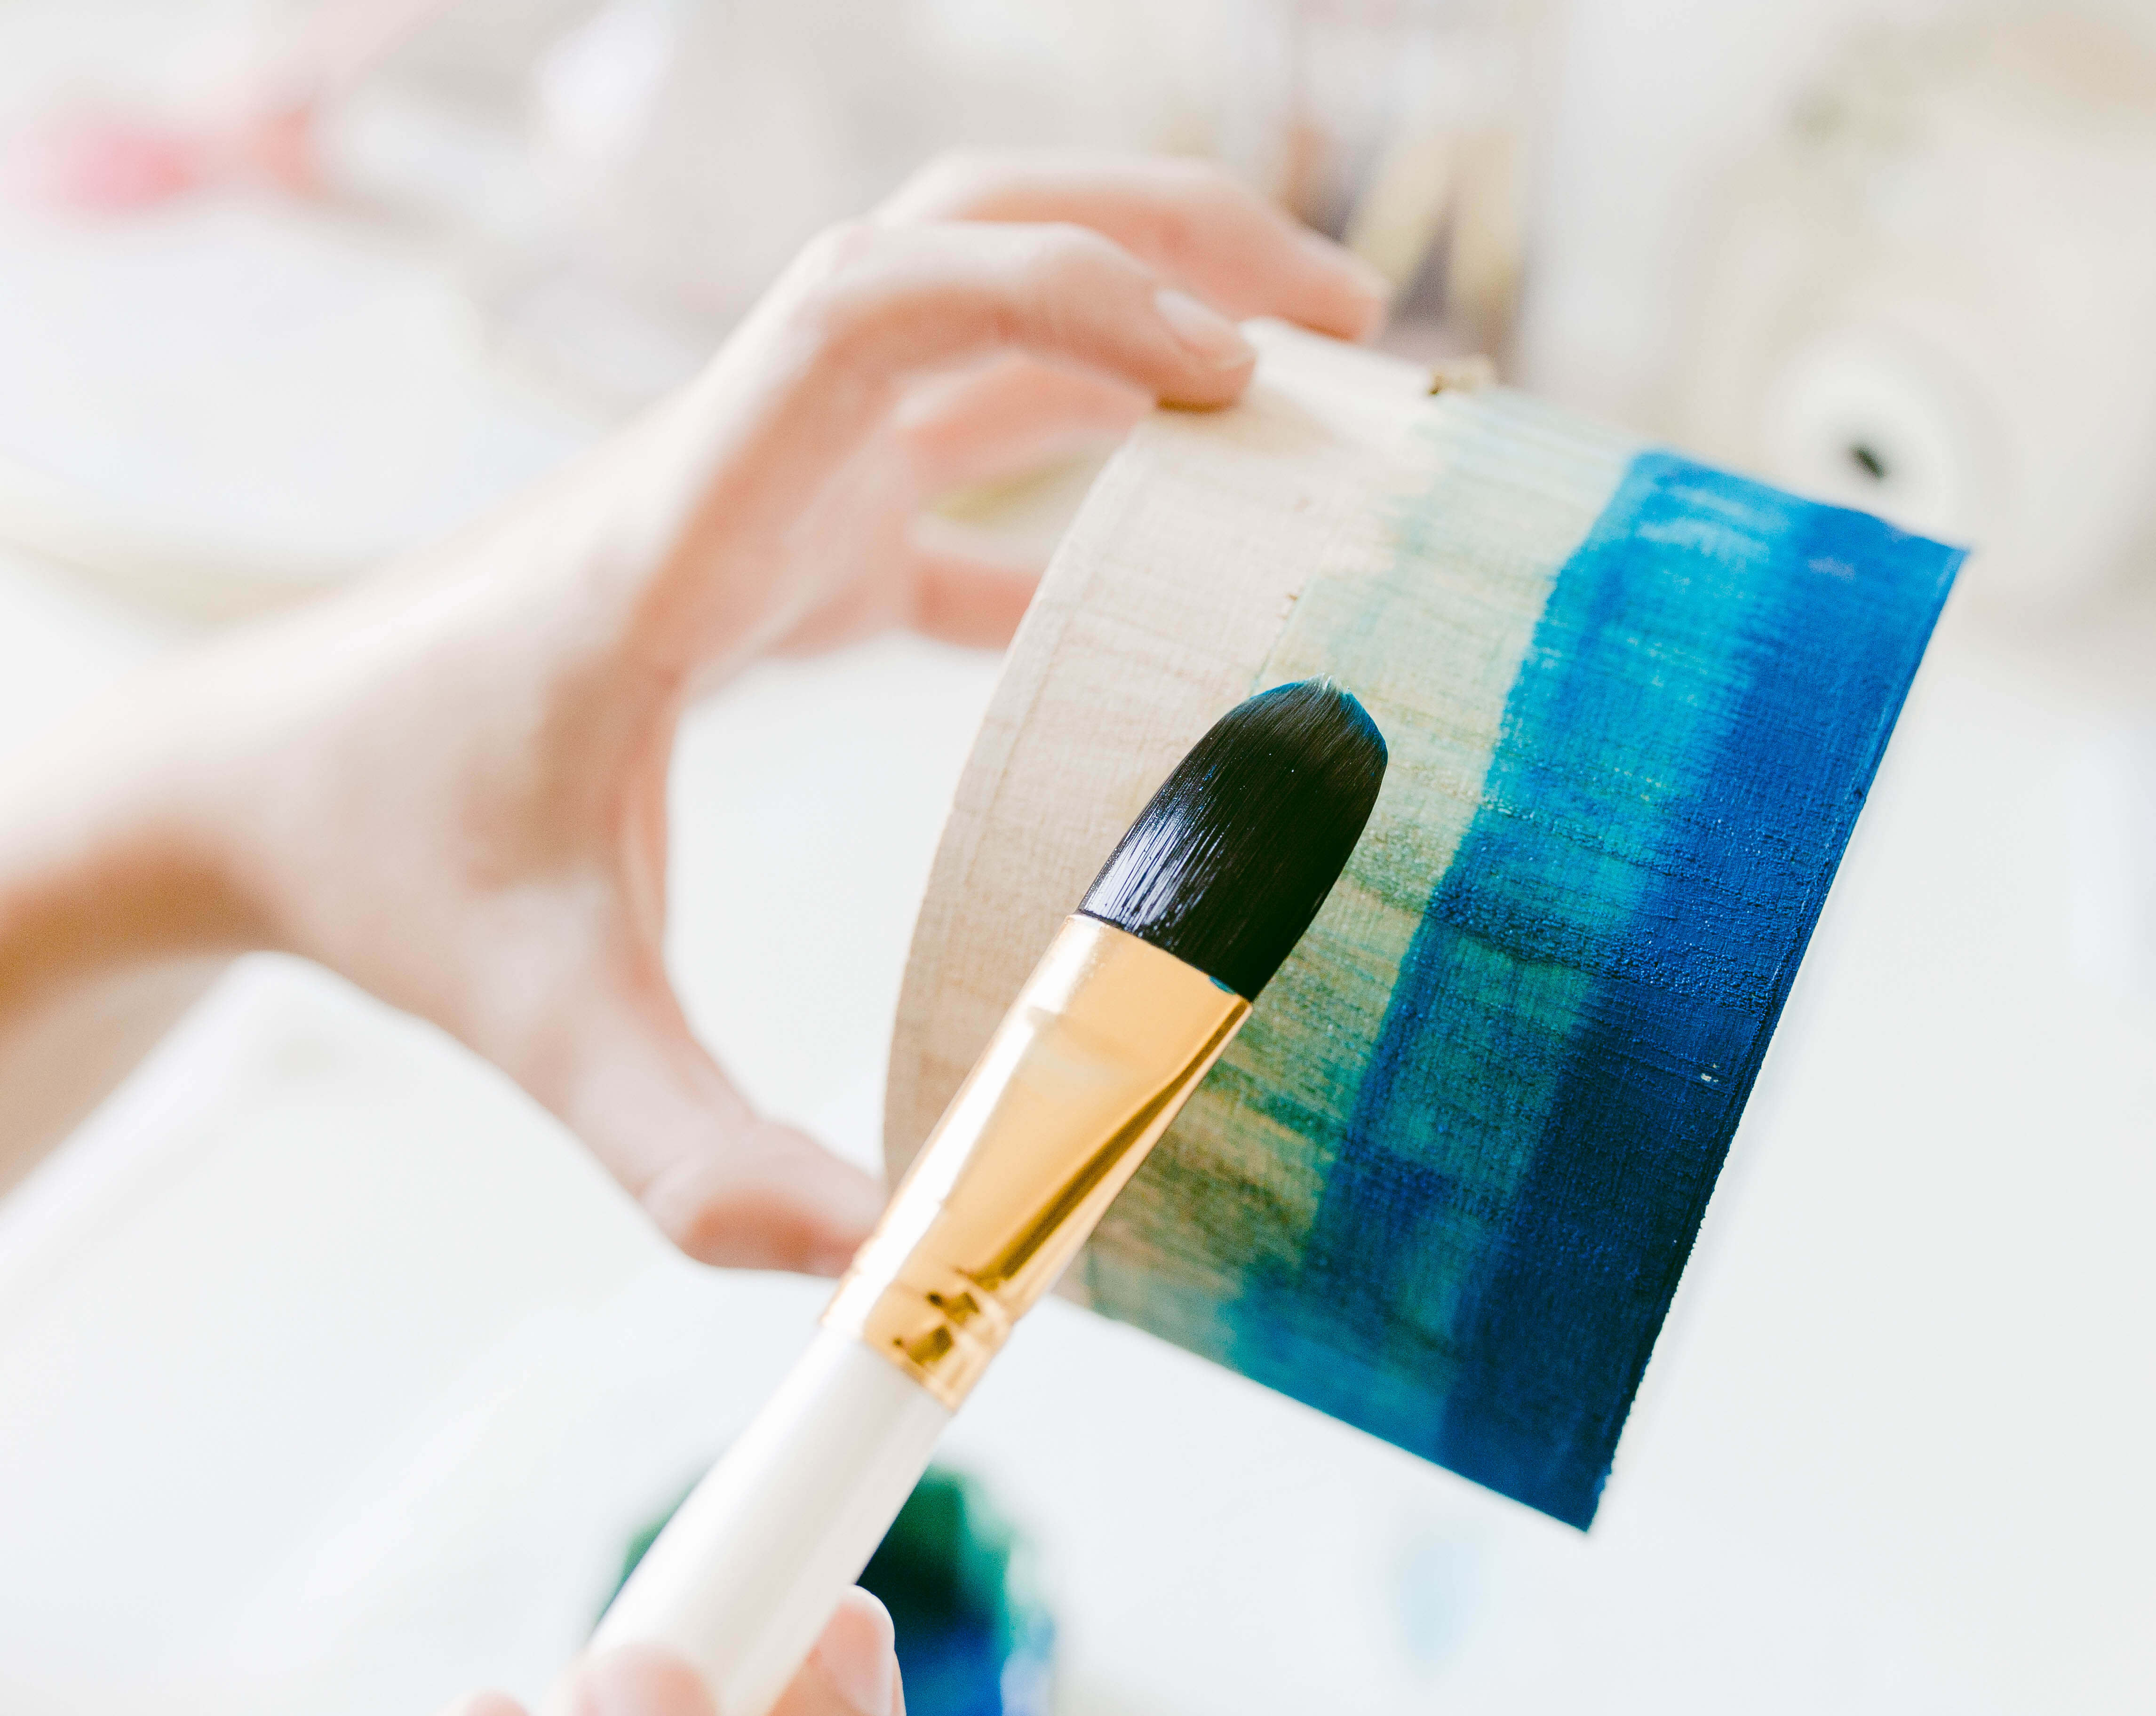
After that you’re going to want to add even MORE water to the thinner paint bowl, to dilute the paint even more. At this point, it should look like light blue water. Paint the rest of the box with this mixture.
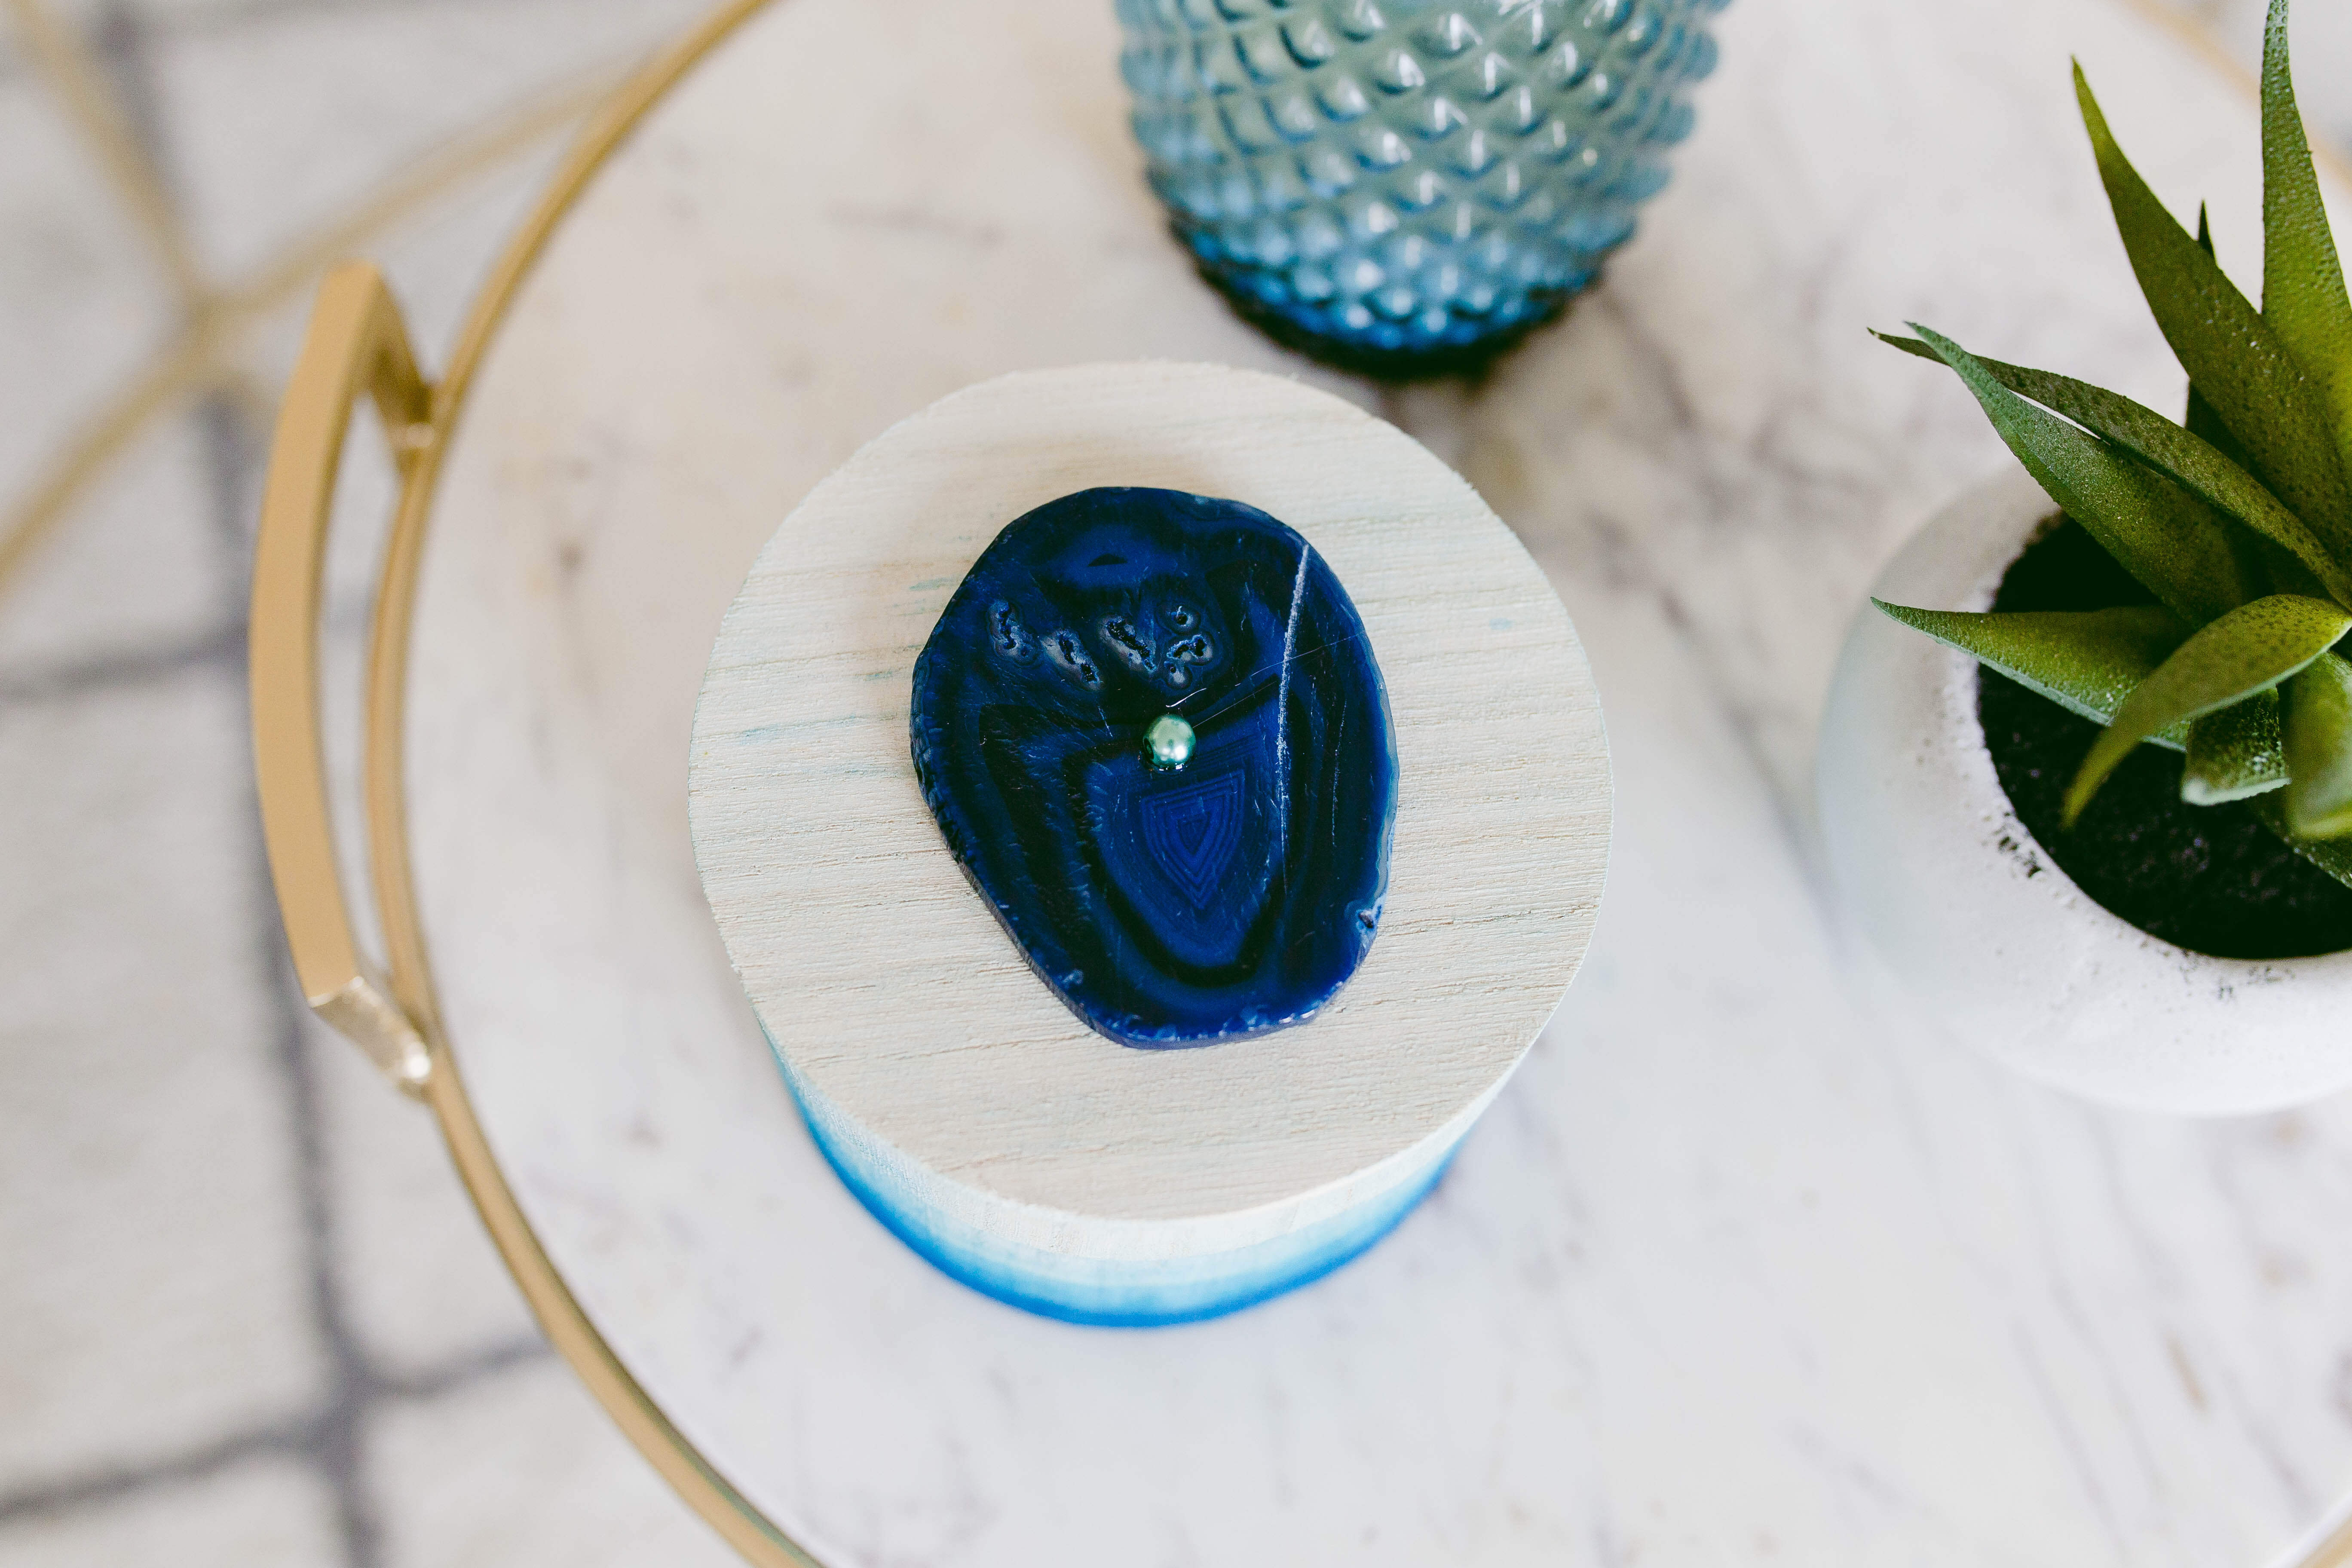
And lastly, glue your geode on top of the box. We used E6000 for this.
What should we watercolor next?
xx, Britta


This is so cute! Super creative. I love graduated colour.
Thank you!
This is so cute!
Oh, this looks nice and not that difficult. Of course, the hardest part is taking care of how you dilute the color in order for the tones to not be so different to each other and the gradient be successful.
But it’s a good idea, you can even make a jewelry box out of it.
Also.. you could watercolor a tote bag. It would be nice to see how it turns out 🙂
Best wishes,
Kathy