IKEA Hack: Gold & Marble Bar Cart
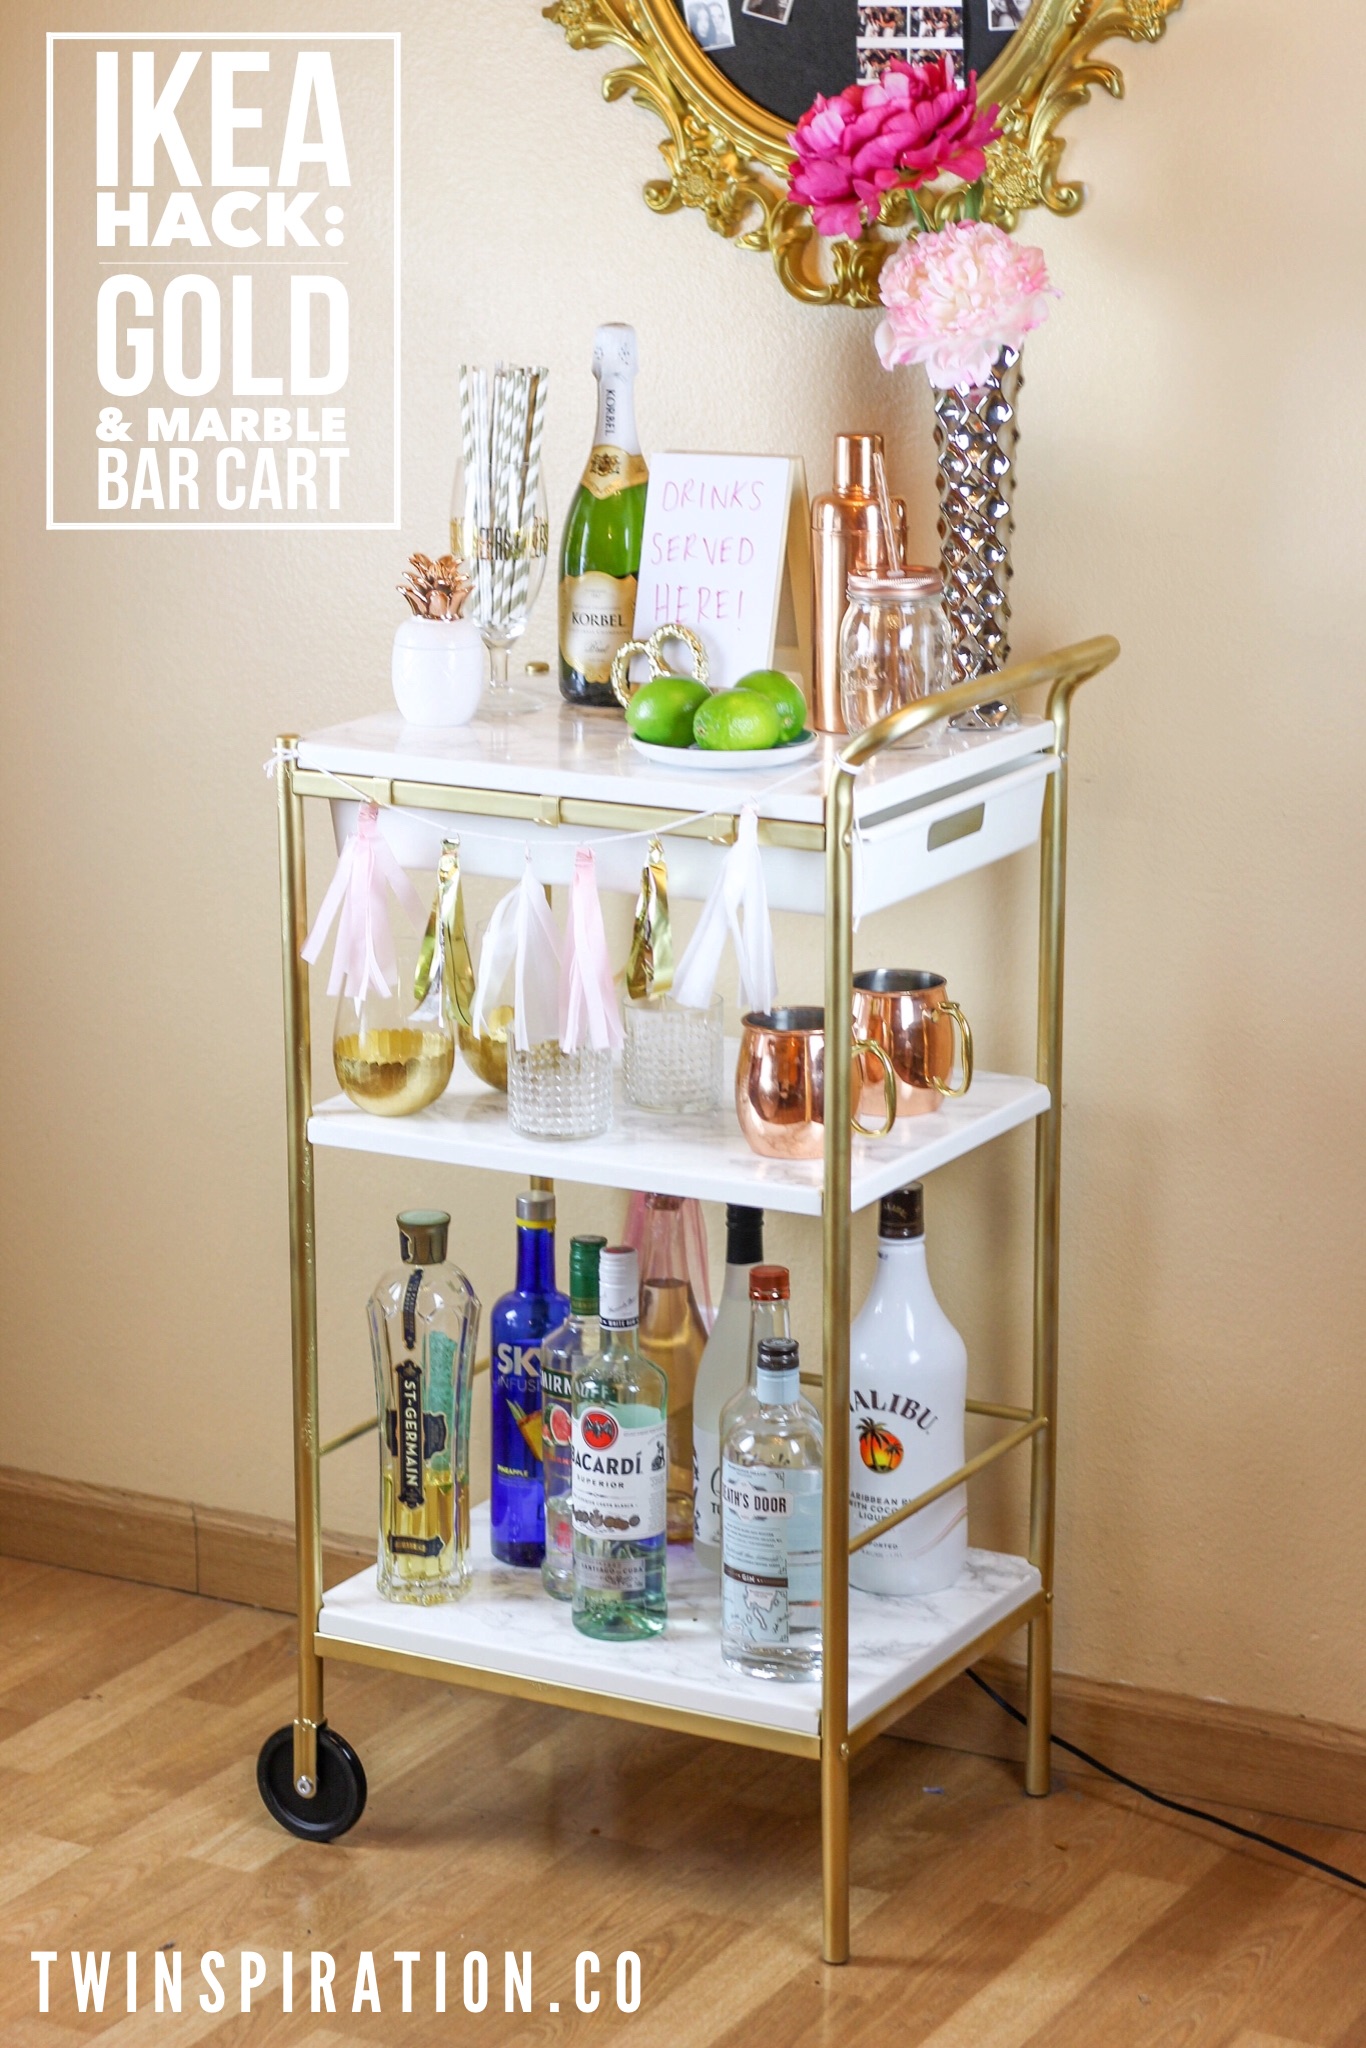
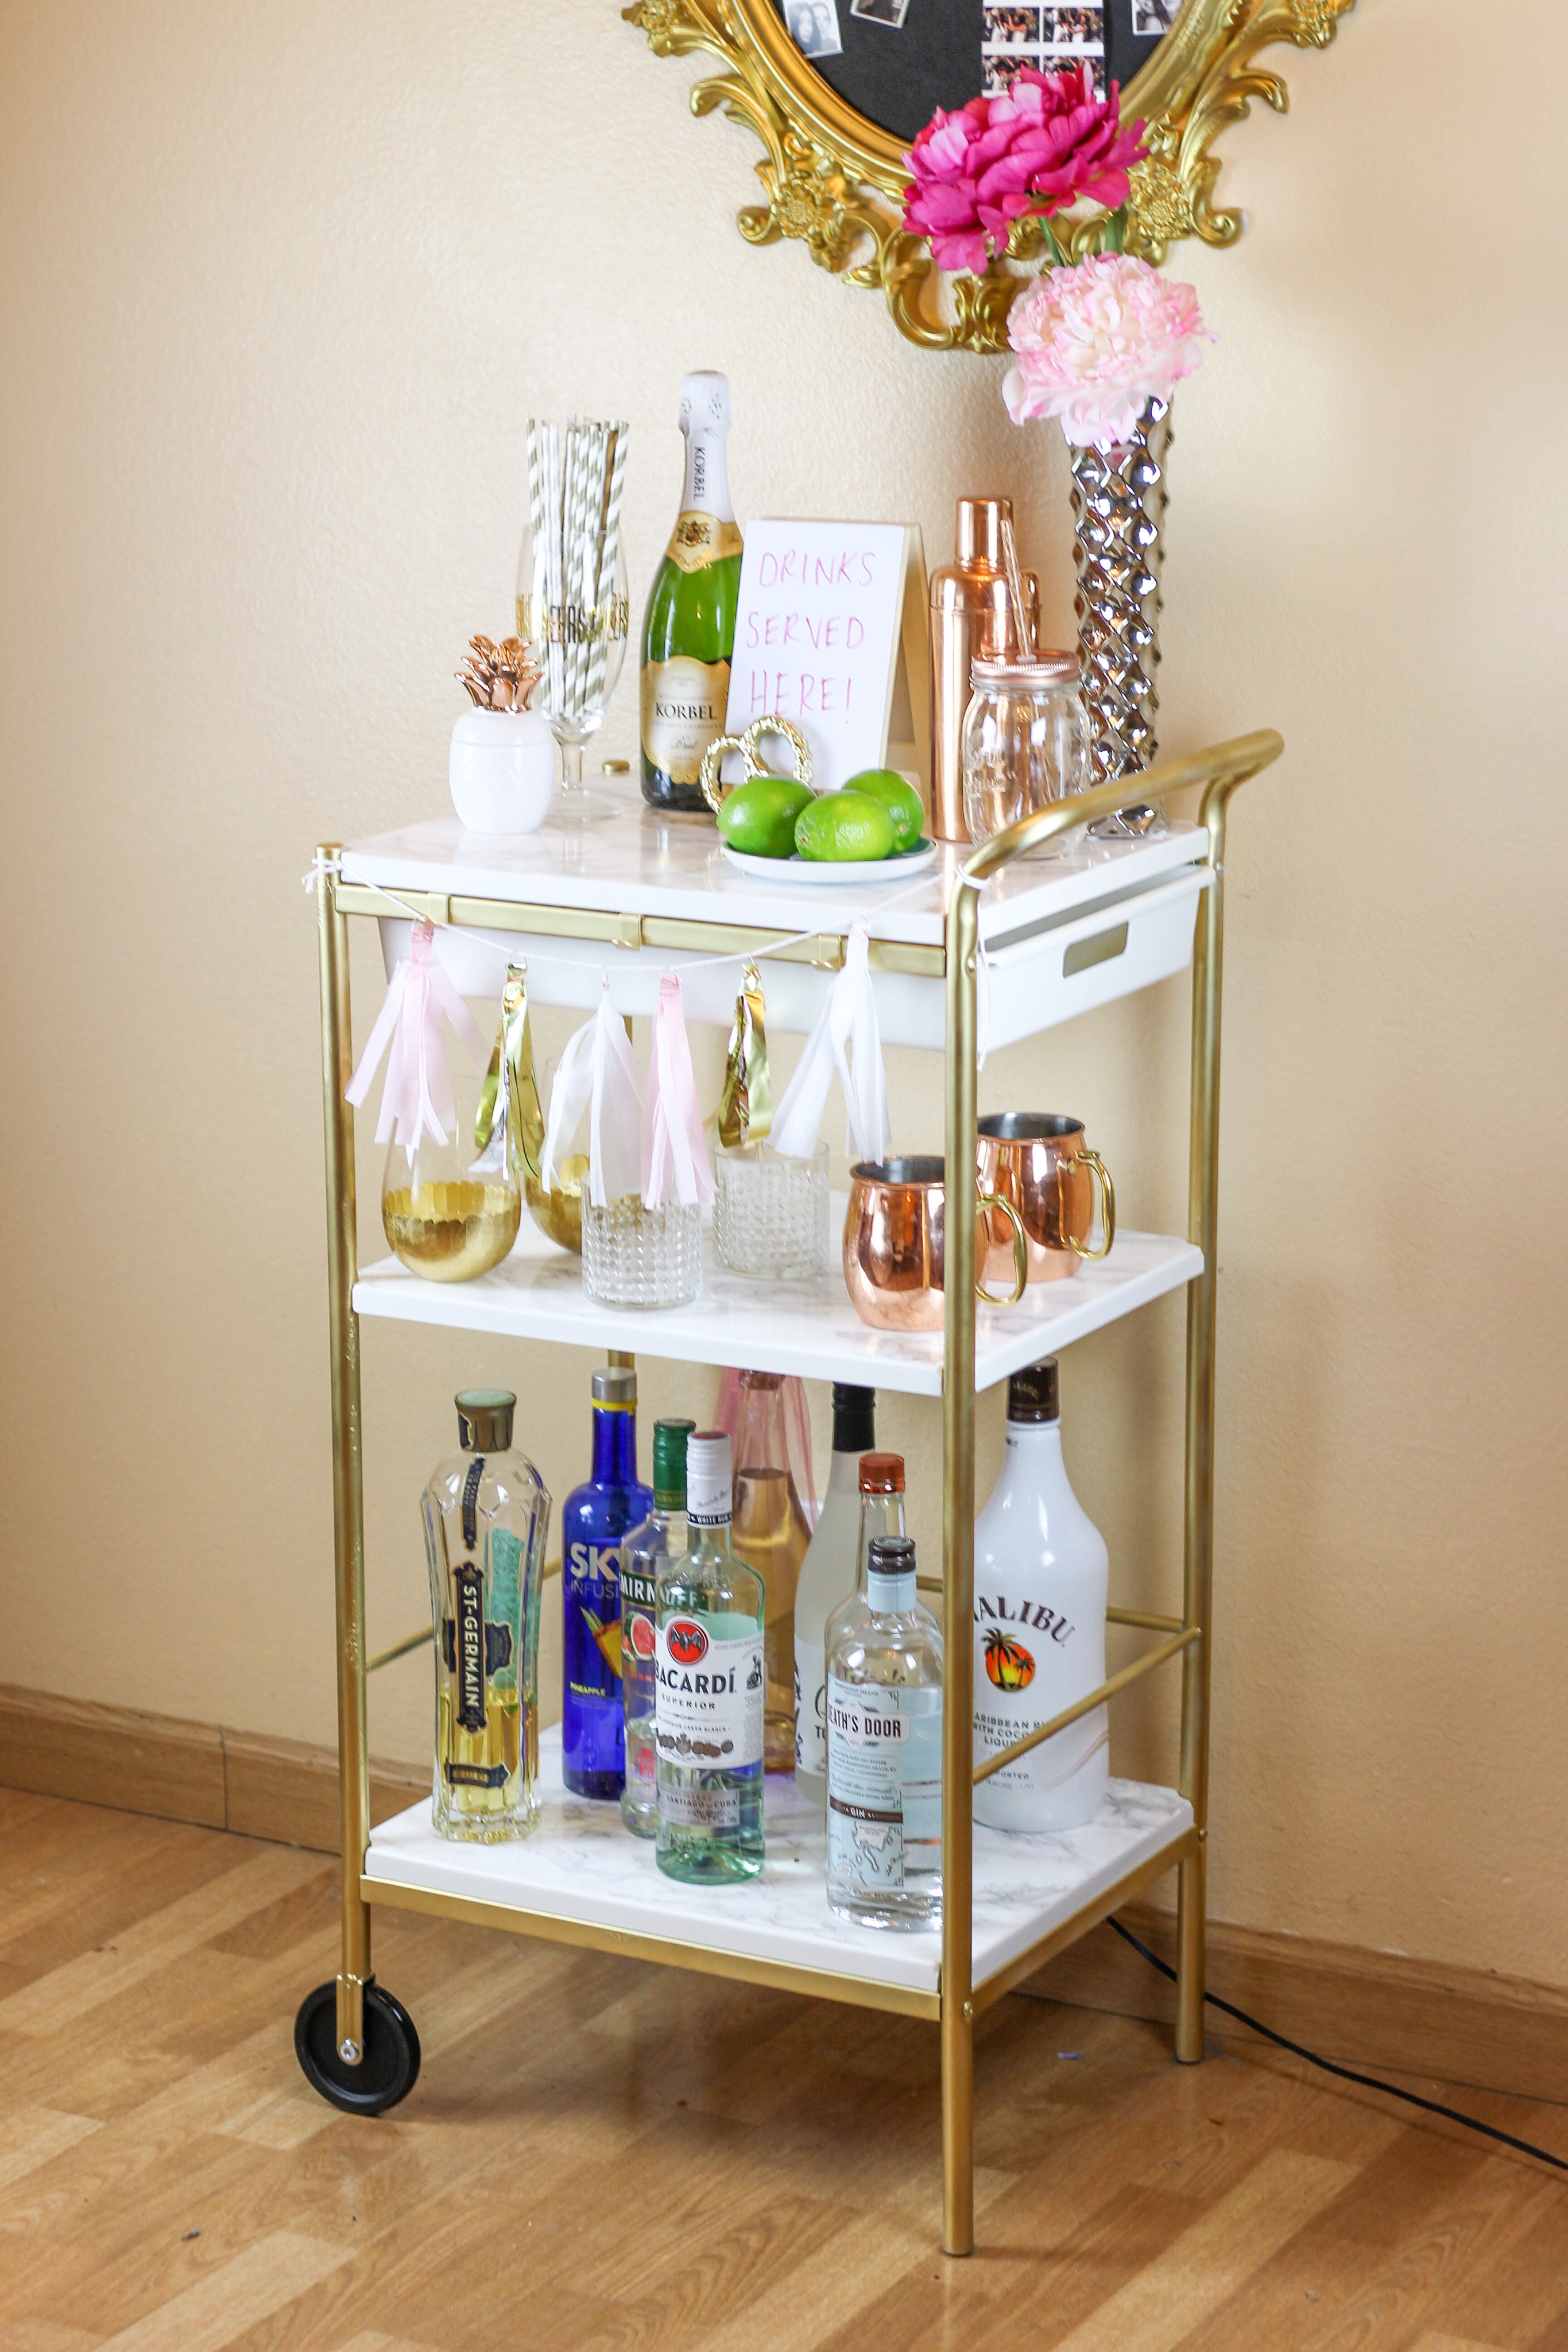
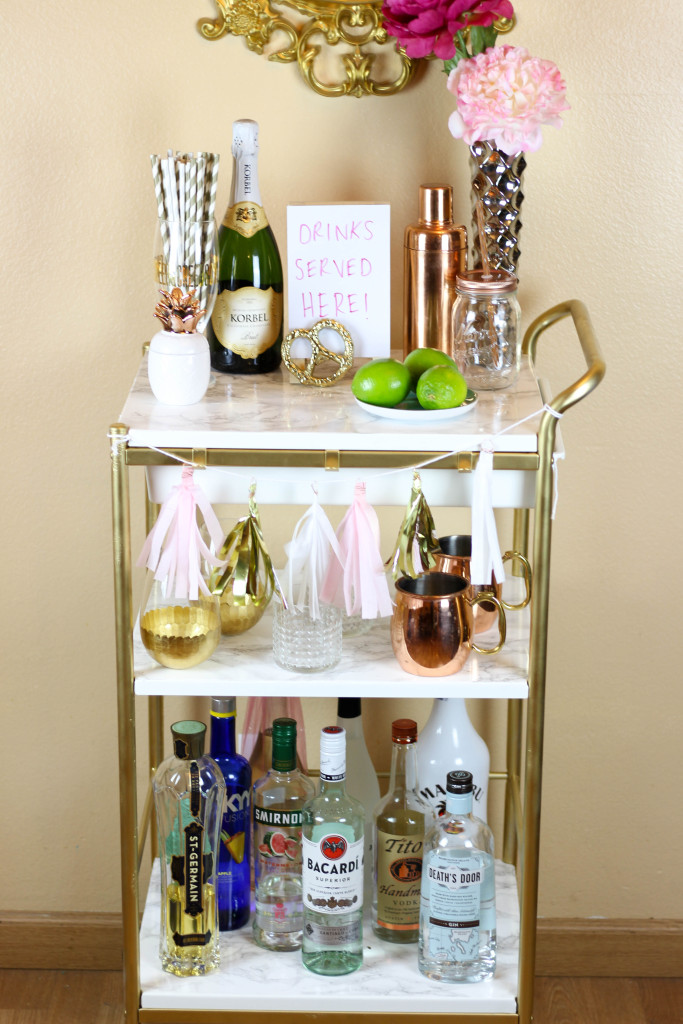
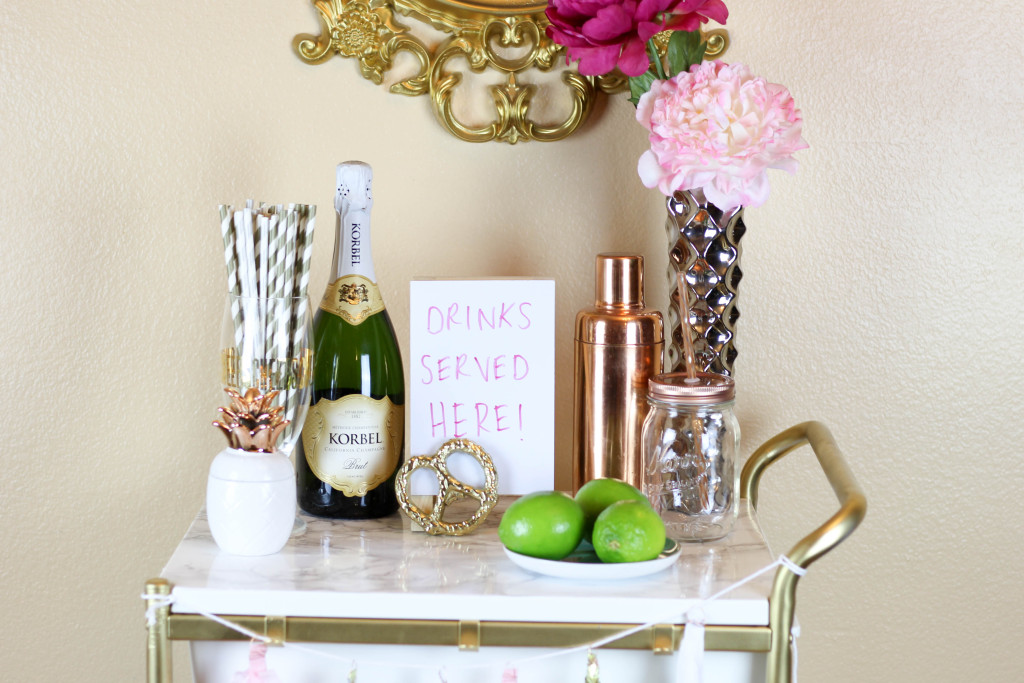
IKEA Hacks are probably our favorite DIY projects to do. It’s so fun to add personal touches to an already great piece. Over a year ago we made this bar cart using the MULIG Shelving Unit from IKEA. Although we love this bar cart, we feel like we’ve outgrown it a little. We’ve updated our glassware and upped our cocktail game over the past year, so we want a bar cart that reflects that. The BYGEL Utility Cart from IKEA is a must have for any home. Ample space, sturdy, and tons of hooks for random objects. For these reasons we knew it was the perfect cart to revamp into a chic bar cart. We also purchased this adorable sign for above our cart!
Supplies:
- IKEA BYGEL Utility Cart
- Rust-Oleum White Primer General Purpose Spray Paint
- Rust-Oleum Metallic Gold Spray Paint
- Grey Marble Contact Paper
- Scissors
- X-ACTO Knife
Directions:
- Put the BYGEL cart together WITHOUT the wheels or shelves
- Prime and paint the cart. We did one coat of primer, waited 25 hours, then did one coat of paint, waited about 4 hours and touched it up (not a full coat)
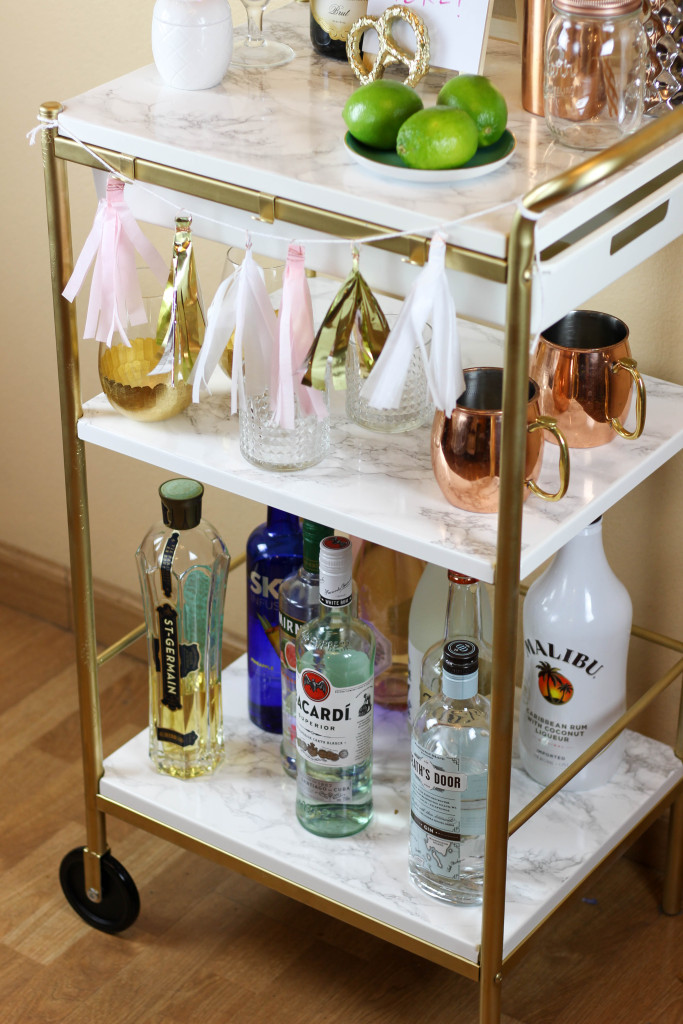
- Add the contact paper onto the top of all three white shelves- We found the best way was to flip the contact paper face down, place the shelf face down on the back side of the contact paper, and trace. Cut the traced portion out with scissors. Start on one end of the tray and peel back the paper, smoothing out the bubbles as you go. If you have any bubbles use a pin to “pop” and smooth them. Use and x-acto knife to clean up any rough edges.
- Now follow the instructions included with the bar cart and put it back together. You’ll basically have to take one side off, put the 2nd and 3rd shelves on (the top one just sits right on top), and put the side back on. Not going to lie, this was the hardest part. You’re going to need one person to hold one side, one person to hold the shelves in place, and another to put the other side on. We also used a drill to screw the second shelf into place. The wrench included doesn’t allow for the screws to go in all the way.
- Now STYLE your bar cart!
Things to Style your Bar Cart With:
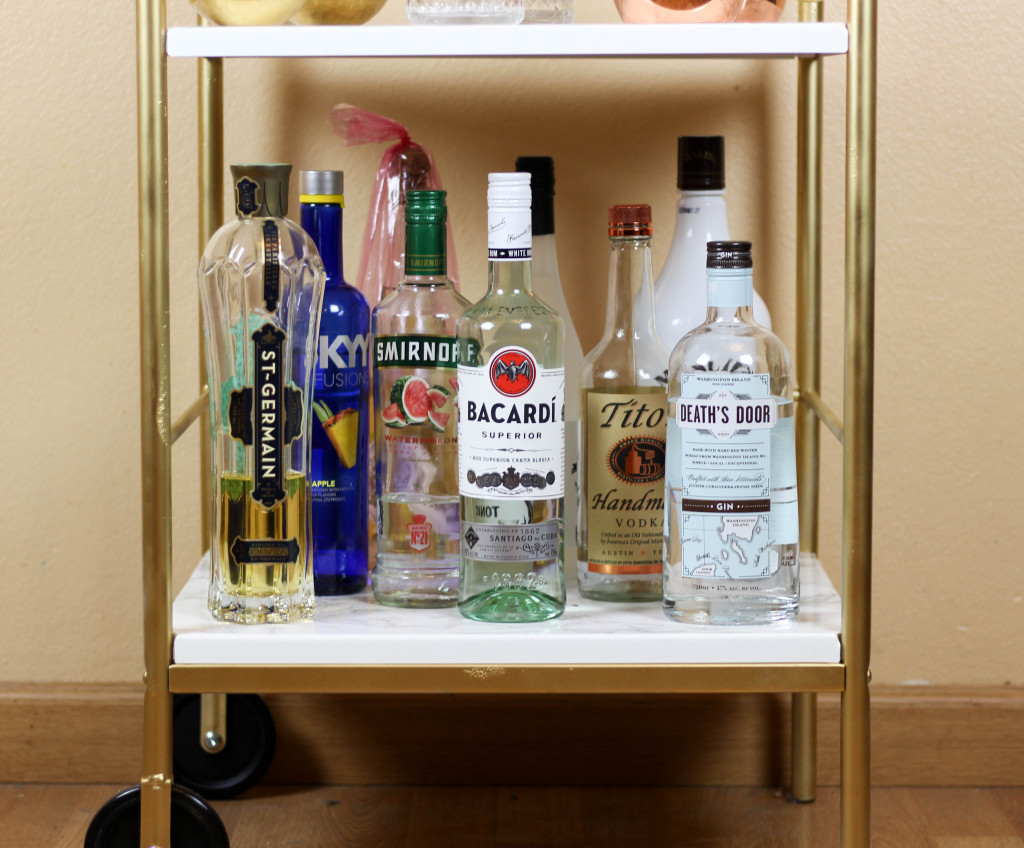
- Alcohol
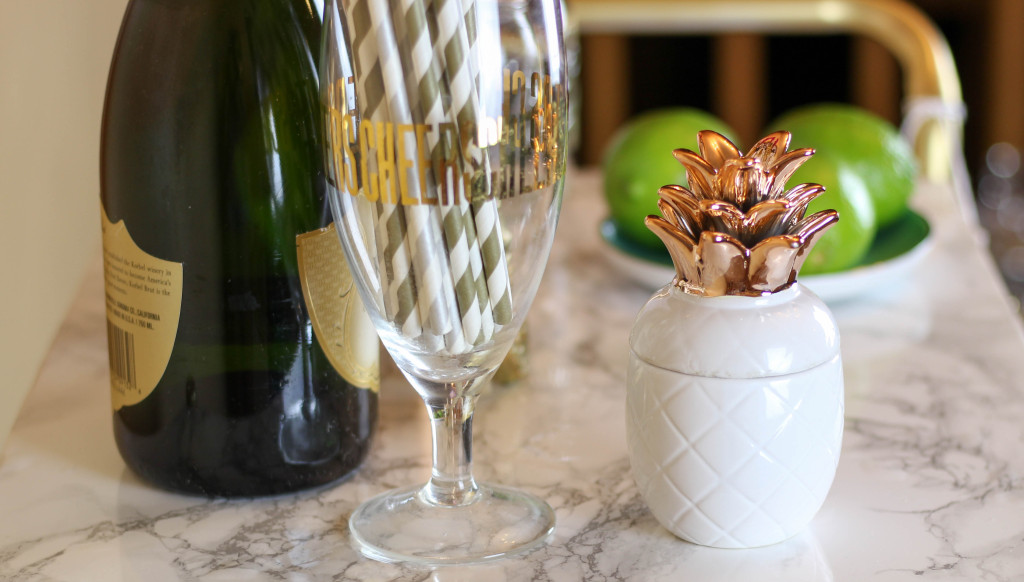
- Glassware
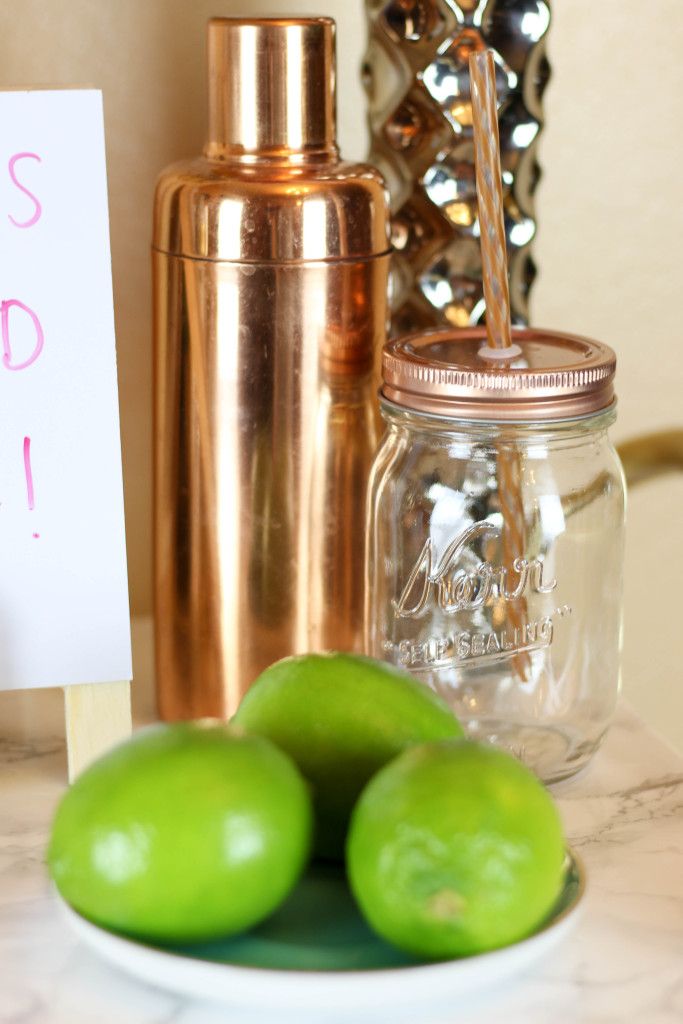
- Cocktail Shaker
- Vase with Flowers
- Candles
- Teacups
- Straws
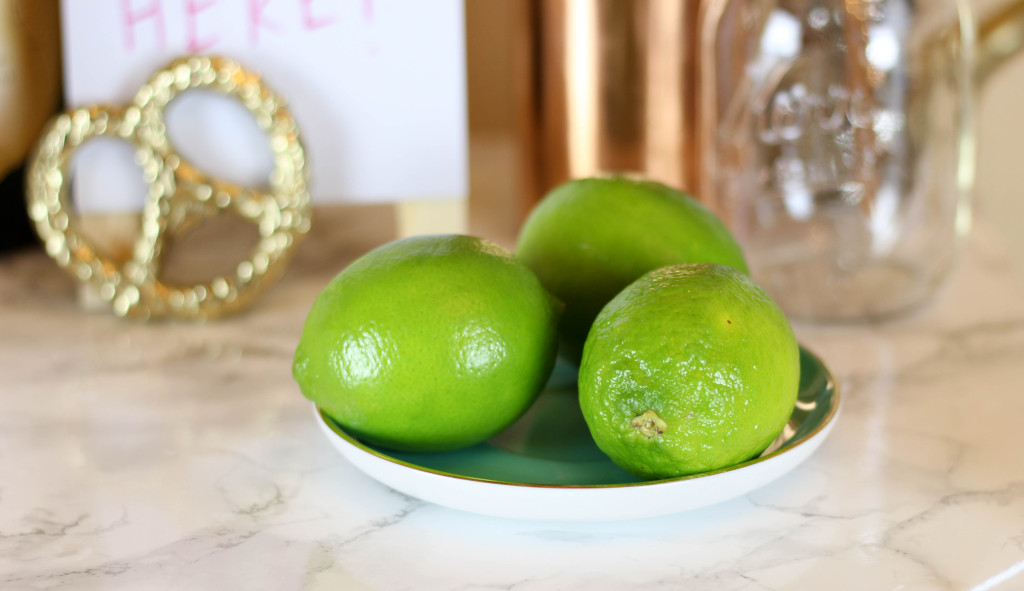
- Limes
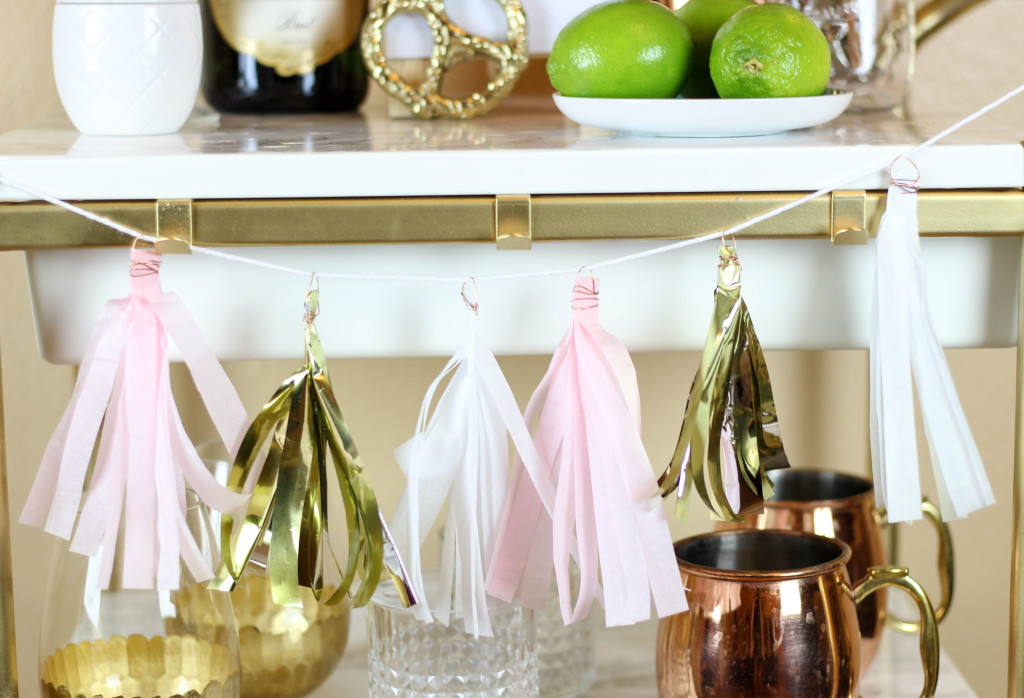
- Tassel Garland
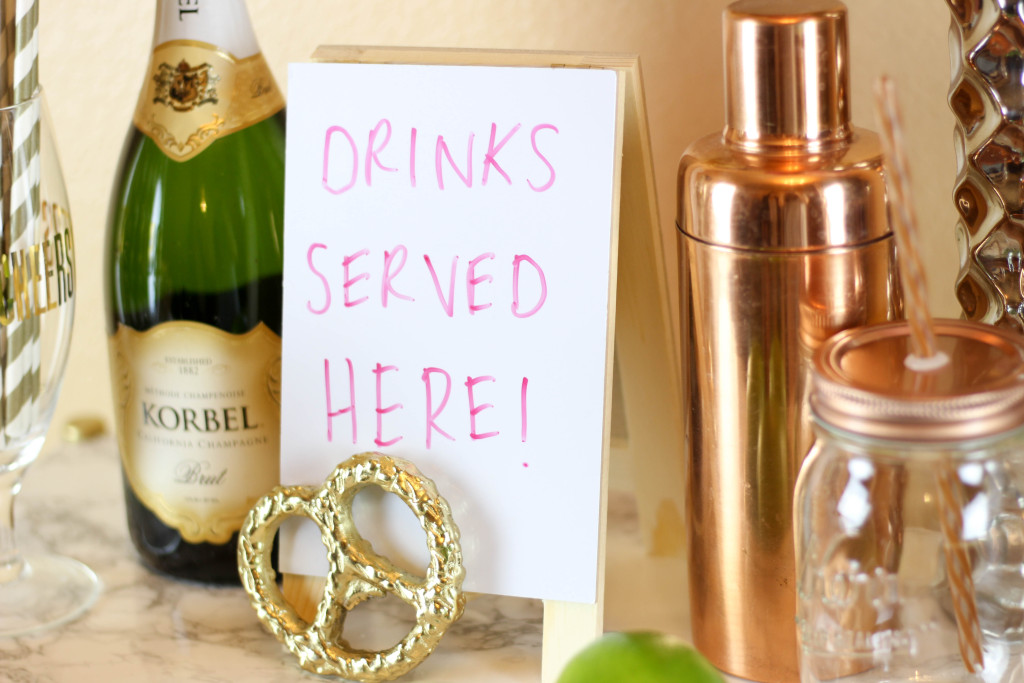
- Mini Sign
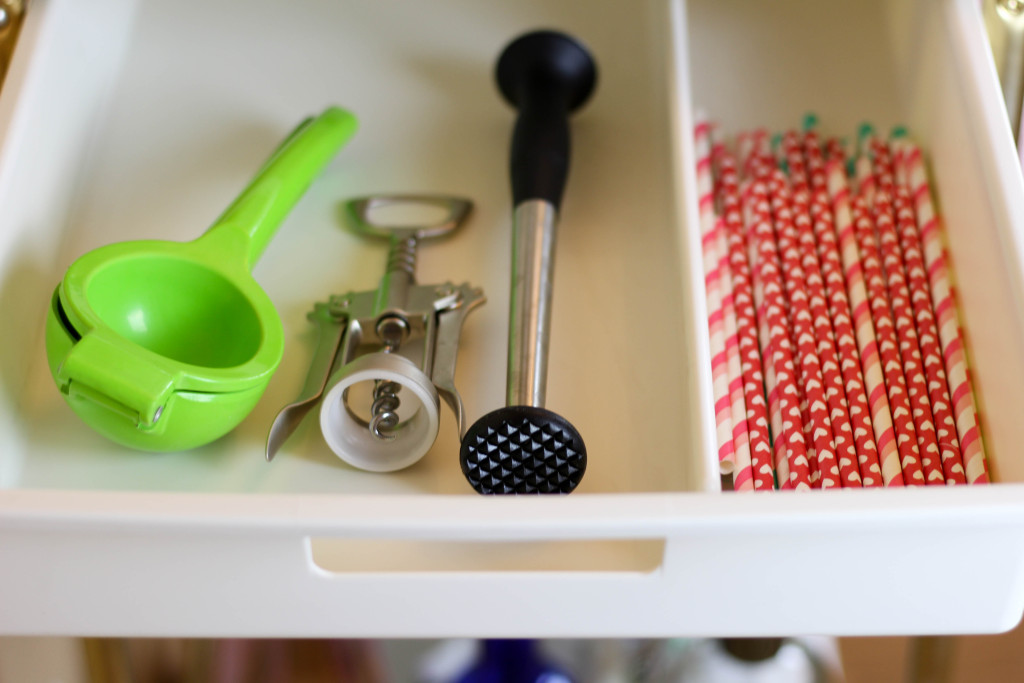
- For the drawer- bottle opener, lime squeezer, beer koozies, spare straws

omfg im doing this literally asap
you should!
I’m so obsessed with this! I think the marbled contact paper is the perfect finishing touch, and I love the hidden drawer (bonus!). Thanks for sharing!
xx Hannah // http://www.HomemadeBanana.com
The contact paper makes it smooth too! So glad you like it!
Look good Carli and Britta ! Guess what I found ? Yes, cart # 2 needs a little TLC.
Where is the tall silver vase from?
It’s from TJ Maxx 🙂
I bought this bar cart a year ago and have been meaning to paint it for since but because I was pregnant I was limited in the fumes I could inhale (LOL). Now, I’m tired of looking at it in our dining room, being just a plain Jane. This is definitely going to be a weekend project.
That’s so great you’ll be able to put it to use after a year! We recently moved and spray painted as many things gold as we could haha.
Did it only take one roll of marble contact paper?
I believe we used a little more than one roll! Each roll is only $7, so we like to keep a couple on hand at all time! haha.
Love the drink cart idea! Just wanted to let you know that we decided to add it to our list of the Best IKEA Hacks http://www.listsforall.com/best-ikea-hacks/ Keep up the good work!
Thank you so much! xx
thank you for this inspo…. so cute! i’ve been wanting a bar cart but a lot of them are so pricey! definitely making a trip to IKEA ASAP!
XO, Danielle
https://ubbeauty.com/
I LOVE THIS idea and can’t wait to do my own rendition! Thank you for the inspiration!! Yours is absolutely GORGEOUS! I was wondering how you were able to add the drawer and where you got the drawer from?