DIY Photo Collage Wine Label
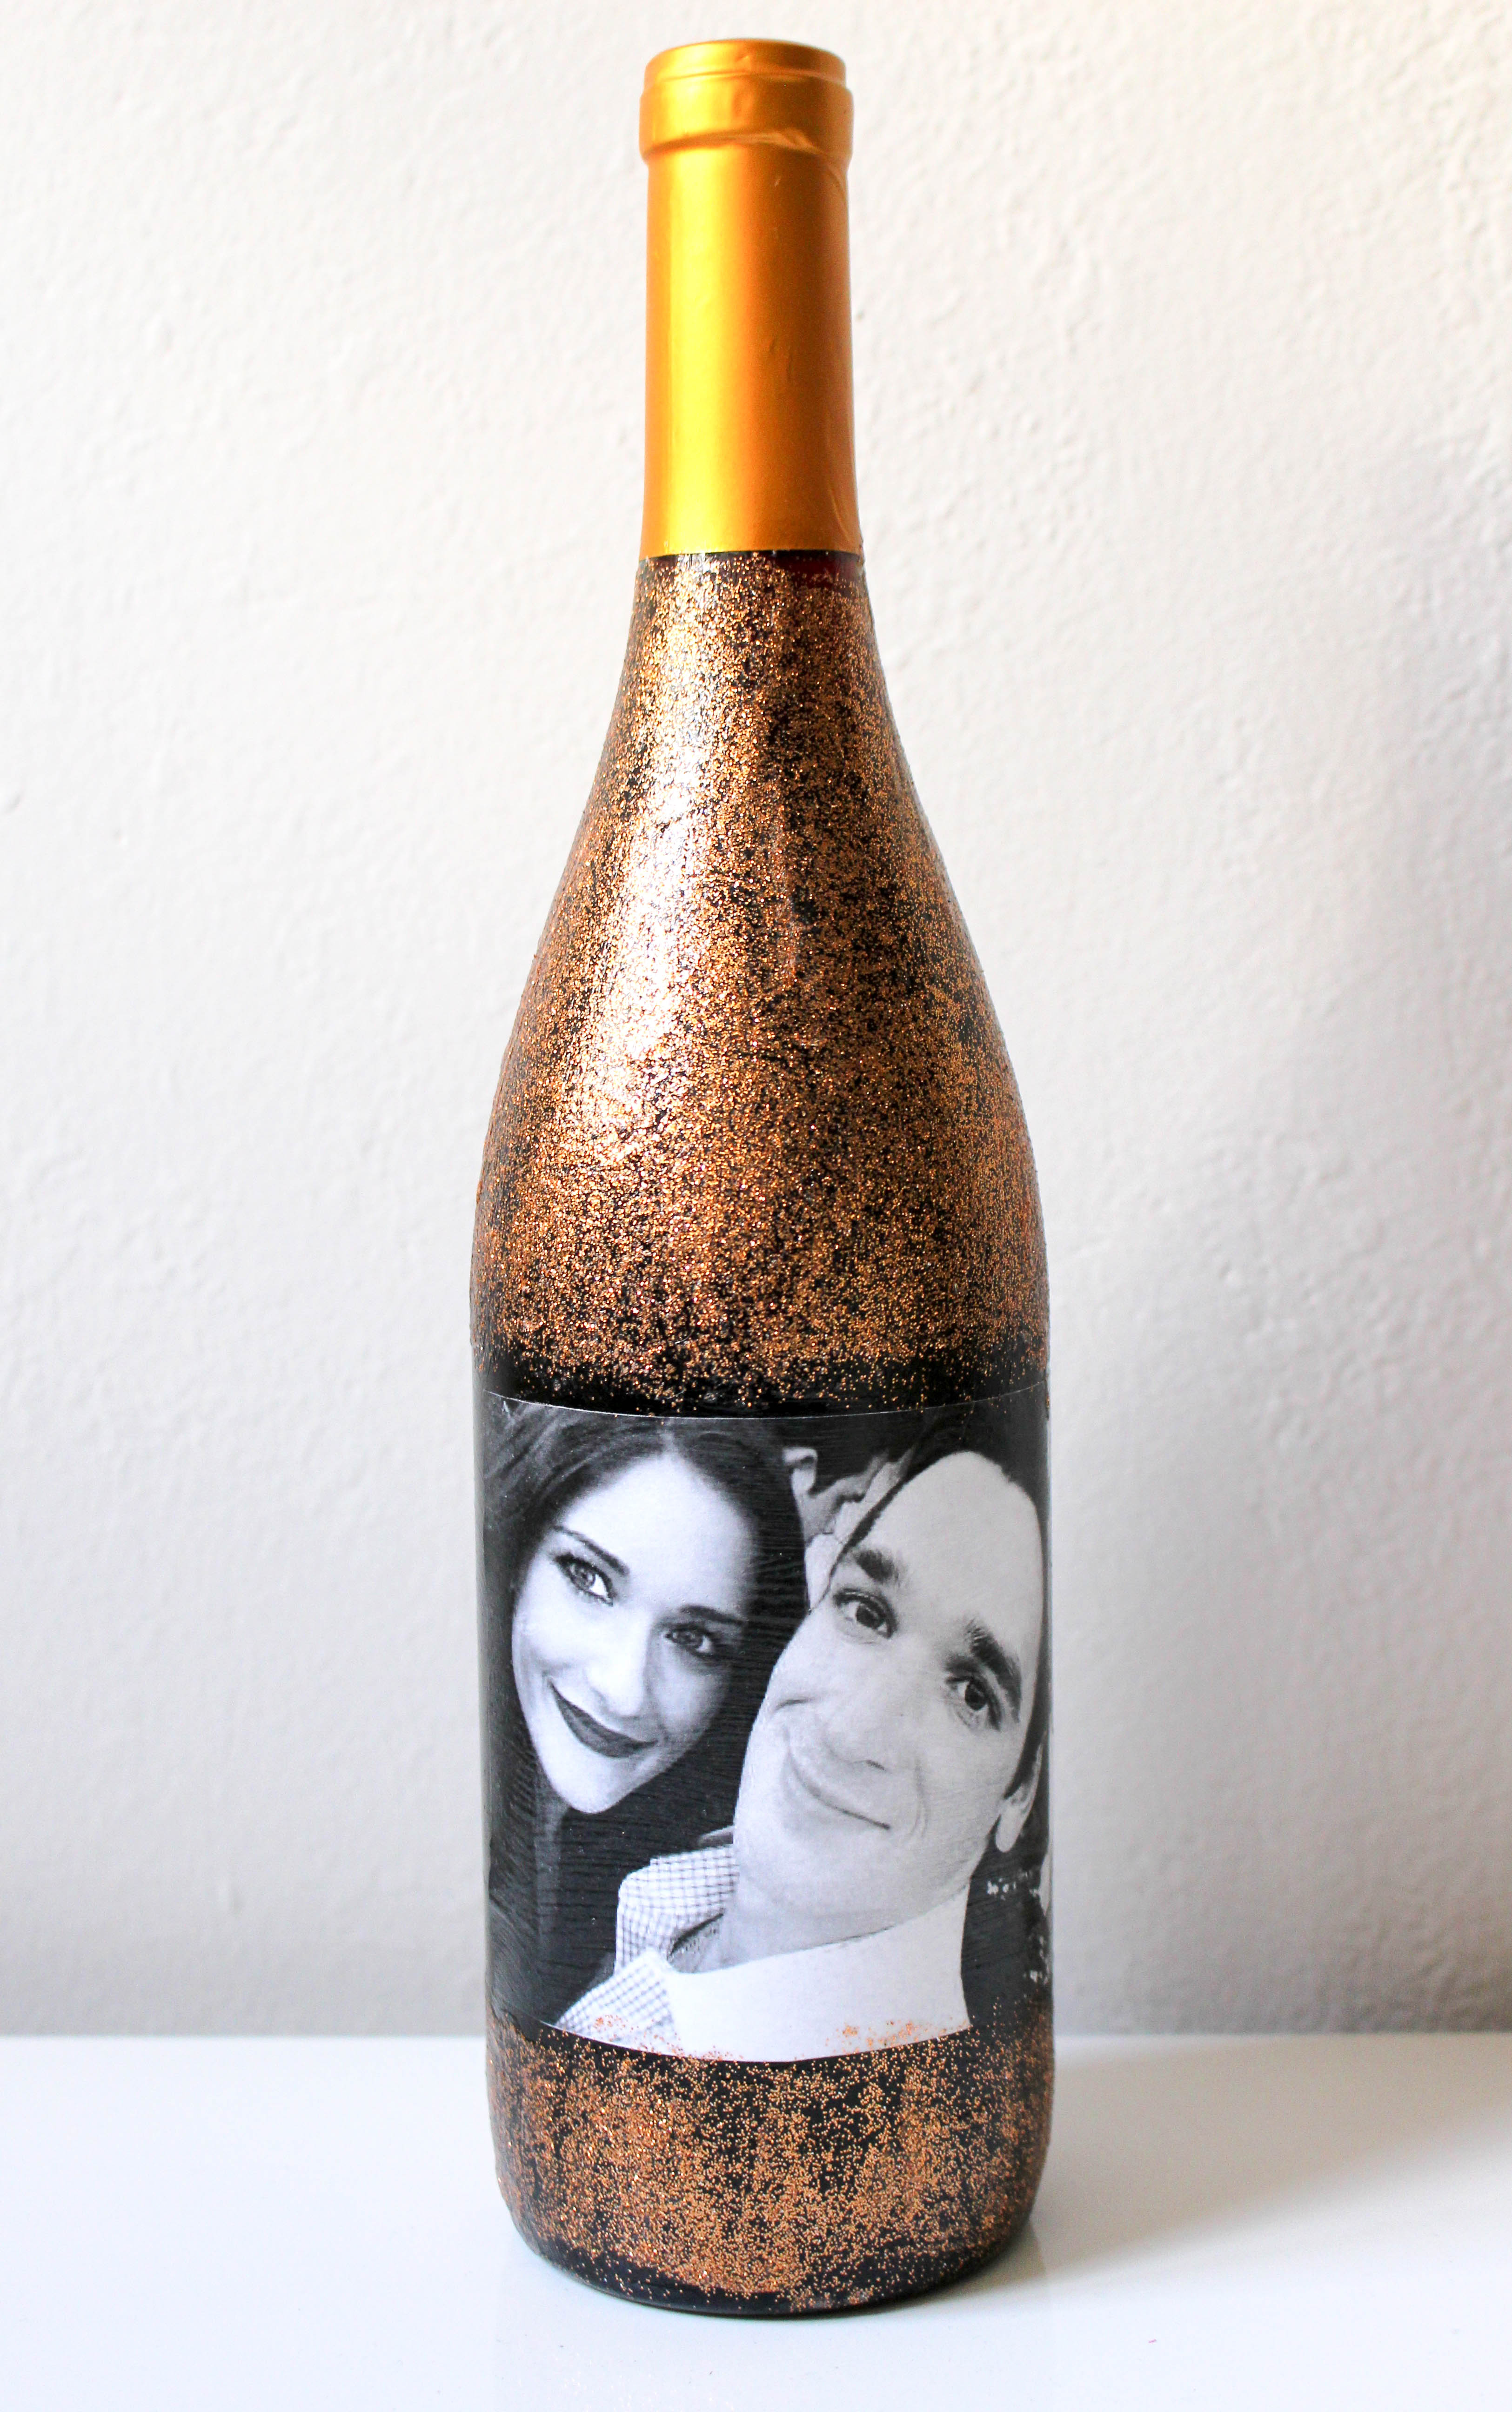
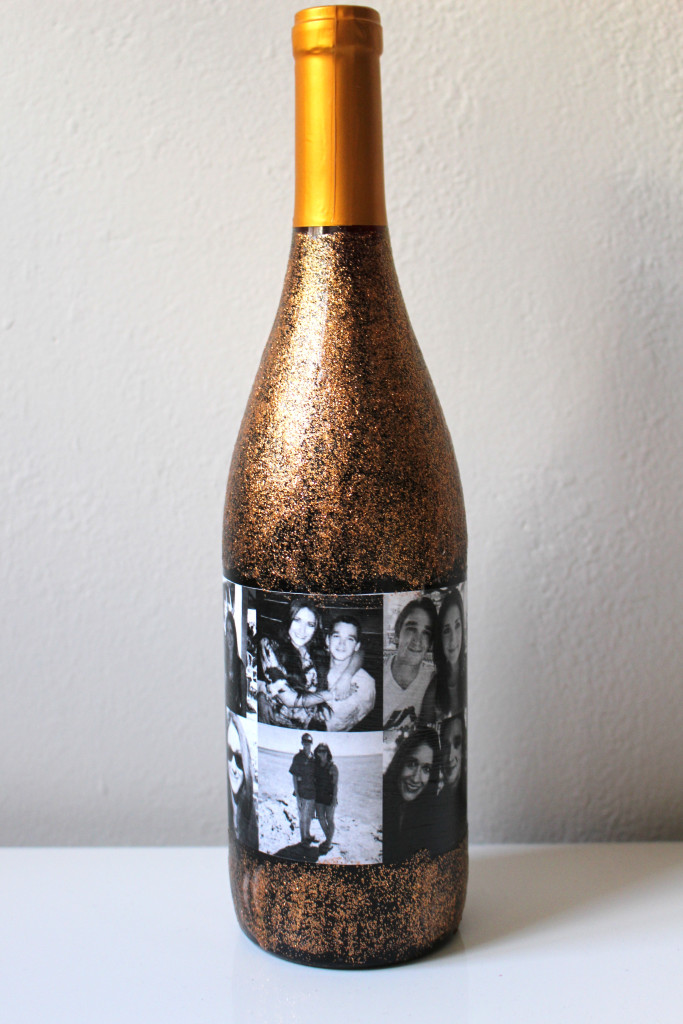
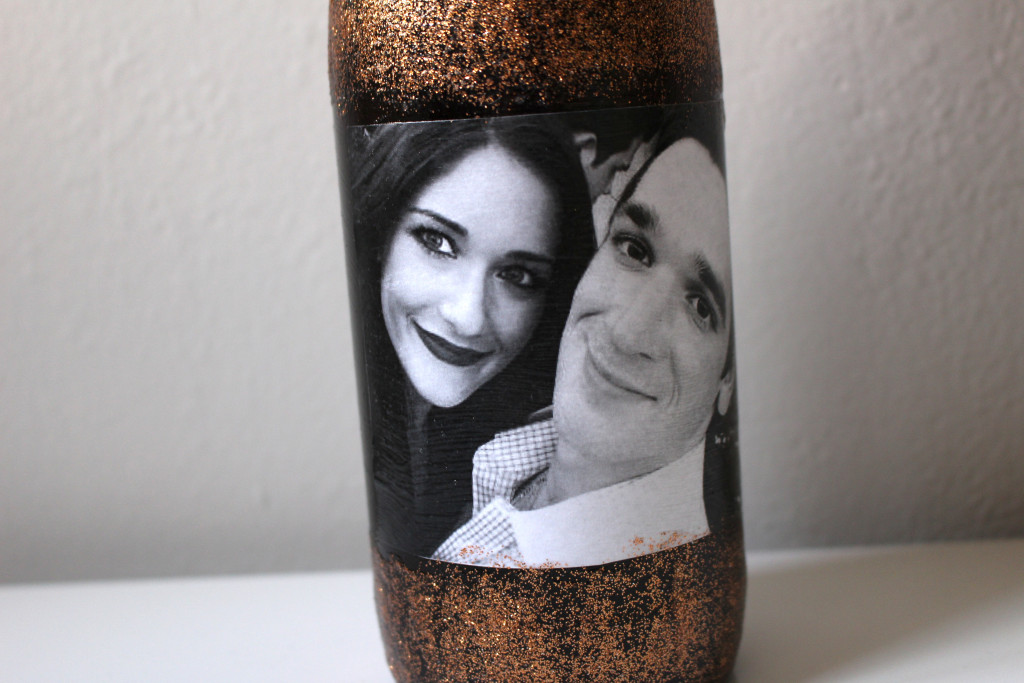
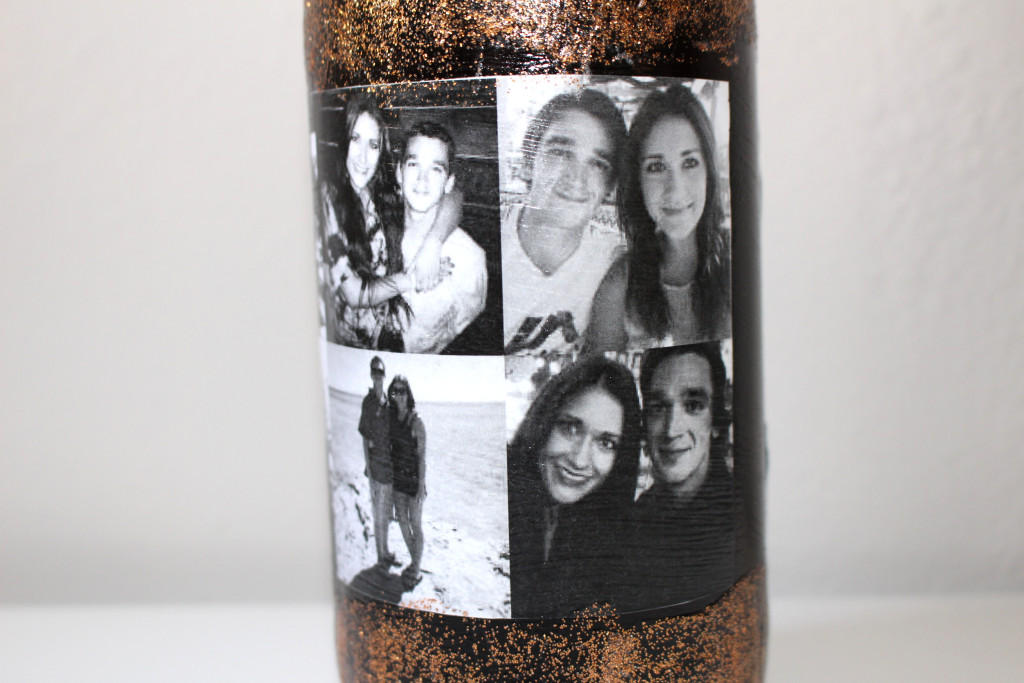
It was my one year anniversary on December 1st with my boyfriend. Wow, time flies! I wanted to make him a few gifts instead of buying things because homemade gifts just mean so much more! I saw this DIY wine label using your own pictures and thought it was genius! Since we have been together for a year and have taken quite a few photos, I wanted to make a wrap-around label with multiple pictures. Take a look at how I did it!
You will need:
- A wine bottle (cleaned, with the label peeled off)
- 2 pieces of regular printing paper
- A bottle of Mod Podge (I used the glossy kind but I’m sure matte looks great too)
- A one inch foam brush
Directions:
1. First, you should visit www.picmonkey.com and click the button that says “Create a collage”
2. Next, click on “Open photos” and chose your favorite seven photos of you and the person you are making the wine label for
3. Click on the Layouts icon that is directly below the photo icon, then click on the layout “FB Cover”
4. Click on the last one in a row that has room for seven pictures (one big picture and six smaller ones)
5. Insert your pictures where you want them. It will look like this before you insert the pictures:
6. After you insert pictures you can adjust the spacing between them. I left a little spacing but changed the background to black so it blended in with my black wine bottle.
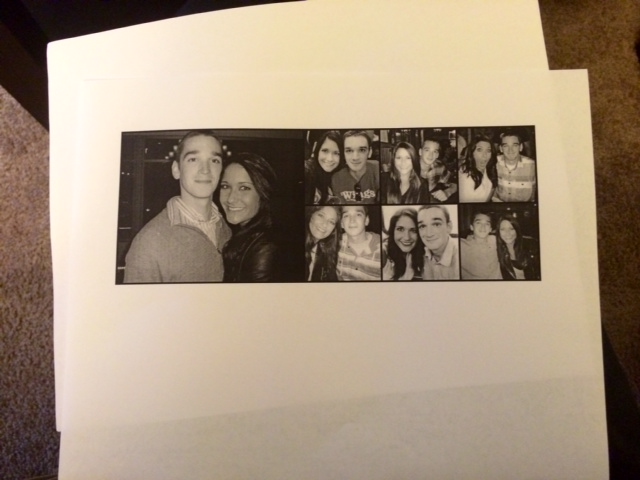
7. Print out your collage on regular printing paper (make sure it prints in the landscape orientation). I printed mine in black & white, I highly recommend it, it looks great!
8. Place a regular piece of printing paper behind the piece that has your collage printed on it, like this:
NOTE: The second time I made this wine label, I didn’t use a plain white paper under the pictures. It really depends how well you want your pictures to show up and how dark your wine bottle is.
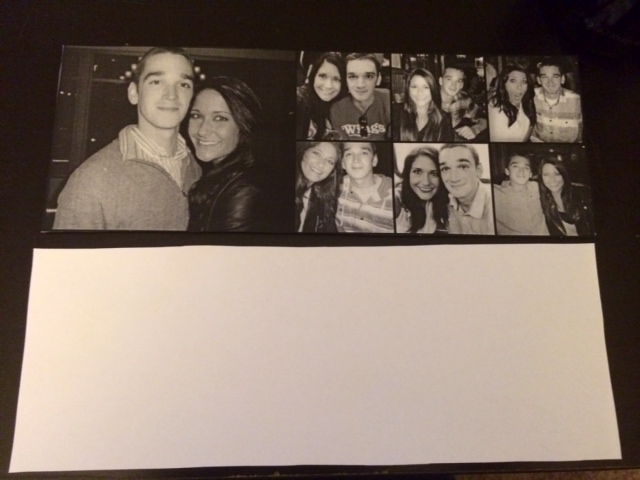
9. Next, place the plain piece directly behind the piece with the picture on it and cut the picture out. So you will have something like this:
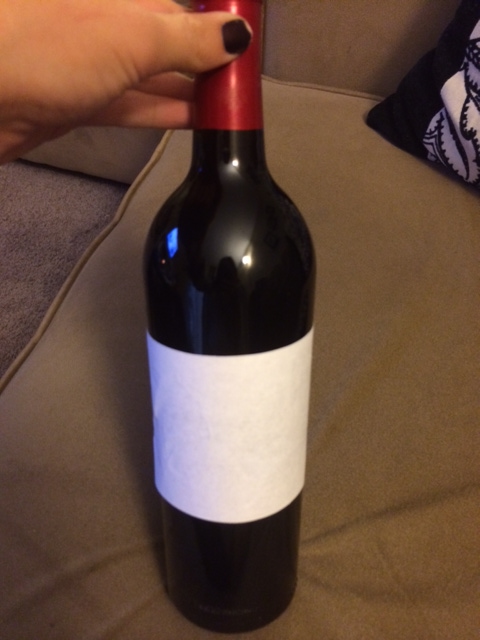
10. Use your foam brush to spread some Mod Podge onto the plain piece of white paper. Place the paper around the clean wine bottle, try to make it level. Spread some more Mod Podge over the top of the plain white paper after it is adhered to the bottle. I added this step because I didn’t want the picture to become to thin when the Mod Podge was applied. Adding a layer under the picture collage sets a nice white background so the pictures stand out.
11. Let that set a few minutes before adding the picture layer. After it seems pretty dry, do the same thing with the picture collage. Just use your foam brush to apply Mod Podge to the back of the picture and place it directly over the plain white label. Try to make it line up to the white layer as best as possible. Mine isn’t perfect and it still looks awesome!
12. Use your foam brush to spread Mod Podge all over the top of the picture collage to make sure it sticks well.
13. Let dry and you’re all done!!
Instructions for adding glitter to the bottle (here I used copper glitter): After your label is completely dry, apply some more Mod Podge with a new 1″ foam brush to the wine bottle (make sure to avoid the label). Sprinkle the area you just applied Mod Podge to with a large amount of glitter until you have your desired amount covering the wine bottle. Let dry. You may have to do multiple coats of Mod Podge and glitter to get the whole bottle covered.


11 Comments
Comments are closed.