
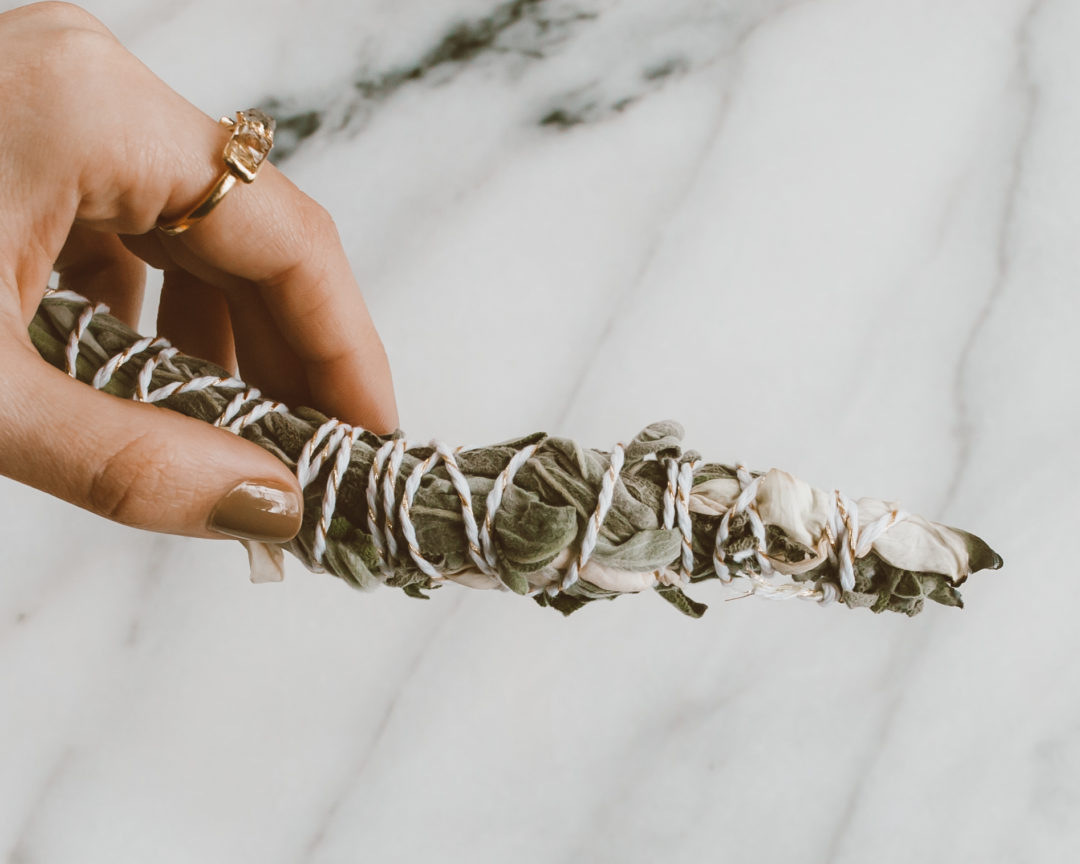
Today we’re showing you how to create your own smudge stick. If you’re unfamiliar with the concept, a smudge stick is used to bless and cleanse people, places, and objects. You can make your smudge stick simple like we did, or incorporate a bunch of your favorite florals and herbs. When the stick is lit the aroma will fill your space with a pleasant scent.
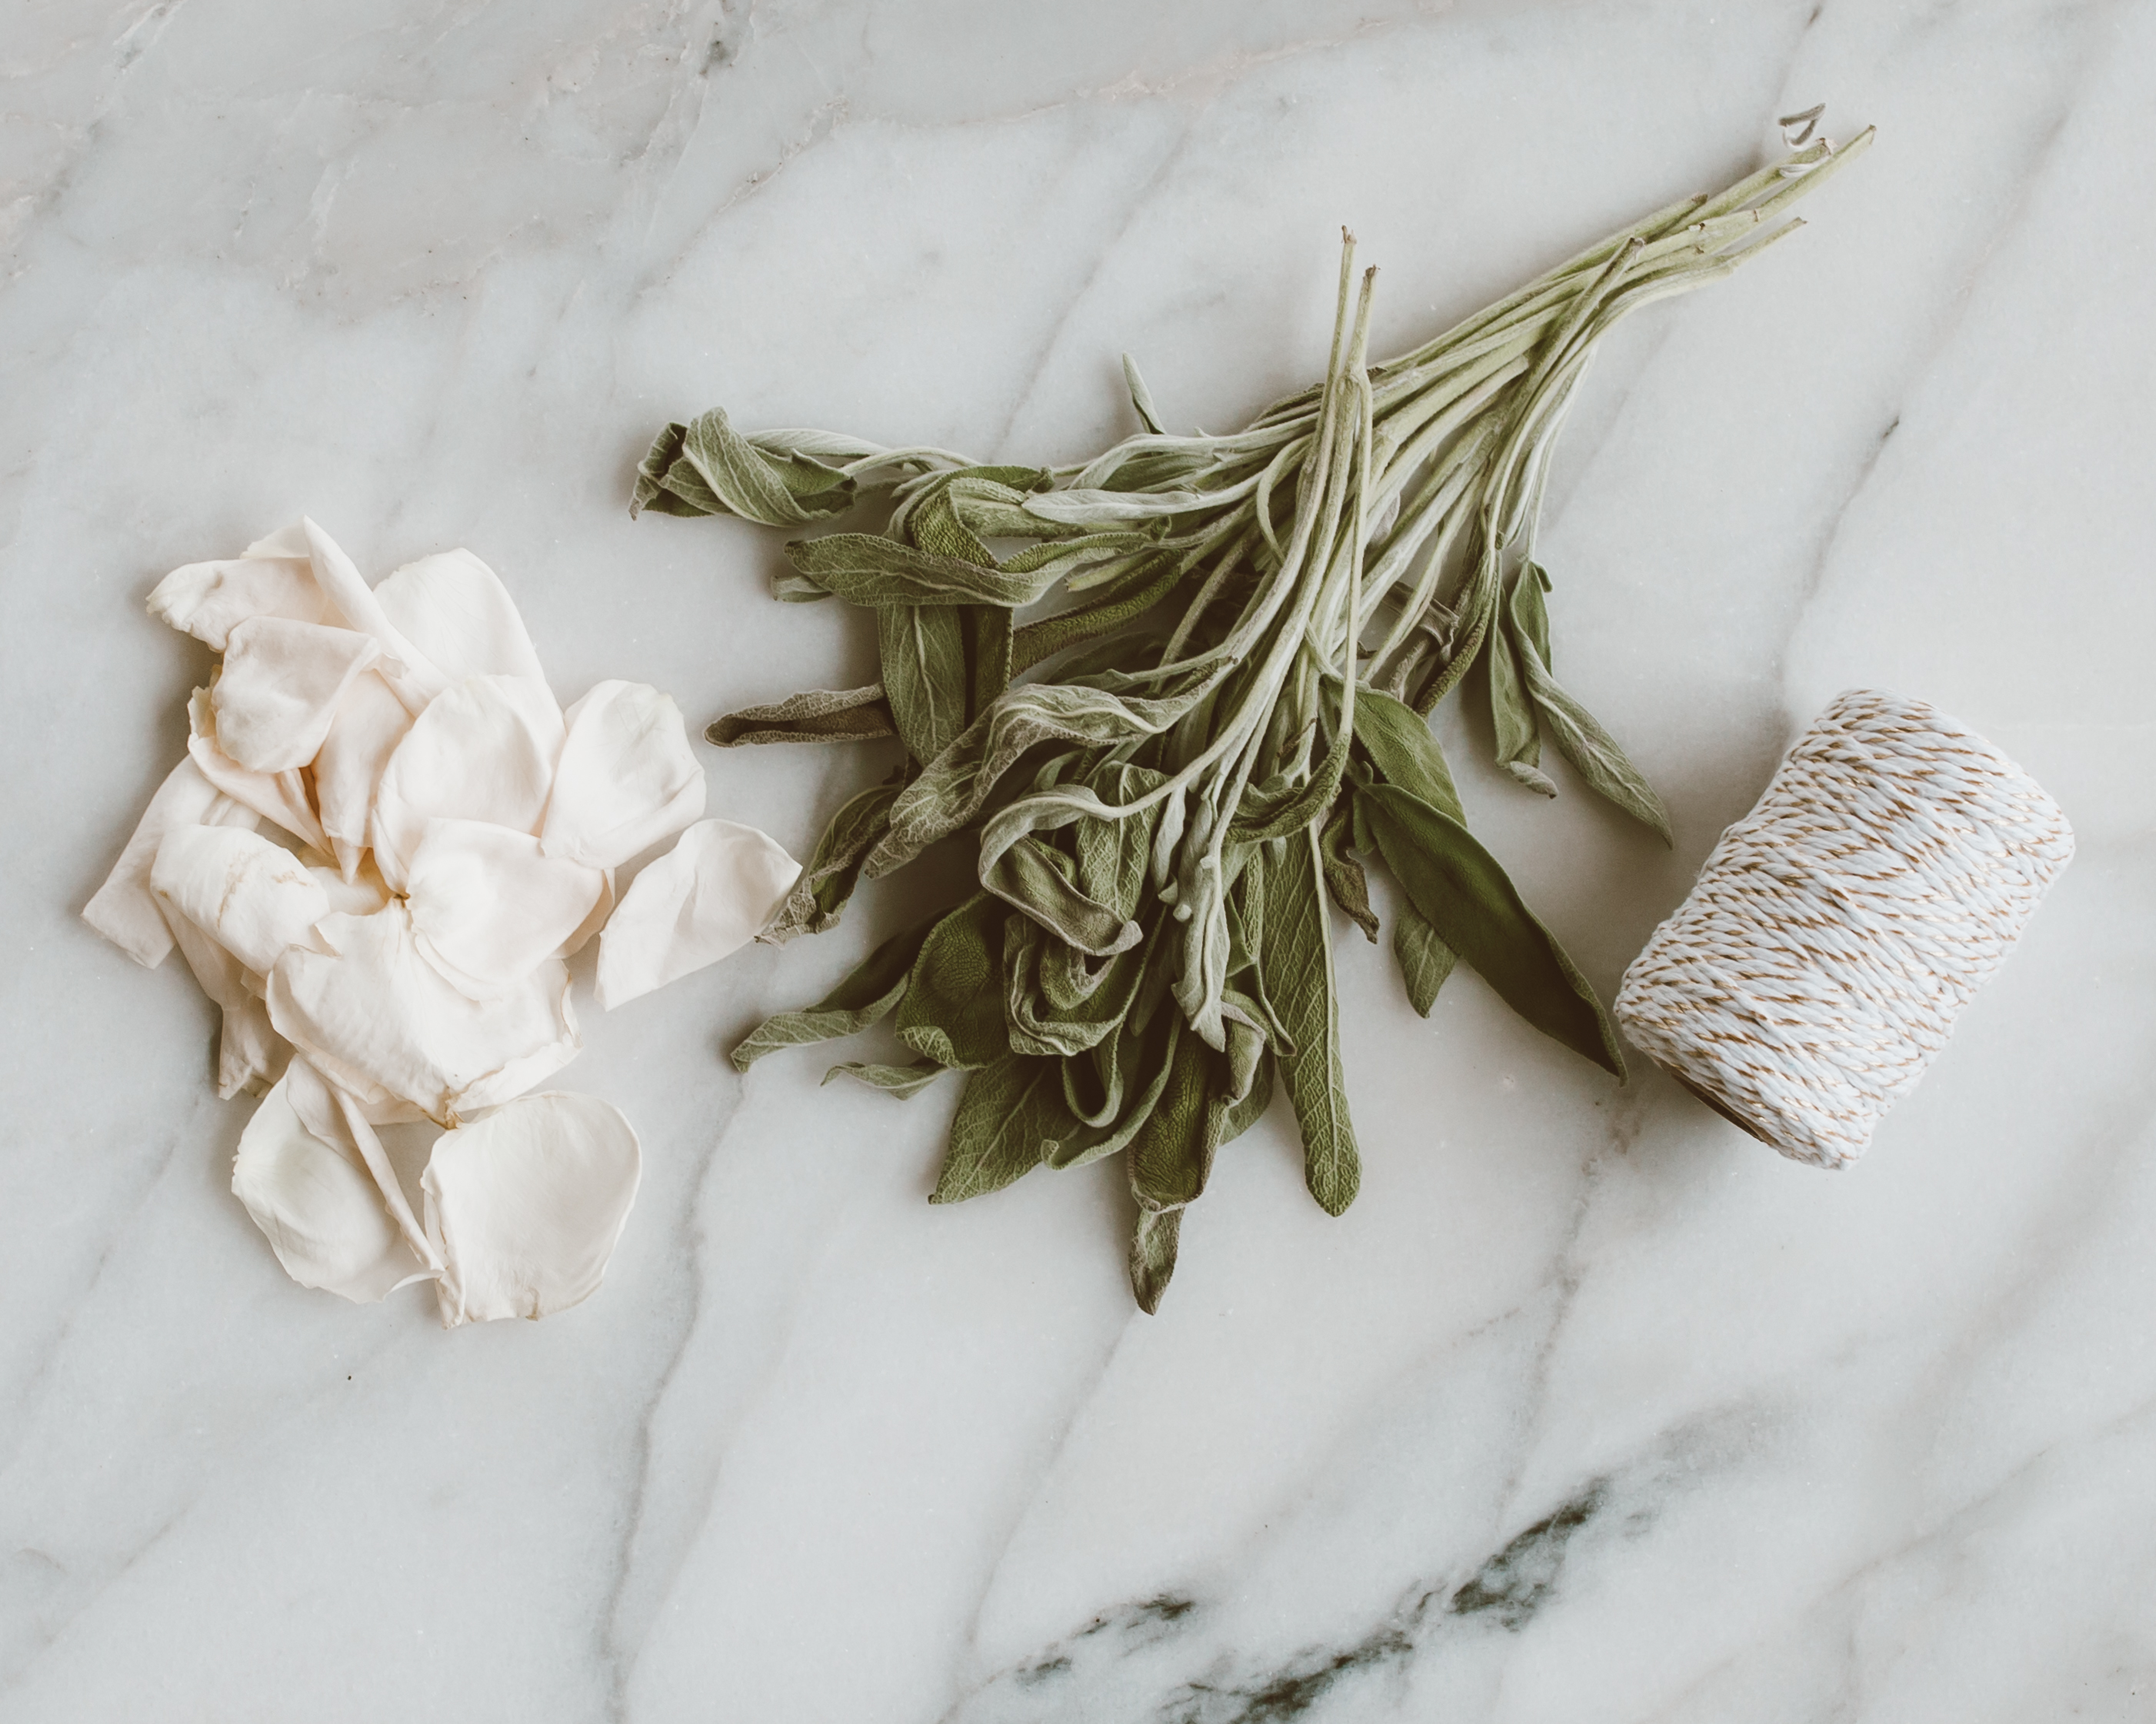
Here’s what you’ll need:
- Sage
- White rose petals
- Other assorted herbs/florals
- Twine
Instructions:
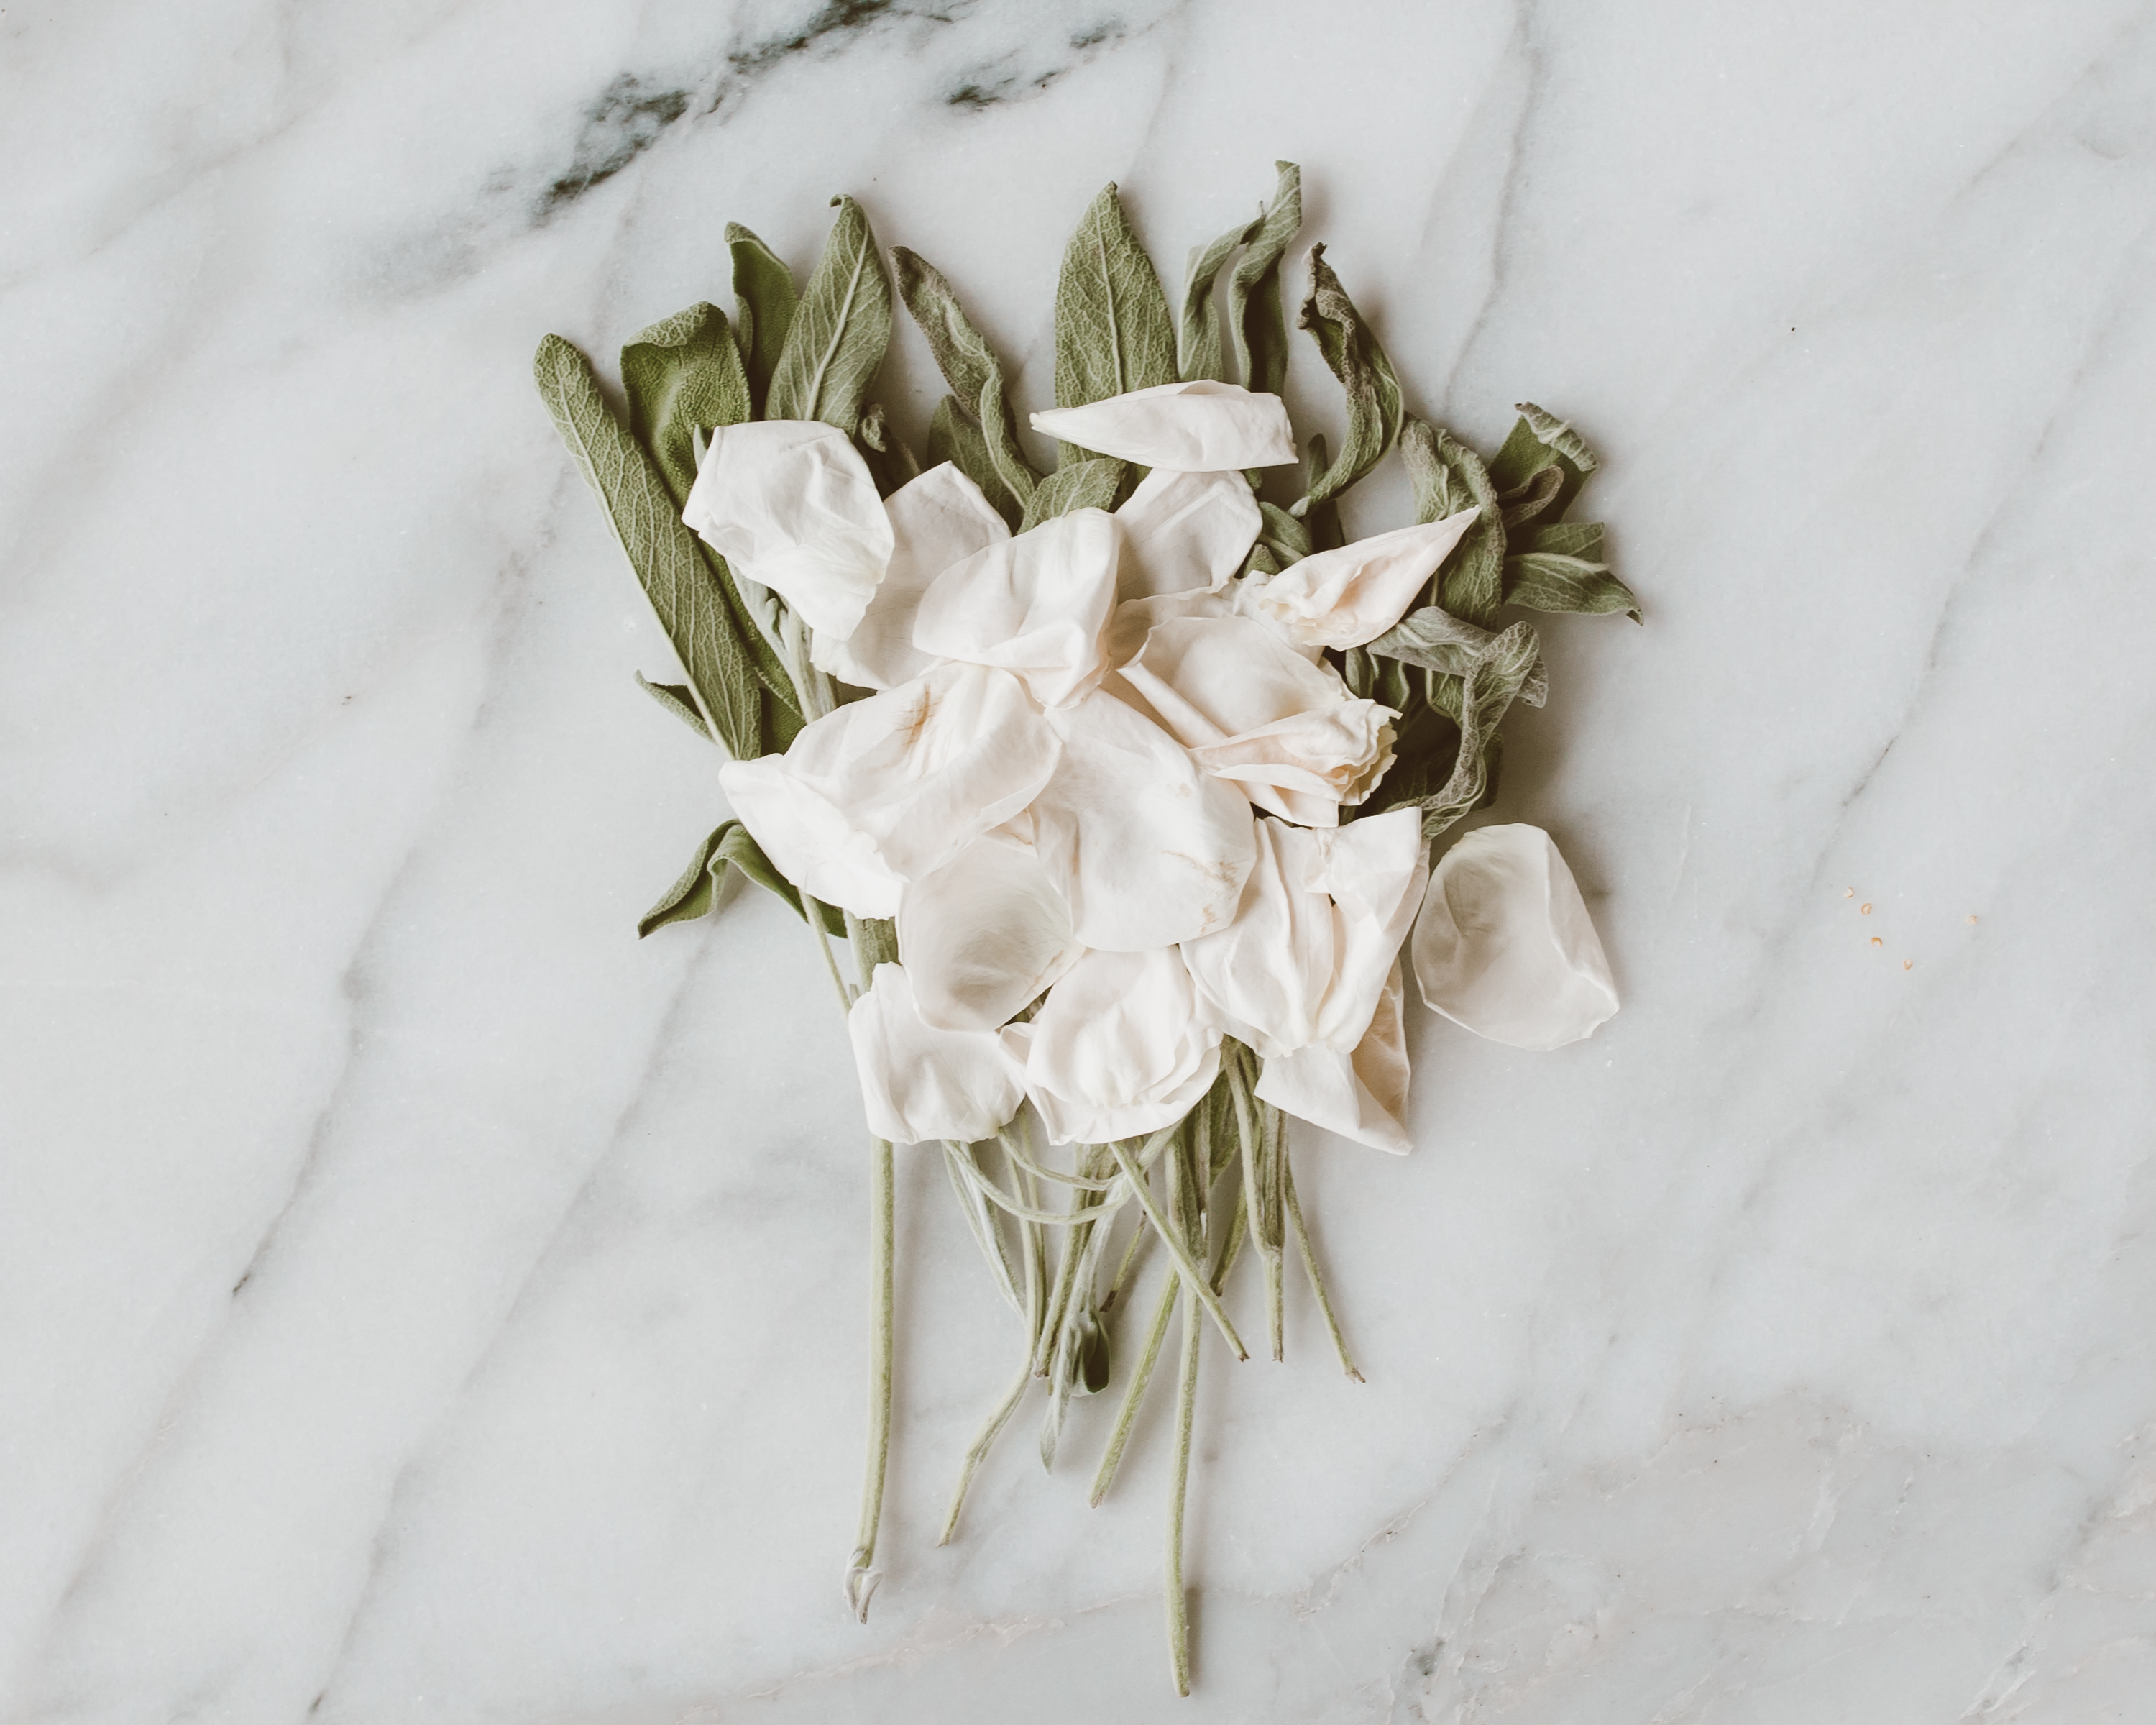
Step One (optional): Dry out your herbs for 5-7 days so they are able to smoke and cleanse better.
Step Two: Lay your longest, most sturdy herbs on the bottom and pile them from largest to smallest
Step Three: Tie a knot at the bottom of your bundle to secure the herbs in place

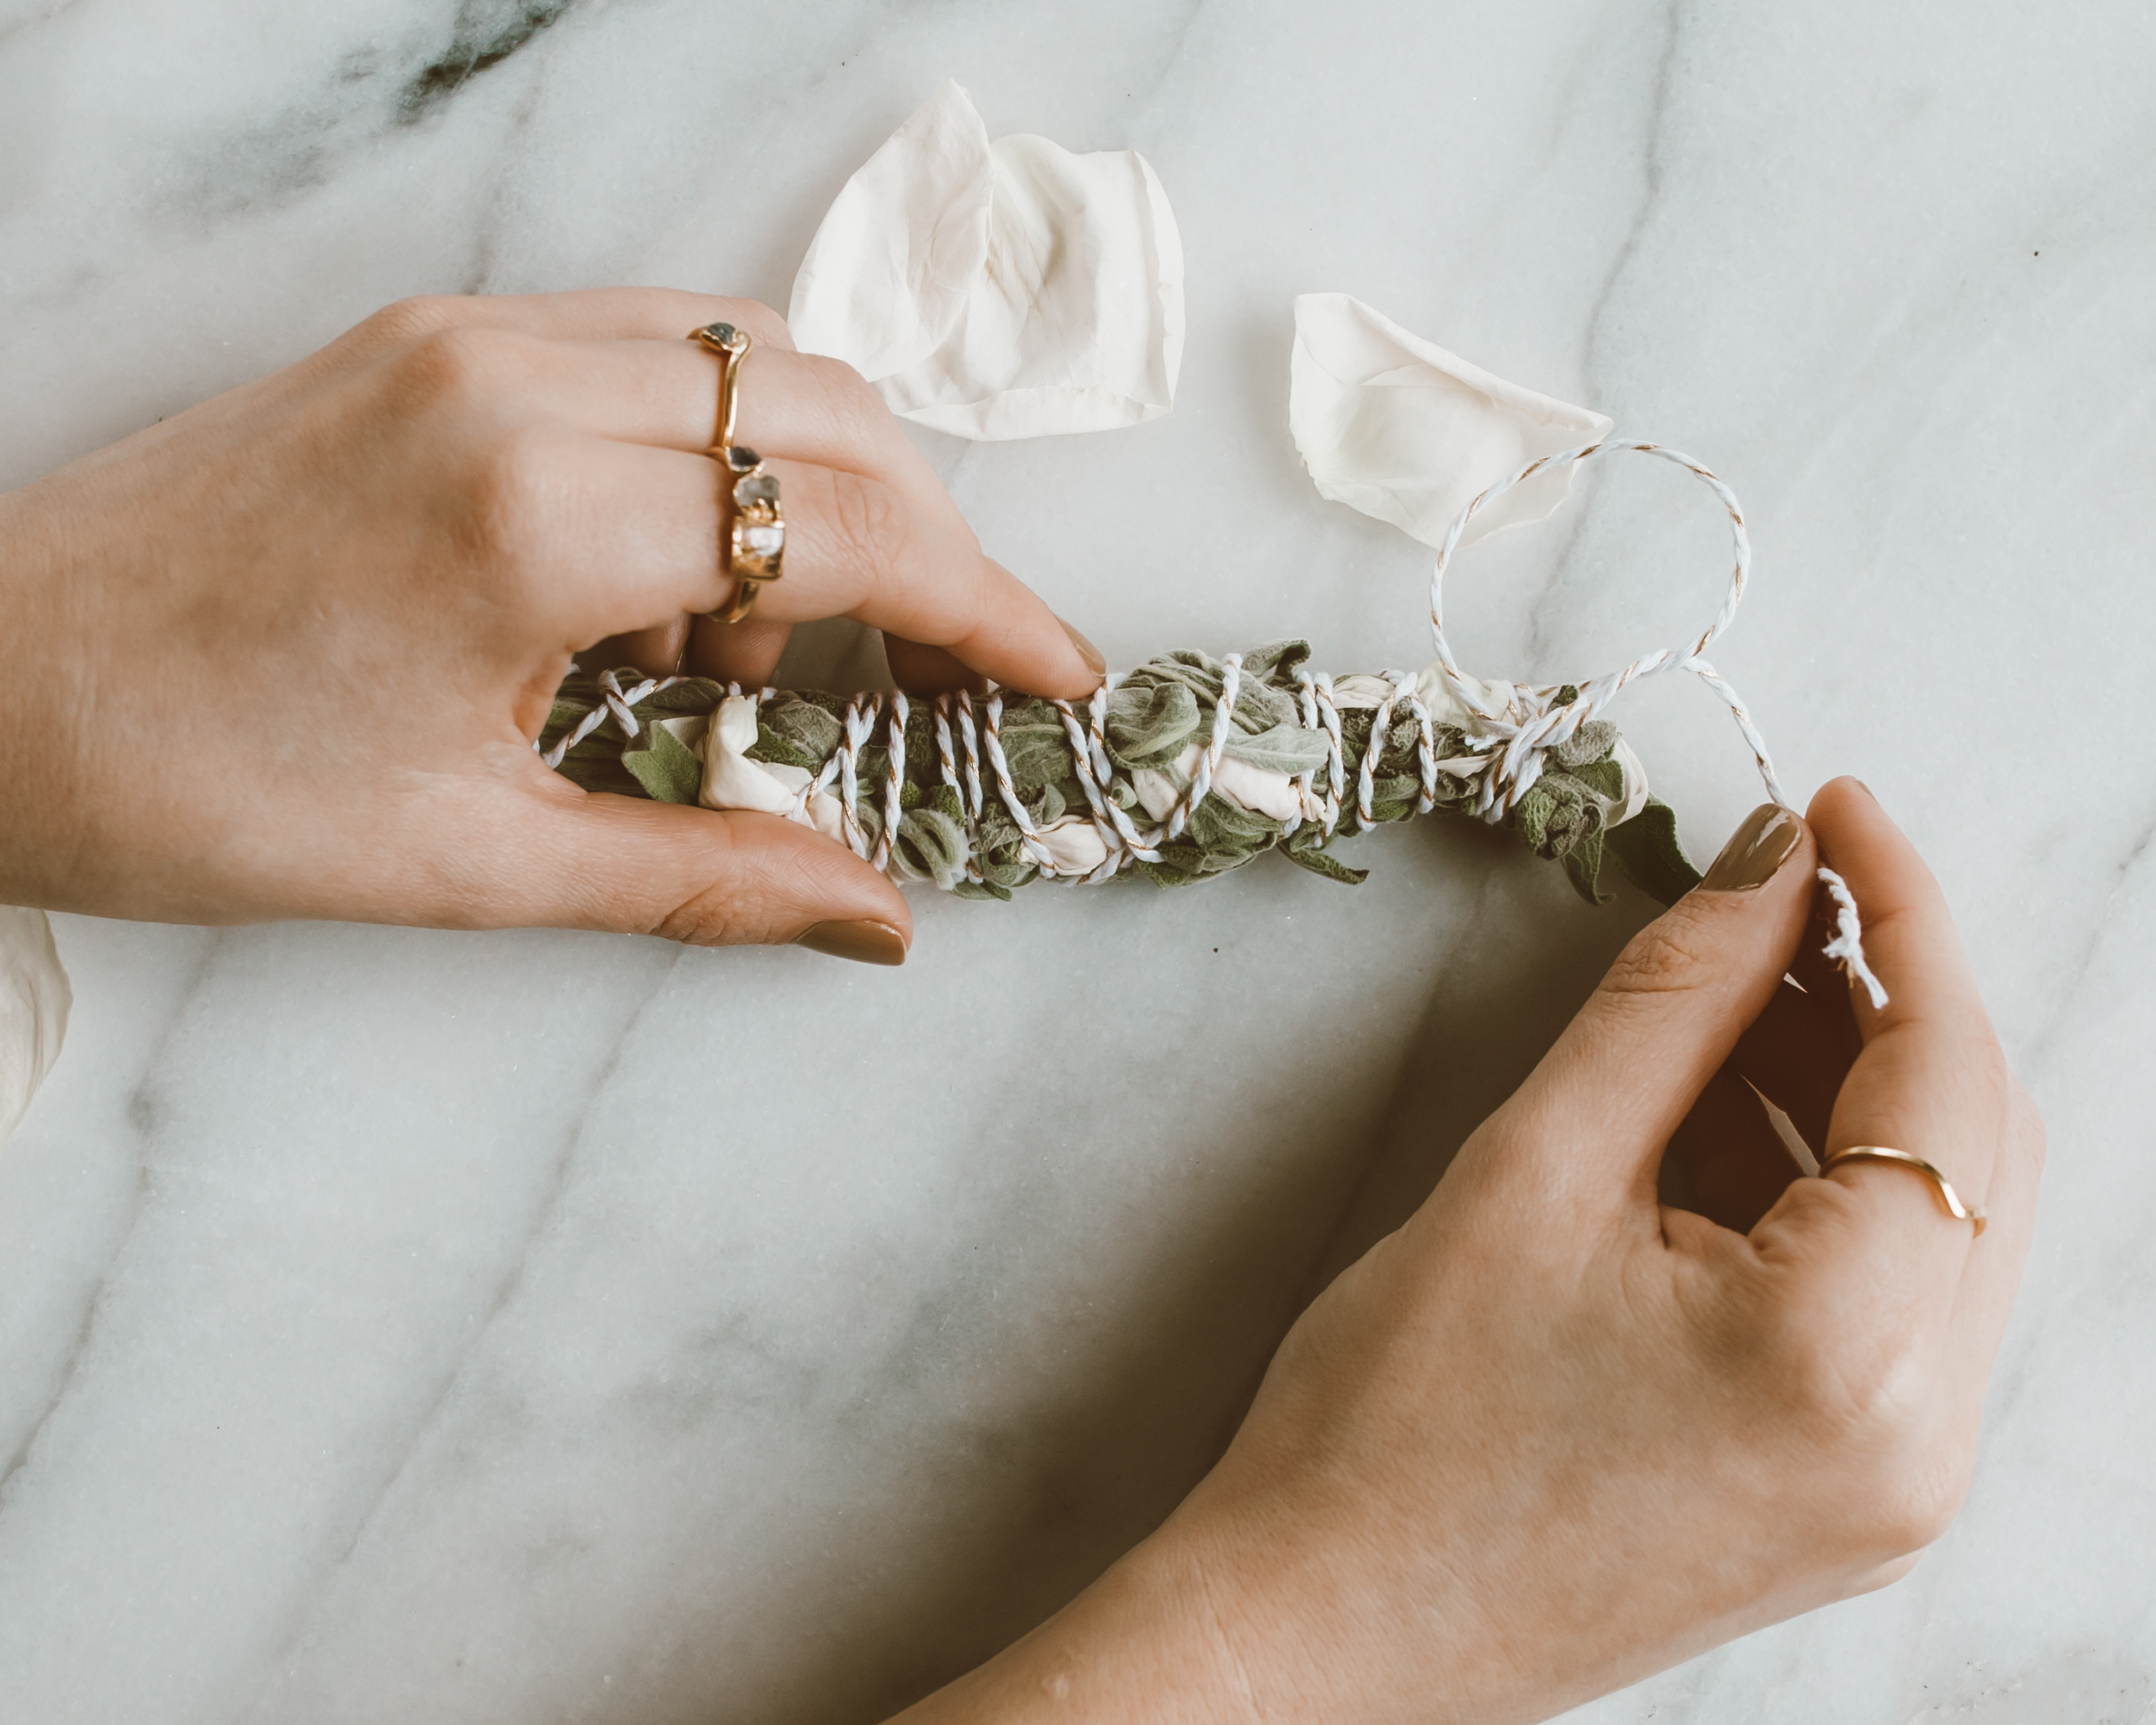
Step Four: Start wrapping your twine around the bundle, crisscrossing as you go to ensure all the branches and petals are secure inside the bundle.
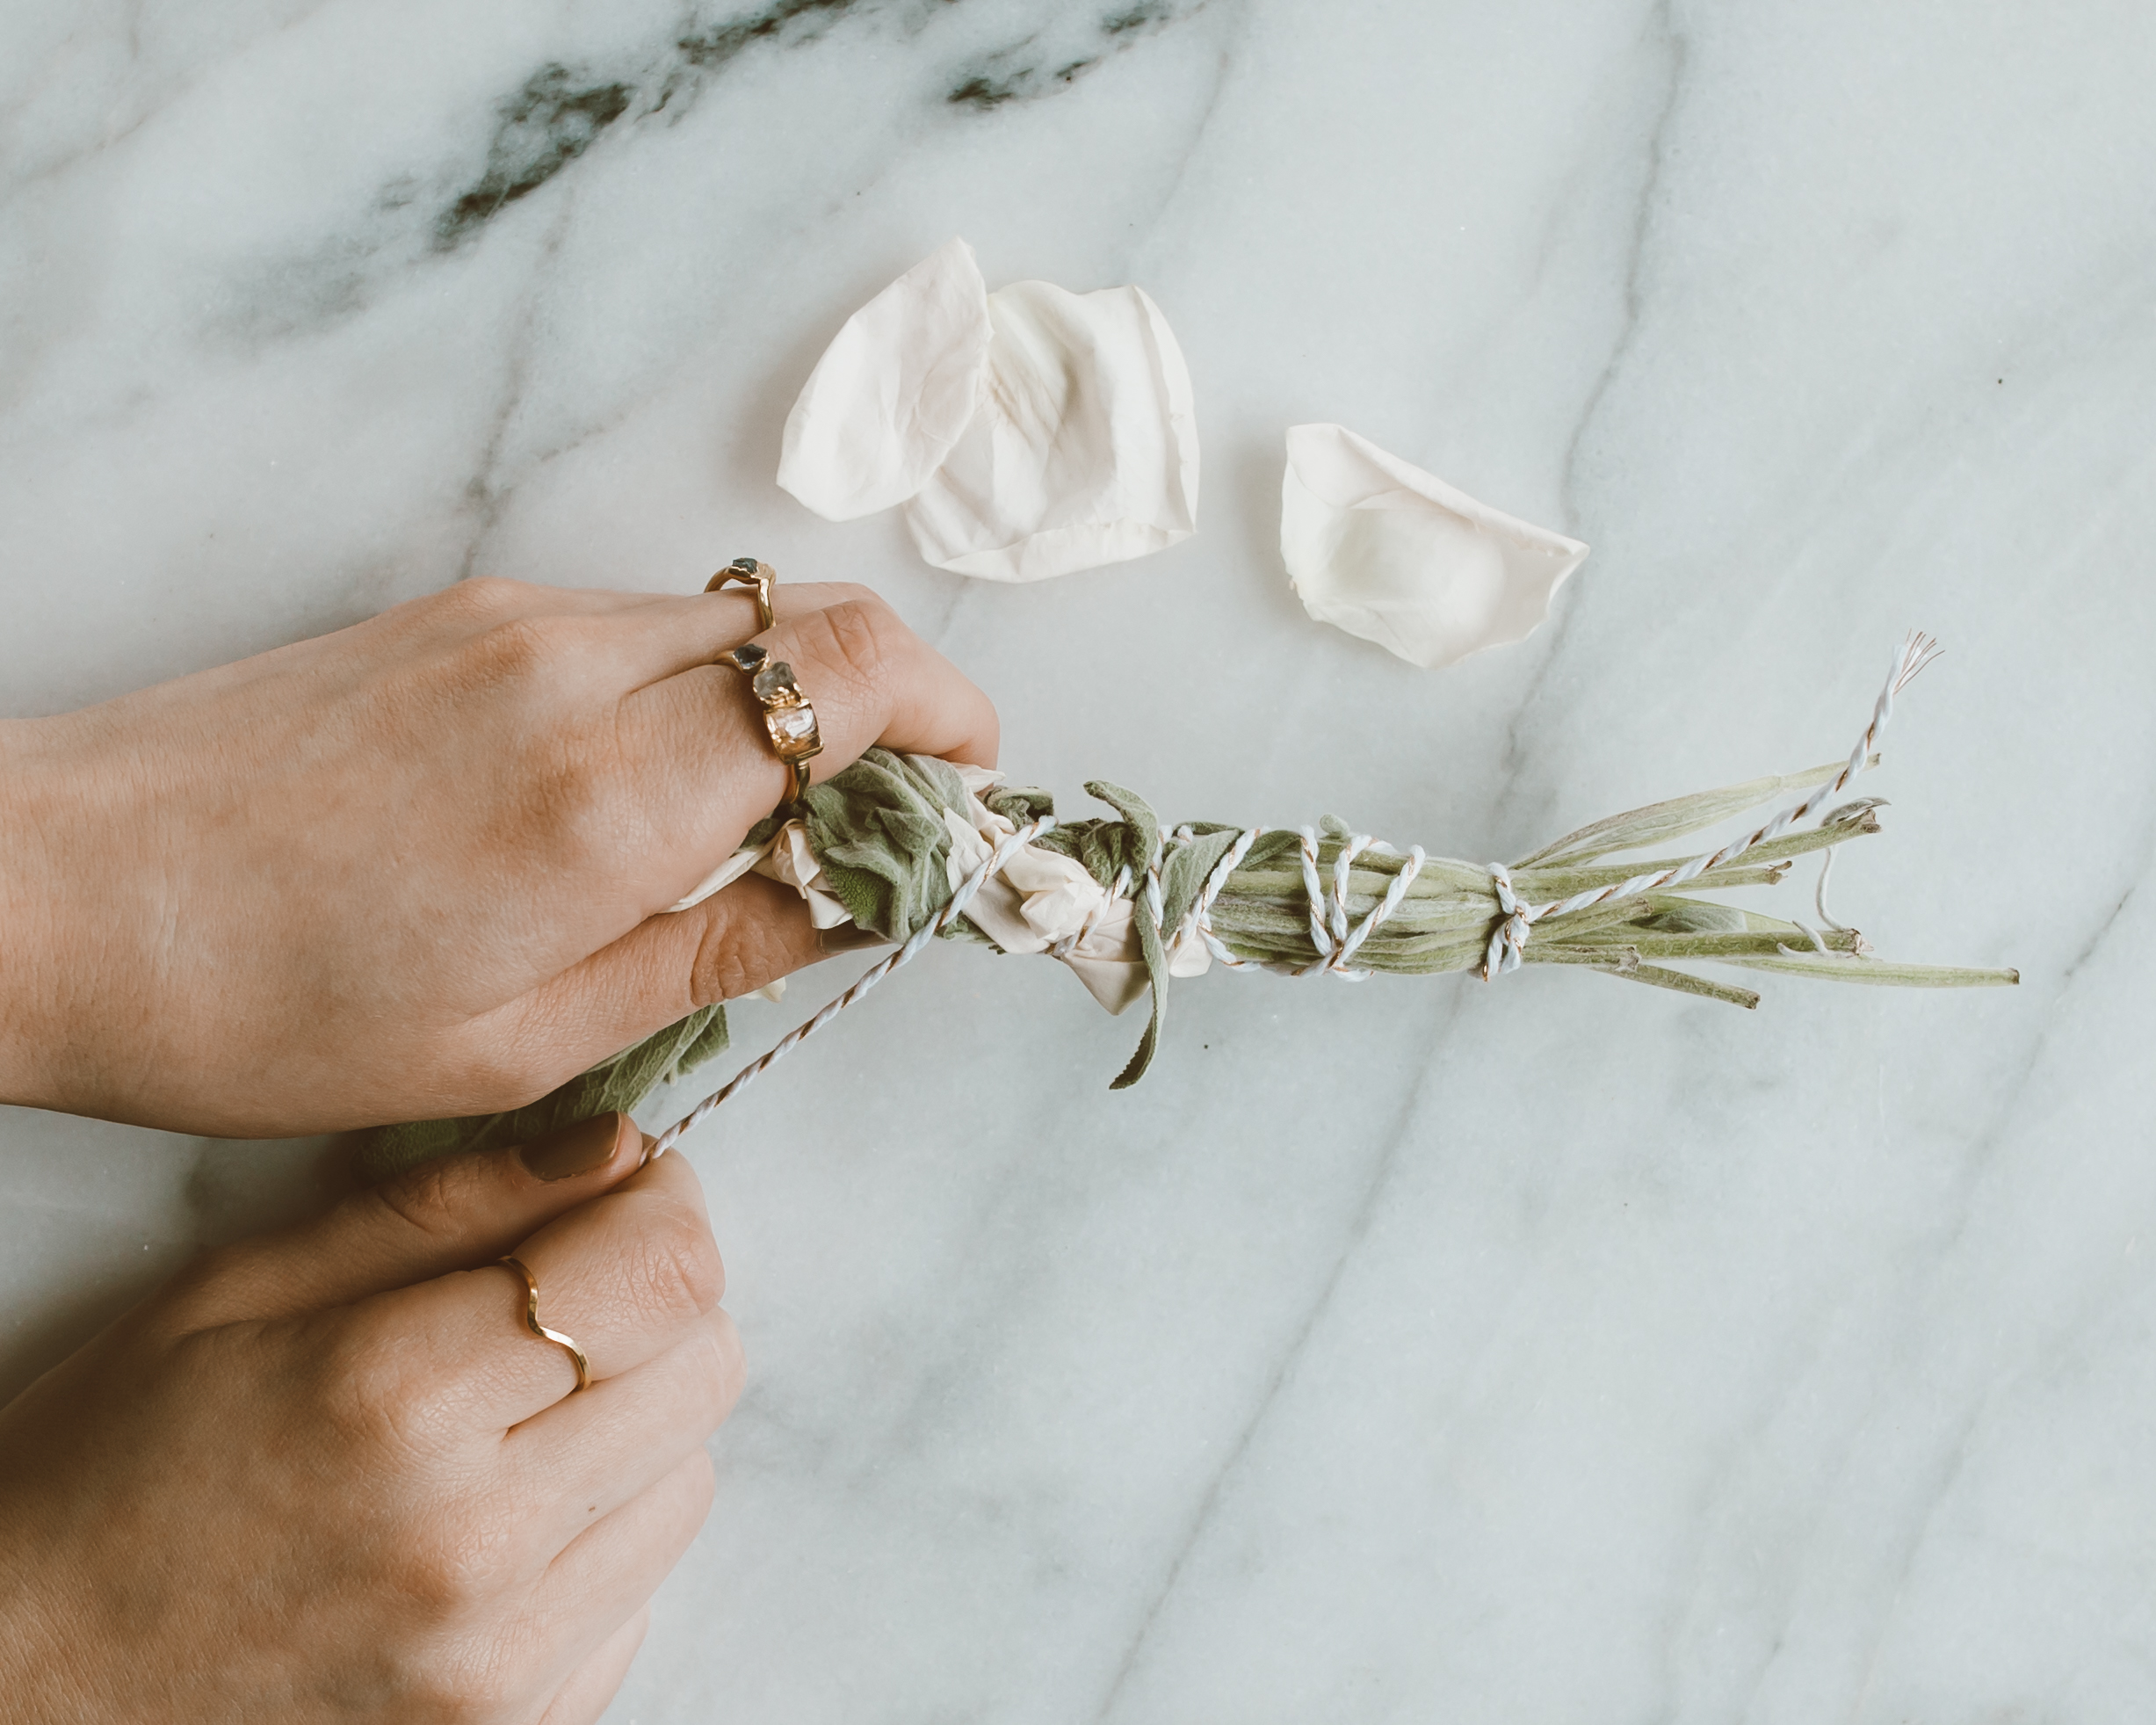
Step Five: Tie a knot at the other end of your bundle to secure it in place. I did a loop like you would do when finishing up a stitch.
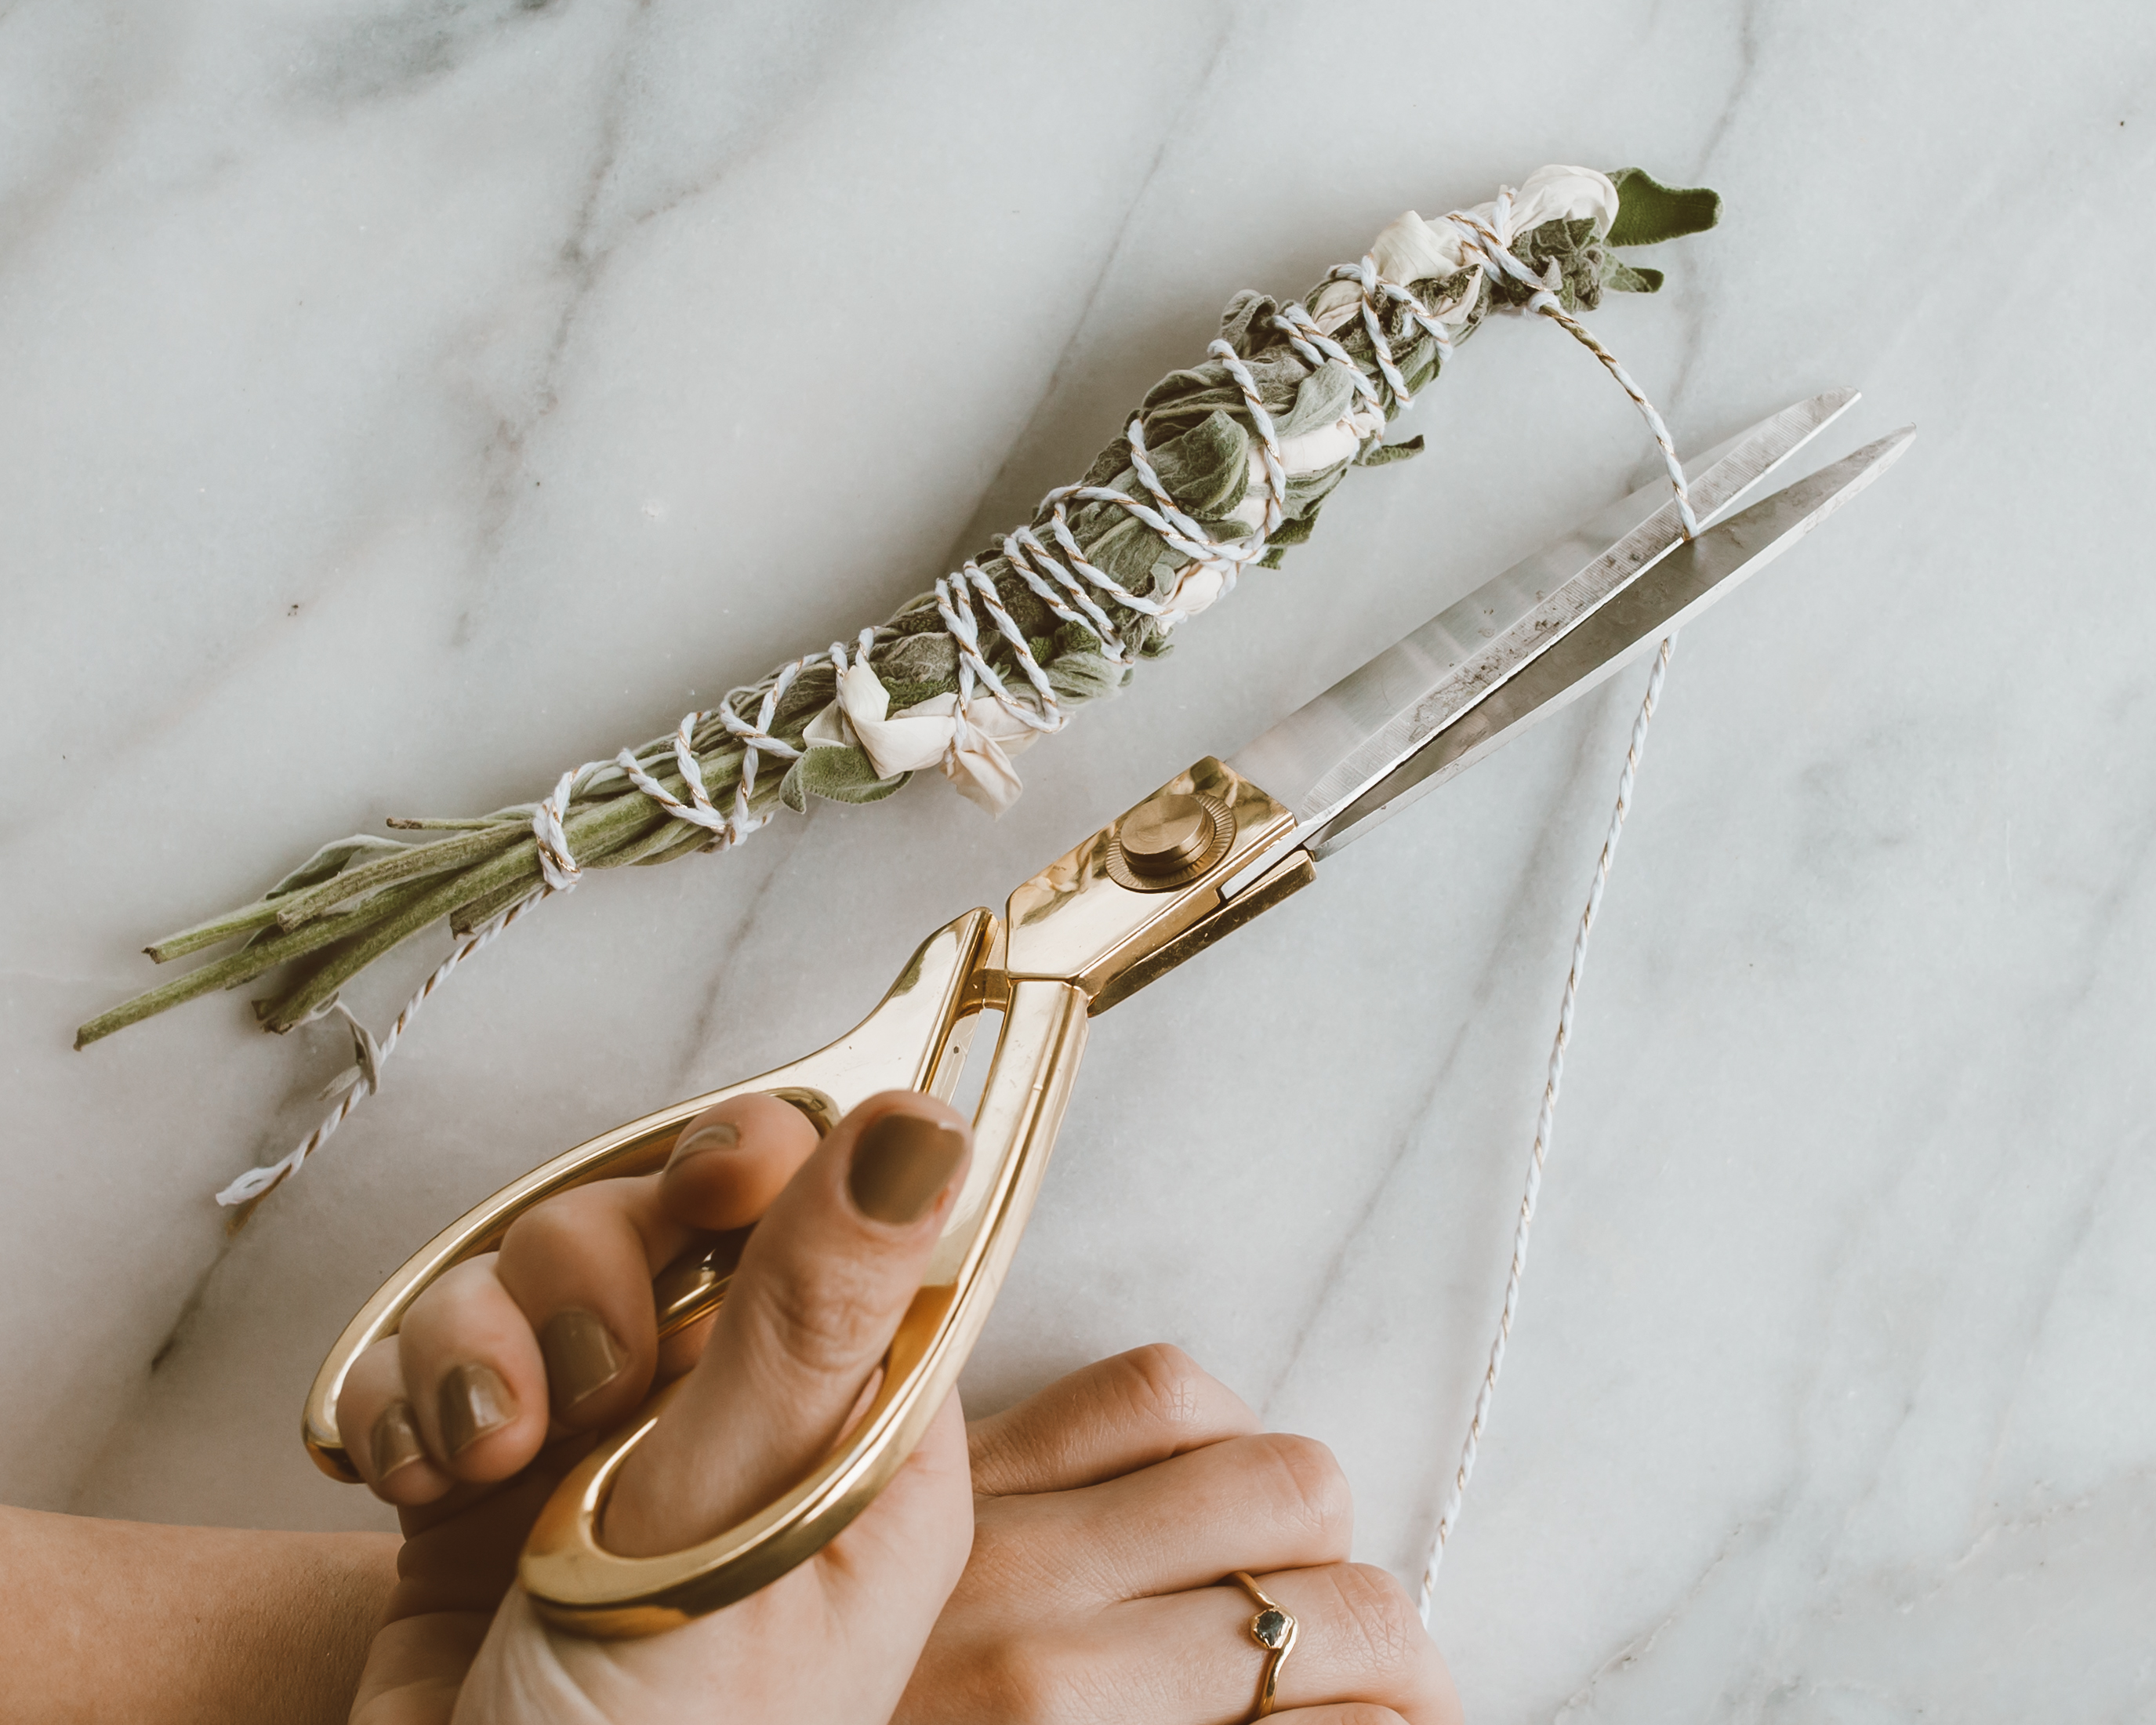
Step Six: Trim the end of the bundle and both ends of the string.
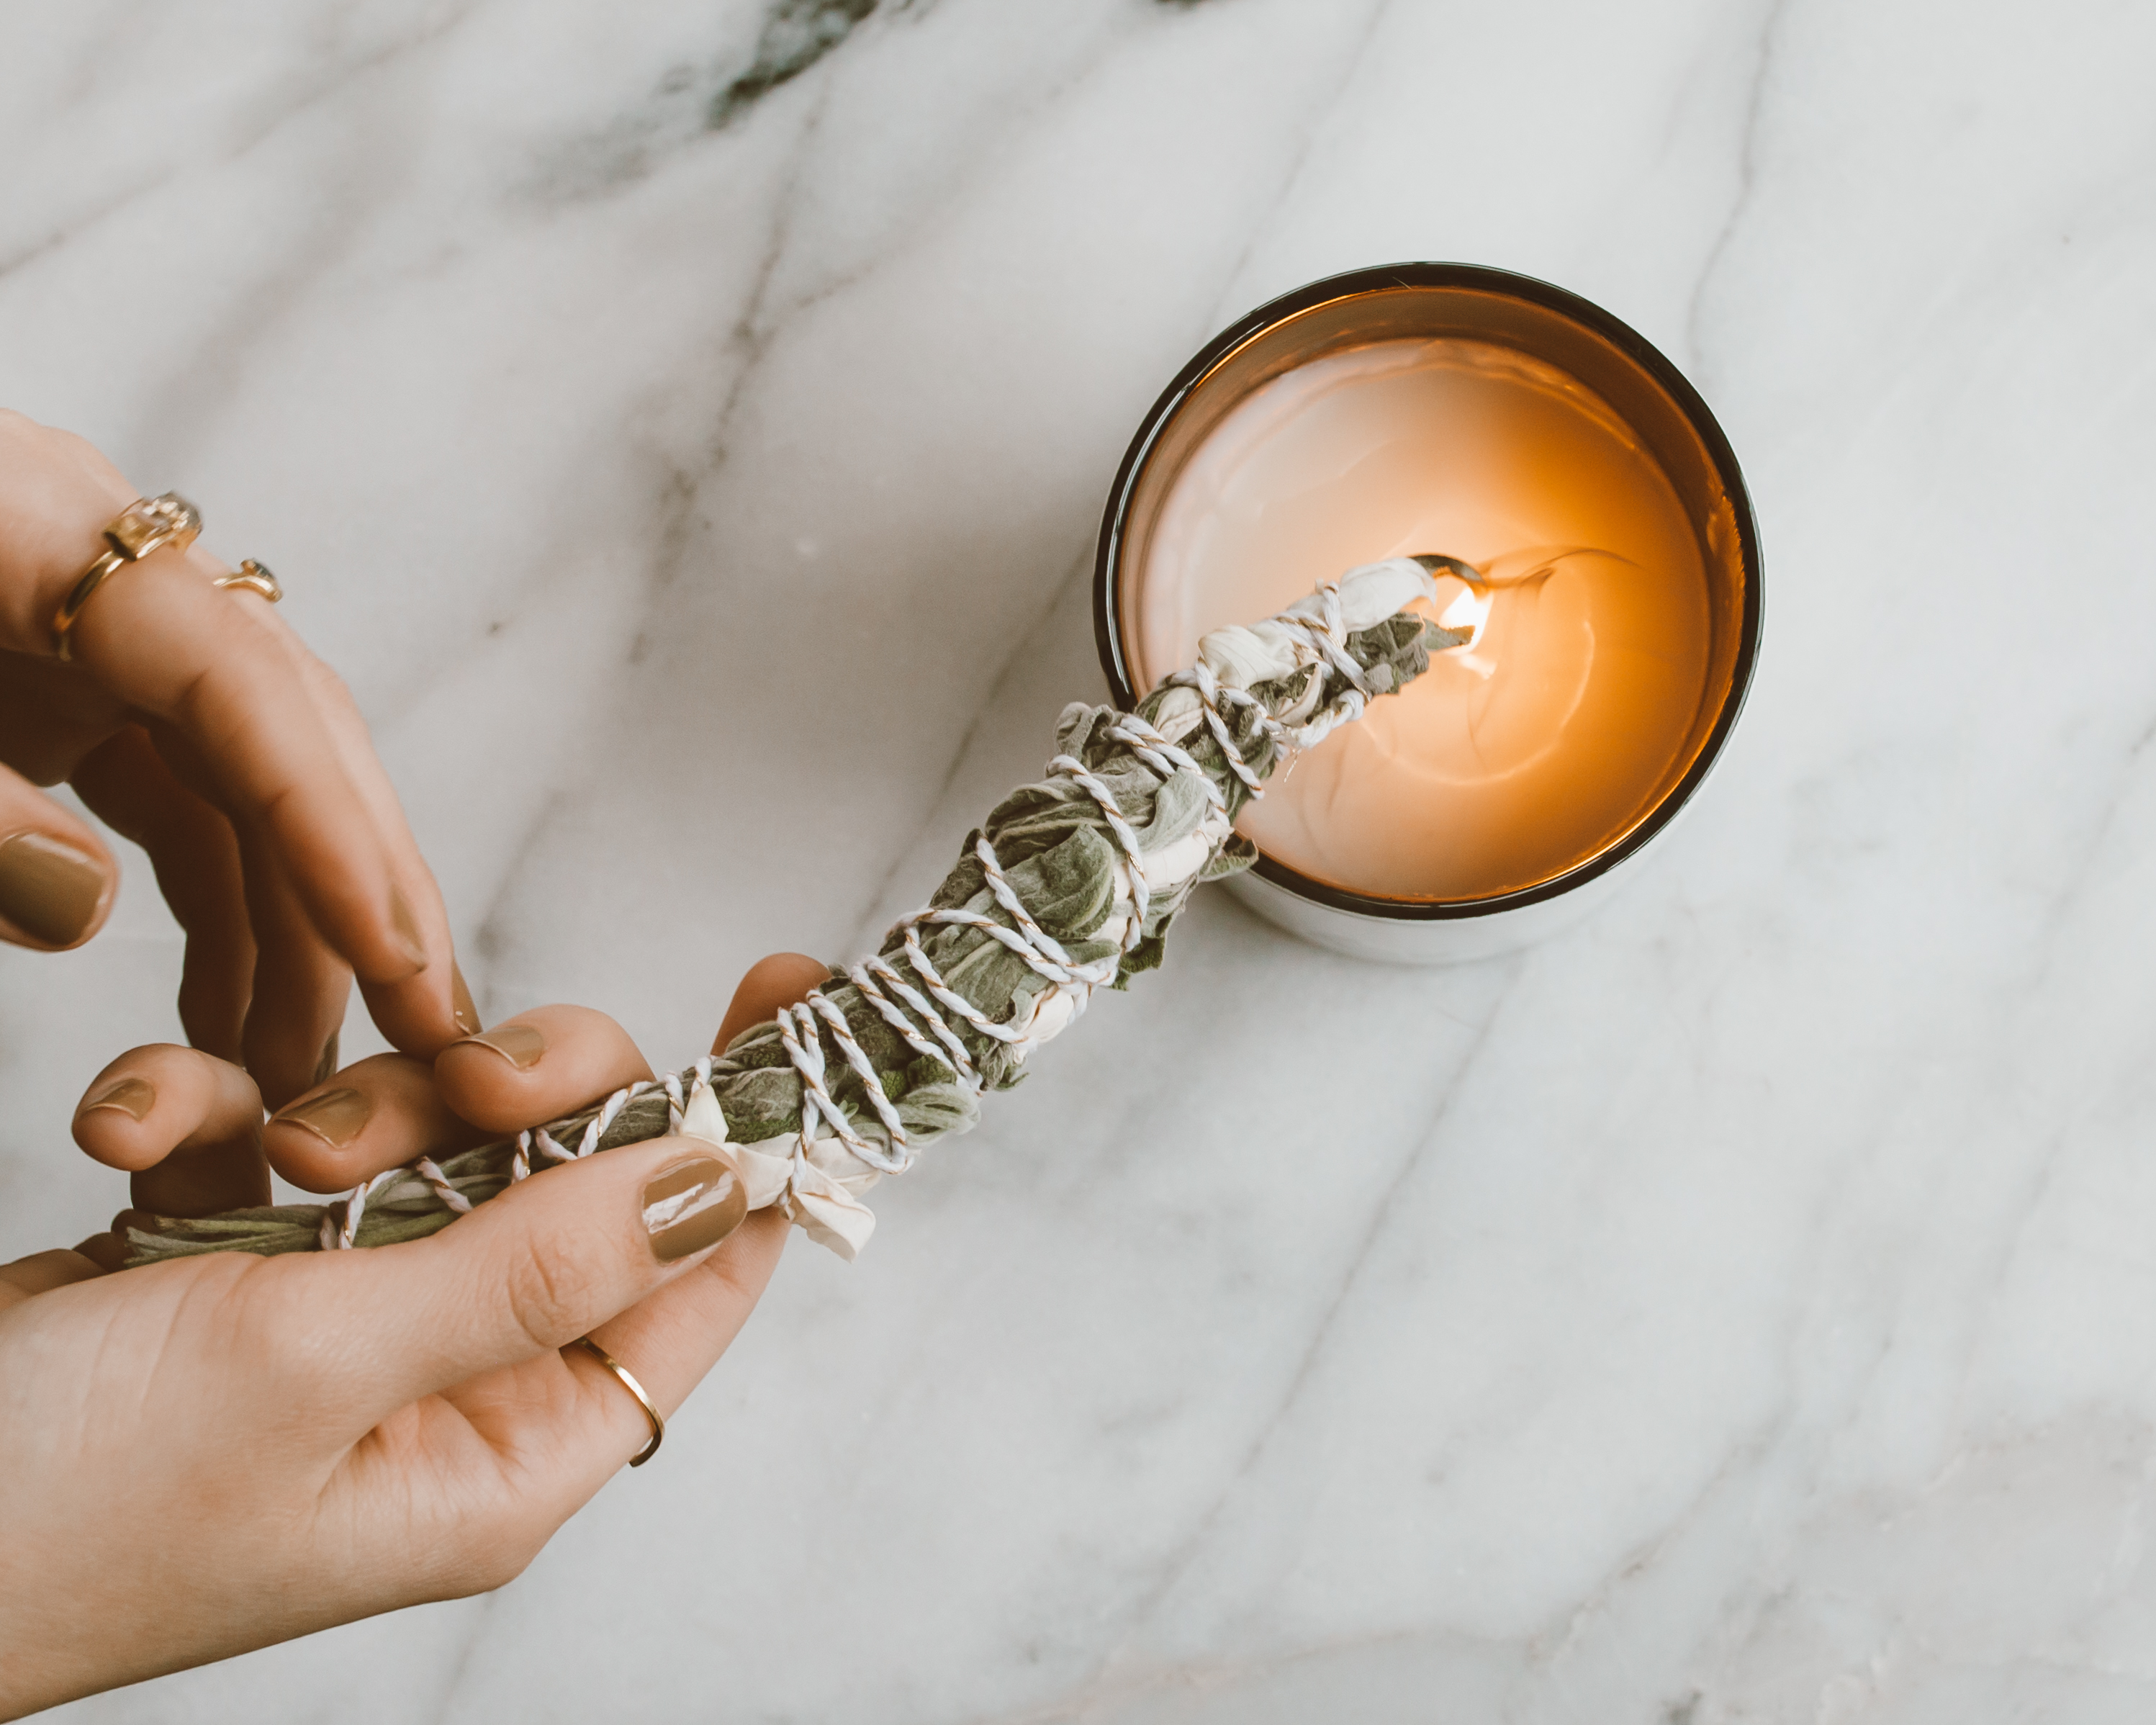
Step Seven: Now it’s time to cleanse your crystals! Light the end of your smudge stick on fire and blow it out right away so that smoke appears.
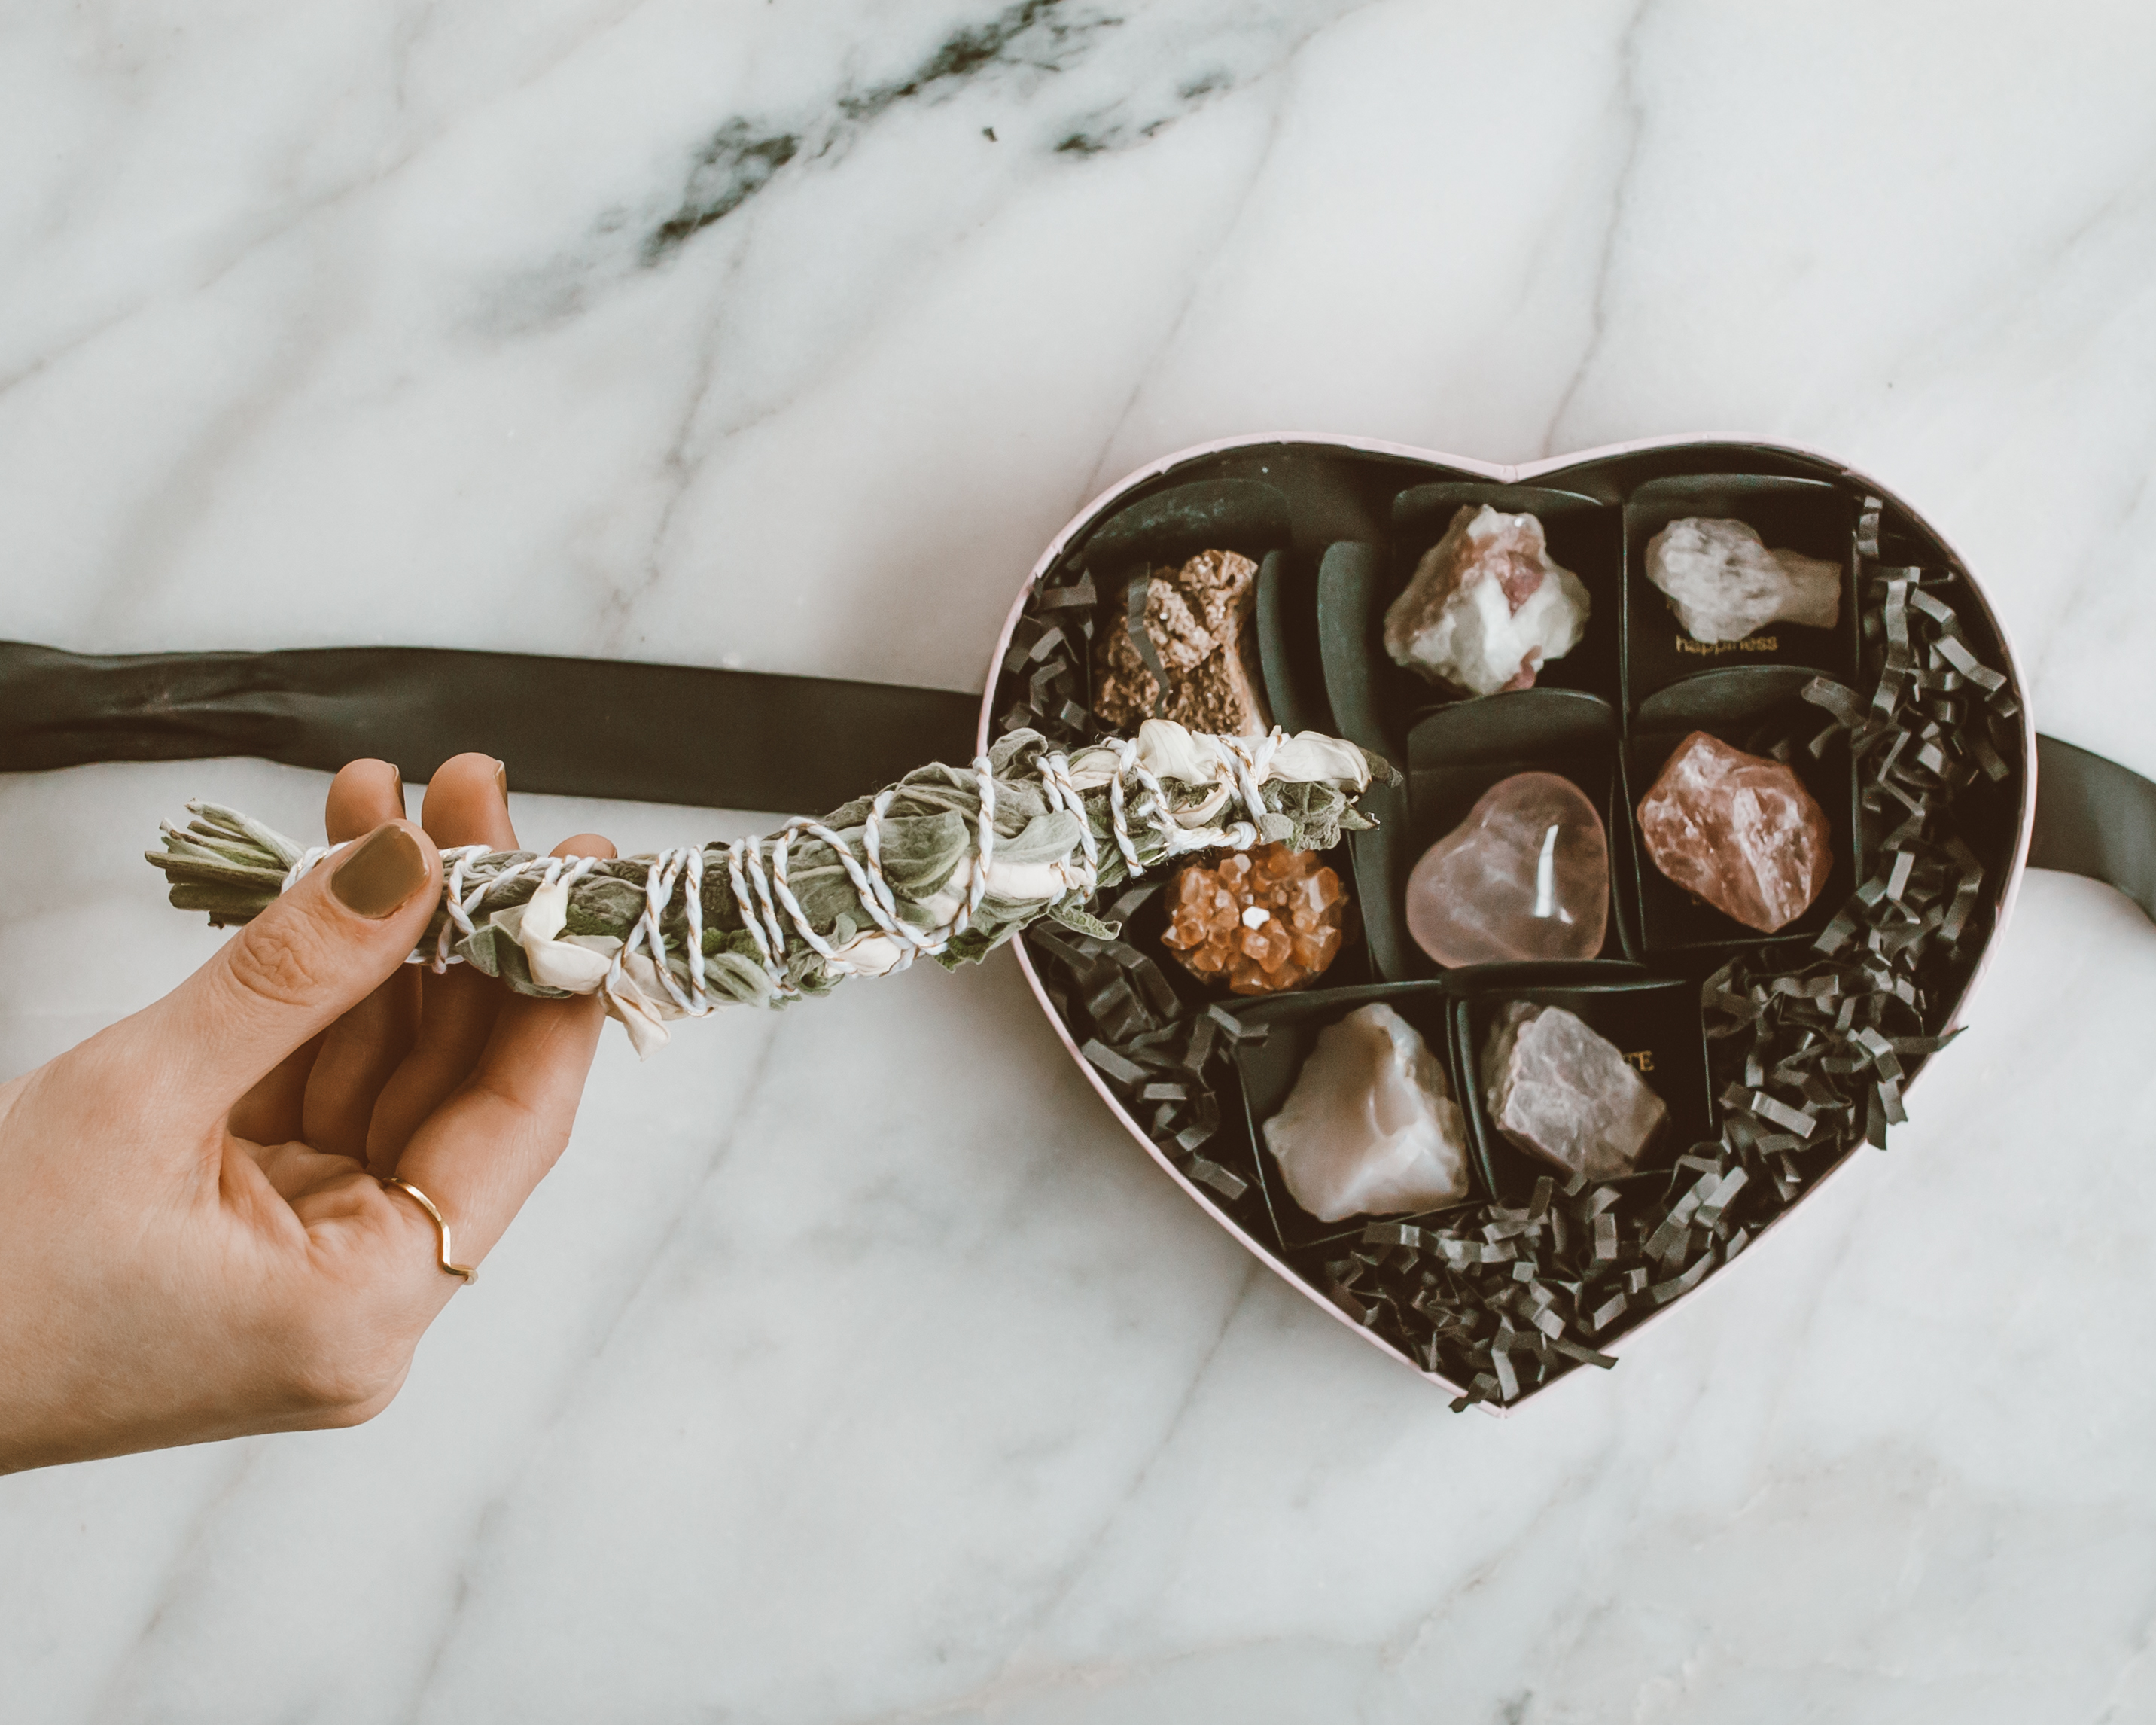
Step Eight: Now you’re going to want to cleanse your crystals, to purify them of their negativity. You can get this adorable crystal kit on danibarbe.com! It’s perfect if you’re new to crystals.
As you can see it’s so simple to create your own smudge stick and you can also cleanse your space with it. Once the stick is completely dried out it will last quite some time and be very effective. As always, burn responsibly.
Originally posted on danibarbe.com