
I, like most people, love carving pumpkins. Two years ago I didn’t carve one and I felt so weird about it, I vowed to never let another Fall season go by without carving a masterpiece (OK I do the same classic pumpkin face every year). It’s been so hot outside (#heatwave2014) that I haven’t felt like picking up a pumpkin to carve, since it doesn’t quite feel like Autumn yet. But I thought I might as well get started on some Fall decorations for my house, since I’m basically stuck here until it cools off outside (thank God for air conditioning). I’ve purchased quite a few Pumpkin shaped nic-nacs over the past couple of years, but I wanted to make something different, that I couldn’t find in a store. I’ve been really into metallic paint lately. “Into” as in I don’t even remember that last time I painted something that WASN’T metallic. Oh well. I also loved studded things, so I thought I should combine my two obsessions and make a DIY decorative pumpkin! Here’s how you do it…
Supplies:
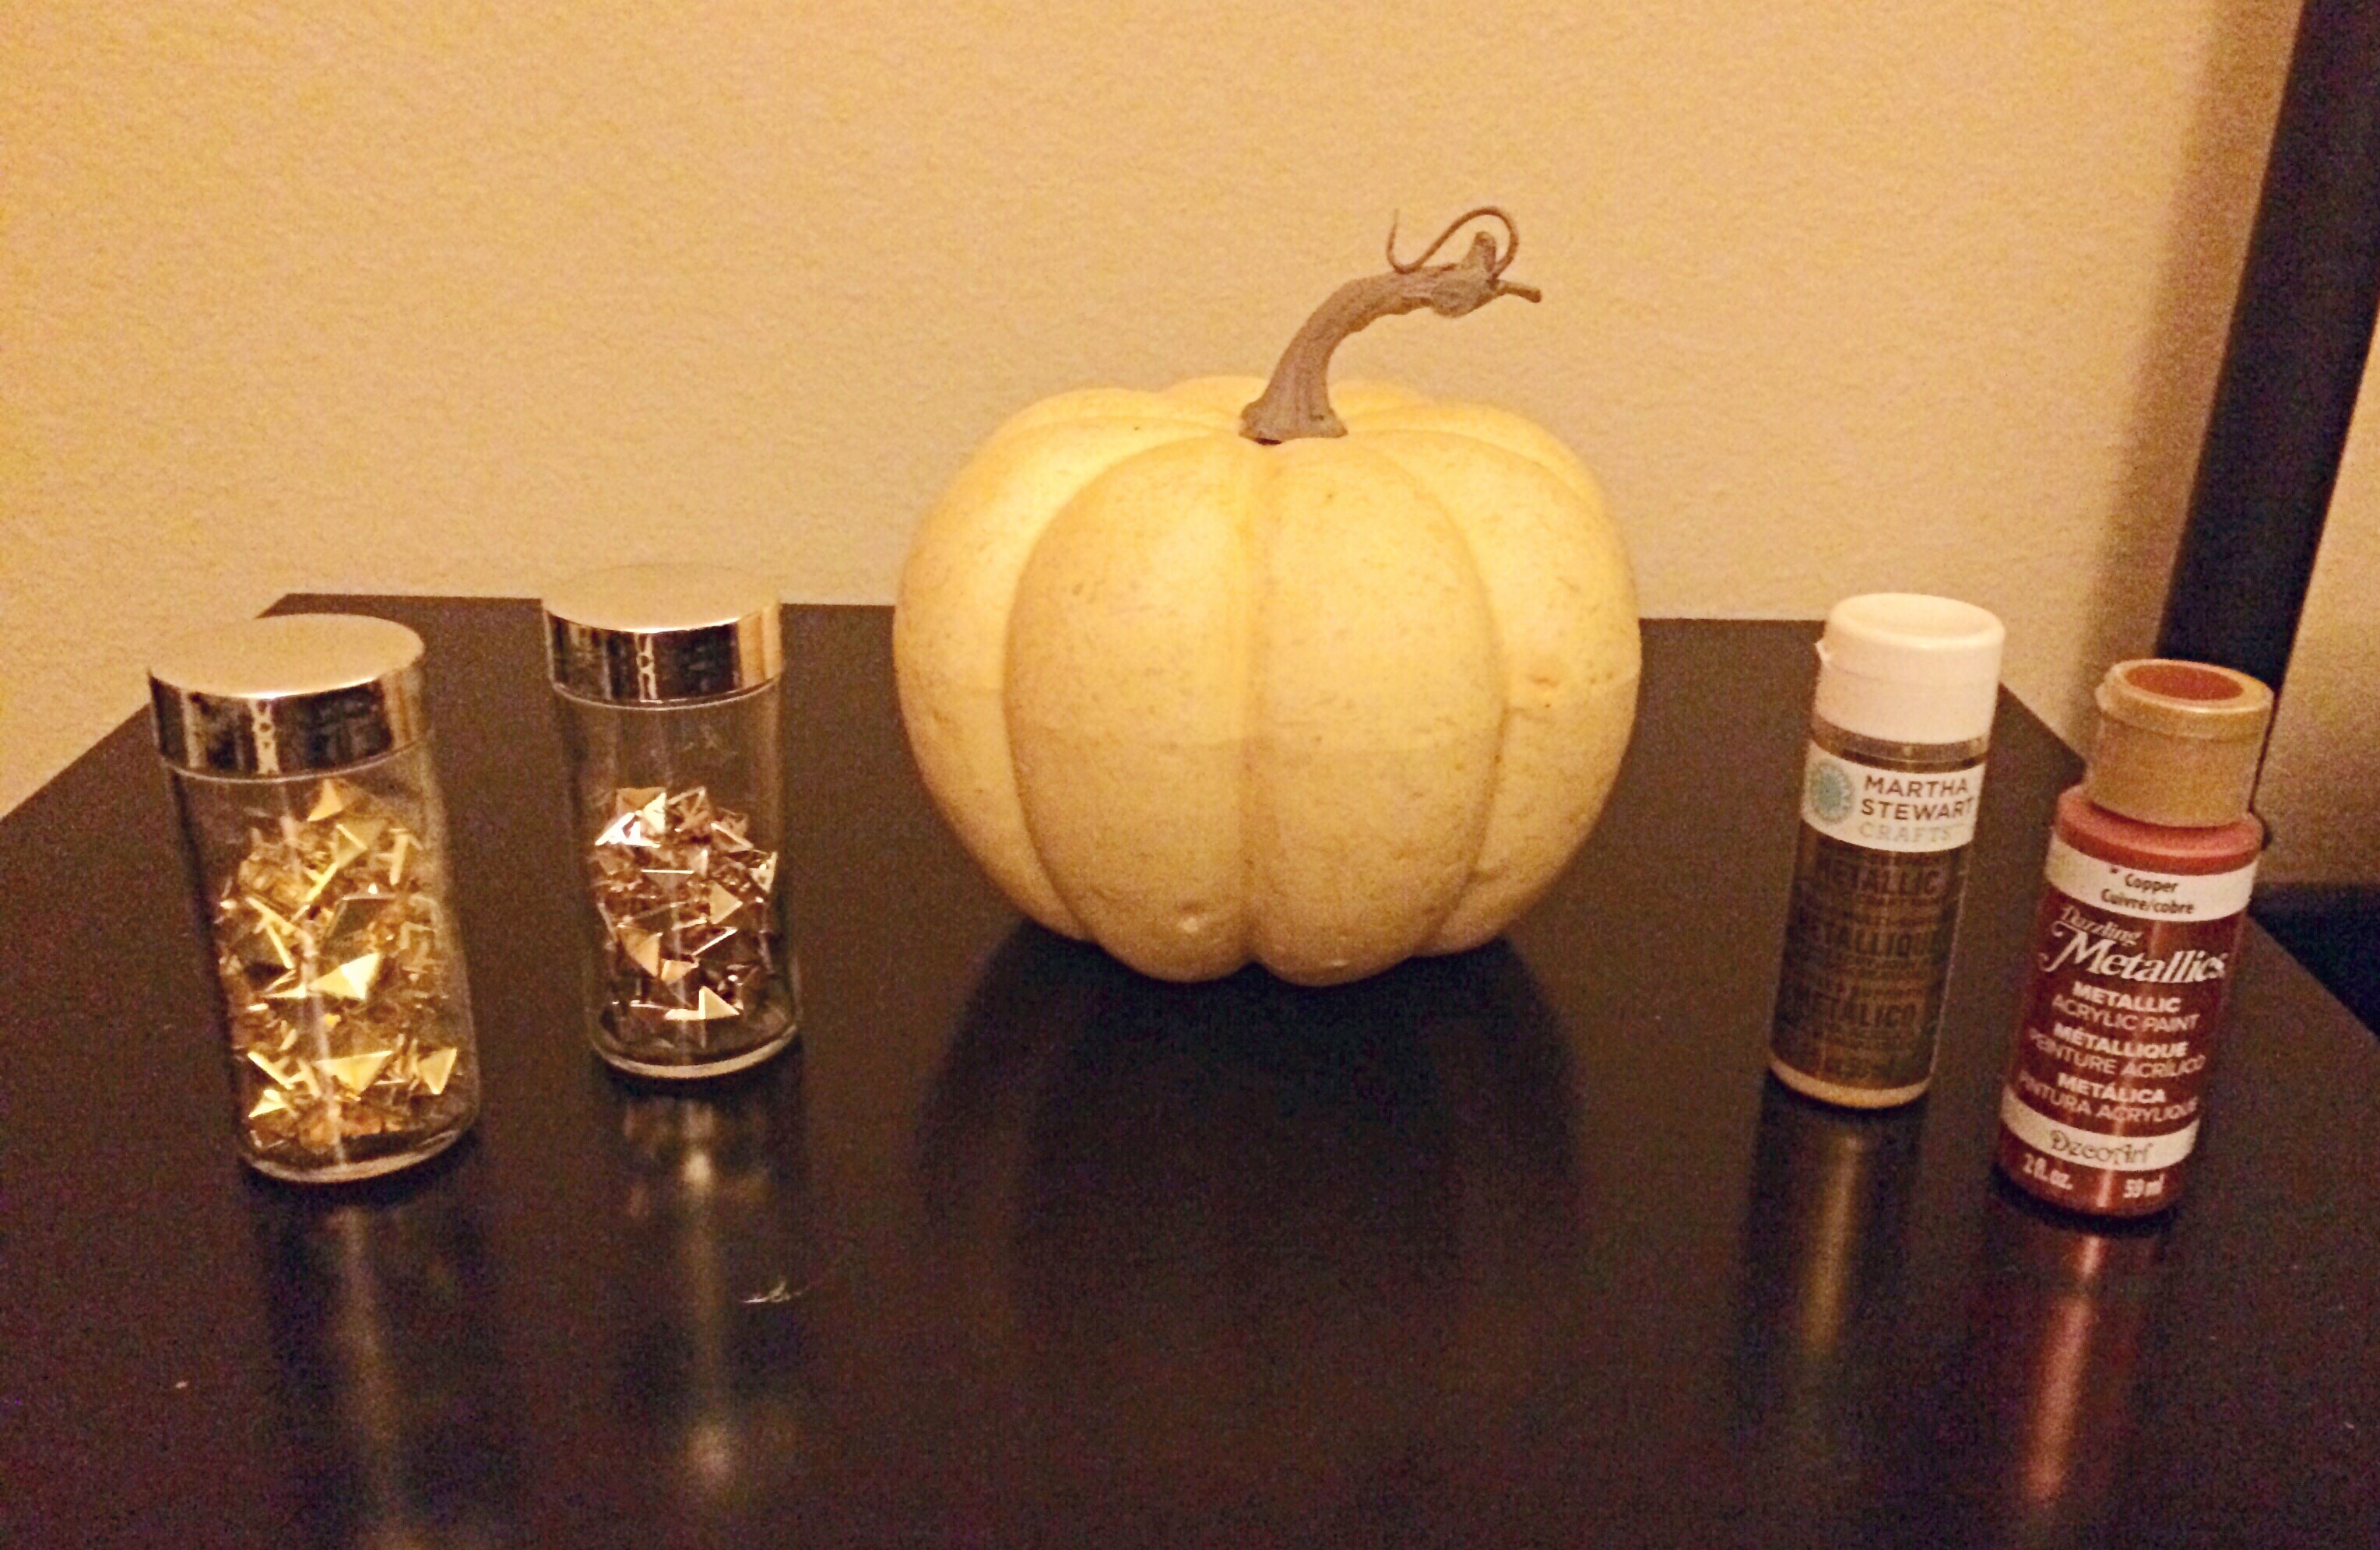
- Styrofoam pumpkin-I purchased a medium sized one from Michael’s (Originally $8.99, but mine was 50% off). They sell pumpkins that are meant to be decorated, but they are not made of styrofoam, FYI. You’ll find the styrofoam ones by the Autumn themed decor.
- Any color/brand metallic paint– I mixed Martha Stewart Crafts Metallic Acrylic Paint, Yellow Gold & DecoArt Dazzling Metallics Acrylic Paint, Copper to make an orange color, since I didn’t see any orange metallic paint. Martha Stewart Crafts is my favorite brand for metallic paint. I used Gold for the stem.
- Sponge brush to apply the paint
- Any size/color studs– I used medium studs, in gold and rose gold. I purchase all my studs on Ebay. Find some inexpensive ones here.
Directions:
- Paint the stem of your pumpkin gold. You want to paint the stem first so if any paint drips onto the pumpkin, you can cover it up.
- Paint two coats of paint on your pumpkin. Allow about 30 minutes in between coats.
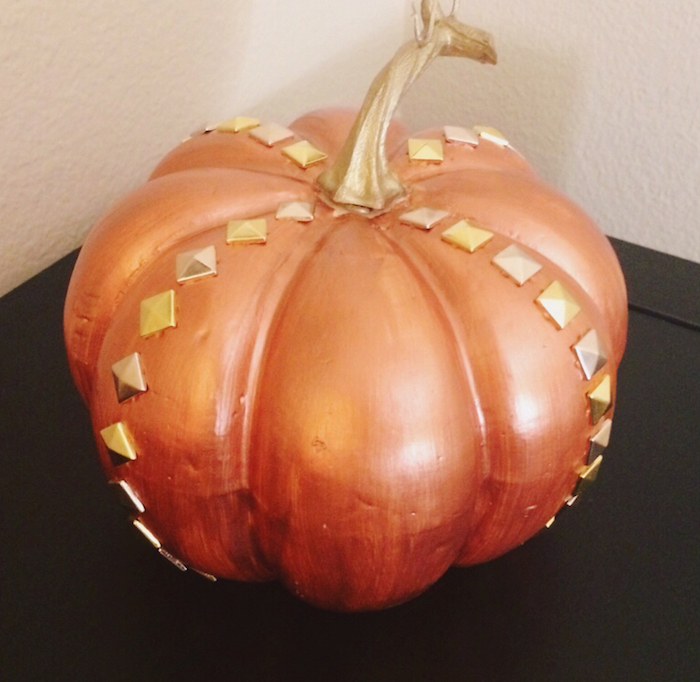
- Press the studs into your pumpkin, in whatever pattern you would like. I alternated between gold and rose gold. Some lines were made with squares, and others I made with diamonds (turn the stud 90 degrees to make a diamond shape instead of a square).
It’s a super simple craft you can make with your roommates, significant other, or family to decorate your home!

Lee Ann Garsow
09/17/2014 at 6:02 pmNeat idea Britty! Today I got a huge Pumkin and several mini,s.
Thank you for the inspiration!
Mom XOXO
11 Things to Do This Fall
09/23/2015 at 5:24 am[…] made this studded pumpkin last year and we still love it! We’ve also been wanting to try out some […]
11 Things To Do This Fall
10/05/2015 at 11:06 pm[…] made this studded pumpkin last year and we still love it! We’ve also been wanting to try out some glitter […]