
We’ve been seeing really neat crystal candles pop up on sites like Anthropologie and Free People and thought “hey, maybe we could recreate that at home”. We’ve been DIY-ing for quite some time now and we’ve made homemade candles countless times, but still, this project was a bit intimidating. Although after doing it we’re here to tell you that it wasn’t hard at all and they turned out great! They look beautiful in our home and would truly make great gifts!
Continuing reading for the full tutorial!
Supplies:
- Two or three glass cups to be used as the candle vessel. We got these from Target!
- Frosted spray paint (optional). We love the Uber Frost paint by Design Master
- Wax – we used a combination of soy and paraffin. Through our candle making, we find the combo burns more even then just using soy on its own.
- Cotton wicks (note: we’ve also seen these done with wooden wicks, we couldn’t’ find any but it would look very cool with the gems if you can find them!)
- Fragrance oils or essential oils (we used the Cinnamon oil from this set and a Birch Bark fragrance oil we picked up at a local flea market)
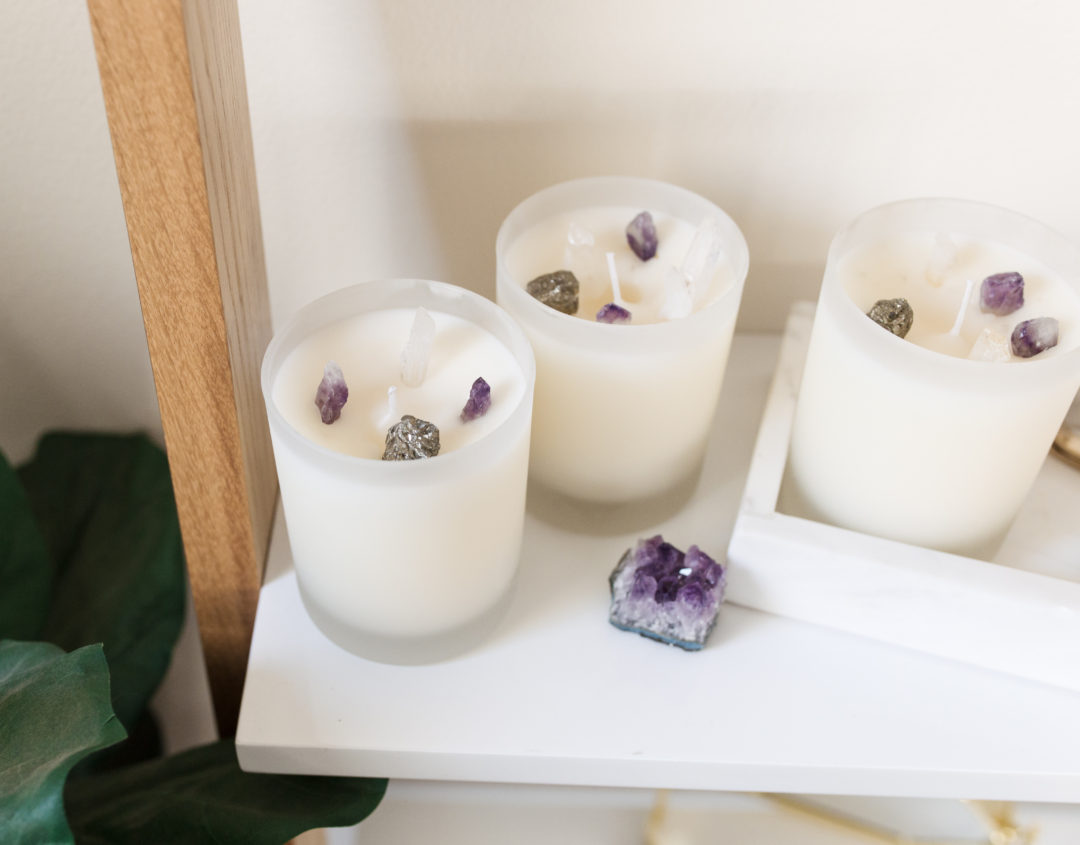
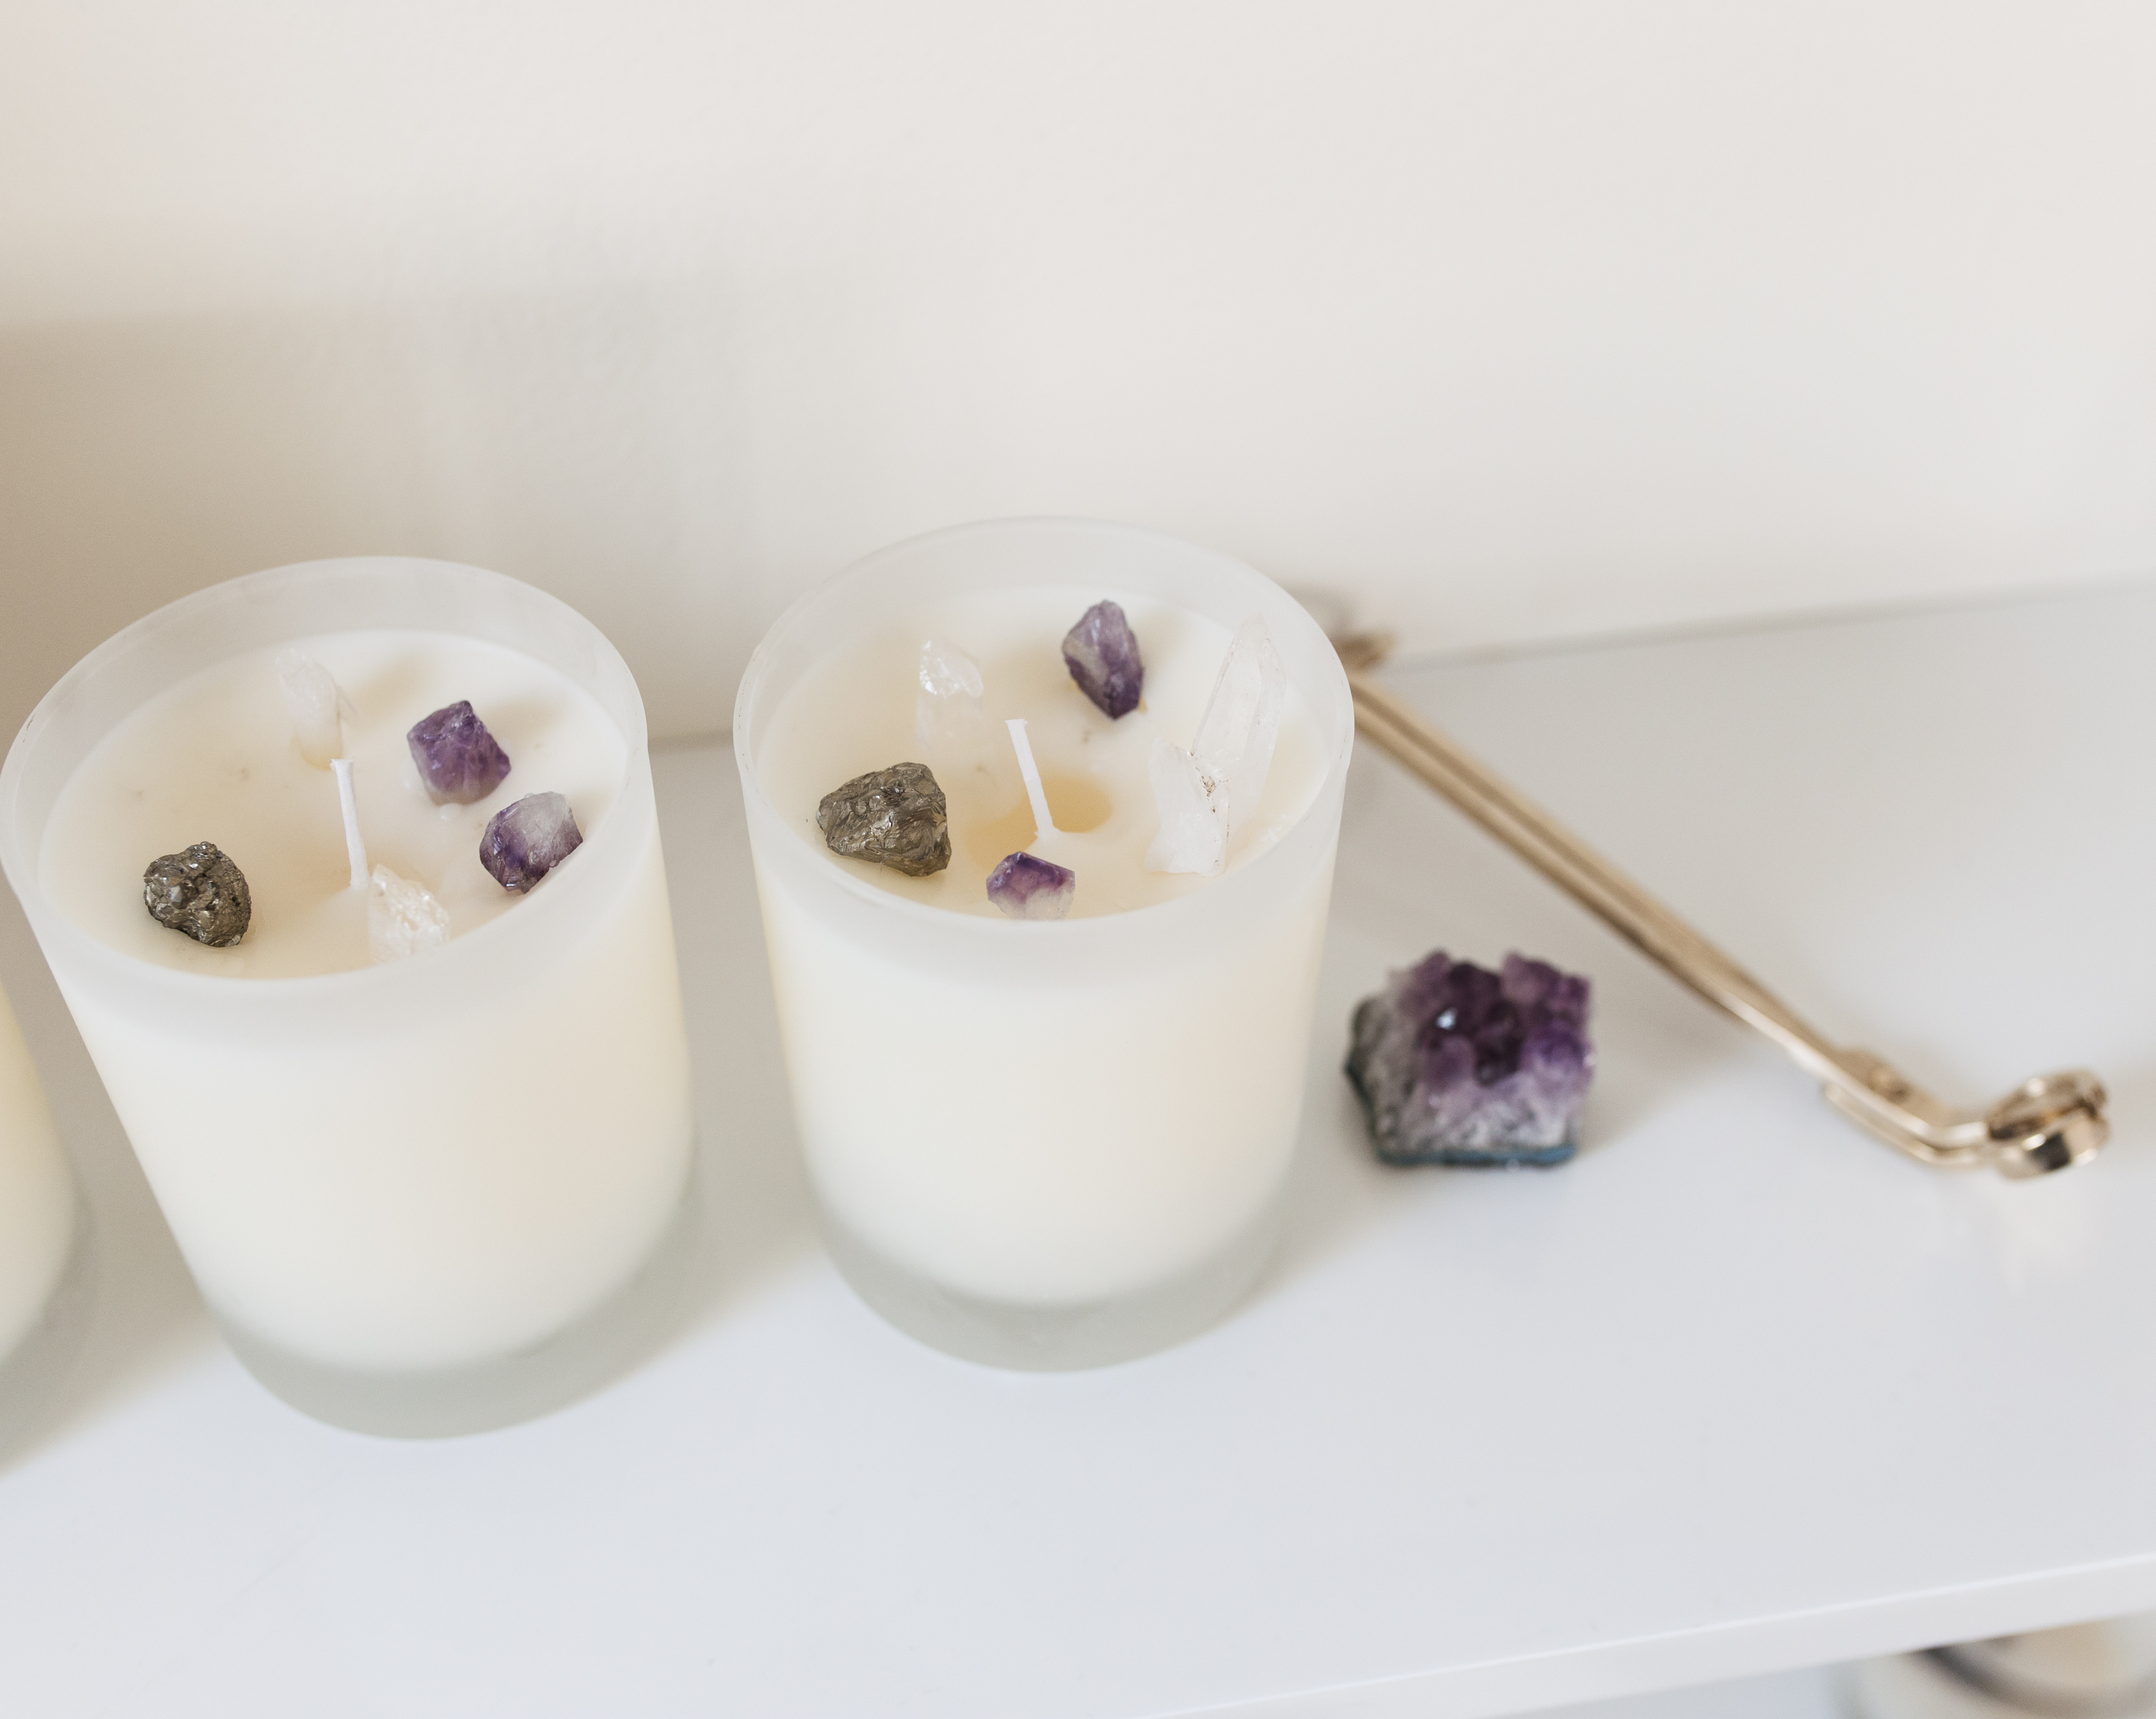
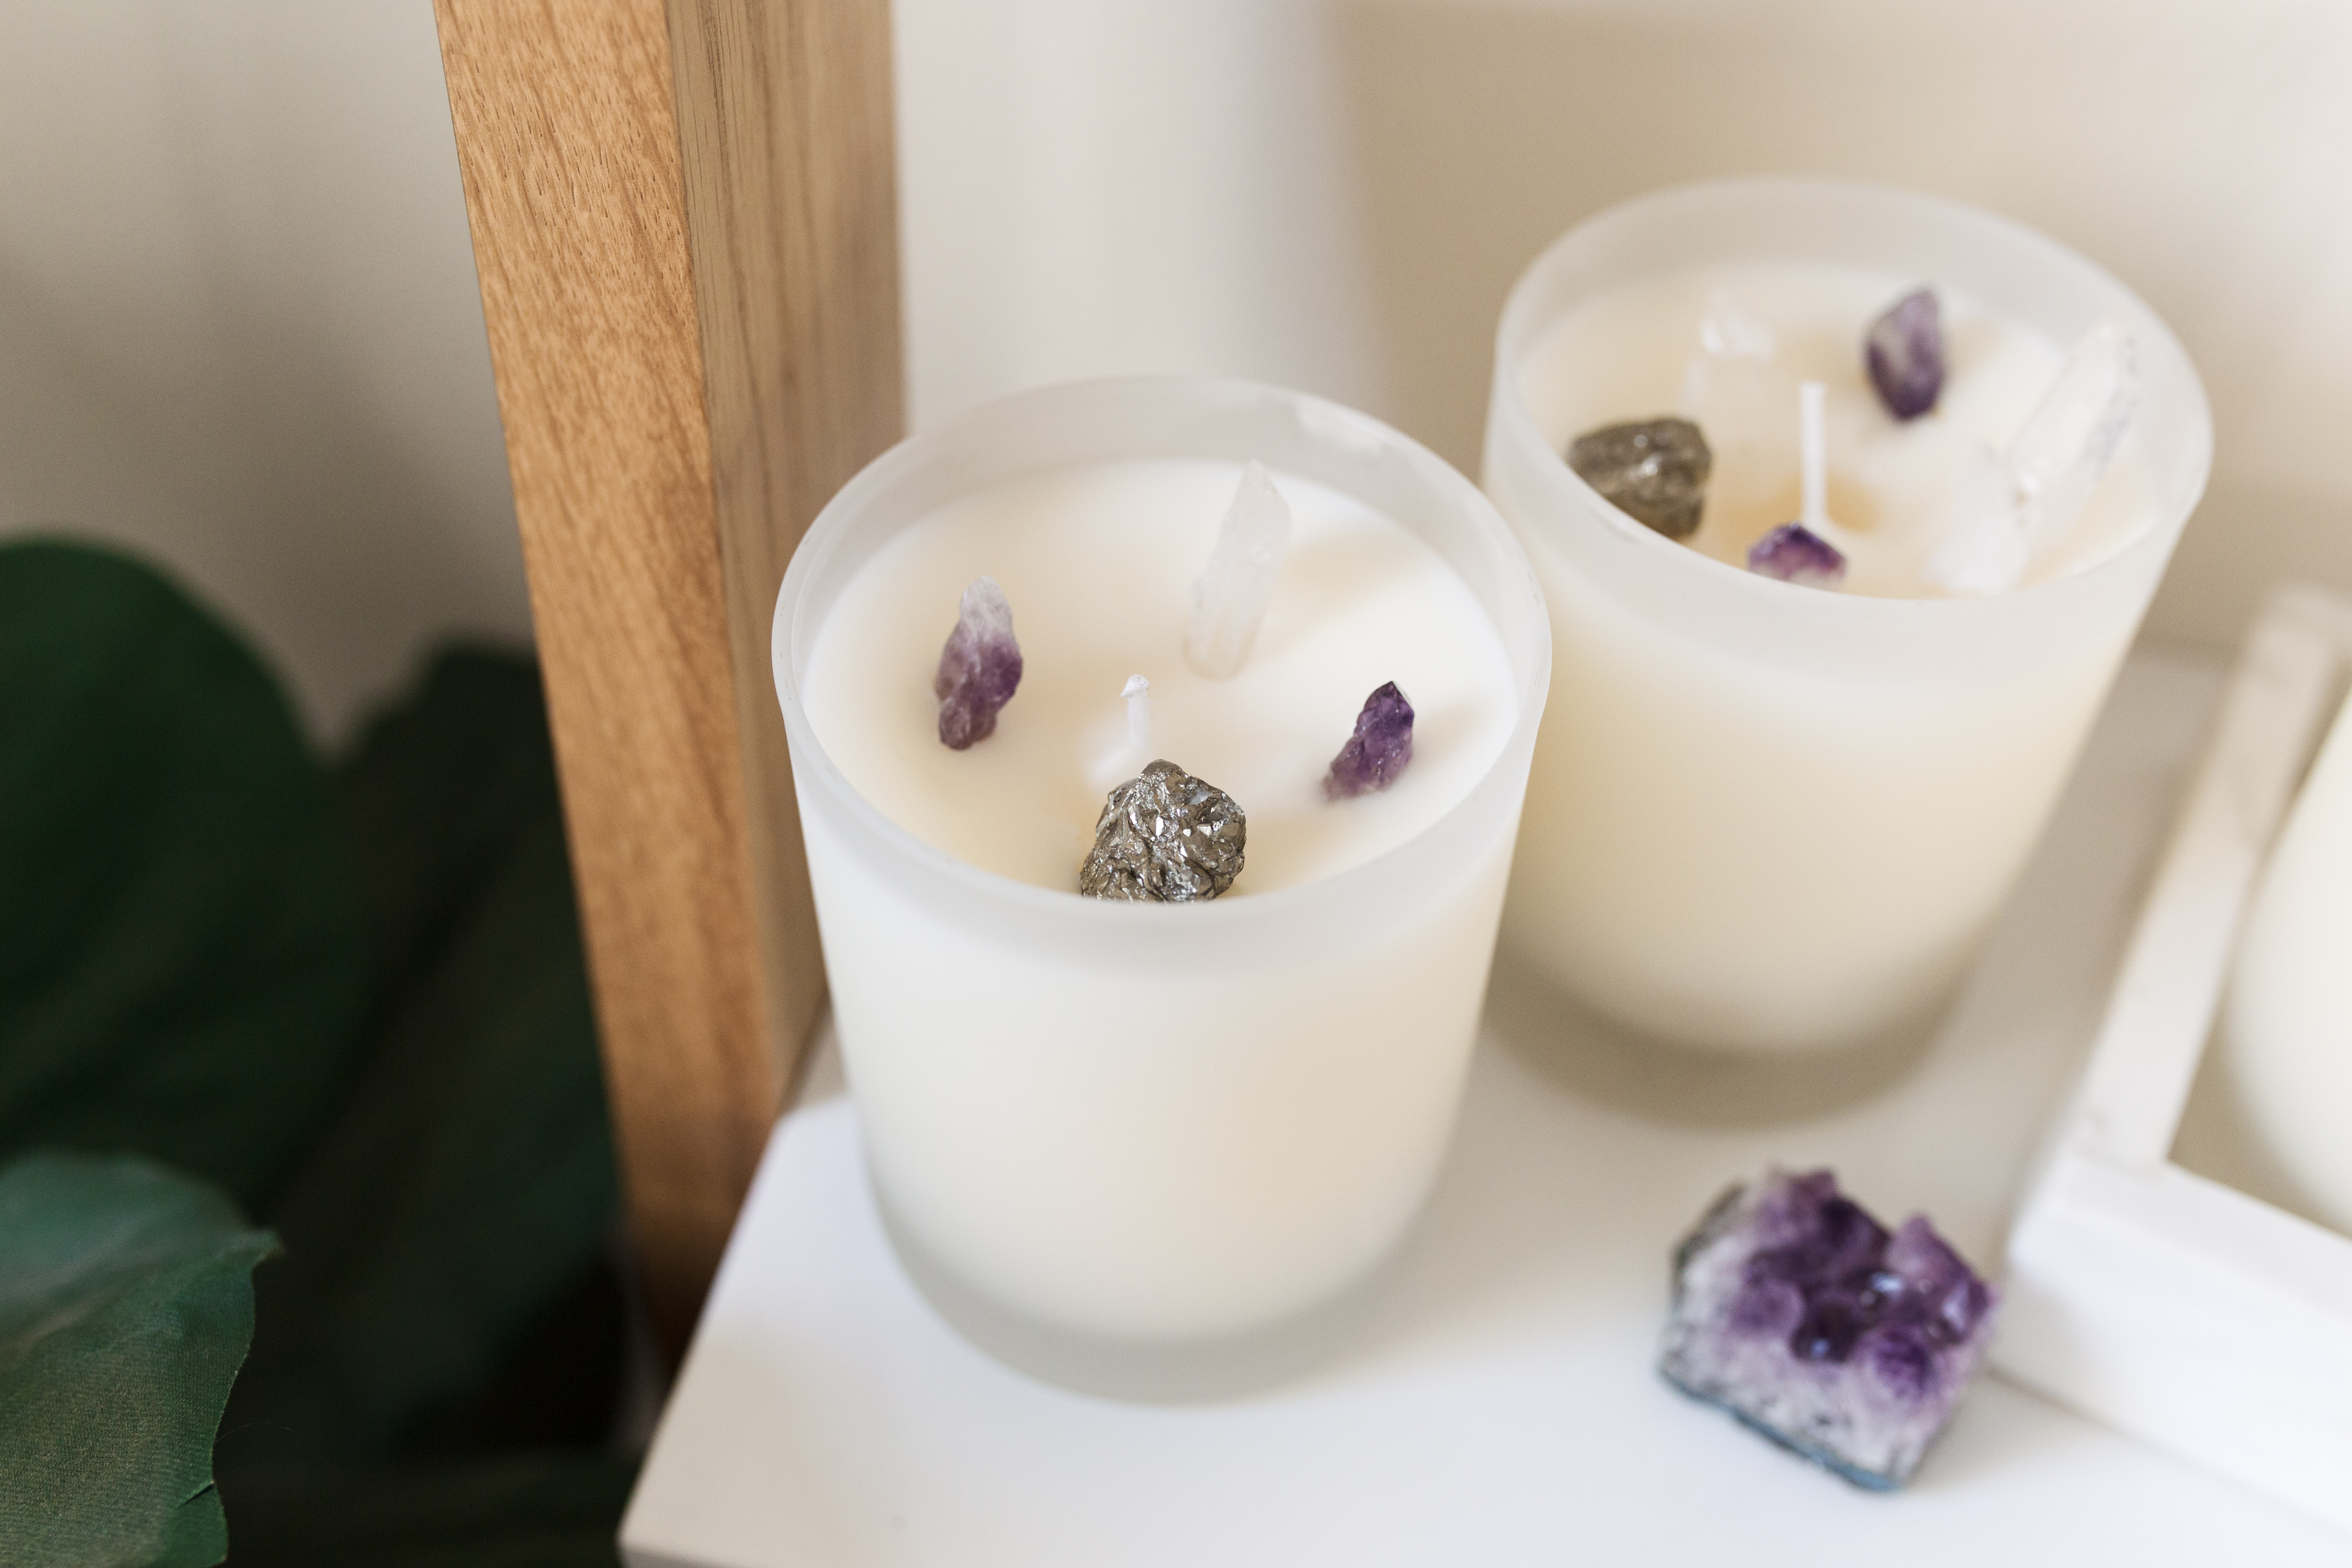
- Gemstones – We used Pyrite, Amethyst and Clear Quartz. We highly recommend combining gems – it makes for a beautiful finished product!
Tools:
- A designated saucepan for candle making or a double broiler (you will not be able to get all of the wax out so consider it no longer useable for food prep after this!)
- A hot glue gun (+ glue sticks!)
- A funnel
Instructions:
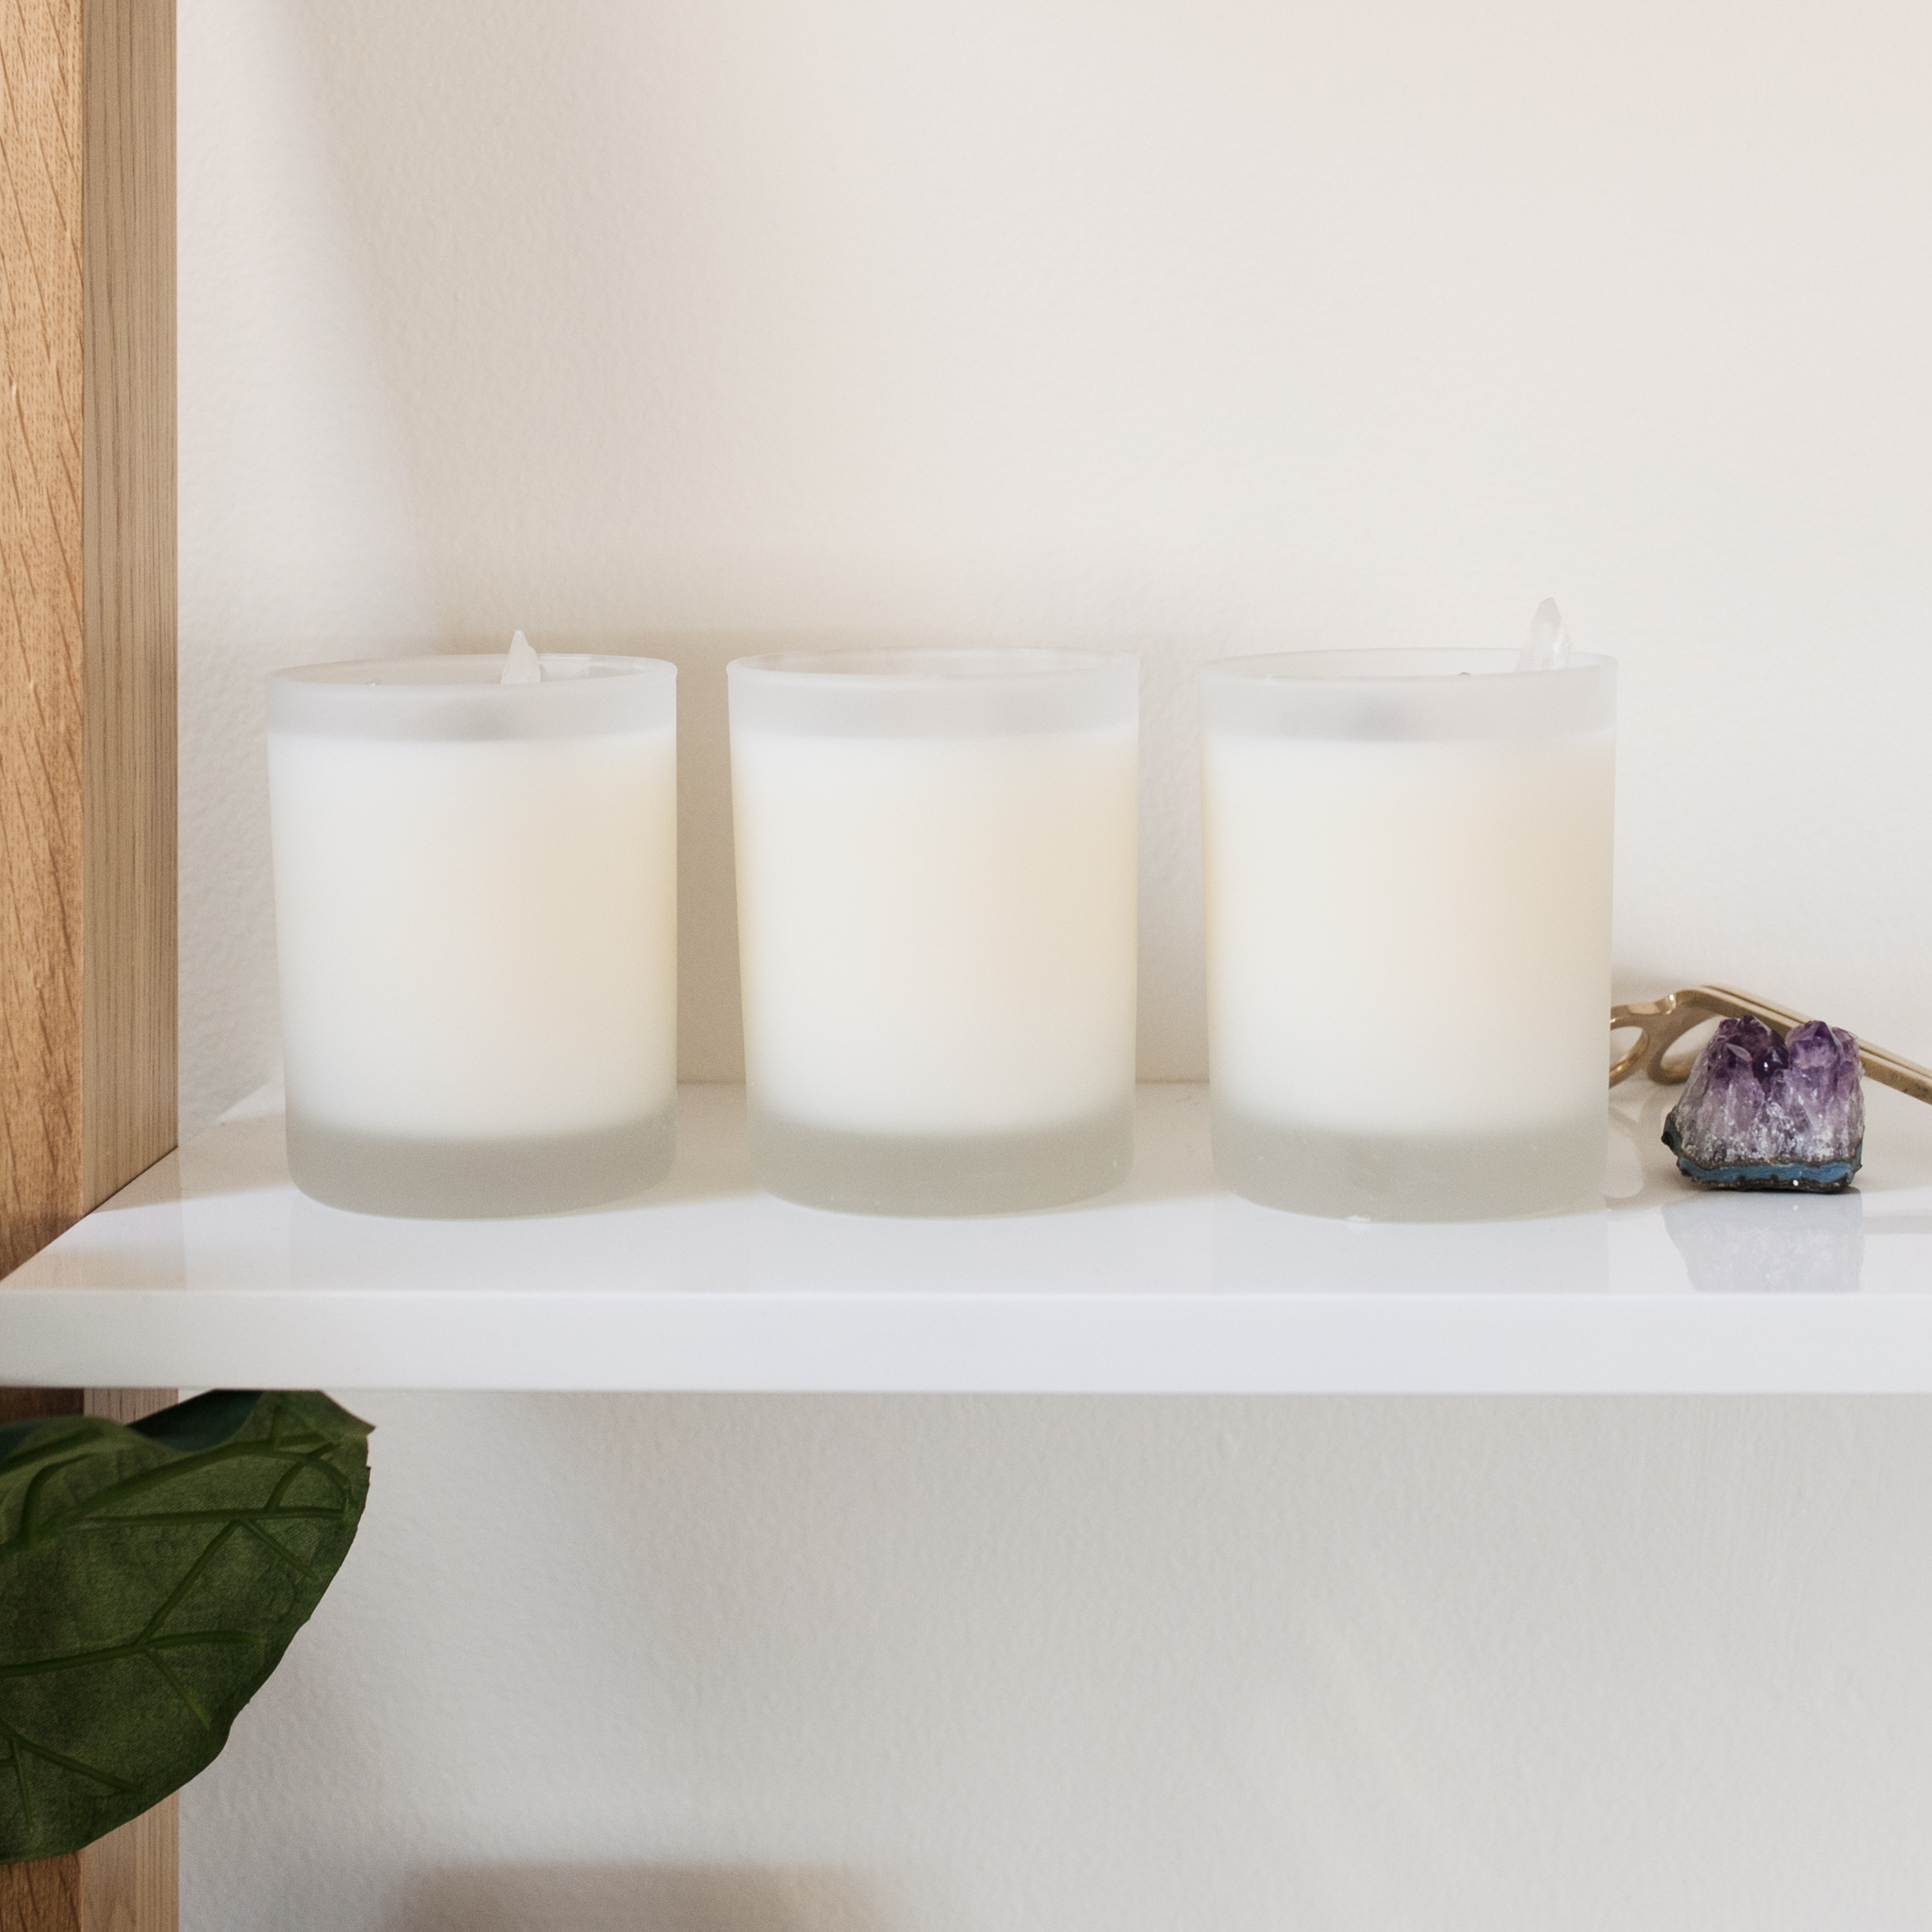
Optional step: We wanted to make our glasses we bought for the candle vessel frosted to give them an elevated look. You don’t have to do this but a few hours before we started the candle making process, we spray painted each glass with spray paint that gives a frosted look to glass. Just follow the directions on the can but you want to work in thin, light coats! 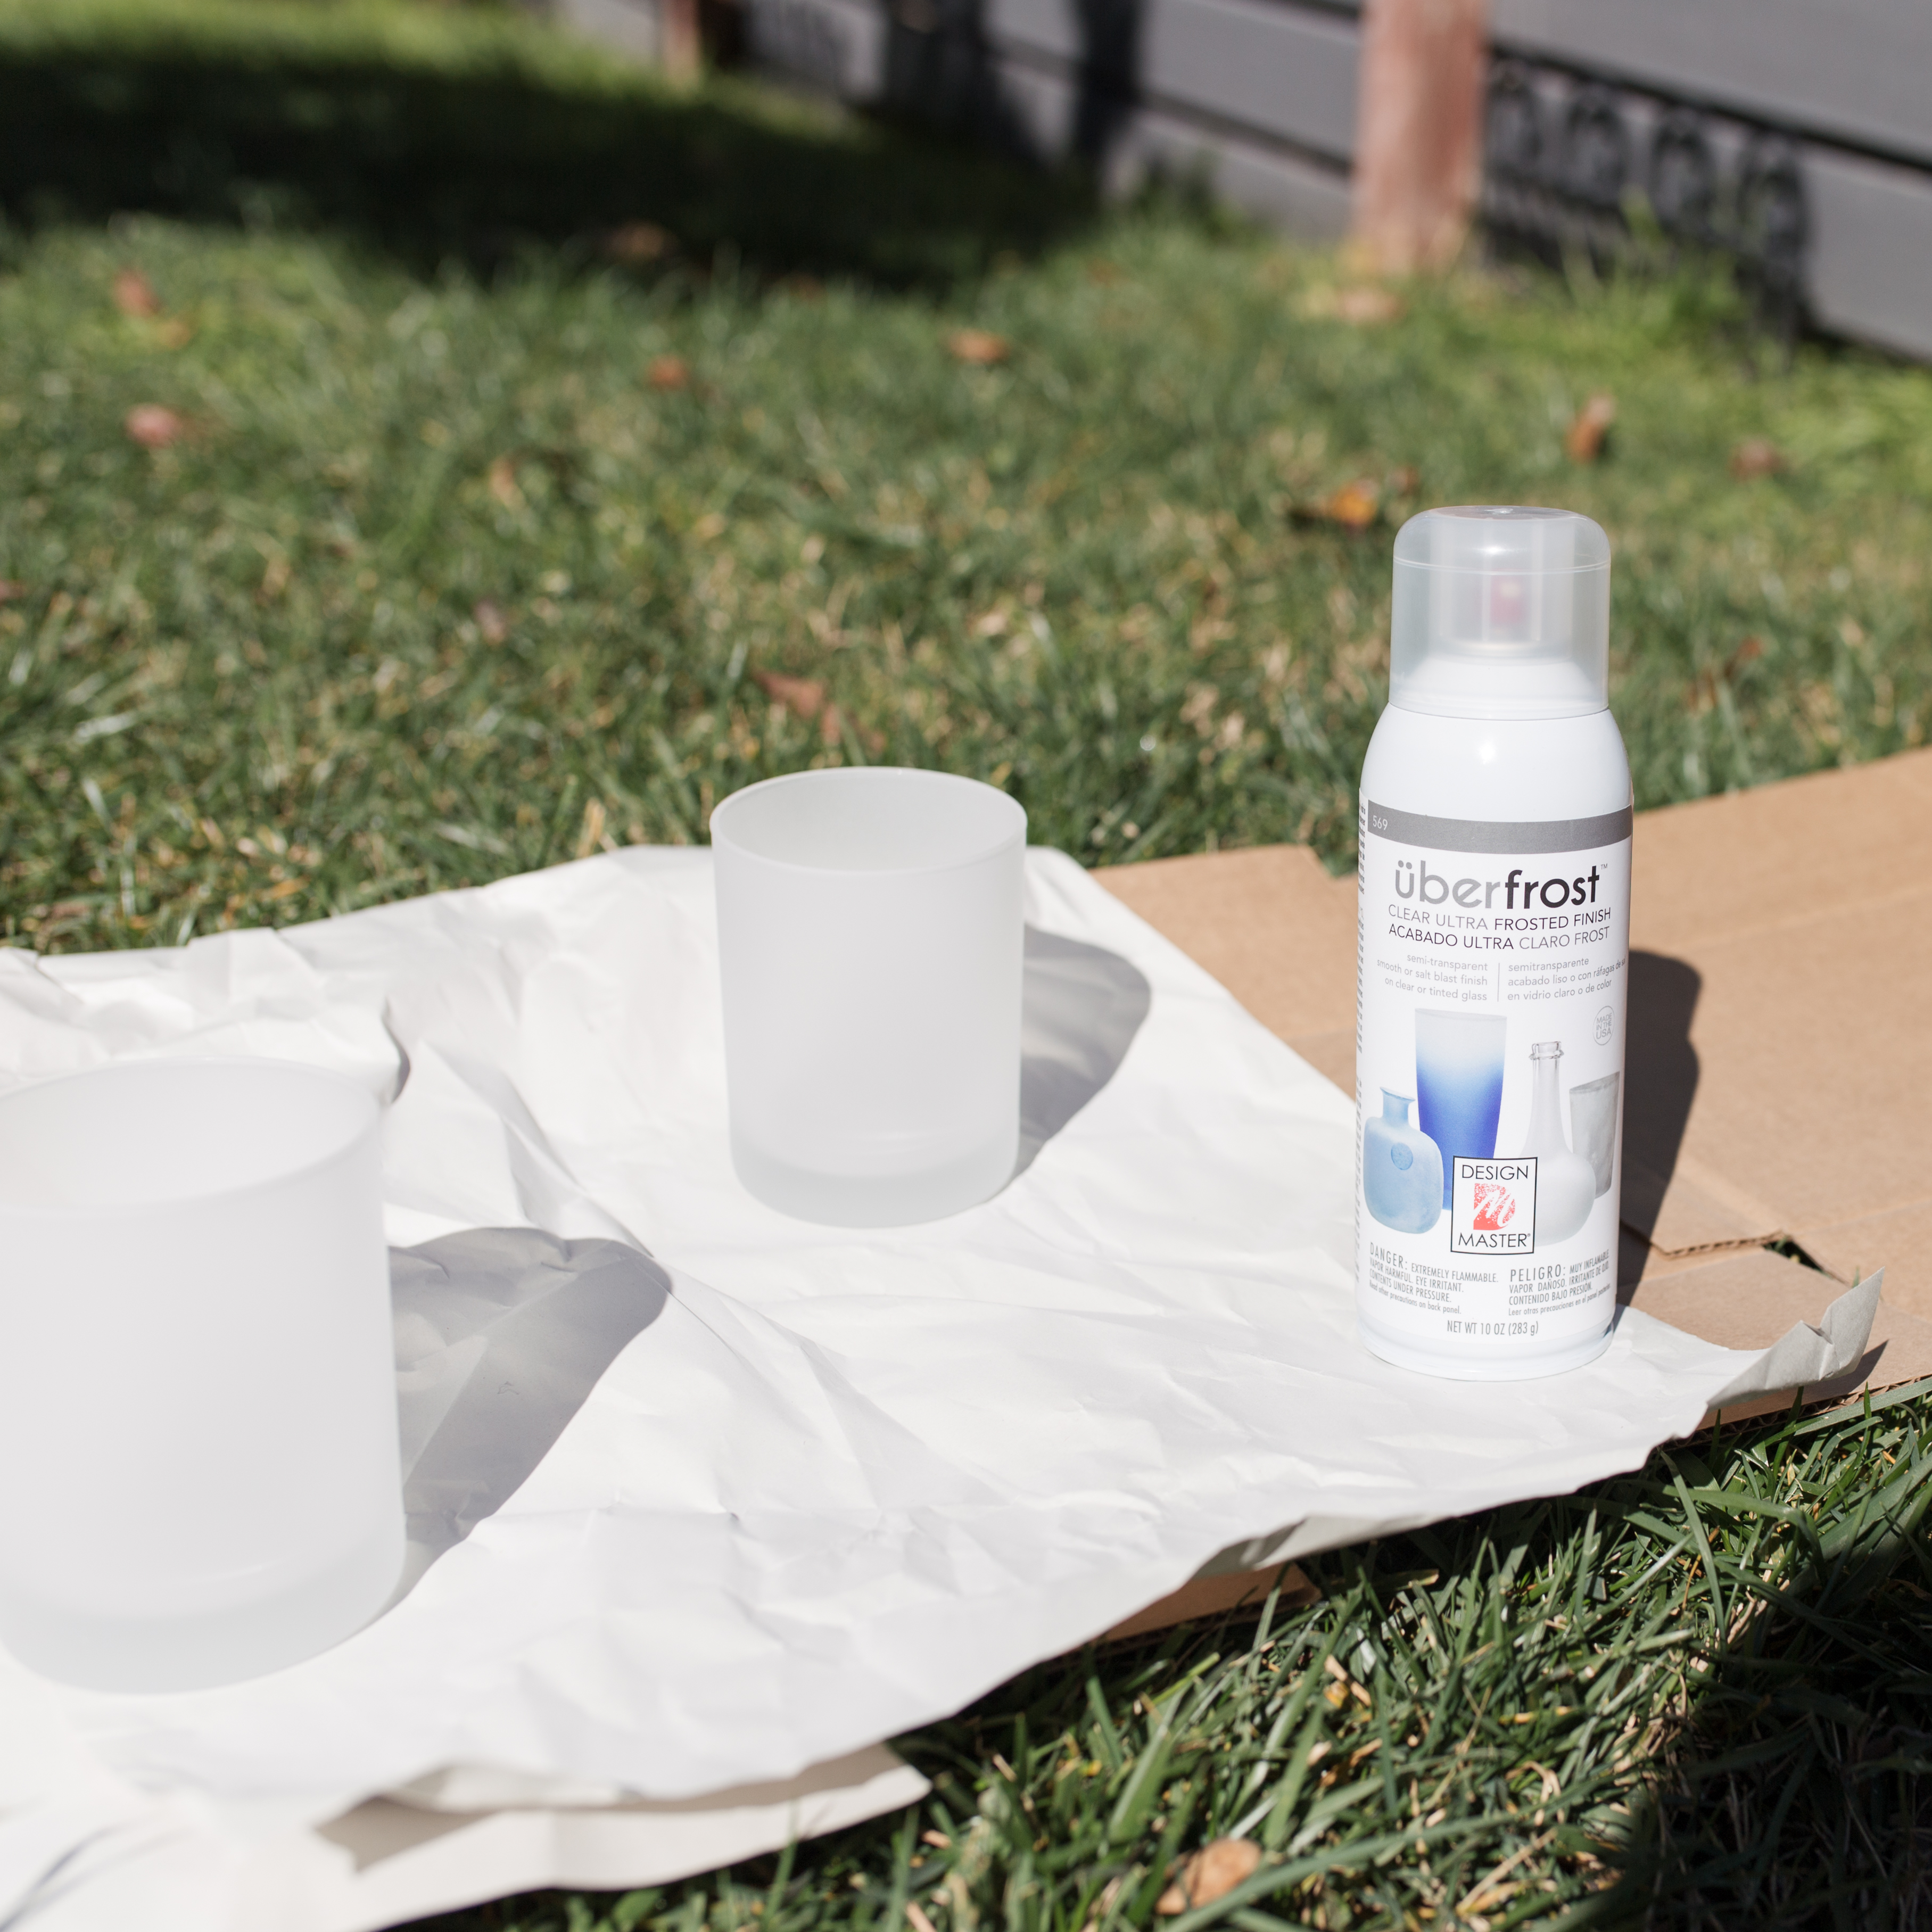 Step One: Lay some parchment/wax paper down next to your stove to make cleanup easier. This is where you will pour the melted wax into your vessels.
Step Two: Next, you’re going to measure out your wax flakes. A good rule of thumb is to double the volume of each candle jar. So since we were making 3 candles, we needed 6 glasses worth of wax. This is really easy if you’re just using soy flakes but since we also mixed paraffin wax in (which comes in blocks) we had to eyeball it a bit.
Set aside the wax after you’ve measured it out.
Step Three: Now it’s time to get out the hot glue gun! Glue the metal wick plates to the bottom of each vessel. This really helps your wick stay in place!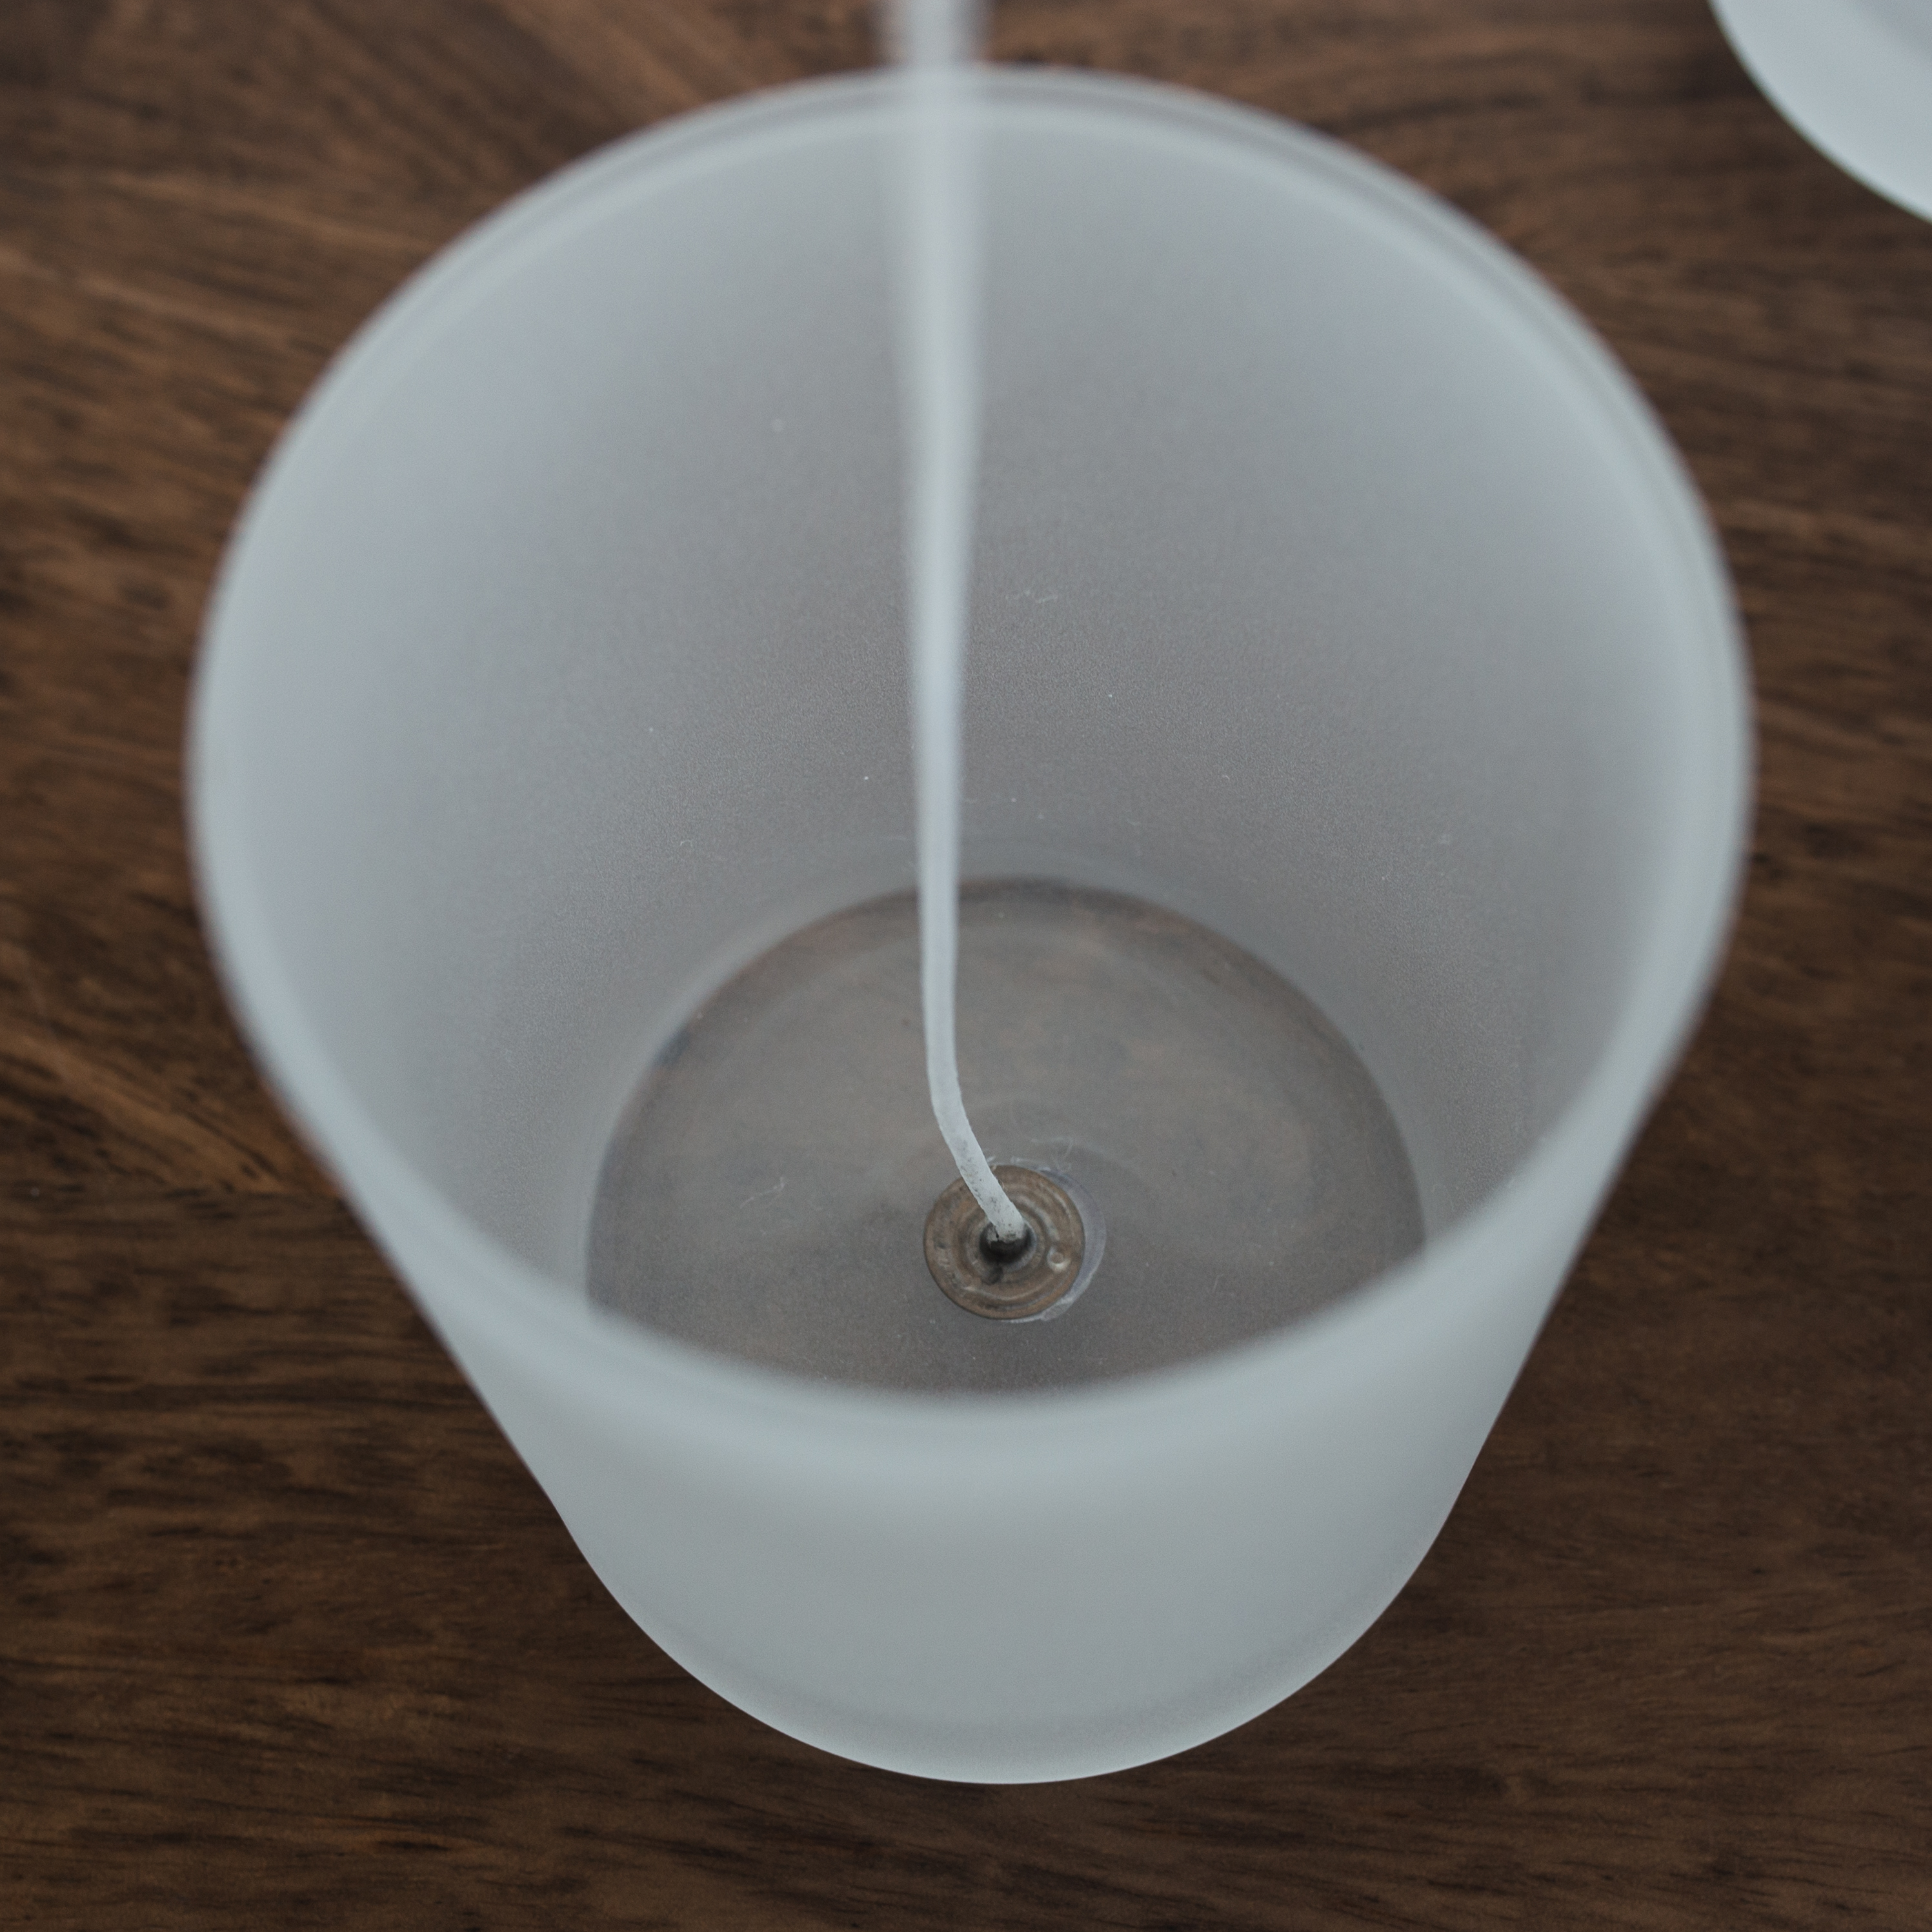 Step Four: Next, you need to wrap the excess wick around a pencil and rest it on the opening of the jar. This will ensure the wick doesn’t move while the candle is setting.
  Step Five: Put your wax in a saucepan (or double broiler) and heat the wax on low heat. Stir frequently just until the wax is melted. Remove the pan from heat.
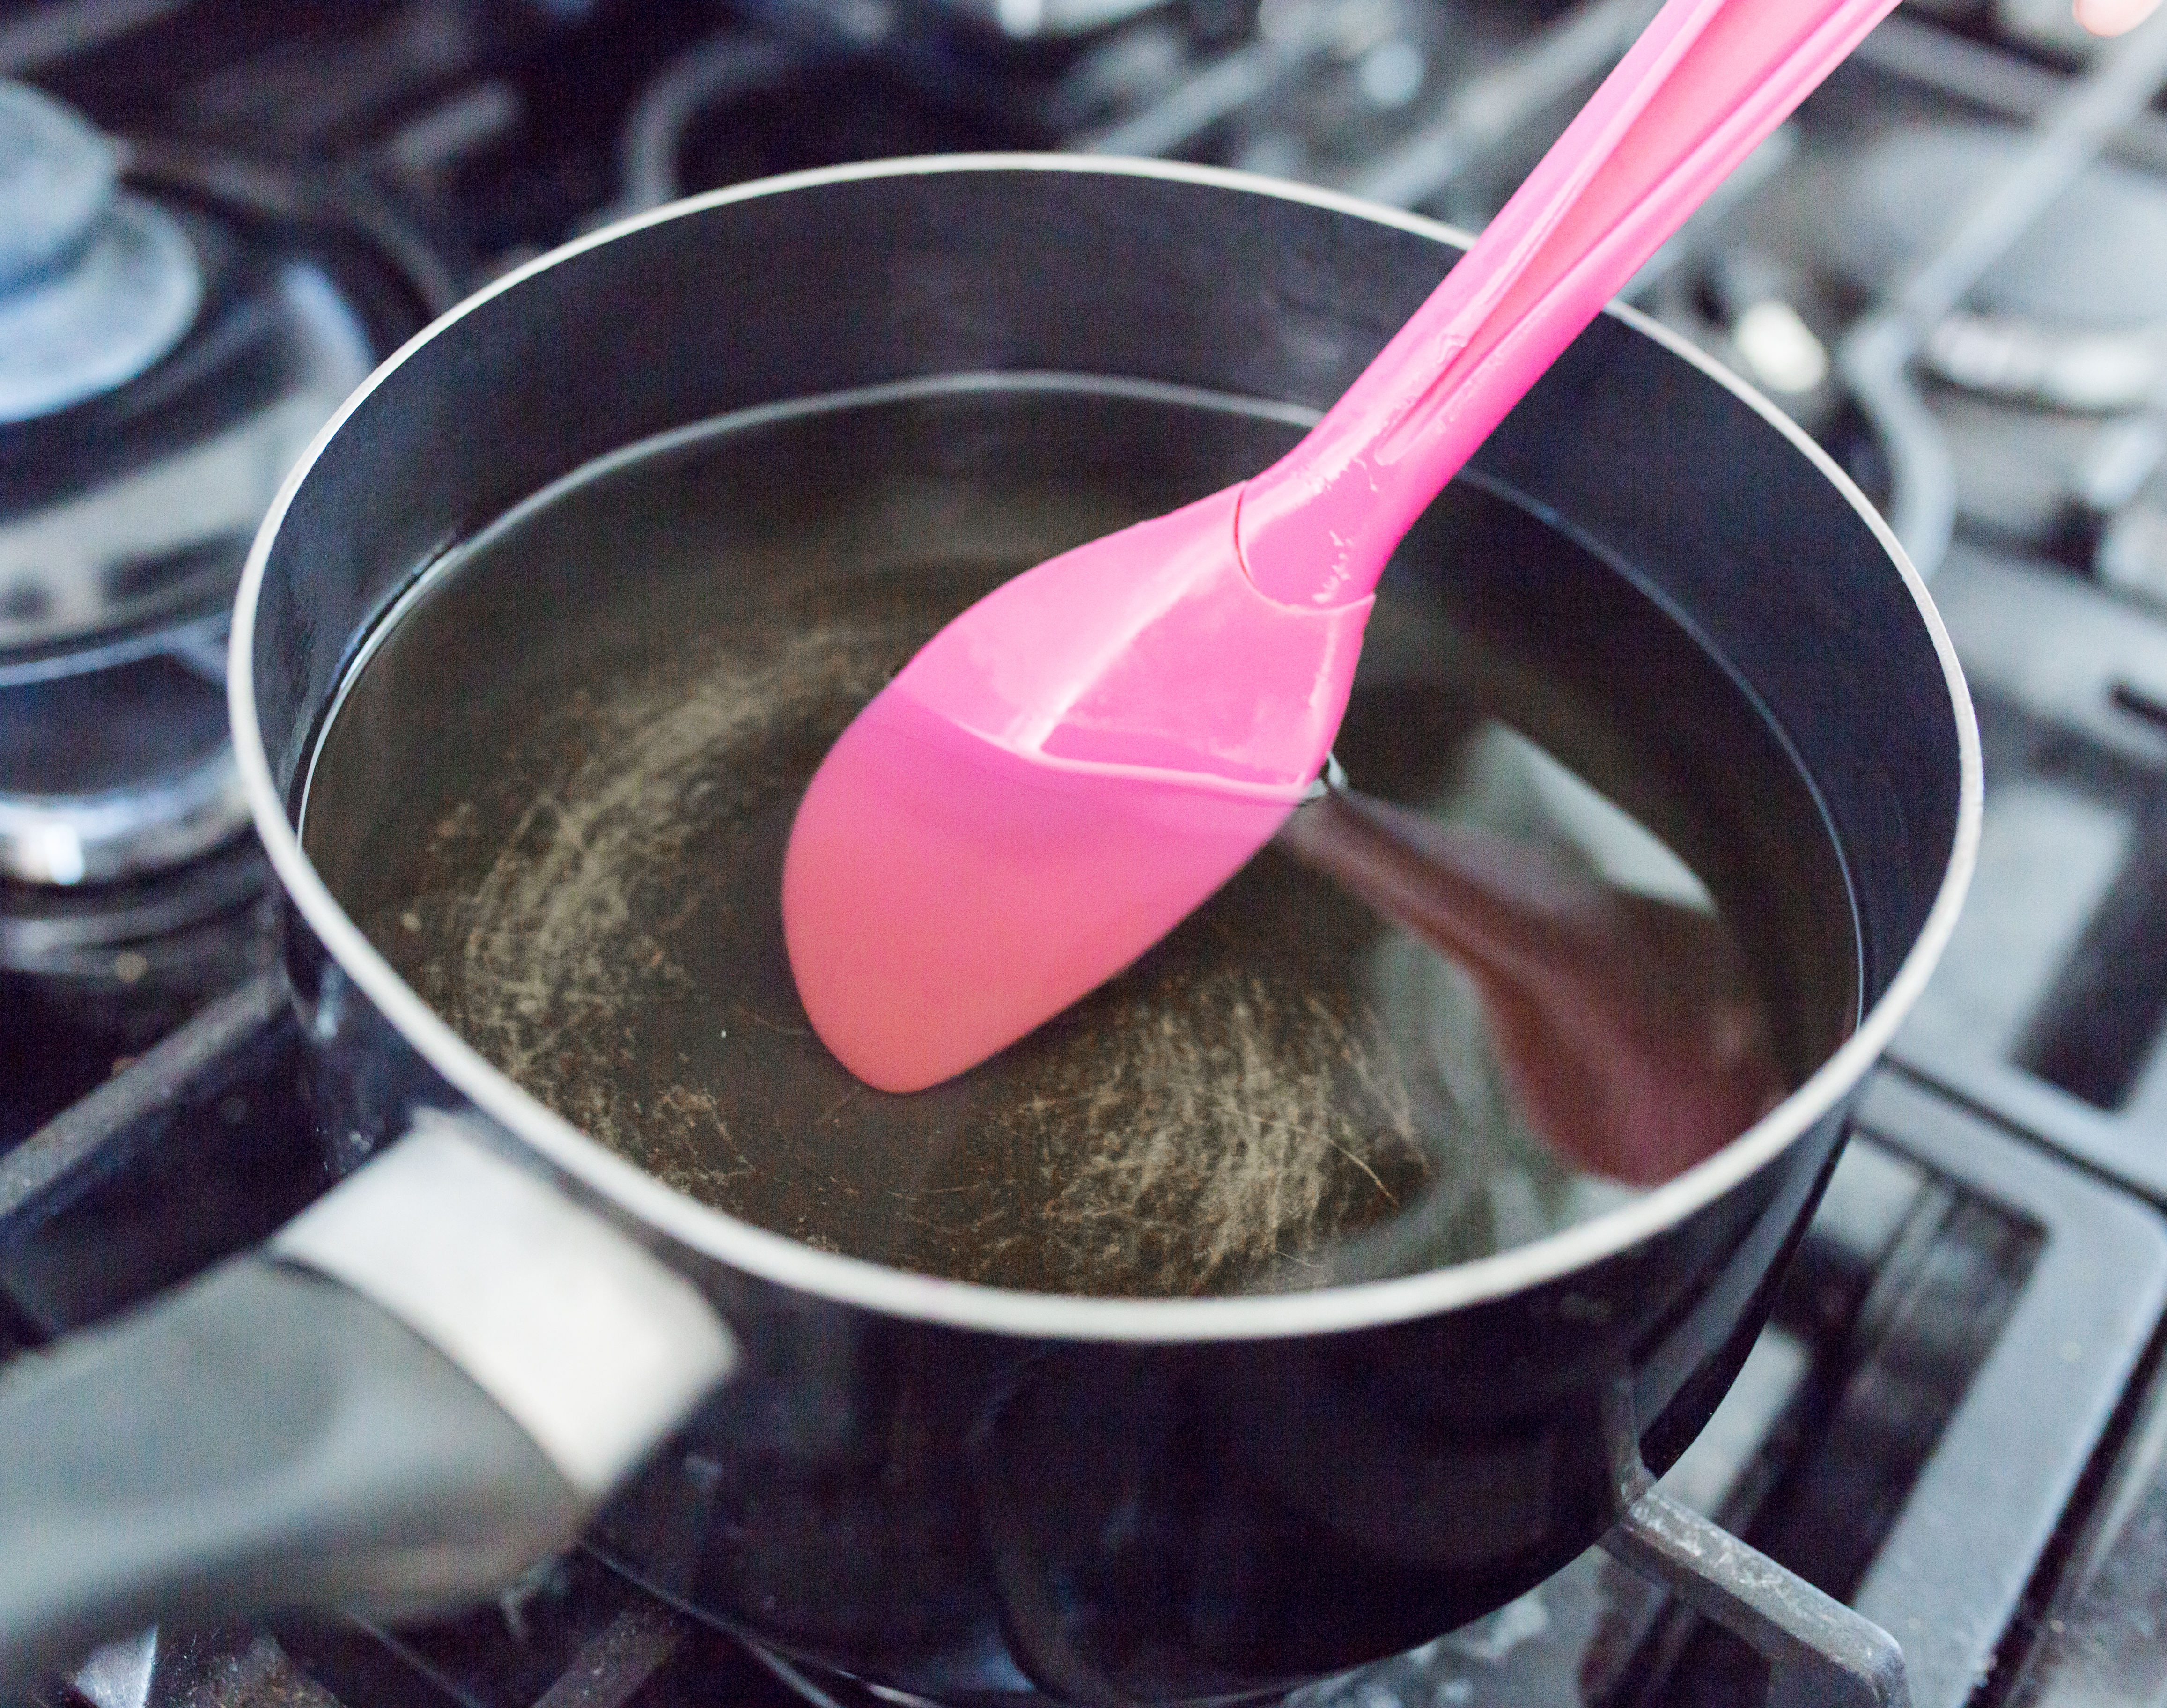 Step Six: Add roughly 20-40 drops of oil per candle to the pan and give it a stir. (The number of drops you’ll need will greatly depend on how strong you’d like the scent to be and the brand of fragrance oil you use, that is why the range is so large.)
 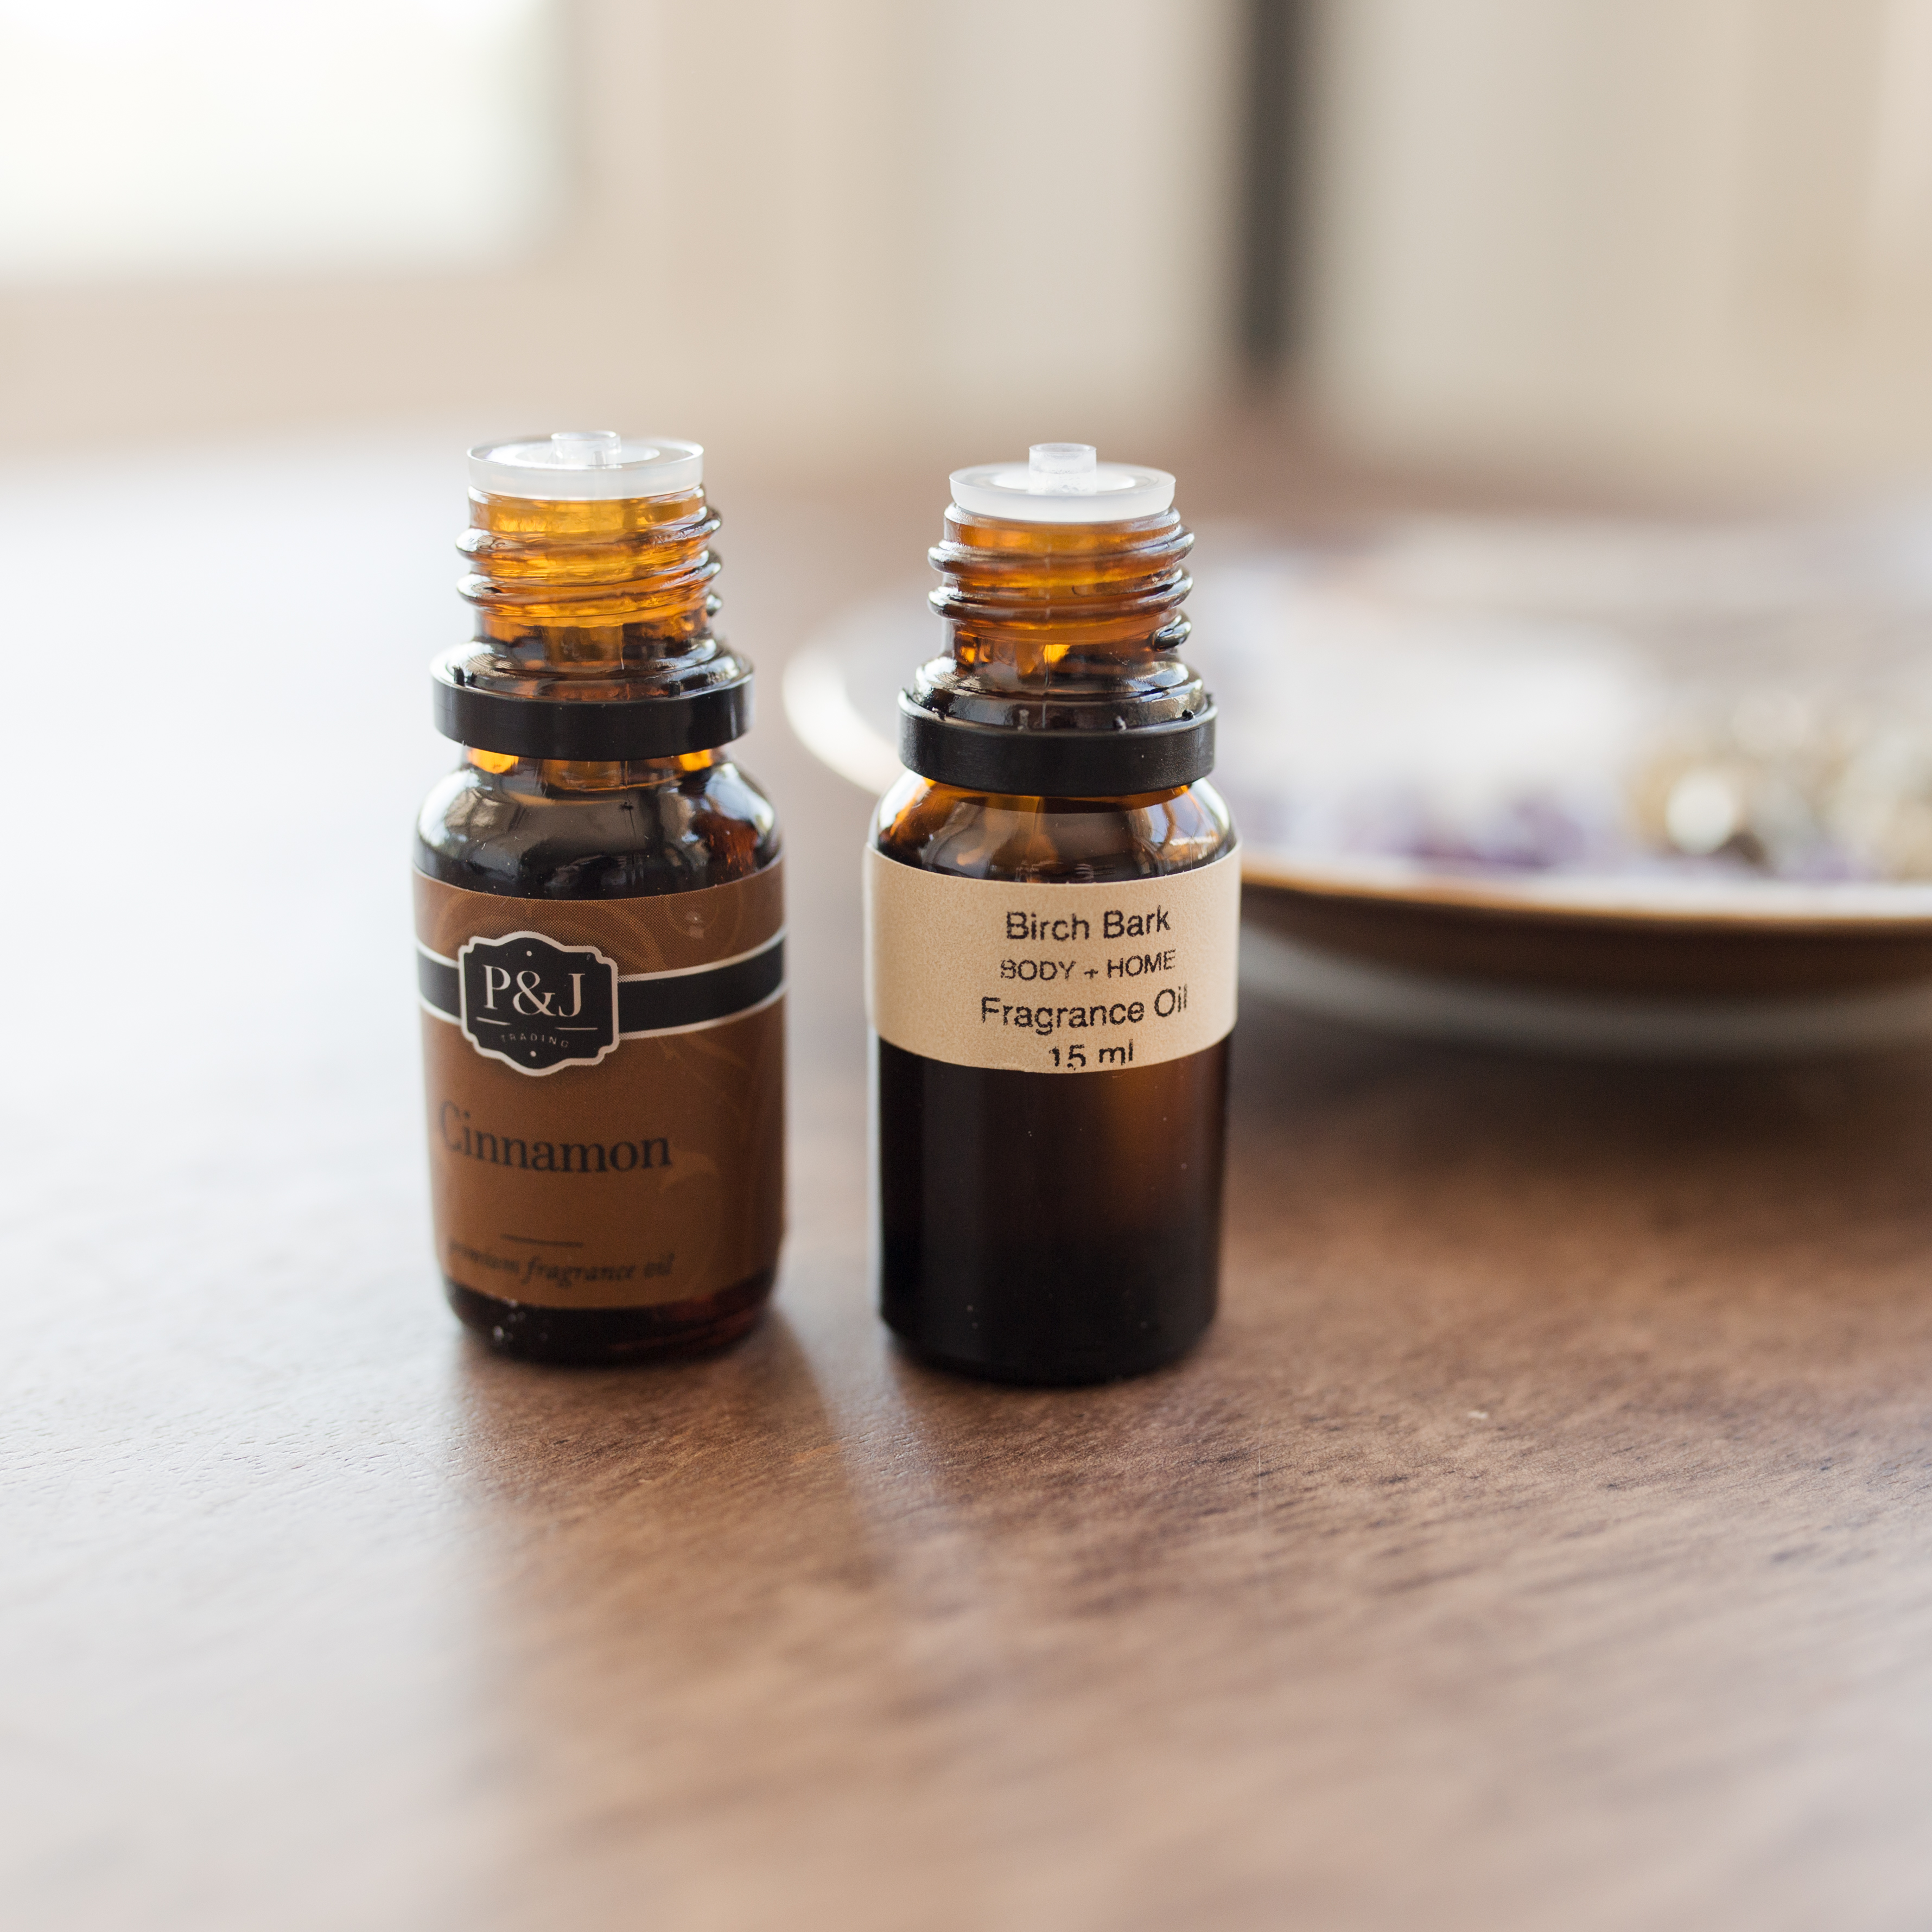 We loved our candles strong so we did about 40 drops per candle – because we made a big batch we did 60 of each fragrance for a total of 120 drops (which would equate to 40 per candle).
Also note that if you use essential oils, you will need to add more than if you use fragrance oils to get the same strength.
Step Seven: Next, pour the melted wax into your jar using a funnel. We’ve learned that using a funnel is key if you don’t want to accidentally move your pencil which in turn will move the wick out of place. We used a large spoon to spoon the melted wax into the vessel through the funnel and it worked great.
If you do accidentally move the pencil/wick you can move it back after you’ve poured your wax so don’t fret!
Step Eight: Now you’re going to want to let the wax almost cool completely. The cooling process takes 1-4 hours depending on how big your jar is. Normally you would want to cool overnight but because we needed to place the gems on top – we had to be a bit more strategic.
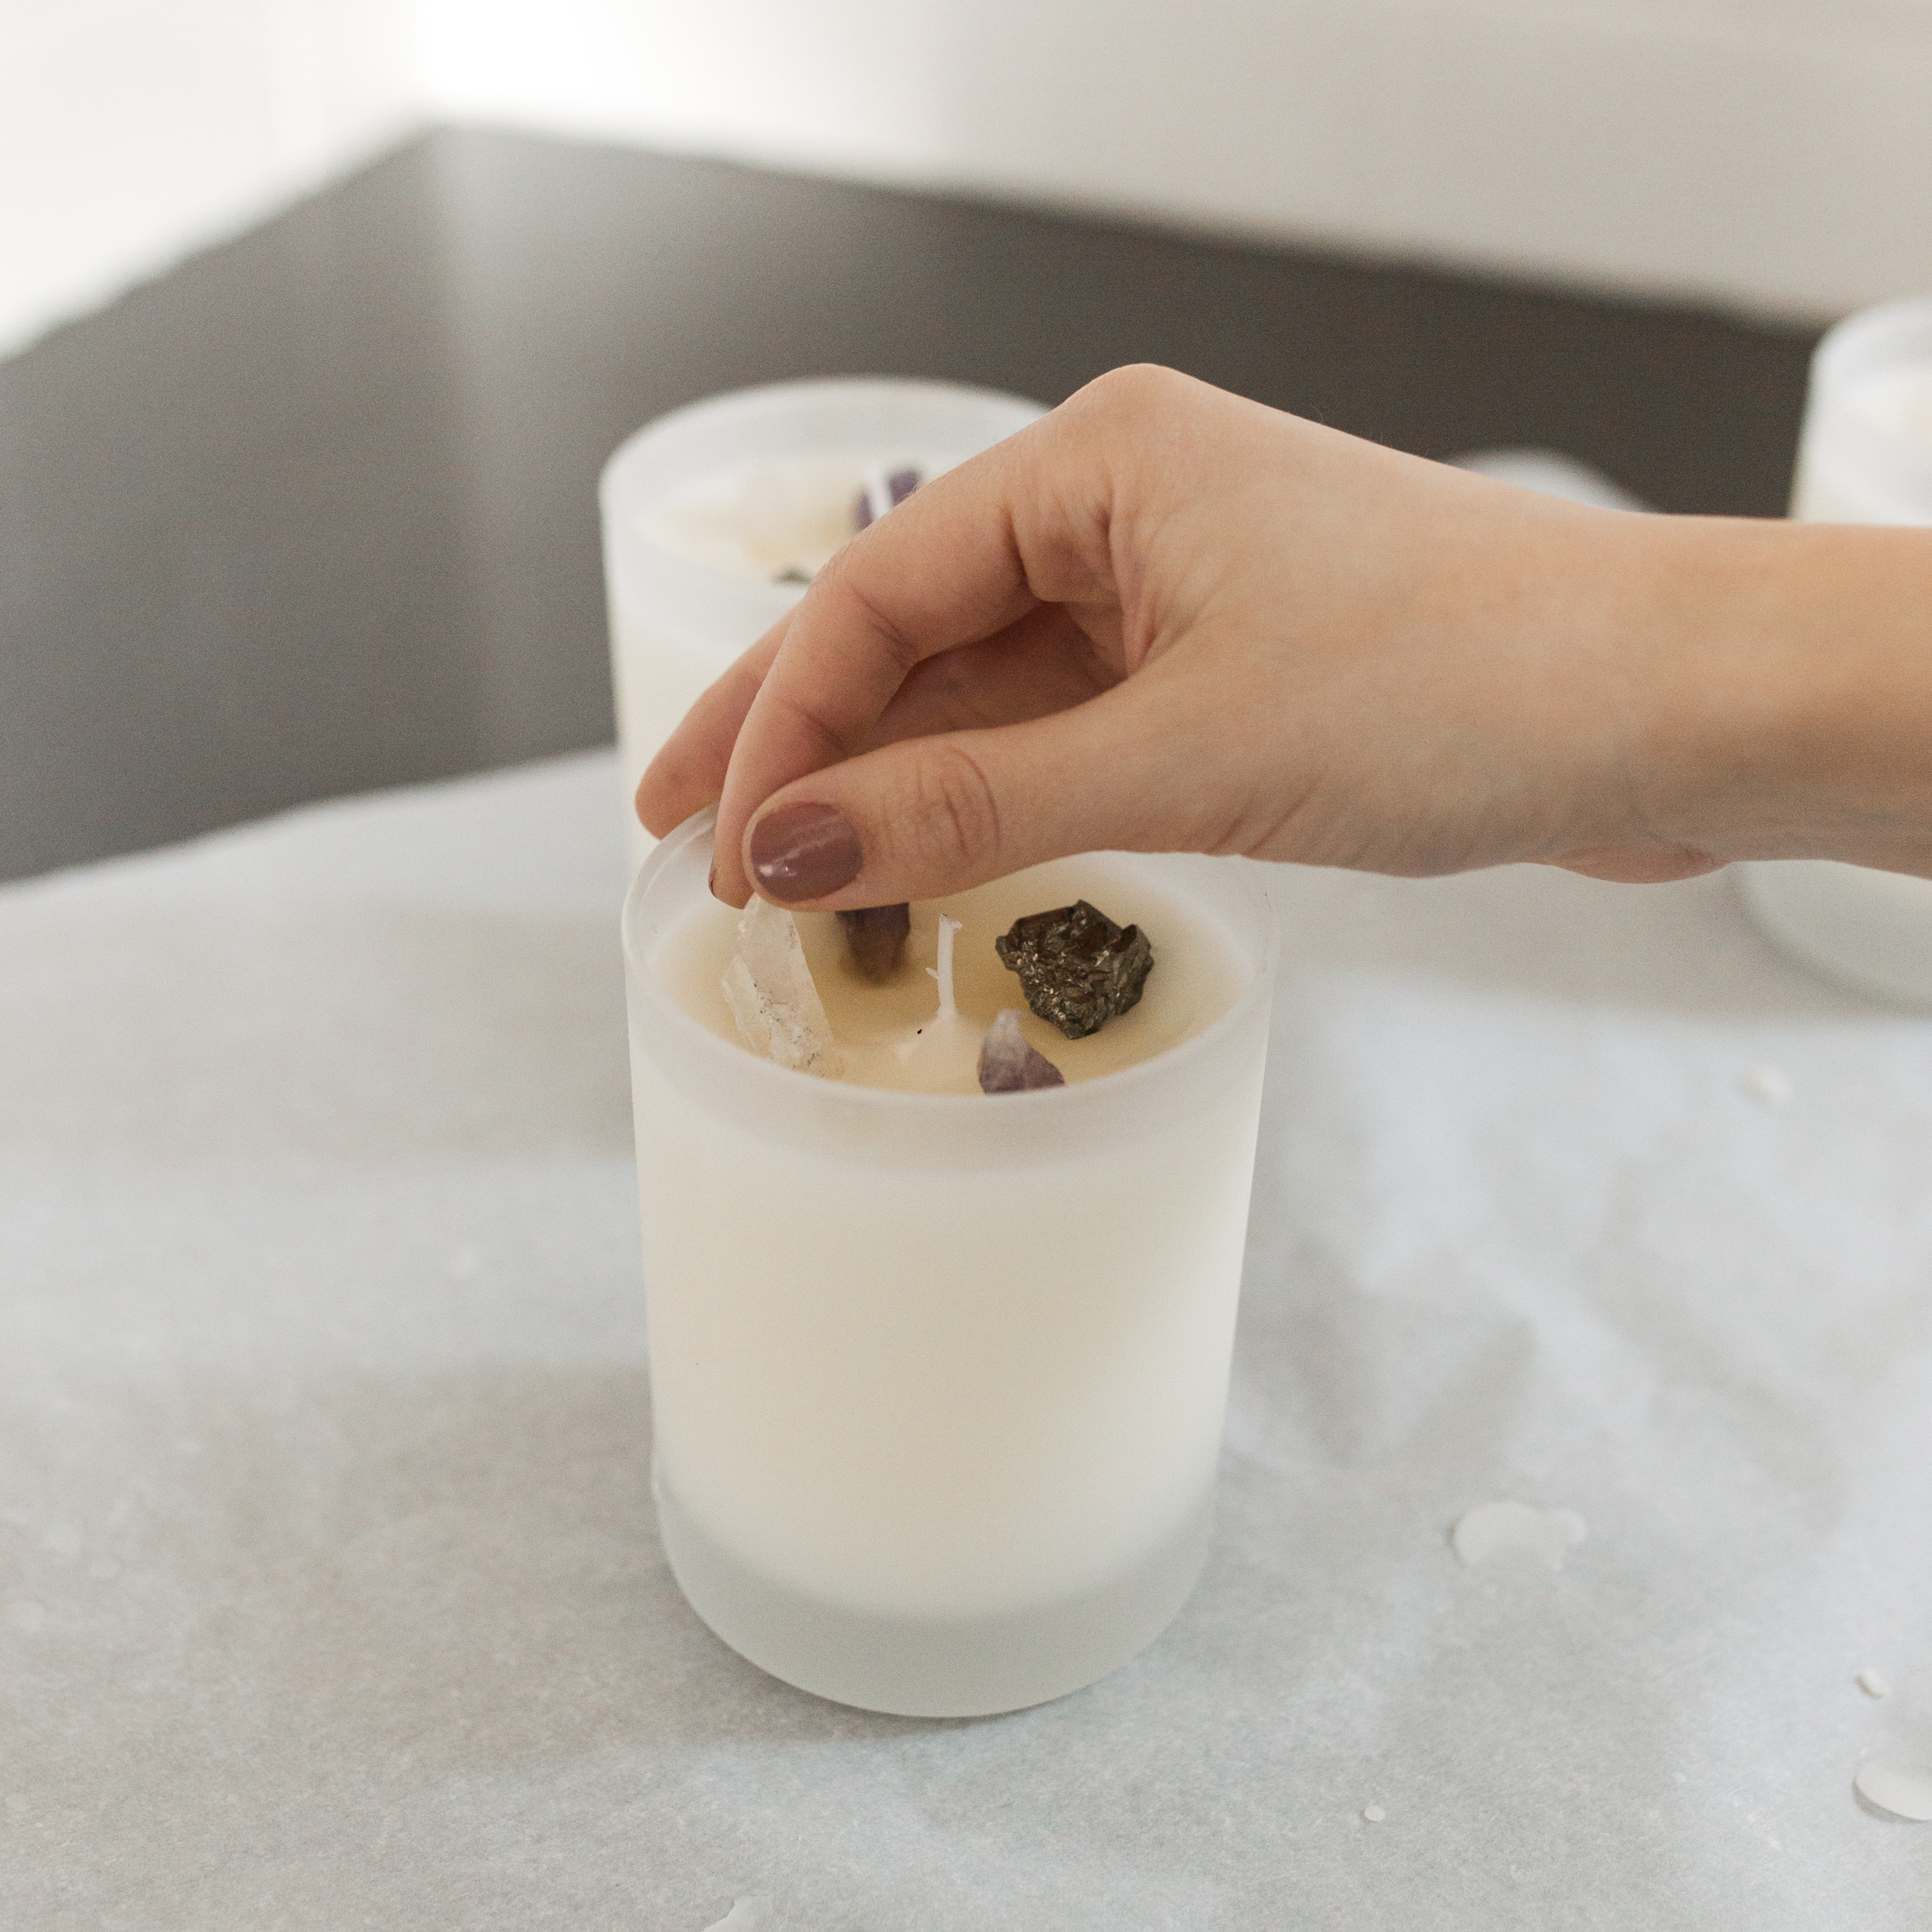
We let ours cool for two hours and kept testing the wax with a toothpick to see when it was nearly set but still had some give to the top layer. Once it was basically set – we placed the gems on top and gently pressed them into the wax to ensure they wouldn’t move.
We did notice that if the wax was set a bit too much, it was helpful to carefully use a lighter to light the area you plan on placing the gem before placing it down. Once the area looked a little melted, we placed the gems down.
After the gems are in place, let them cool completely and then trim the wicks to ½”.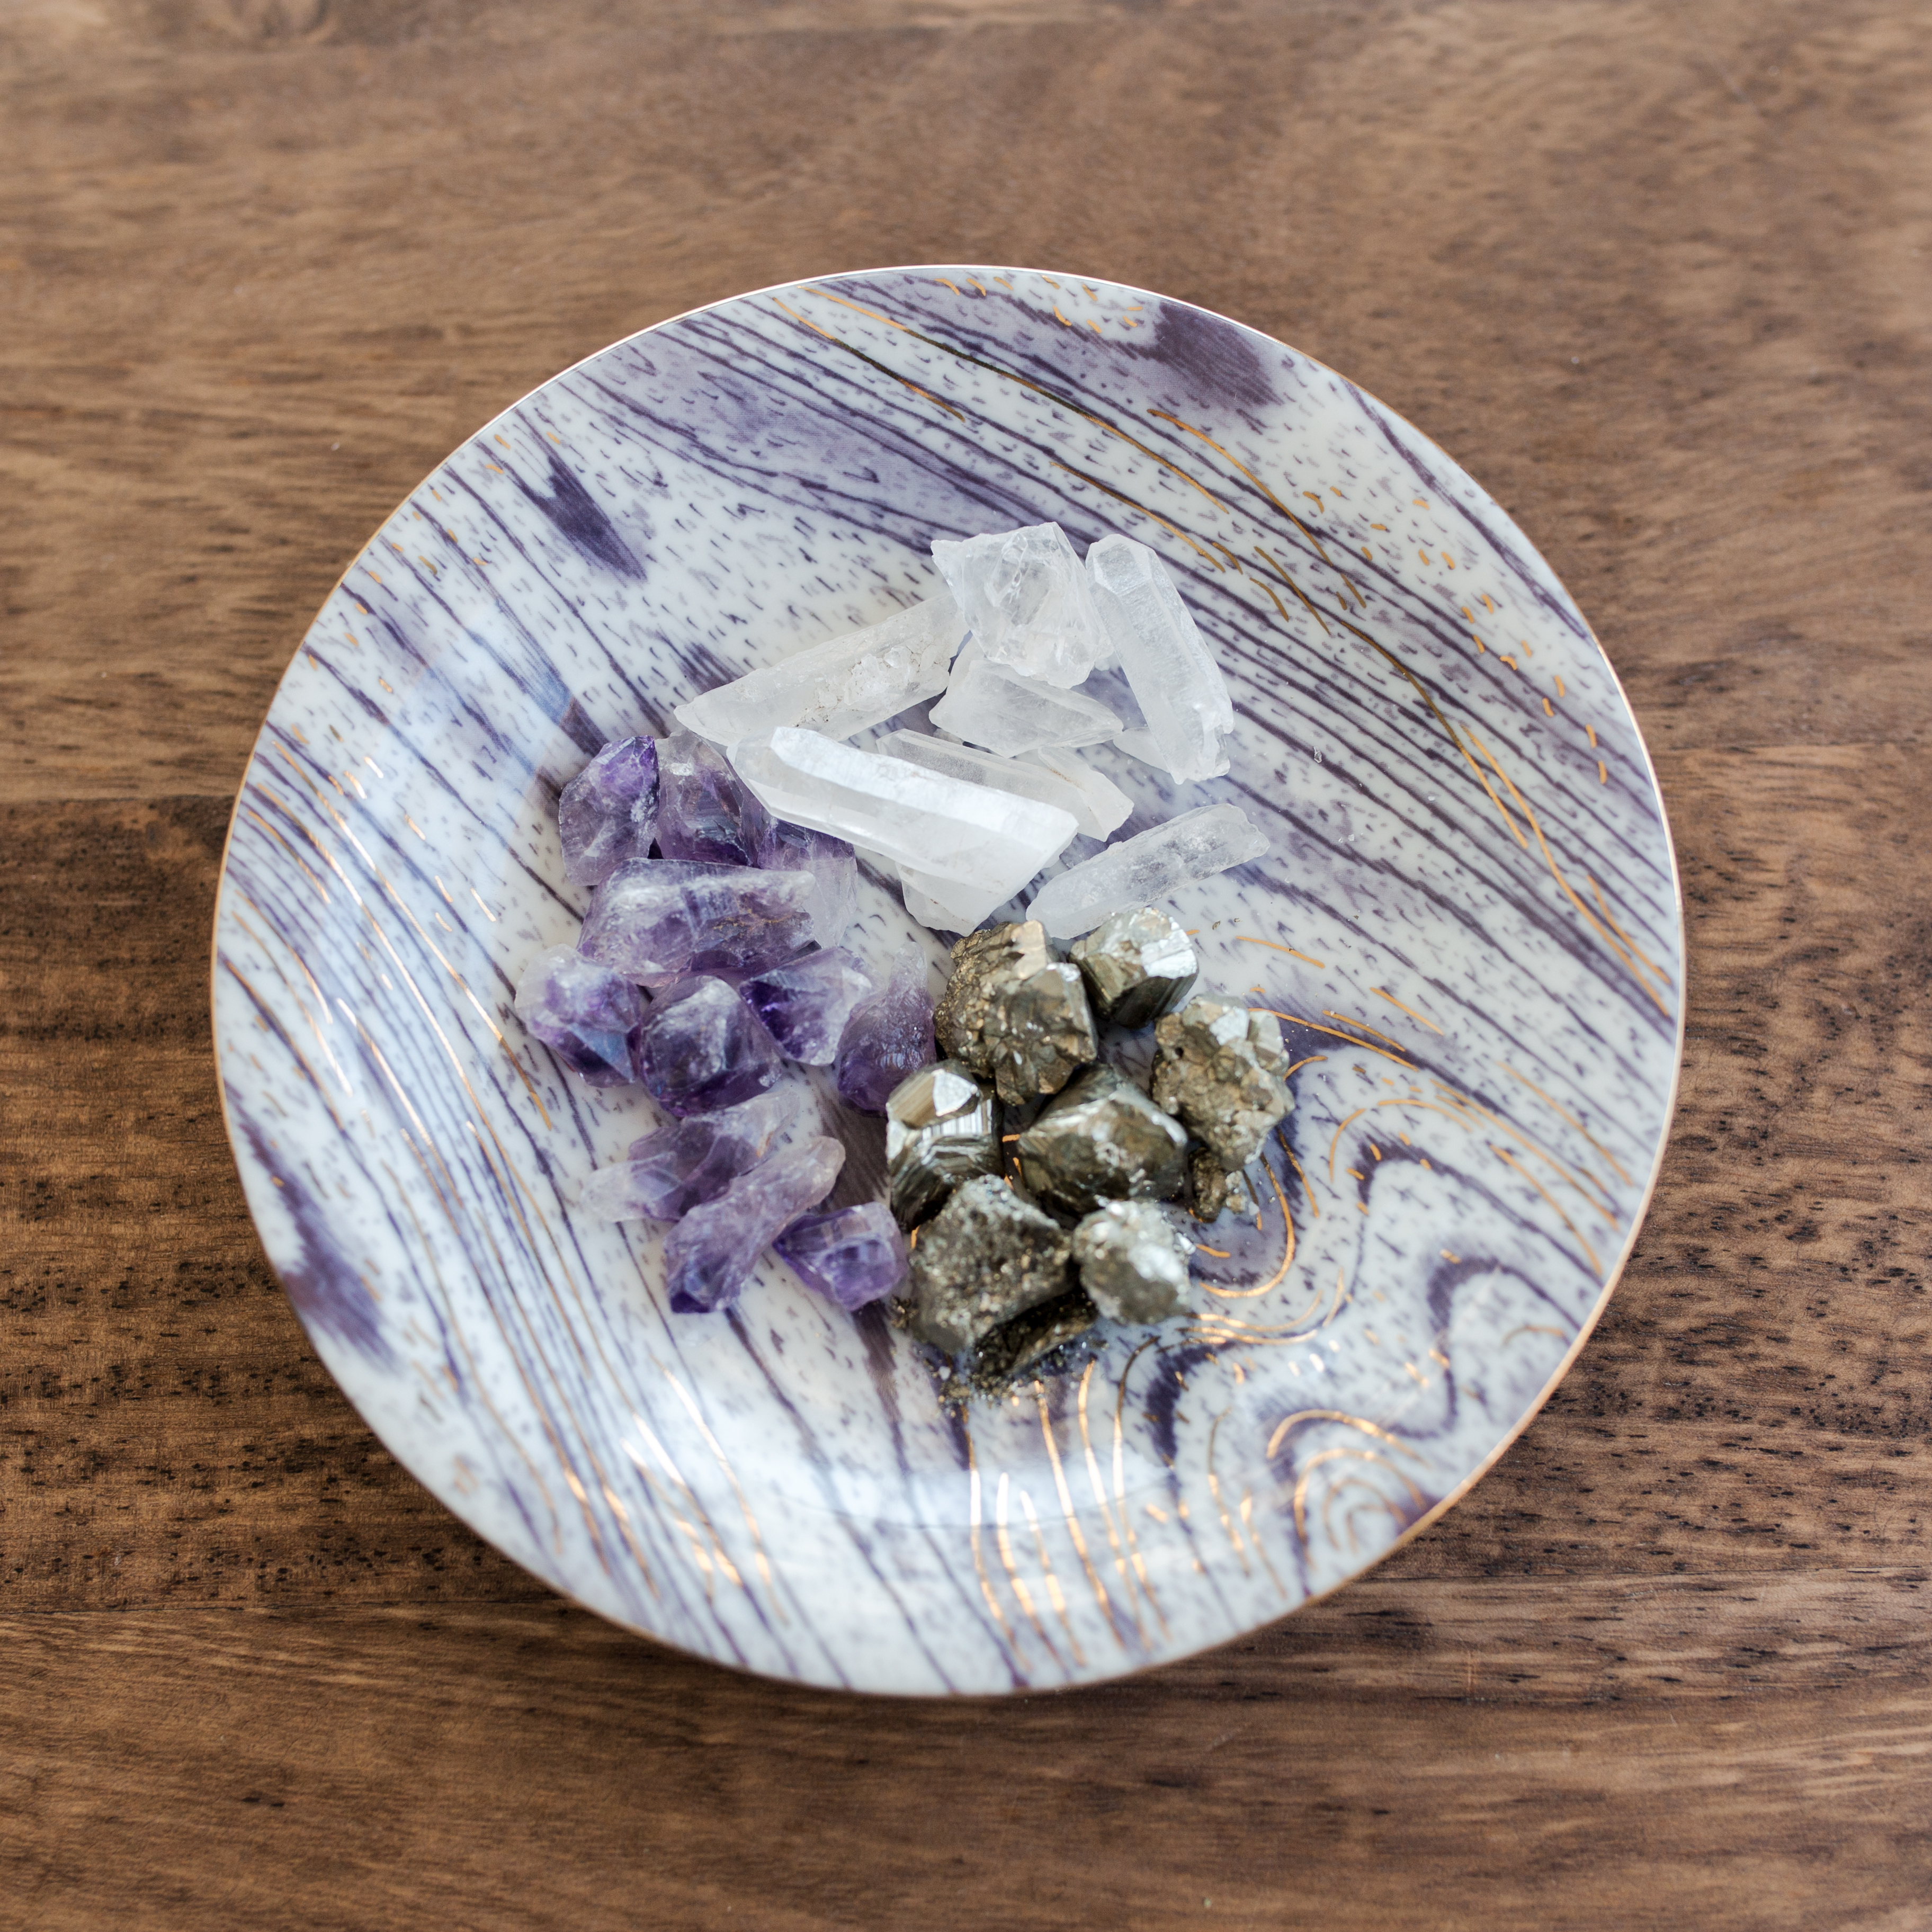
 The finished candle is truly so pretty! And by DIY-ing you can save some money and have a beautiful piece in your home!
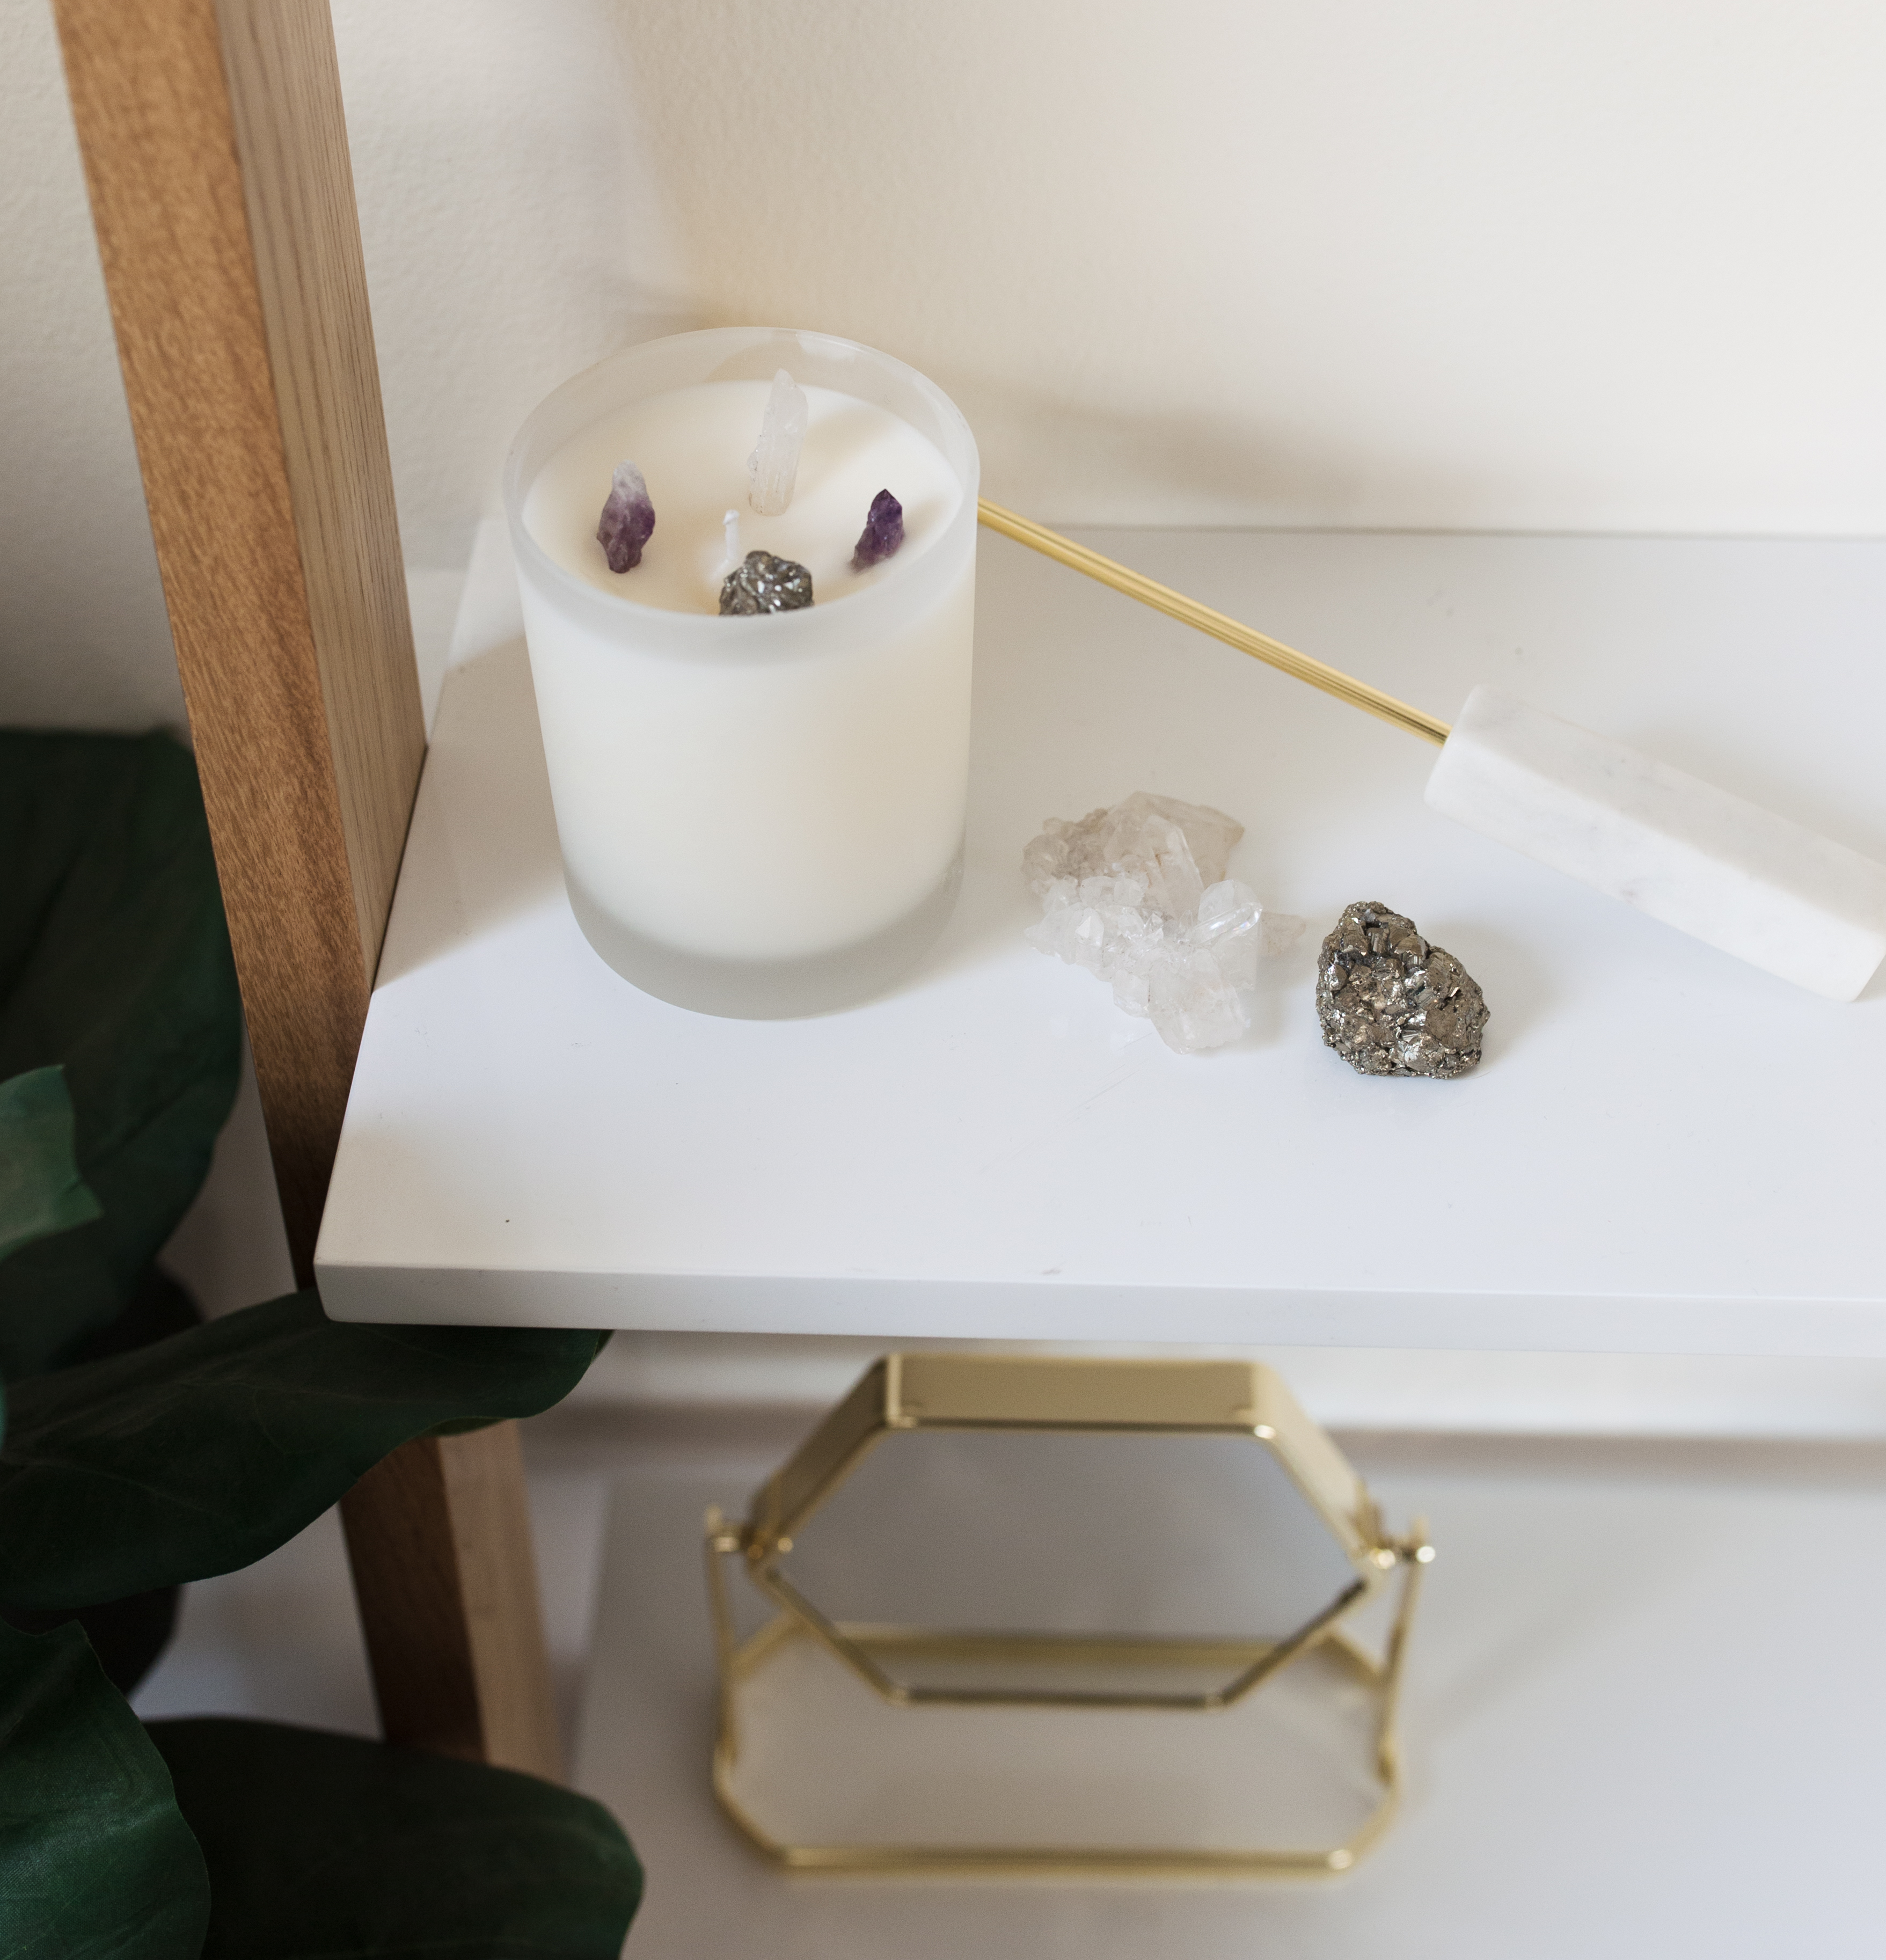
Candy Siebert
03/12/2019 at 5:09 pmLove these!!! I have some cool gems!! Did you ever make candles with old candles?